
Recipe of the Day
Discover a New Recipe Every Day. Give Back With Every Bite.
Every day, we feature a hand-picked recipe for you to discover, cook, and share. The best part?
Every recipe you read helps feed the hungry.

There are always going to be those classic dishes that take you right back to a simpler time and for many people salt-rising bread is just that. Some folks call this country bread as it’s not something you’ll find in grocery stores. People who know how good this bread is will sometimes drive many miles out of their way to visit country food stands or Amish markets just to buy this bread. This type of bread was traditional is Appalachia in the late 1700s and is still enjoyed by many.
So what makes this bread so special? Well, instead of relying on store-bought yeast for the rising action, the starter for this bread is all natural- meaning that the fermentation of yeast and bacteria already present in the air are what make the bread rise.
This is how bread was made for thousands of years before modern processes made buying yeast at the store the norm, although the first written recipes for salt-rising bread weren’t written until the 1750s. For this recipe you’ll need to make your starter from a mixture of cornmeal, baking soda, salt, flour, and milk. After scalding the milk the other ingredients are added to the jar which is then covered with plastic wrap with a slit at the top.
If your oven doesn’t have this then you can also turn the oven on at 300˚F or so for 20 minutes and then turn it off. Place the starter jar on the stovetop to very gently get heat to it. Better yet, make the starter at the end of making your dinner so that you can use the residual heat from the oven to your advantage without using more electricity or gas.
Another method for the starter is to leave it in the oven overnight with only the oven light on. This will provide just enough heat to get the process moving. Too much heat will prevent fermentation. And, don’t worry about melting the plastic wrap as none of these methods of gentle heating are hot enough to do that.
When the starter is ready it will become bubbly and should have the signature “cheesy” smell. This is normal and is not a cause for alarm. The smell is a sign that the natural fermentation has happened. This type of starter adds a lot of flavor to the bread, but don’t worry- that cheesy smell won’t as strong once it’s baked.
This is delicate process that takes 8 to 12 hours, so it can take a few tried to get it right. If you can’t have corn there is a way to make the starter using potatoes instead but the results should be the same.
Once the starter is done combine it with flour and water and allow to rise again, this time for about 2 to 3 hours. At this point the sponge will be foamy and should have increased in size. Then add the rest of the flour and water and turn the dough out into a 8 1/2″x 4 1/2″ loaf pan. Give the dough a final rise time of 2 to 3 more hours, but not any longer.
Bake the loaf for 35-40 minutes and get ready for some scrumptious bread. Thanks to the fermentation this bread has a lot more savory flavor than other white bread. The texture is quite delicate since the rising process incorporates lots of air bubbles into the dough. This recipe does require a bit of planning so factor that in if you’re craving this country treat. But, we think it’s well worth it.
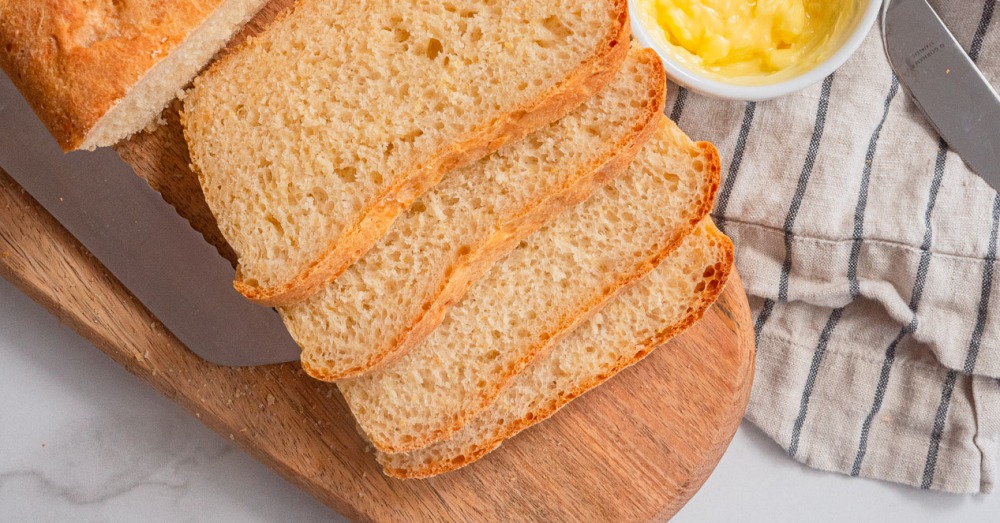
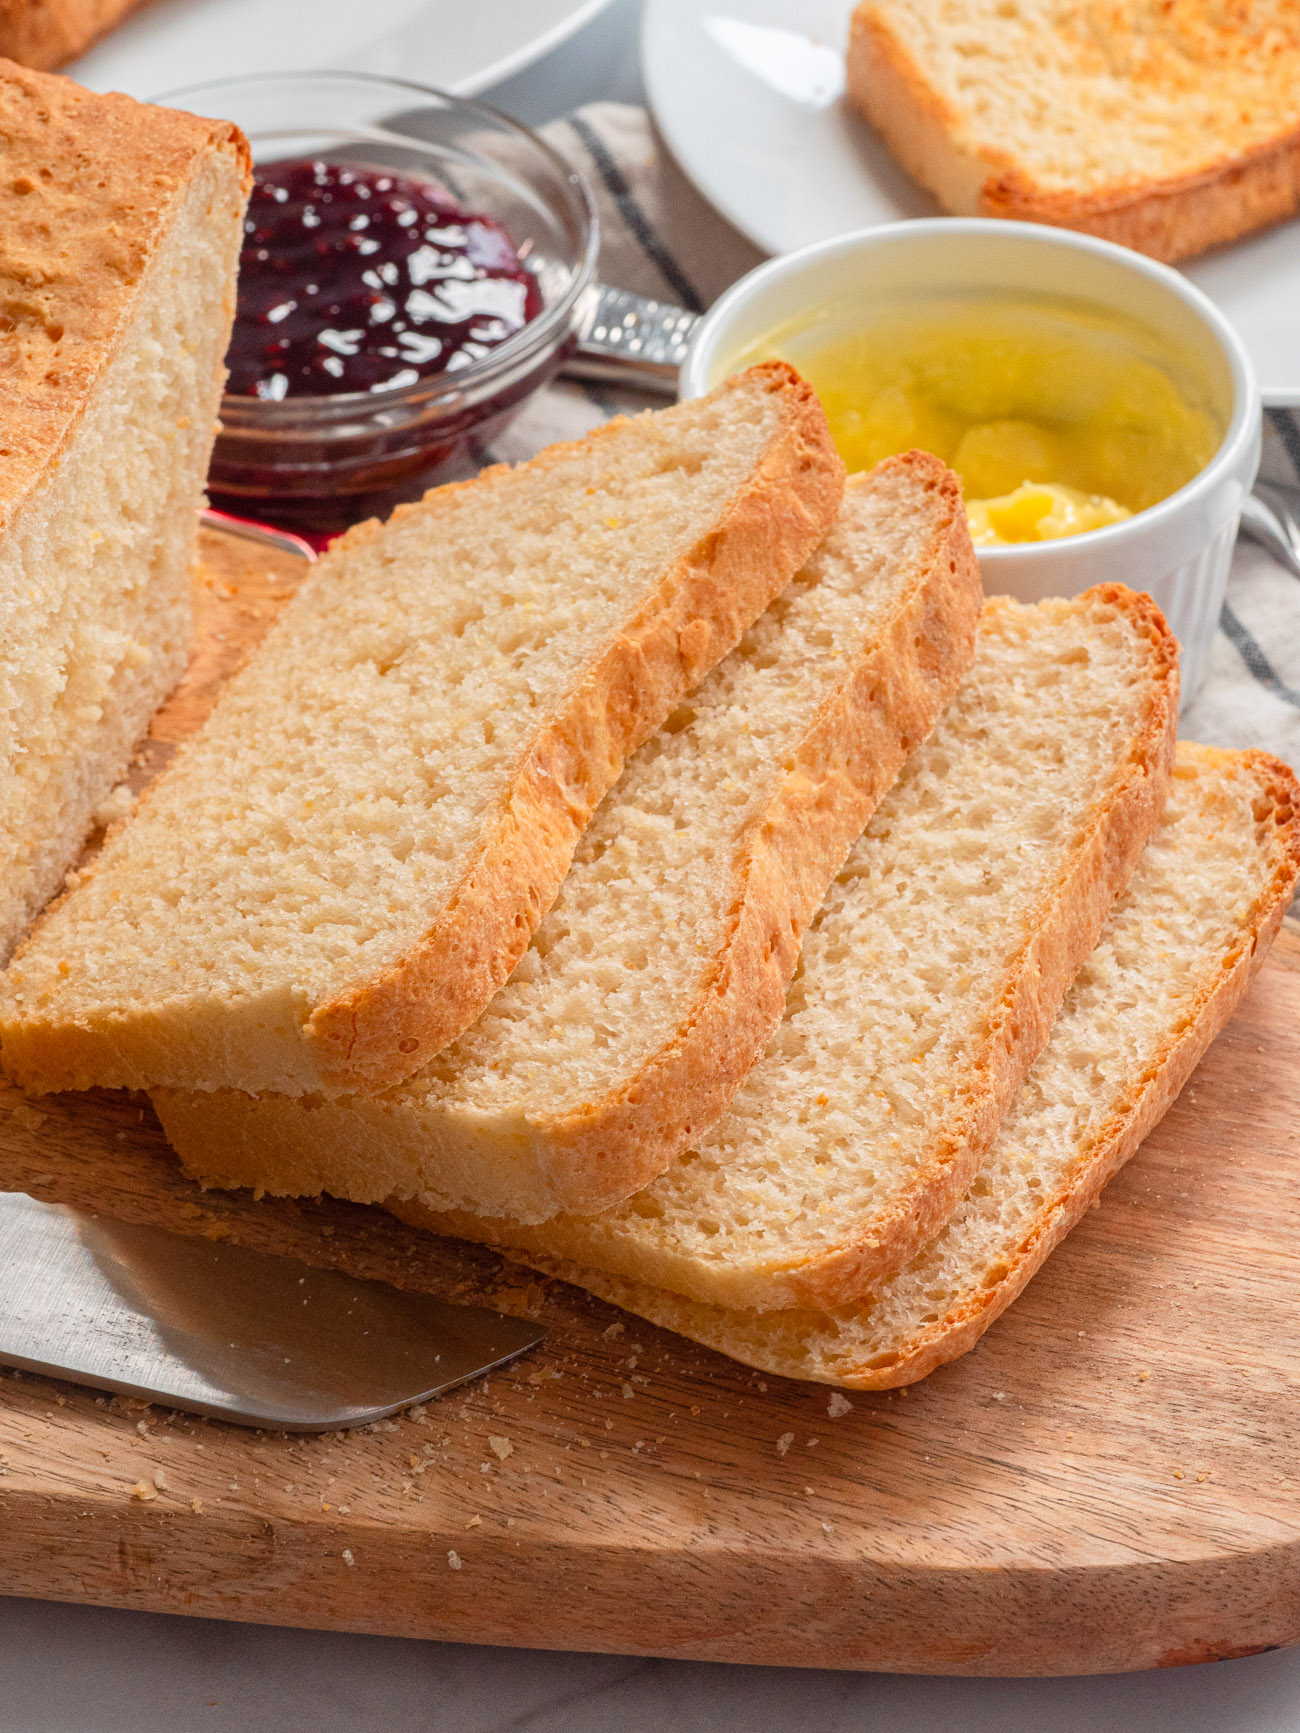
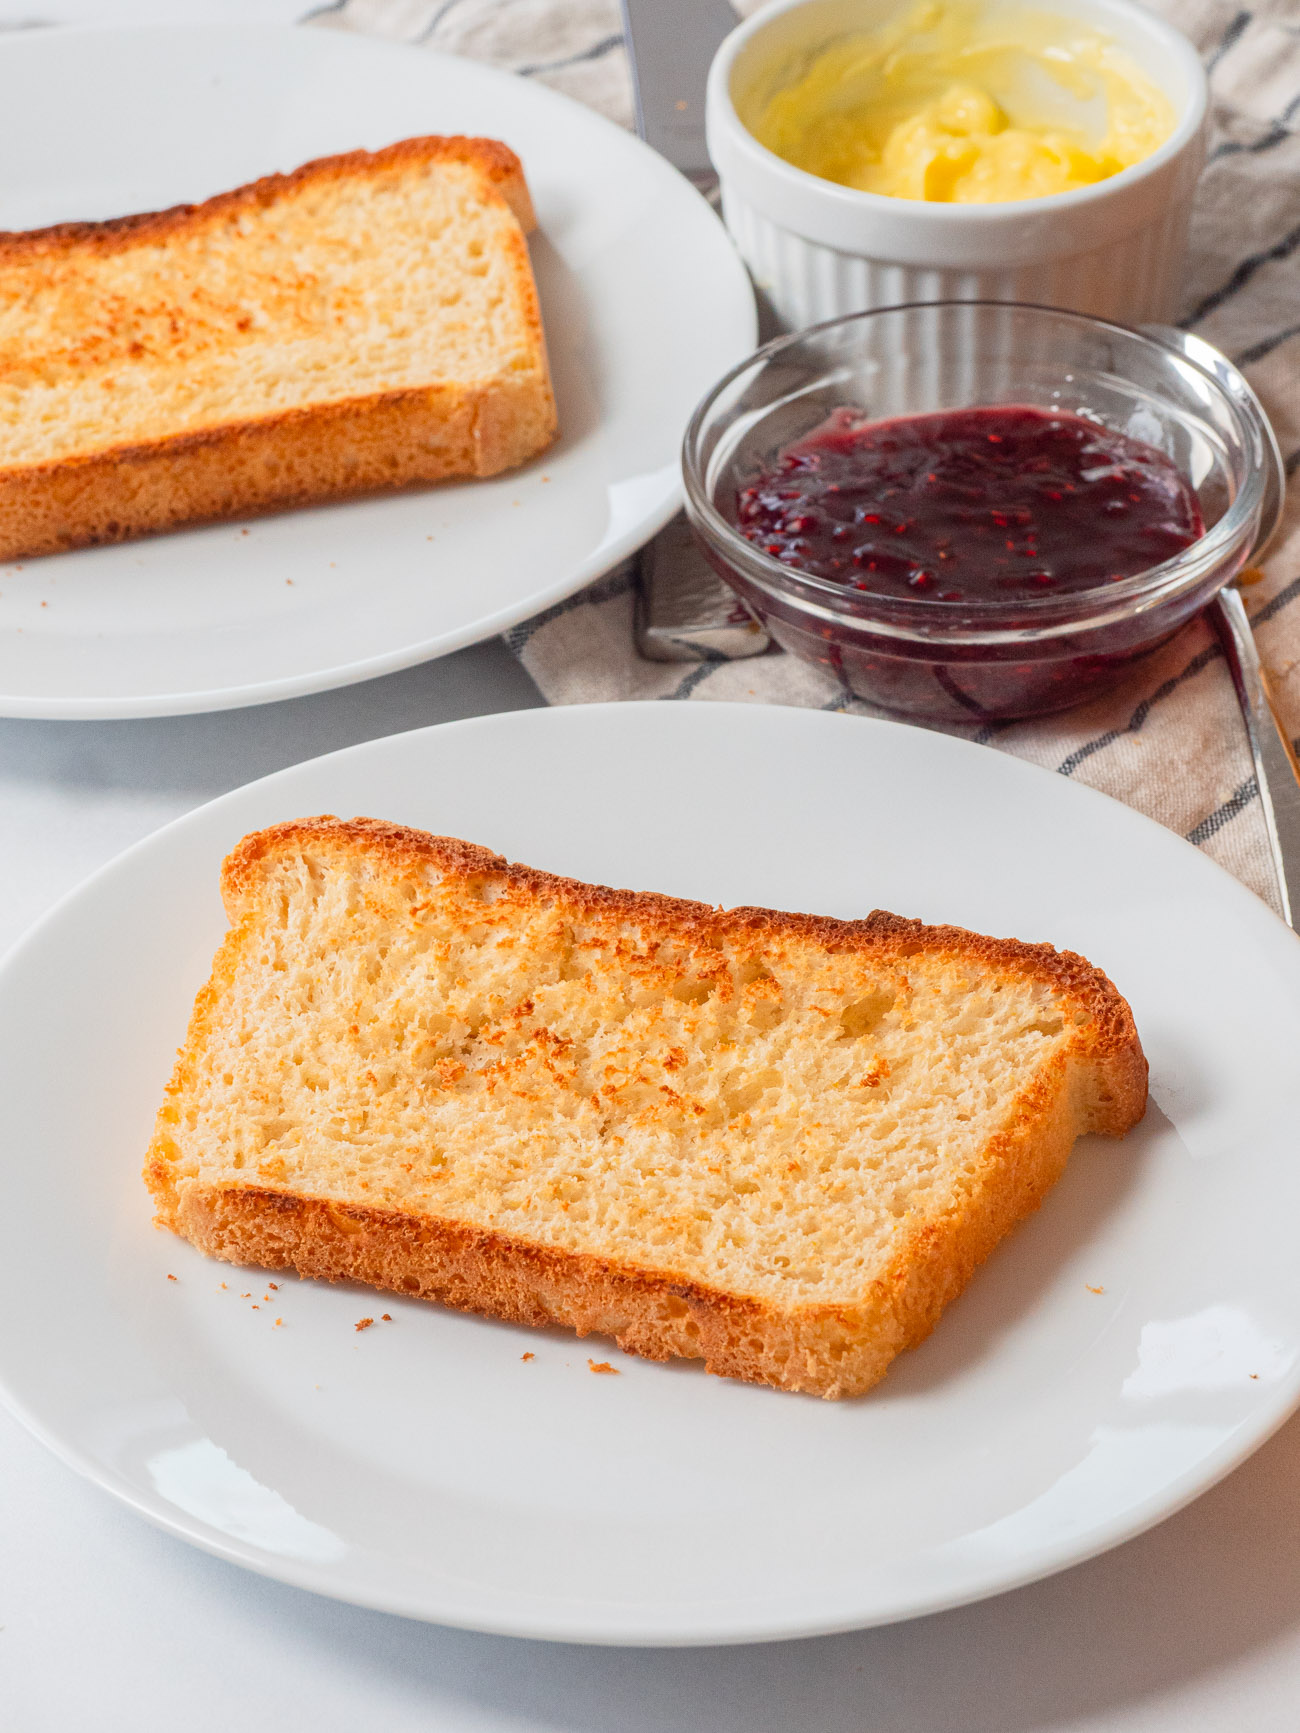
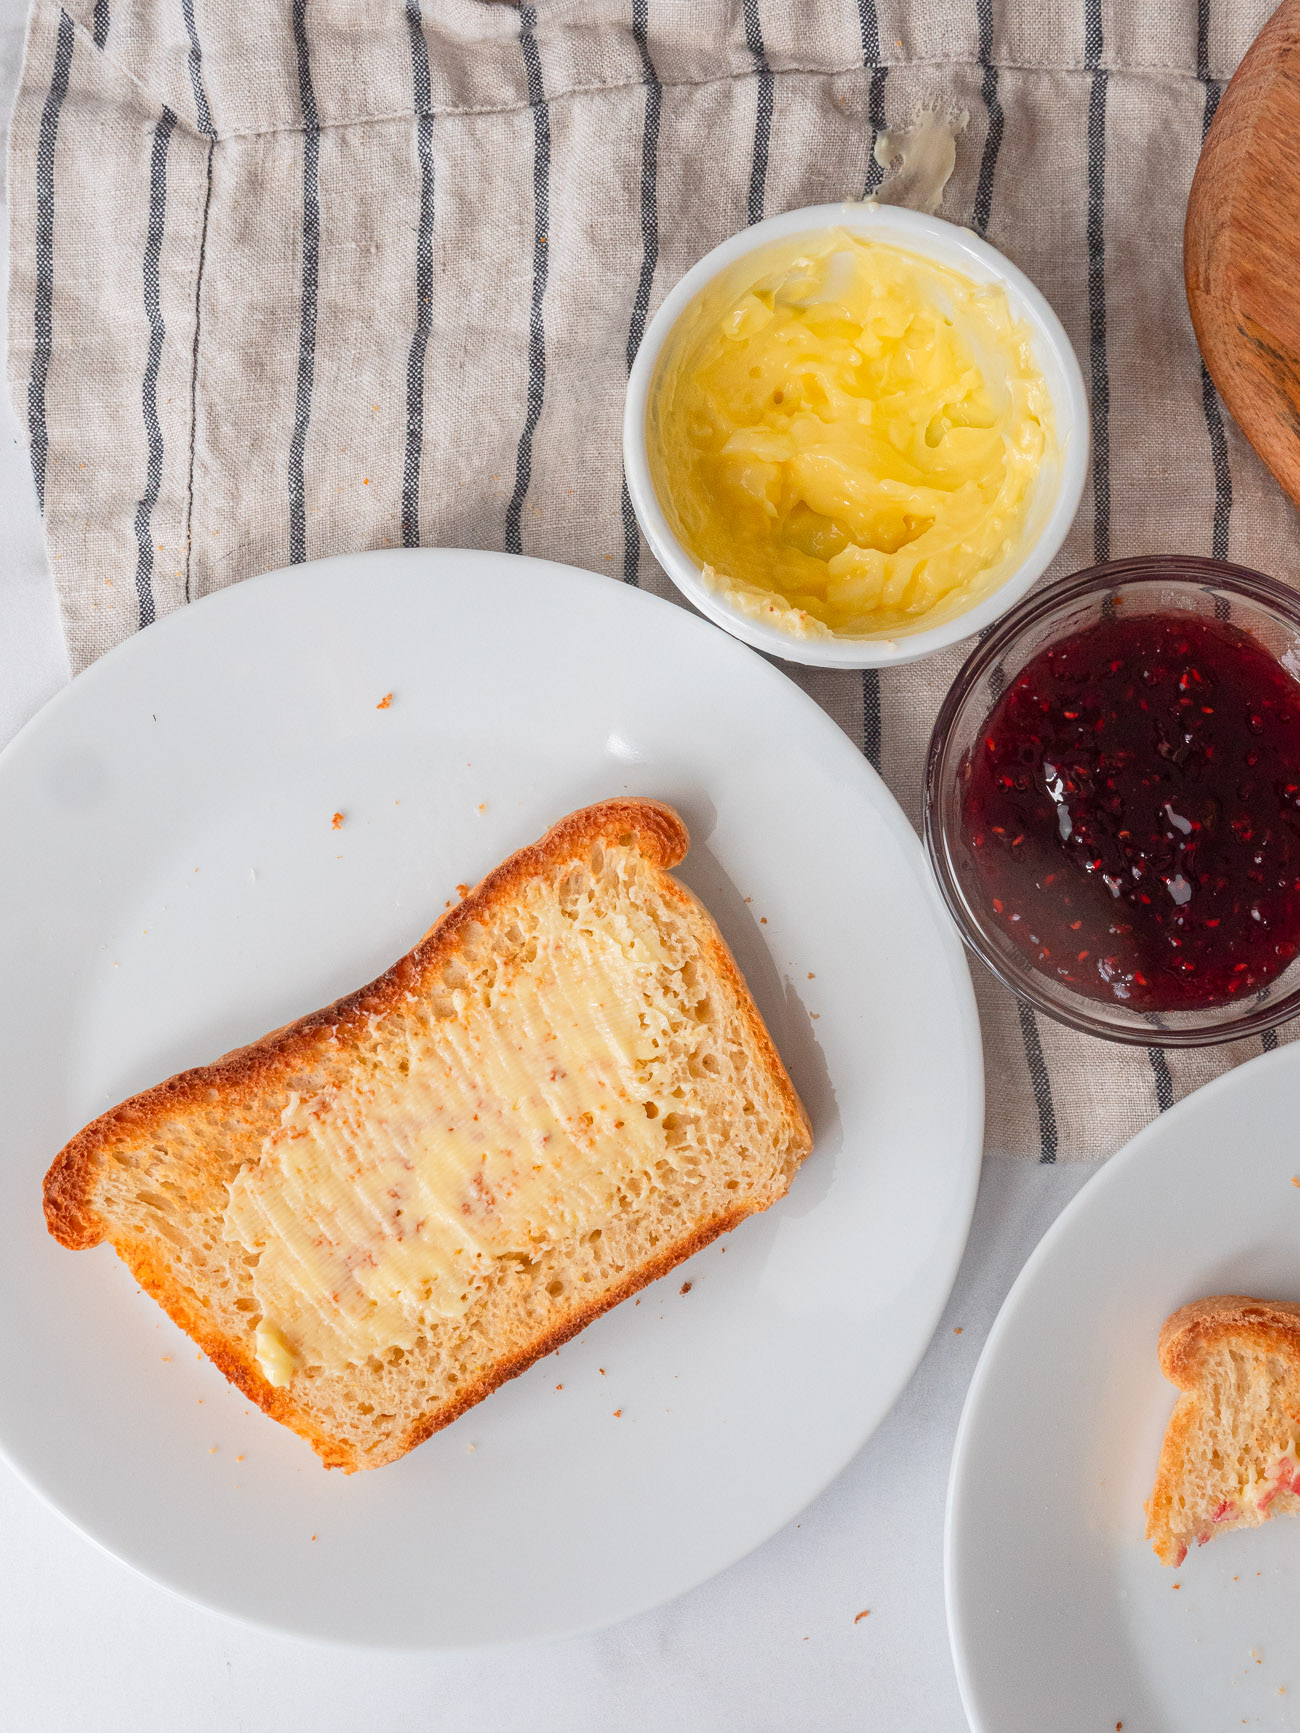
This bread is great for sandwiches, but is best enjoyed with only some fresh butter so that the flavor really comes though.
Traditional Salt-Rising Bread
For the starter:
- 2 Tbsp cornmeal
- 1/4 tsp baking soda
- 1/4 tsp salt
- 1 tsp all-purpose flour
- 1 cup whole milk
For the sponge:
- cornmeal starter
- 1/2 cup warm water
- 3/4 to 1 cup all-purpose flour
For the dough:
- 2-3 cups all-purpose flour
- 1/2 cup warm water
Preparation
- Scald the milk, heating just until small bubbles form around the edge of the pan or microwave safe bowl. Do not allow to boil.
- Pour cornmeal, baking soda, salt, and flour into a 1-quart jar. Pour scalded milk over the top and stir well. Cover with plastic wrap and cut a small slit in the plastic for air to escape.
- Allow to ferment for 8-12 hours in a warm place. Overnight in the oven with only the light on should work or you can use the proofing setting if your oven has one. When ready the starter should smell cheesy and contain bubbles. Don’t worry if it smells “off” at this point since the fermentation is crucial to making this bread.
- Once the starter is ready, pour it out into a large bowl with 1 cup of warm water and enough flour to make a loose dough (about 3/ 4 cup to 1 cup depending on moisture level of the flour). Add more flour or water until correct consistency is achieved. Turn out onto a floured surface and knead lightly.
- Stir until combined and cover with plastic wrap or towel. Allow to proof at the same temperature as the starter for 2-3 hours. Sponge should be foamy at this point.
- For the dough combine the sponge with 2-3 cups of flour and the water. You only need enough flour to form a nice dough. Add more flour or water as needed to get the right texture.
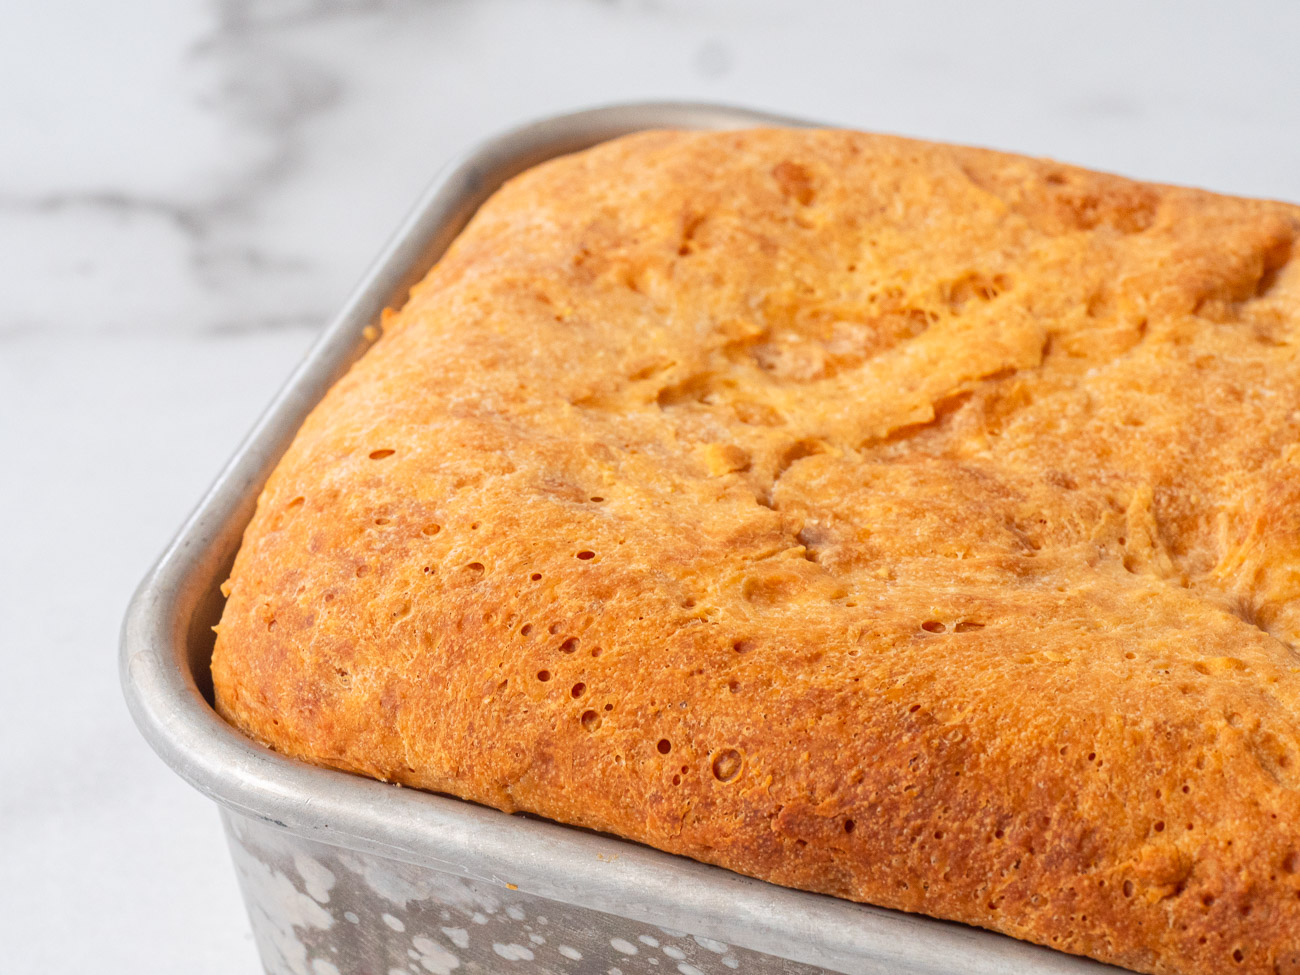
- Grease an 8 1/2” x 4 1/2” loaf pan. Form the dough into a loaf shape and cover. Allow to rise for 2-3 hours. Do not allow to sit for more than this.
- Preheat oven to 350˚F. Bake for 35-40 minutes or until top of loaf is golden brown. Allow to cool completely before slicing.
Recipe adapted from Mary’s Nest.