
Recipe of the Day
Discover a New Recipe Every Day. Give Back With Every Bite.
Every day, we feature a hand-picked recipe for you to discover, cook, and share. The best part?
Every recipe you read helps feed the hungry.

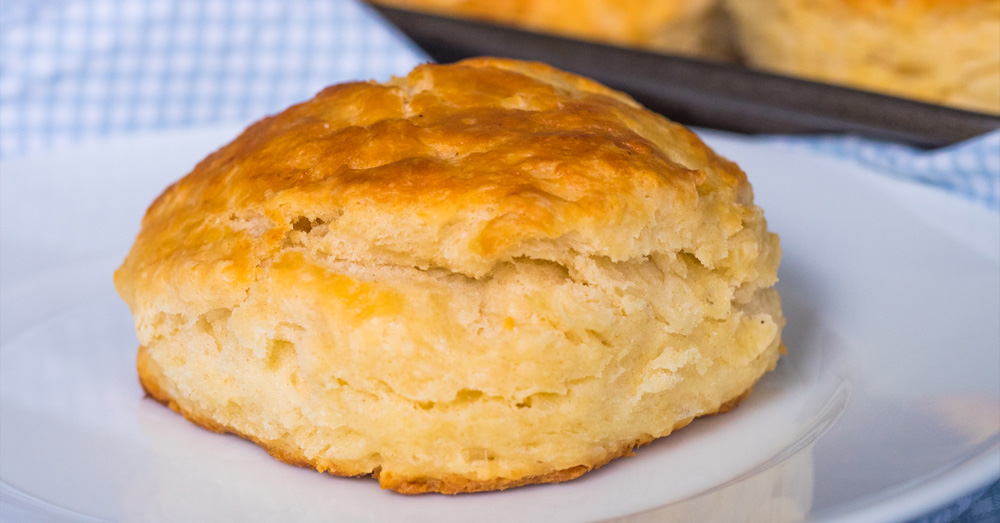
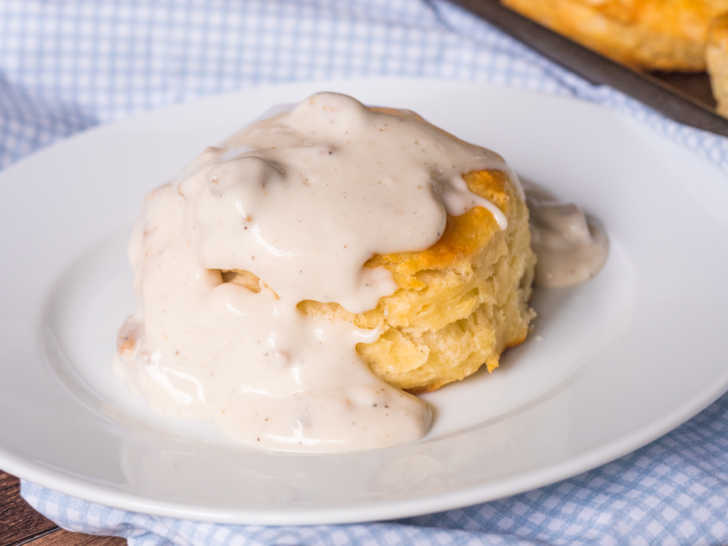
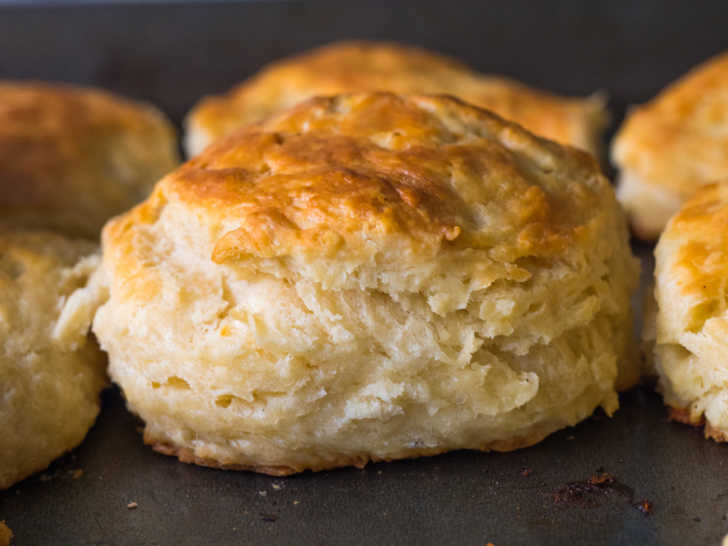
A tender, well-baked buttermilk biscuit is a beautiful thing. Full of flavor and flaky layers, it’s the perfect vehicle for a little butter and honey or a generous helping of sausage gravy. Since biscuits are a quick bread and don’t require any extensive kneading or rising time, the good news is that they’re a pretty easy undertaking to tackle in your own kitchen. (You’re looking at just about thirty minutes from start to finish.) You just need to know a few simple tips and tricks to get a reliably perfect outcome, and we’re here to show you each and every one.
The first thing to pay attention to when making biscuits is the temperature of your ingredients. Which is to say that you want them to be cold. You can chill your dry ingredients if you wish (it can’t hurt!) but it’s absolutely essential that your butter and buttermilk are chilled. This helps ensure that there are visible chunks of butter in the final dough; that way they create little pockets of steam in the oven which, in turn, create flakiness.
Unlike many other doughs, this is one that should not be smooth, so don’t overwork your dough. You want to end up with pea-sized hunks of butter and a dough that just holds together. The best tool to use is a pastry blender, but two forks work fine as well. Both of those options keep heat from transferring from your hands and melting the butter. Once you add the buttermilk and your dough holds together, folding it over a few times helps create layers, which gives you even more opportunity for flakiness, but there’s no need to knead endlessly.
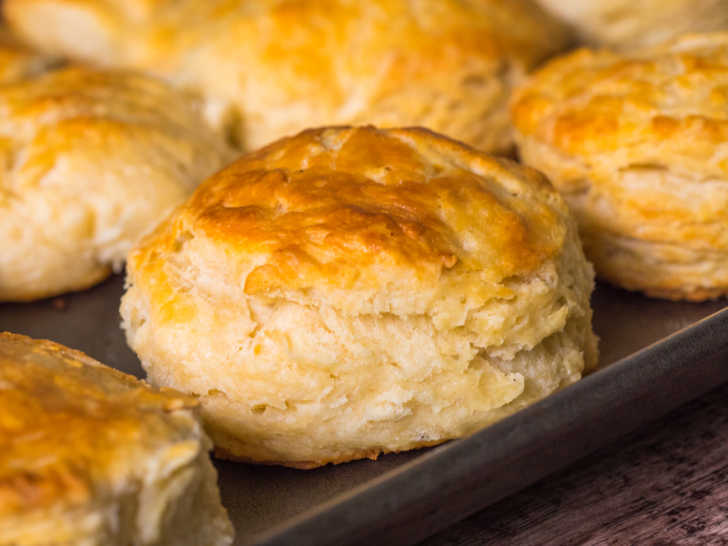
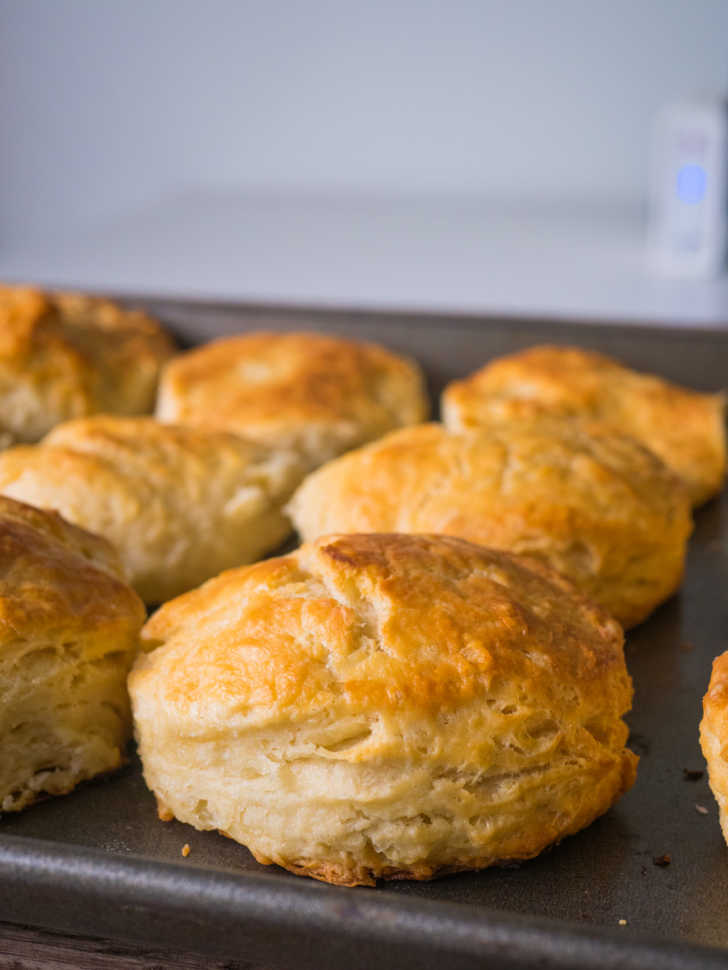
Since biscuits don’t have yeast or any rising time, you want to make sure you get maximum rise in the oven for a nice high biscuit. There are two tricks to help with this. One – when you cut out your biscuits, make sure you are pushing the cutter straight down into the dough and pulling it straight back up. Don’t twist. Twisting seals off the edges and prevents the biscuit from rising. Two – when you arrange the cut-out biscuits on your baking sheet, arrange them so they’re lightly touching each other. This gives them a little bit of support to climb, but doesn’t overcrowd them so they have no room to grow.
If at any point you feel that the dough has gotten too warm, don’t hesitate to pop it in the fridge to chill for a bit. It’s not a bad plan to cut and lay out your biscuits and pop the whole baking sheet in the fridge for five minutes or so before they head into the oven just to make sure everything is nice and cold.
All in all, it’s a simple process. Just pay attention to temperature, don’t overwork your dough, don’t twist the biscuit cutter and you’ll end up with a beautiful, flaky biscuit!
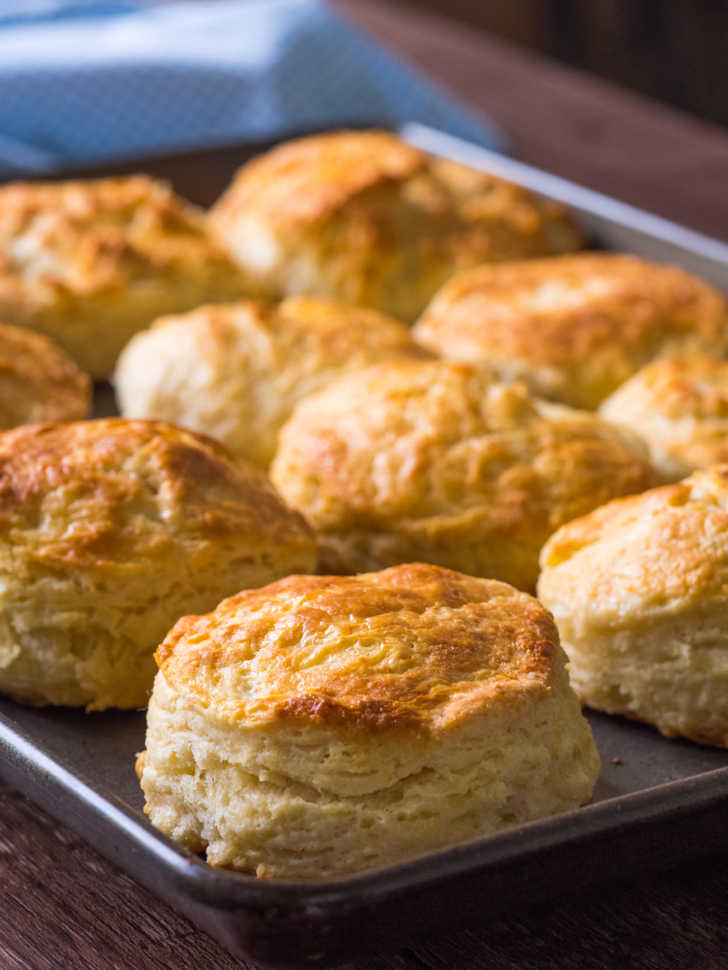
Flaky Buttermilk Biscuits
Ingredients
- 2 cups all-purpose flour, plus more for dusting
- 1 tablespoon baking powder
- 1/4 teaspoon baking soda
- 1 teaspoon salt
- 1 teaspoon sugar
- 6 tablespoons unsalted butter, chilled and cut into small cubes
- 1 cup buttermilk, plus more for brushing
Preparation
- Preheat oven to 450°F.
- In a large bowl, stir together the flour, baking powder, baking soda, salt, and sugar.
- Add the cubed butter to the bowl and cut it into the dough with a pastry cutter. (You can also use your hands or two forks, but a pastry cutter works best since it doesn't transfer heat to the dough.) Cut butter in until you have pea-sized chunks of butter. Try to do this step quickly, so the butter doesn't have time to warm up.
- Stir in the buttermilk, but don't overwork the dough. It should be sticky and loose, barely holding together.
- Turn dough onto a floured surface and knead a few times to bring it together.
- Pat the dough into a rectangle about 1/2-inch thick. Fold the dough into thirds as if you're folding a letter. Rotate 90 degrees and repeat the folds, then rotate 90 degrees and fold again. (This laminates the dough a bit so you get better flaky layers.)
- Press dough gently into a 1-inch thick rectangle. Using a 2-inch round biscuit cutter, push straight down to cut into circles. Try not to twist the cutter at all, it seals the edges and prevents the biscuits from rising into flaky layers.
- Arrange biscuits on a baking sheet, lightly touching each other. (This helps them rise in the oven.) Brush the tops lightly with buttermilk.
- If your dough has gotten warm, put biscuits in freezer for 5 minutes to chill.
- Bake until golden brown, 10-15 minutes.