
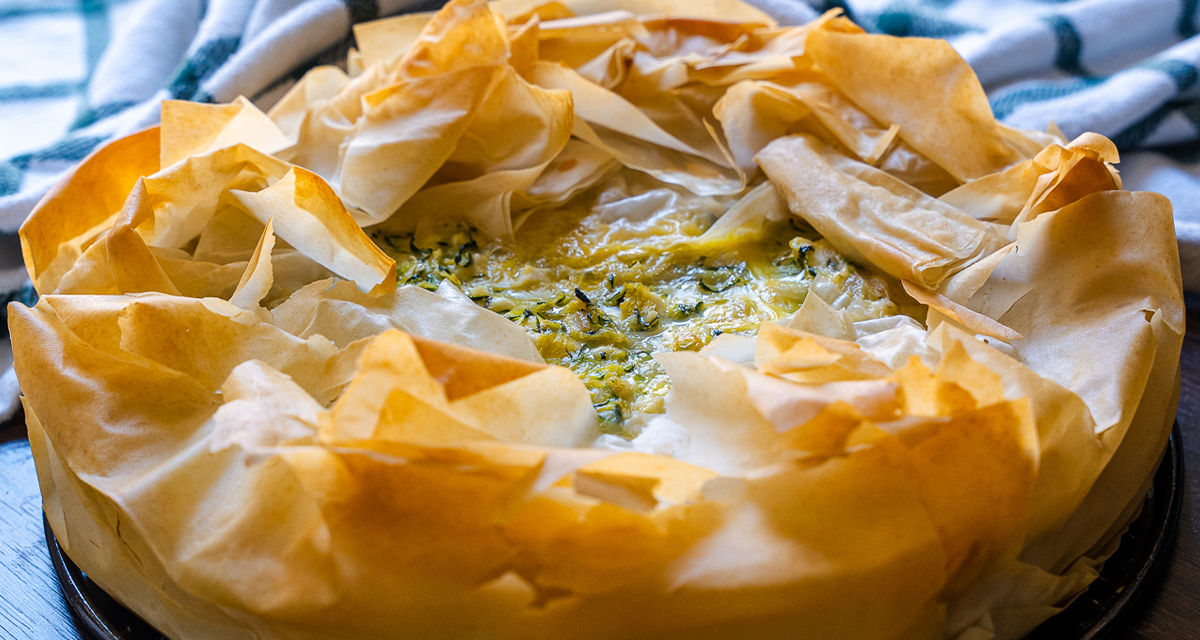
Greek Zucchini Pie (Kolokithopita)
Spanakopita's simpler, squash-forward cousin.

Recipe of the Day
Discover a New Recipe Every Day. Give Back With Every Bite.
Every day, we feature a hand-picked recipe for you to discover, cook, and share. The best part?
Every recipe you read helps feed the hungry.

If spanakopita is the Greek pie everyone knows, kolokithopita is its quieter, zucchini-forward cousin, and it deserves way more attention than it gets. The name literally means “zucchini pie” in Greek (kolokithi is zucchini or summer squash, pita is pie), and it comes from the same long tradition of savory phyllo pies Greek home cooks have been making for generations, using whatever herbs and vegetables were abundant that season. In late summer, that means zucchini, and lots of it.
This version is loaded with feta, a mix of fresh herbs, and a golden, flaky phyllo crust that’s honestly easier than pie dough and pretty darn fun to put together. This is the kind of thing that looks like it took way more effort than it actually did!
What Ingredients Do You Need for Greek Zucchini Pie?
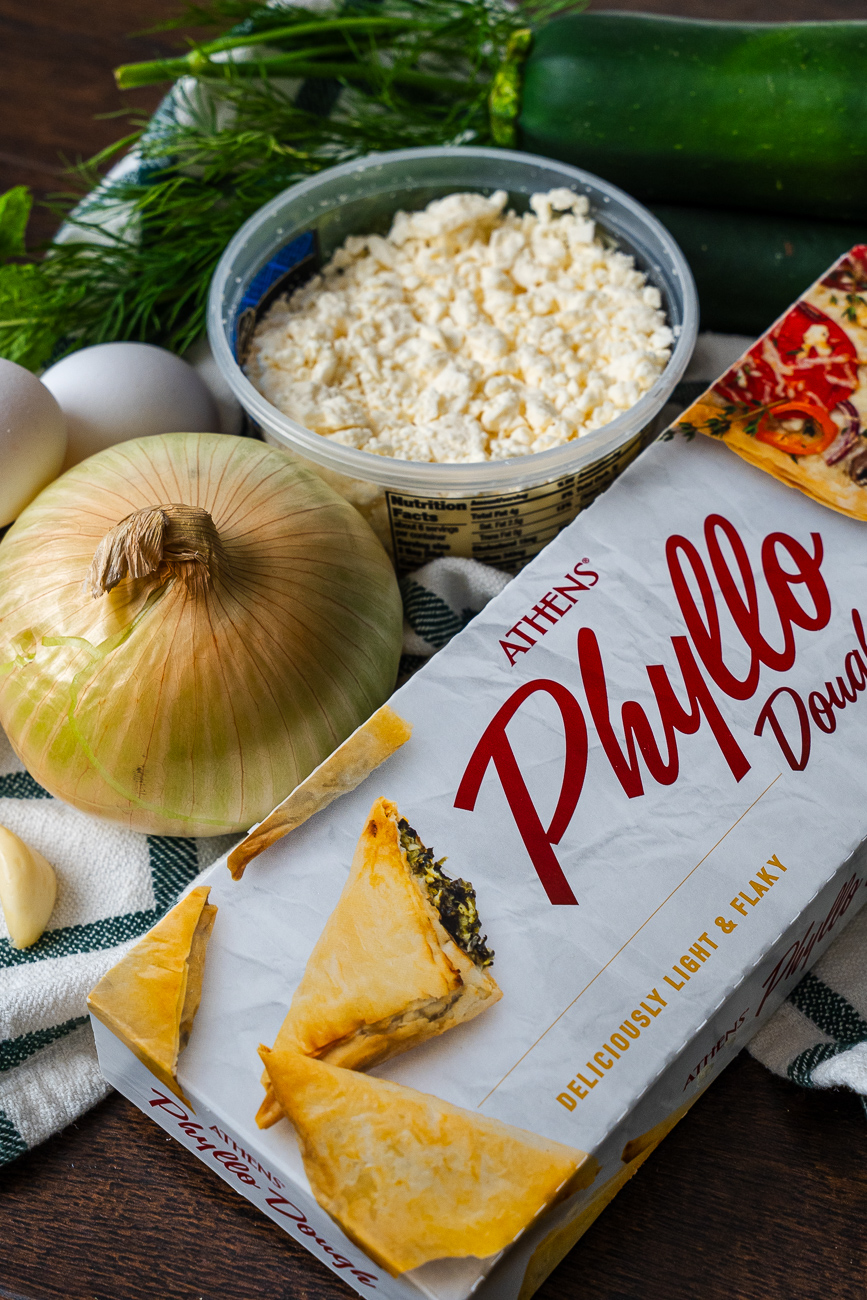
- Phyllo dough. Make sure to thaw it first!
- Zucchini. A lot of it.
- Onion and garlic.
- Fresh dill — a classic Greek herb that gives this pie its signature flavor.
- More mixed fresh herbs, like parsley, mint, and oregano.
- Feta.
- Eggs.
How Do You Make Greek Zucchini Pie?
The most important step happens before you even turn on the oven… getting the water out of that zucchini. To really achieve the best results, start by salting your grated zucchini and leting it drain for 30 minutes to an hour. This should help release some liquid, so you then can squeeze out as much as you possibly can with a kitchen towel. This step is vital to having a non-soggy pie, so don’t skip it!
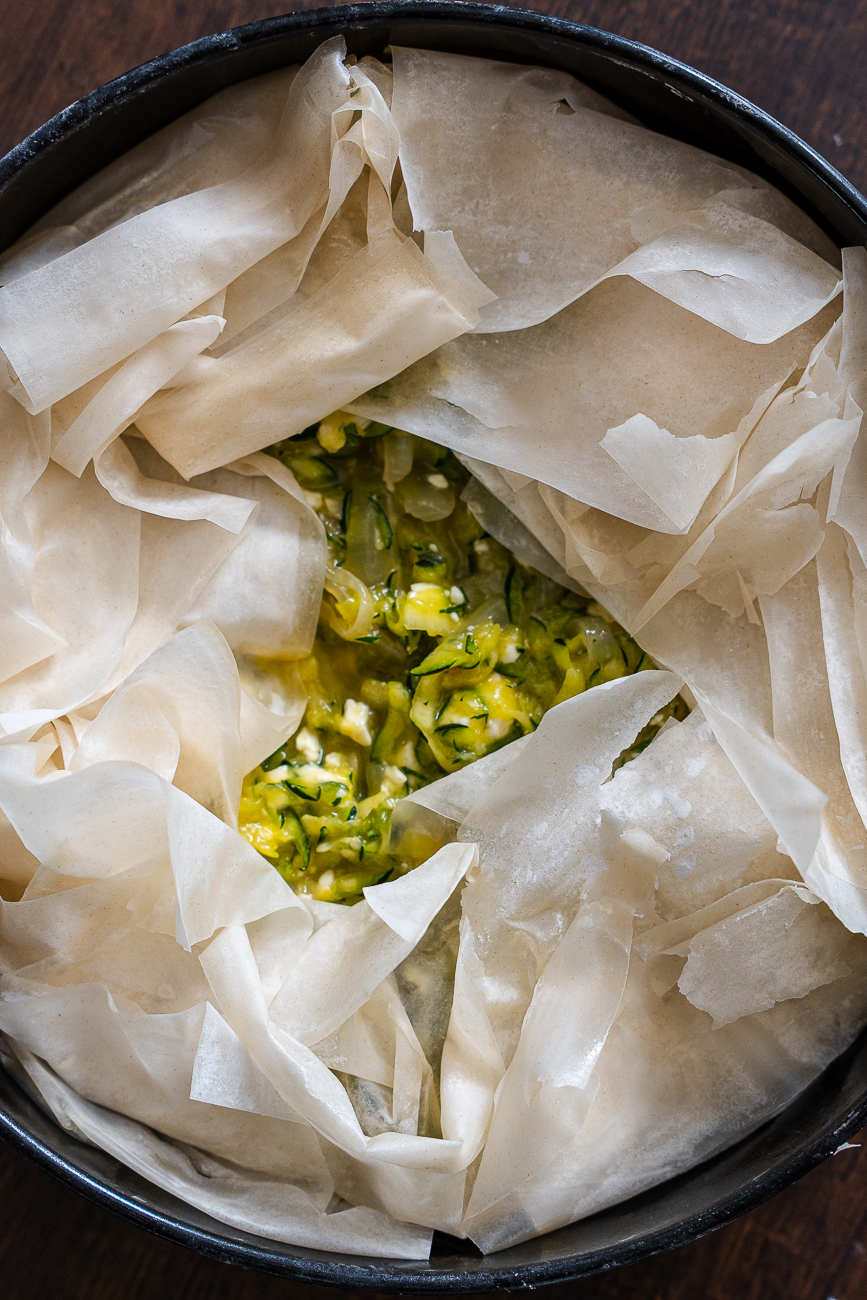
While that’s draining, soften your onion and garlic in olive oil, then combine everything — the dried zucchini, onion and garlic, herbs, feta, and beaten eggs — in a bowl, seasoning it carefully since feta is already salty.
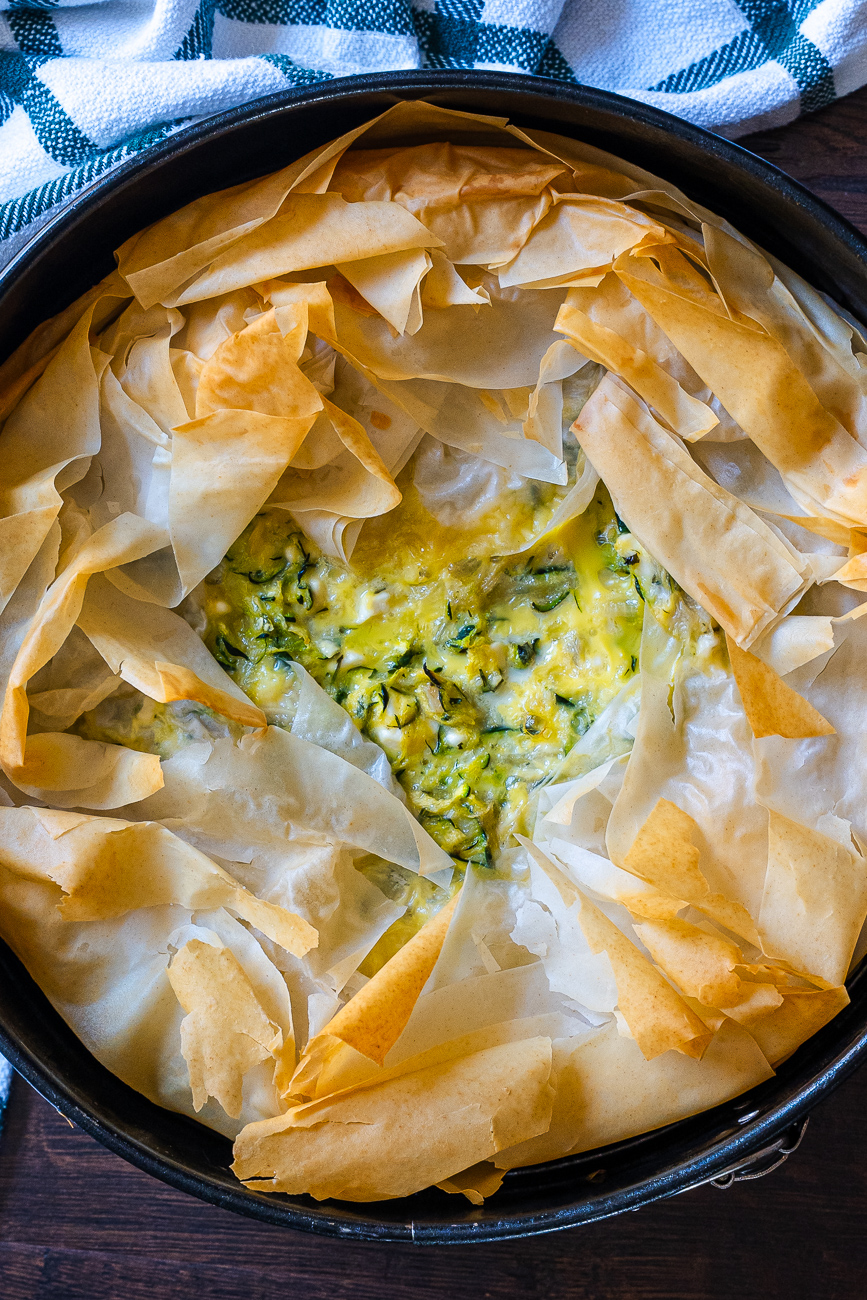
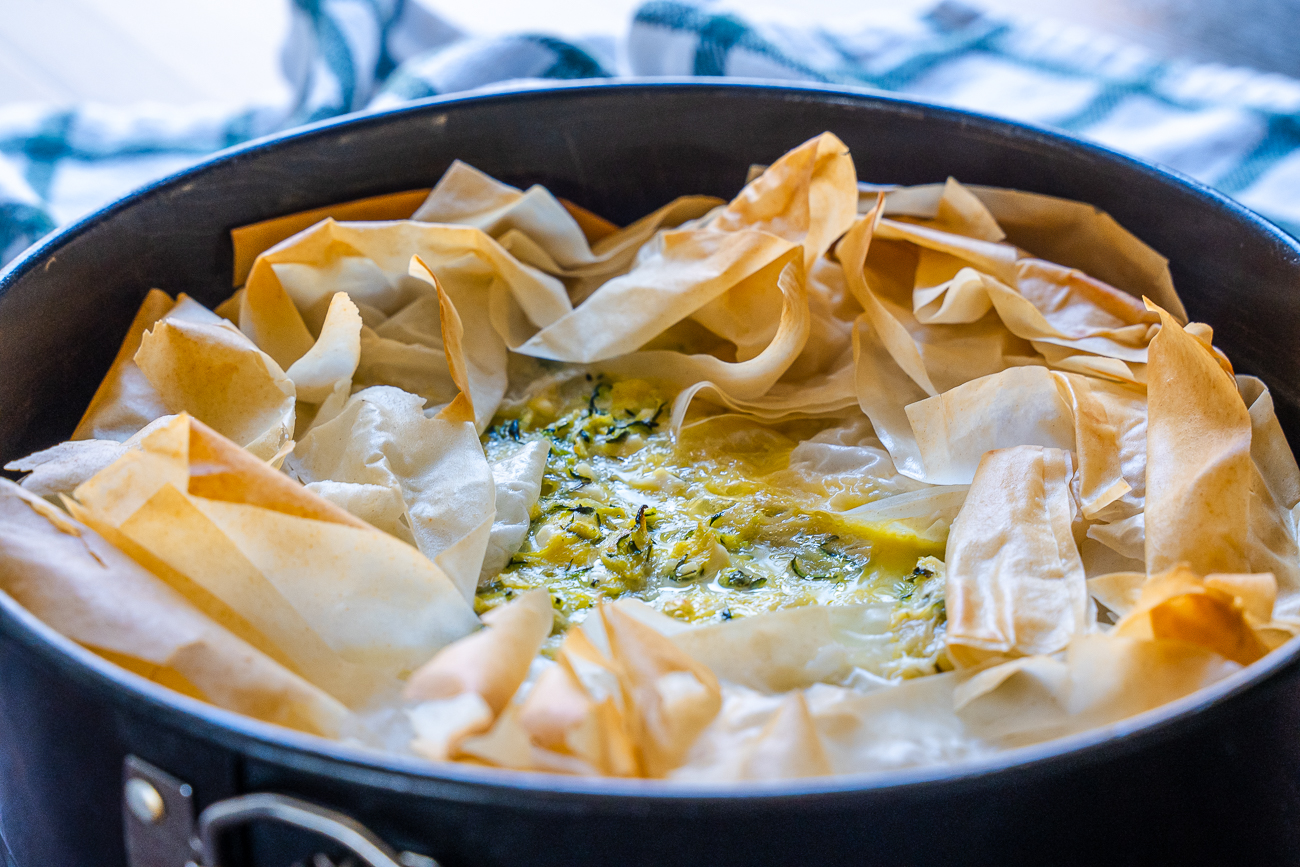
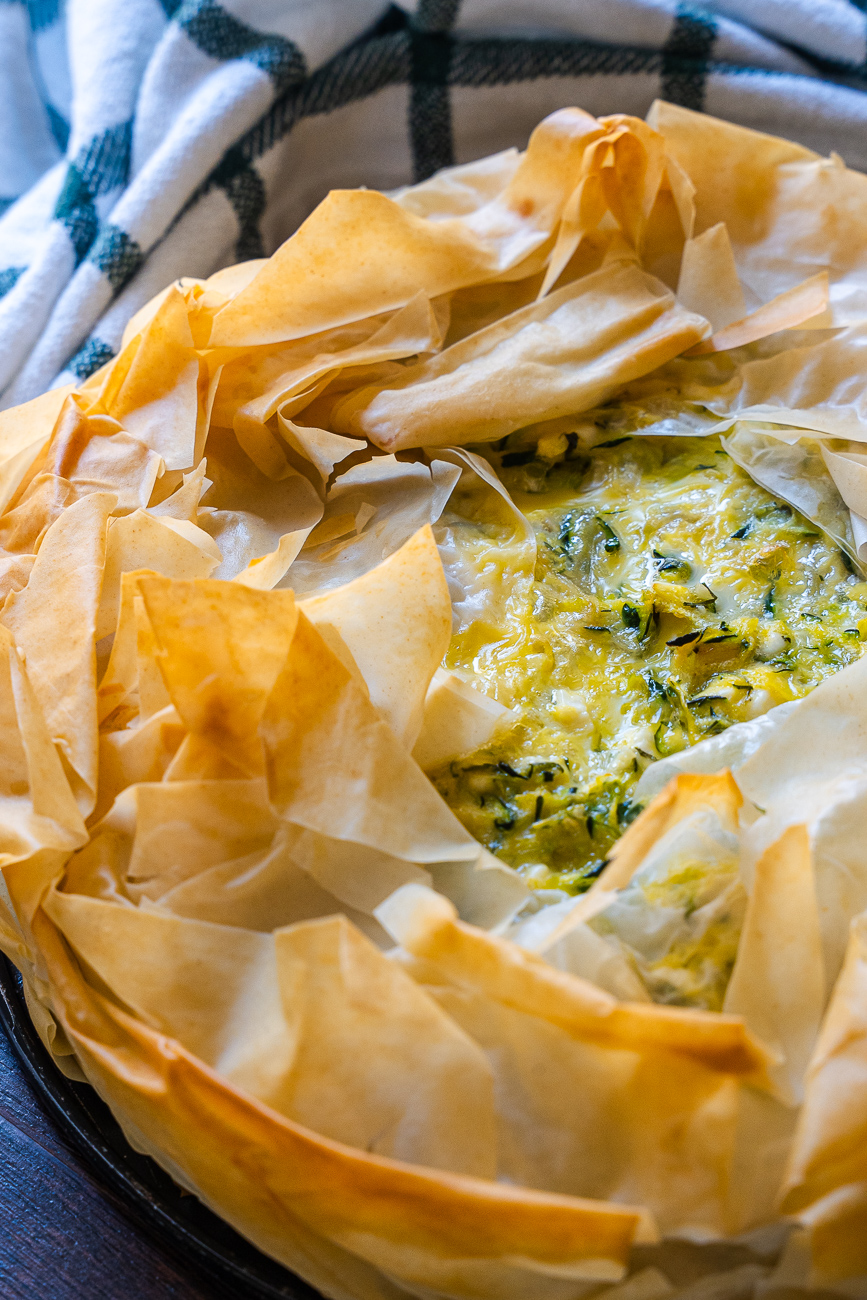
Now for the fun part: lay out your phyllo sheets and keep them covered with a damp towel so they don’t dry out. Brush each sheet with olive oil (or oil spray) and layer them into your pan, letting the edges overhang at different points as you rotate them. This is what gives you that beautiful, wavy, rustic crust. Spoon in your filling, smooth it into an even layer, then fold all that overhanging phyllo over the top. It doesn’t need to cover the center, just frame the edge.
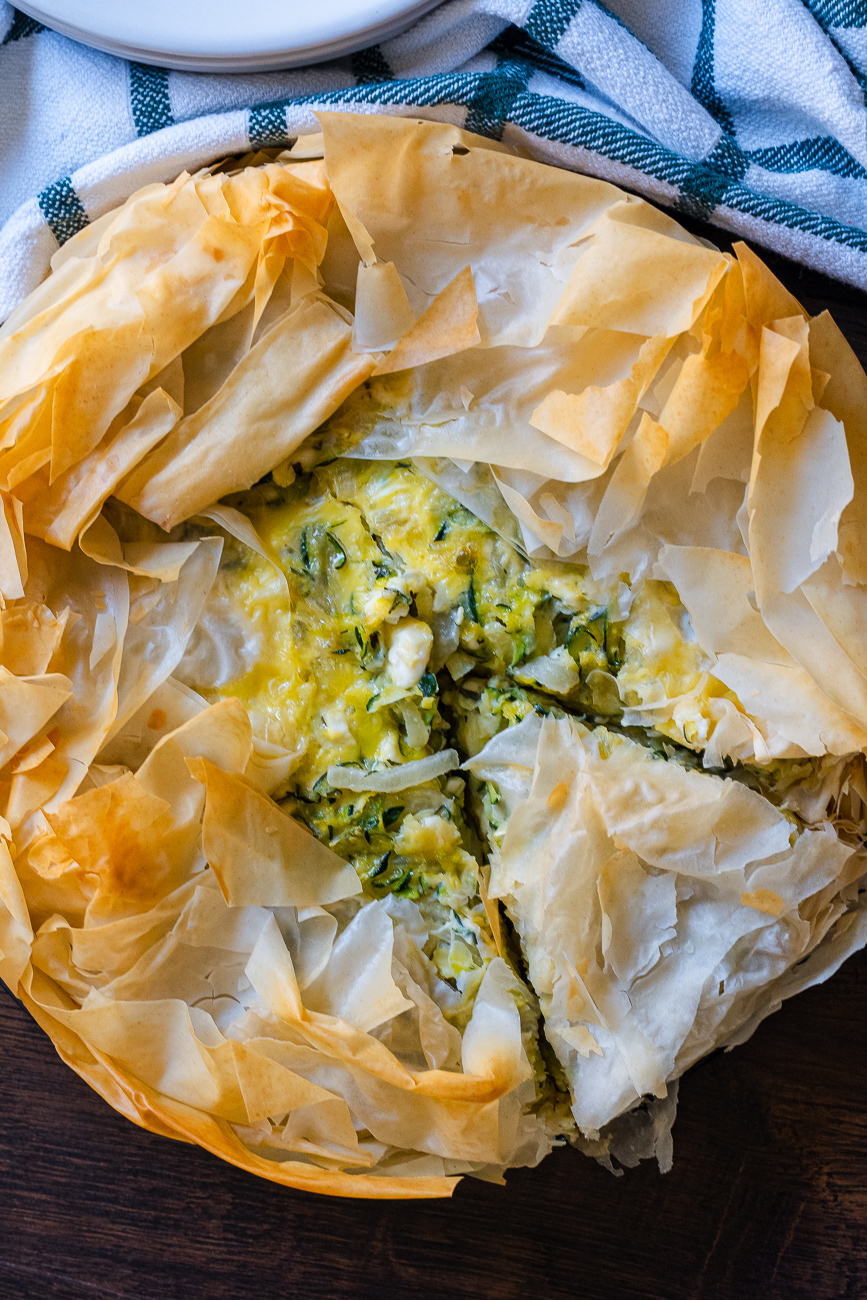
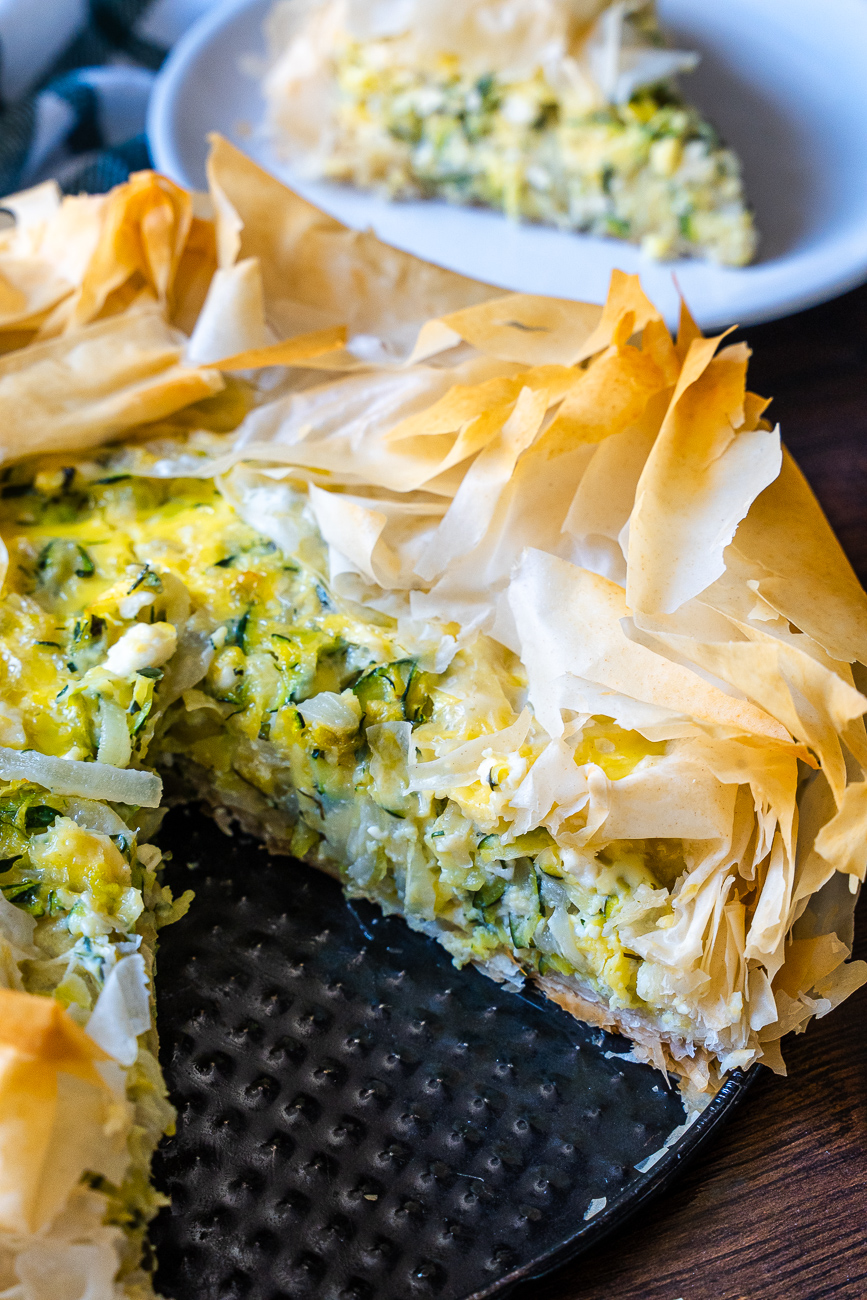
Bake until the center sets and those edges are golden and then exercise some patience and let it cool before you slice it. It helps make for cleaner slices.
What Kind of Herbs Should I Use?
This is kind of an ‘anything goes’ situation! You can use pretty much any combination of what you have on hand. I am partial to a lot of fresh dill so tend to use a larger quantity of that, but parsley, mint, oregano, and thyme are all great options here. You can use one, you can use some, you can use them all… no matter what it’s going to taste fresh and delicious.
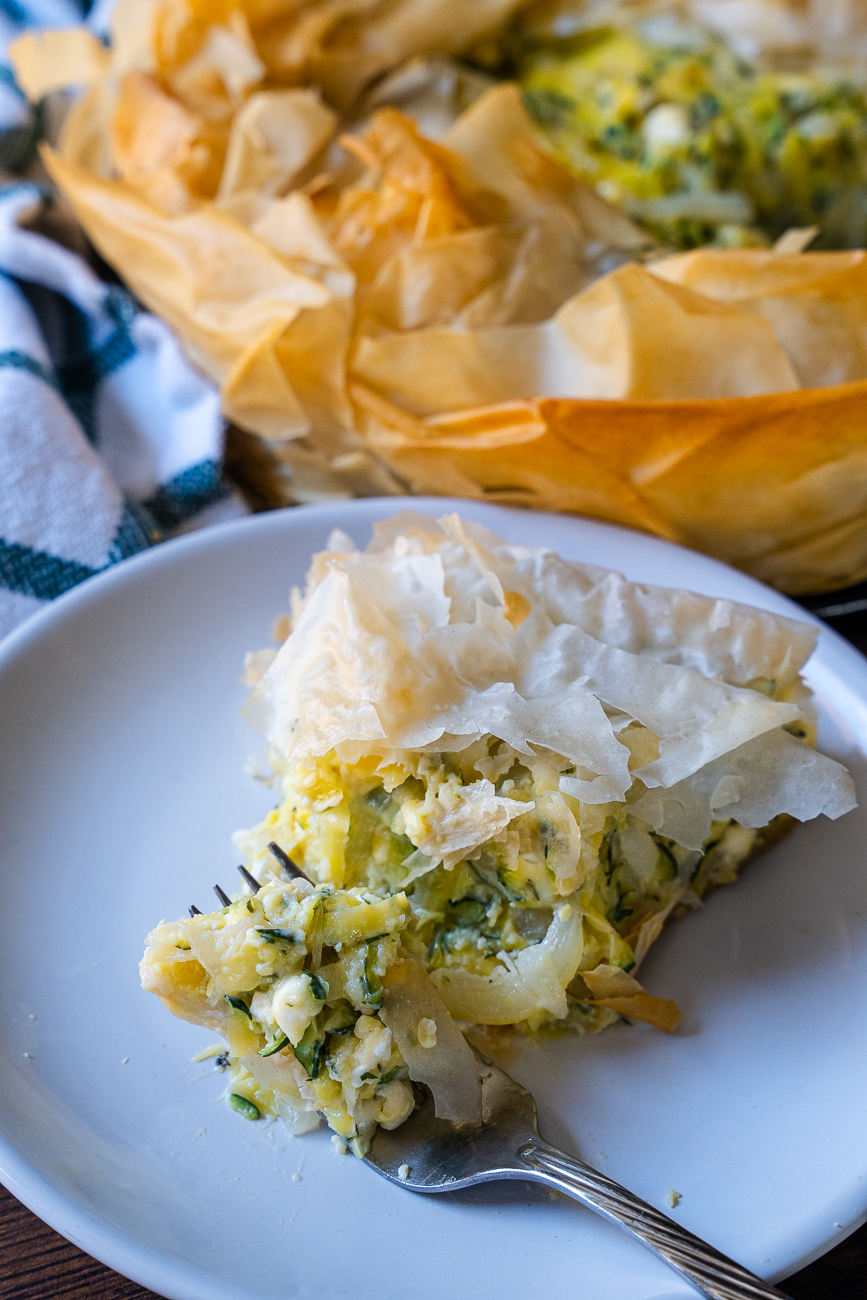
Greek Zucchini Pie (Kolokithopita)
Diet: Vegetarian
Ingredients
- 1 box phyllo dough, thawed
- 2 lbs zucchini, grated
- 1 tablespoon olive oil
- 1 small yellow onion, finely chopped or sliced
- 2 cloves garlic, minced
- 1/4 cup fresh dill, chopped
- 1/2 cup chopped fresh herbs, such as parsley, mint, and oregano
- 1 cup crumbled feta
- 4 eggs, beaten
- Kosher salt and freshly ground black pepper
Preparation
- Preheat oven to 350°F.
- Toss zucchini with salt, then place in a colander to drain for 30 minutes to 1 hour. Use a kitchen towel to squeeze out as much liquid as you can.
- In a skillet, heat the olive oil over medium heat. Add the onion and garlic and cook until soft, about 5 minutes.
- Transfer to a bowl and add the dried zucchini, dill and herbs, feta, and eggs. Season with salt and plenty of pepper. (Feta is salty so don't over-salt!)
- Lay out fillo sheets and cover with a kitchen towel to keep from drying out. Set out a small dish of olive oil and a brush (or a spray bottle of oil).
- Brush first sheet of phyllo with oil, then line in the bottom and sides of a 9-inch round pan or springform pan.
- Layer with 2-3 more sheets, brushing each with oil thoroughly, and then continue with the sheets, turning them a bit each time so you've covered the entire pan.
- Spoon filling into pan and smooth out into an even layer. Fold edges of phyllo dough over the top.
- Bake until phyllo is golden brown and filling is set, 45-50 minutes. Enjoy!