
Presents? Check. Wrapping paper? Check. Gift tags? Check. Tape? Tape?! Just when you realize that you’ve forgotten a crucial packaging component that binds decorating together, have no fear. You don’t even have to even use tape. A cut here and folding there will give you a perfectly wrapped present!
When I wrap presents, my methods are arbitrary, or rather, there is no method. I cut an unmeasurable and oversized piece of paper, cut it down, tape, cut it down again, and tape. Sure the no-tape method in this video method requires some folding, but you’ll save yourself from wasting extra wrapping paper.
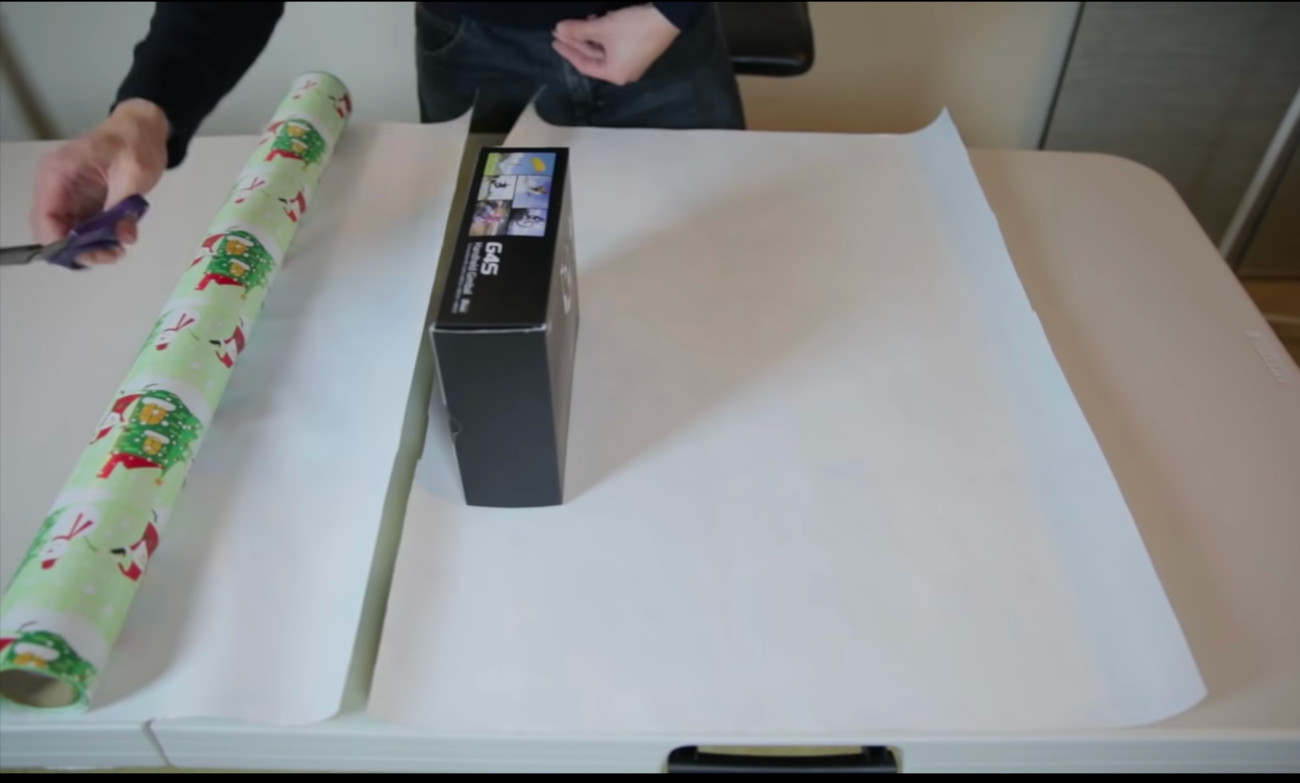
To start, you take your present and place it onto the paper, measuring the paper so it can go over the item once. From that point give yourself an extra two inches and then cut your paper.

Next, you cut a square shape from this paper.
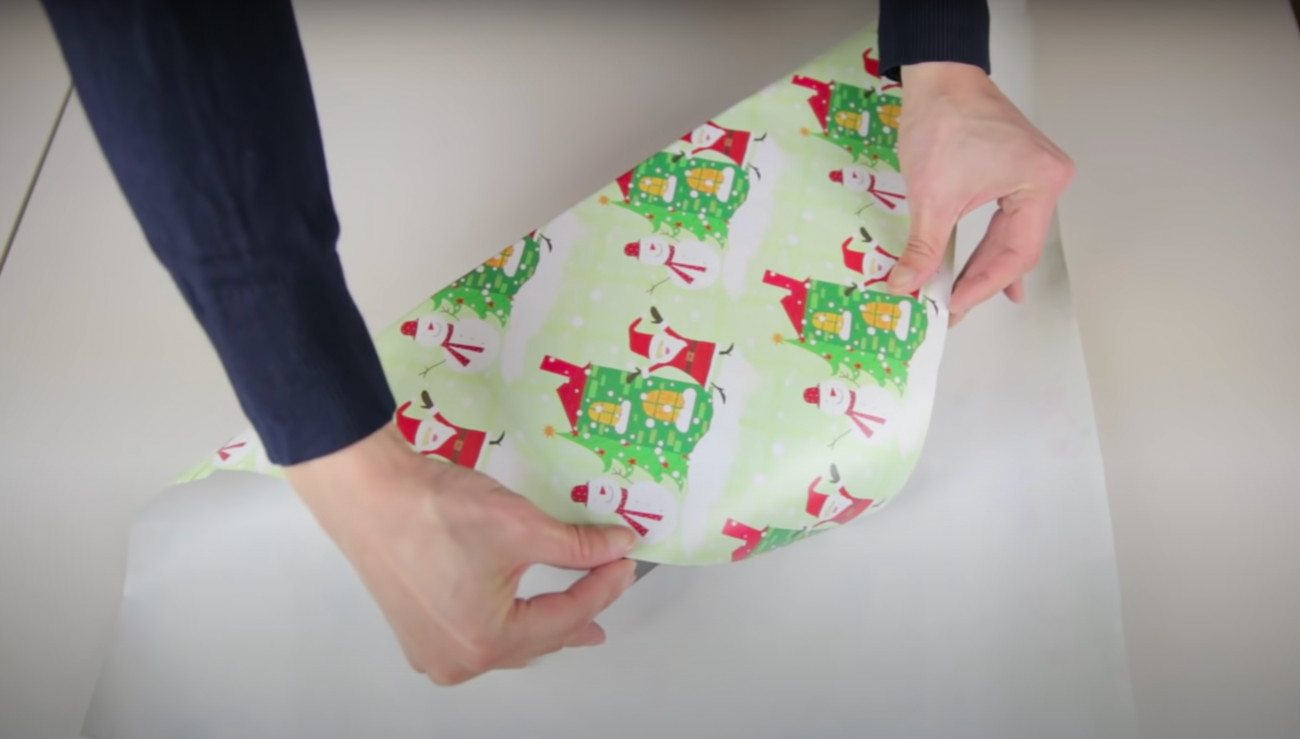
Now the real folding begins! Place the present in the center of the paper, fold one corner over, and then scoot the paper up a bit, that way the corners of the present are just covered.
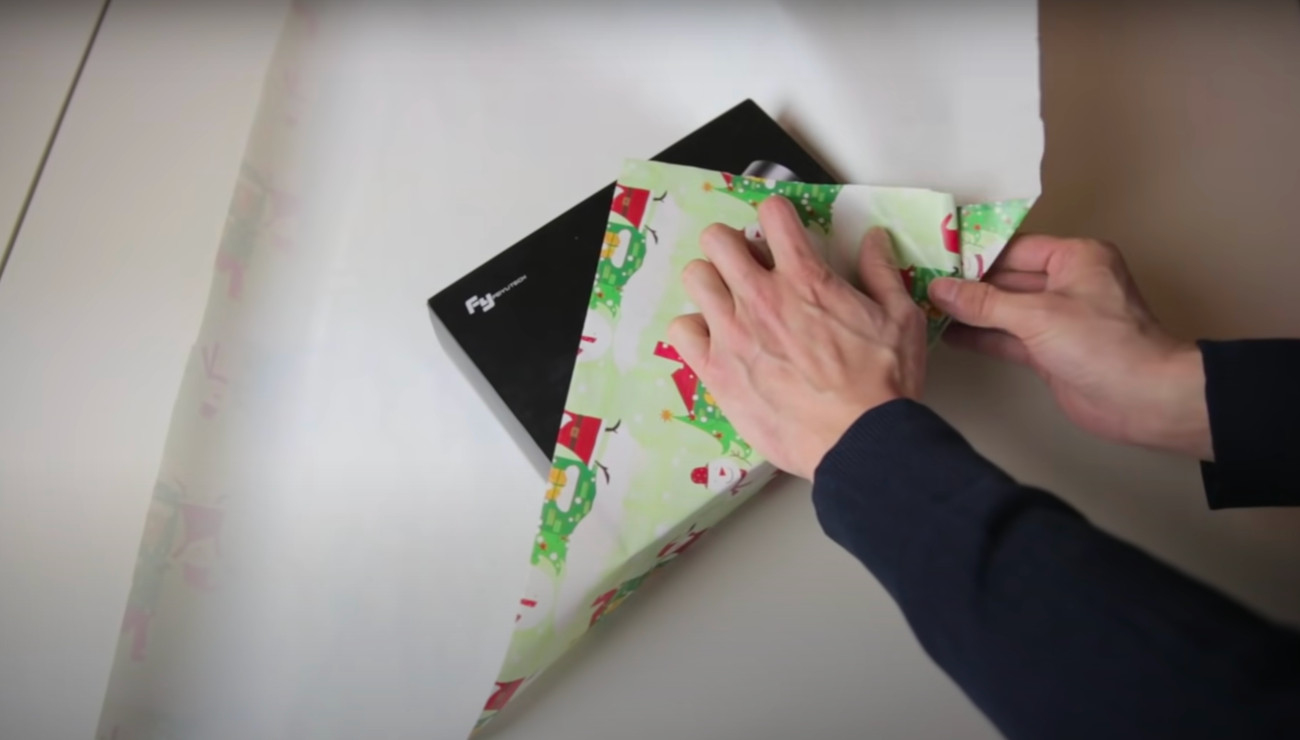
You unfold that corner and then fold the opposite corner over. Use one finger to hold the paper. With your other hand, you’ll make creases in the sides, this creasing will create sharp edges.
After this step, take your finger and press this creased side up to the package, the inside flaps will fold flat against the present. Repeat the process on the second side.
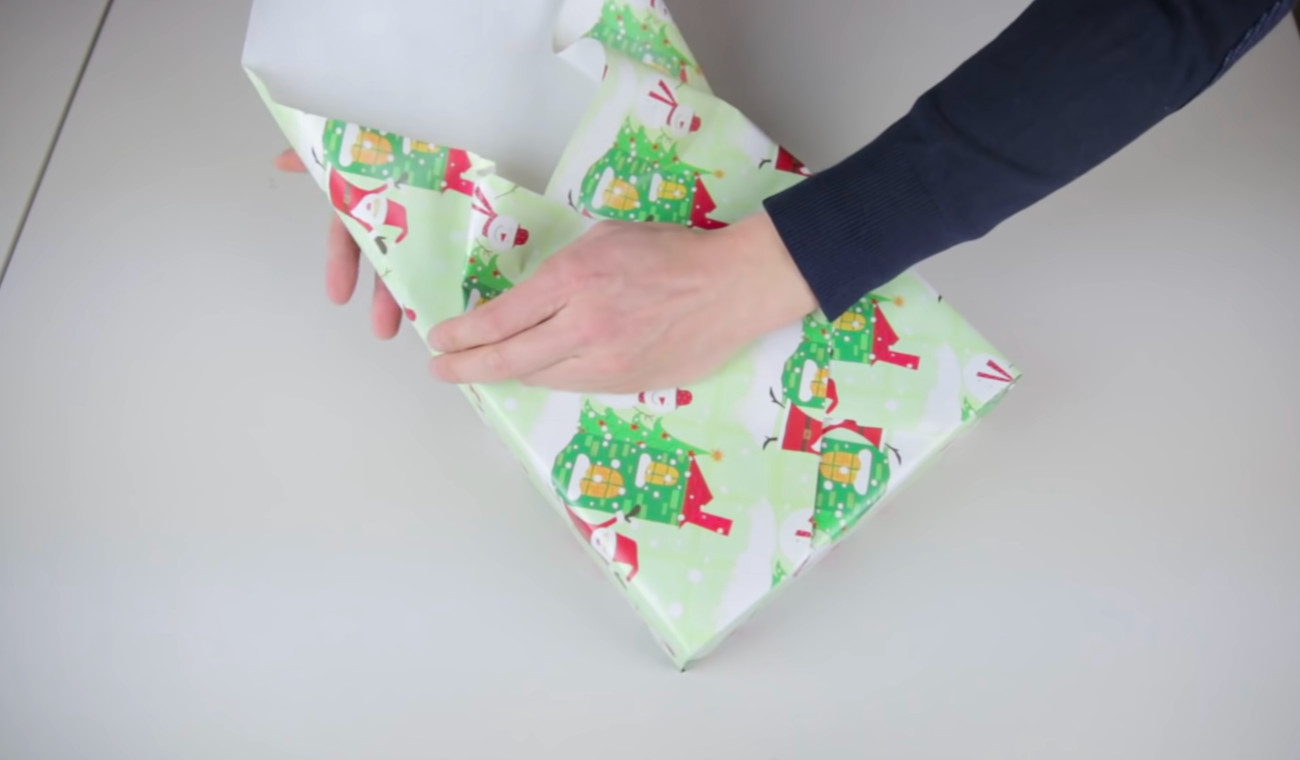
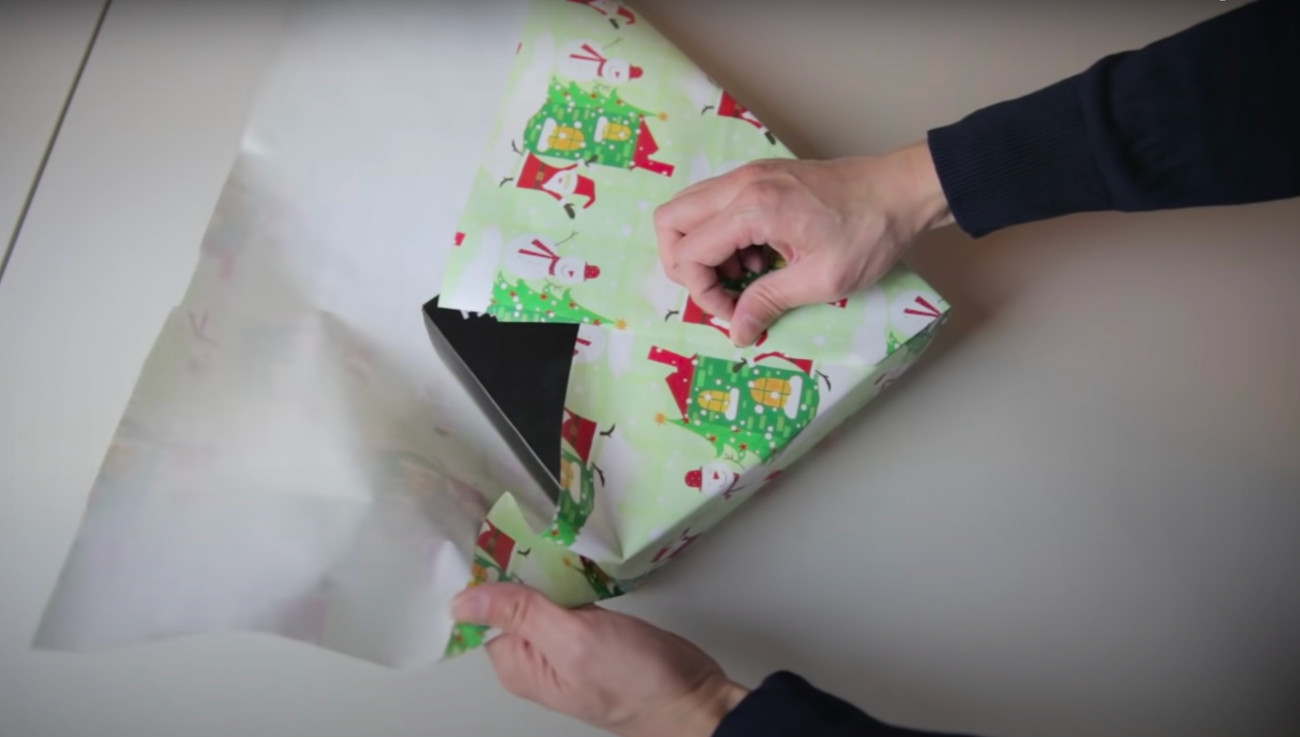
As you make creases and fold the corners into the top part of the paper, you’ll have the press the flaps down, but don’t worry, as you smooth the paper out with your hands, it will flatten out. Bend the triangle tip and fold it into the side creases.
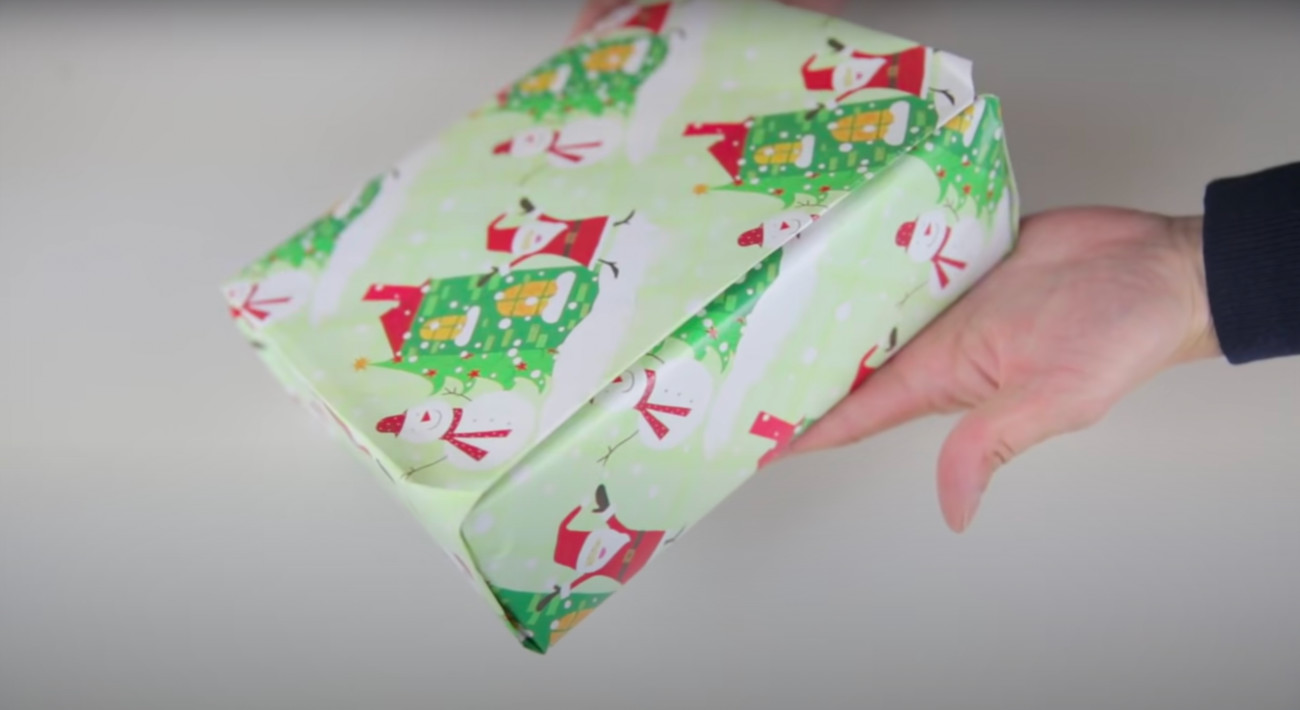
Watch the video once or twice, and you’ll quickly get a hang of it!