Danish Butter Cookies
Just like the beloved cookies in the signature blue tin.

Recipe of the Day
Discover a New Recipe Every Day. Give Back With Every Bite.
Every day, we feature a hand-picked recipe for you to discover, cook, and share. The best part?
Every recipe you read helps feed the hungry.

It seems like everyone has some sort of fond memory or story of those delicate delicious cookies that come in the signature round blue tin… For many of us, it’s that you’d open the tin at grandma’s house, only to find it full of sewing supplies. (Very disappointing but such a universal experience!) For me, I associate those cookies with waiting for my mom to get her nails done at a salon that was owned by a sweet little family. Every time we went, the owners would offer for their teenage son paint my sister and my nails while we waited but only after they’d opened up the blue tin of cookies so we could each choose two. (I always opted for the swirly circles and the pretzels. Maybe they’re all the same cookie, but those two taste the best!)
After all those years of loving those cookies, it never occurred to me to make them on my own, which is just so silly. They’re a perfect holiday cookie and very simple to make and the results are just as buttery and delicate and crisp as the ones from the blue tin. And believe it or not, you only need four ingredients: butter, powdered sugar, cake flour, and vanilla extract. (And a little pinch of salt.)
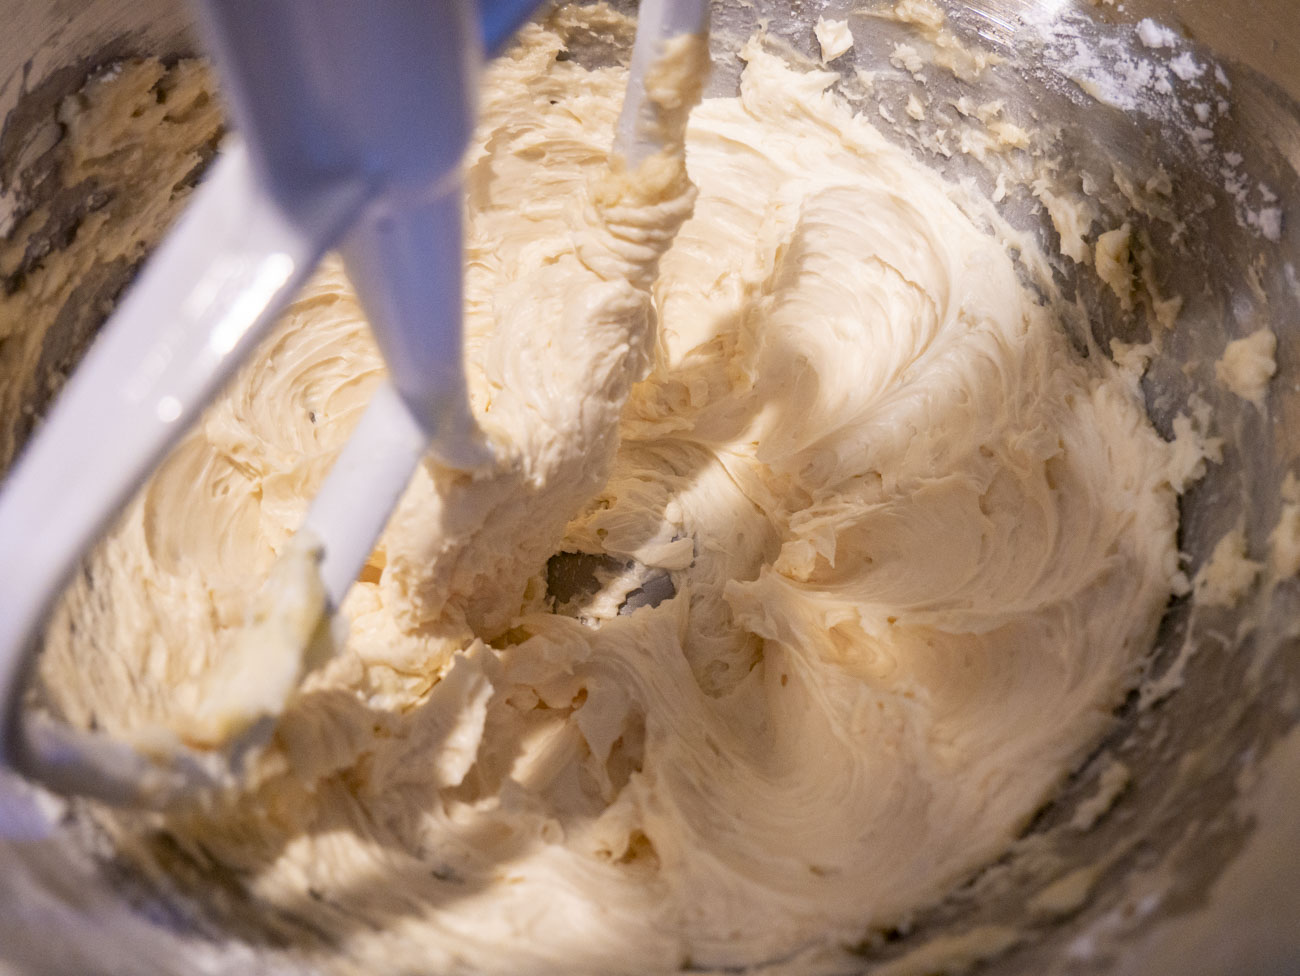
First things first, you want your butter to be very soft, so let it sit out for at least an hour. Then you’ll cream together the butter, sugar, and vanilla VERY well. Be patient, you should spend five to eight minutes here.
Then you’ll add the flour. You want these cookies to be spectacularly delicate so this is a very gentle process. You want to add the flour 1/3 cup at a time and incorporate it gently into the dough. Use a motion like folding, but you might have to push some of the flour in with the spatula.
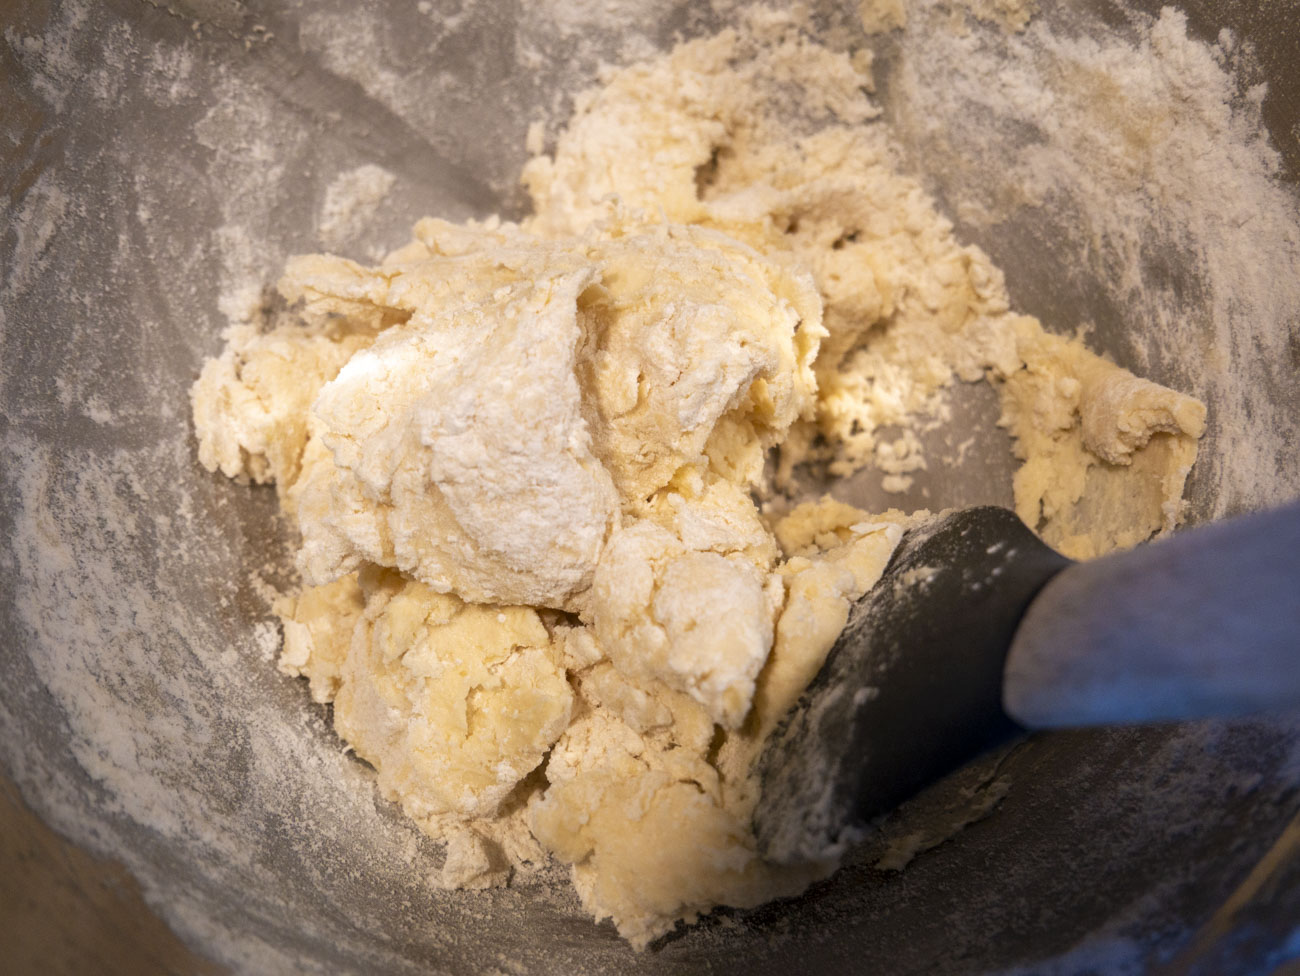
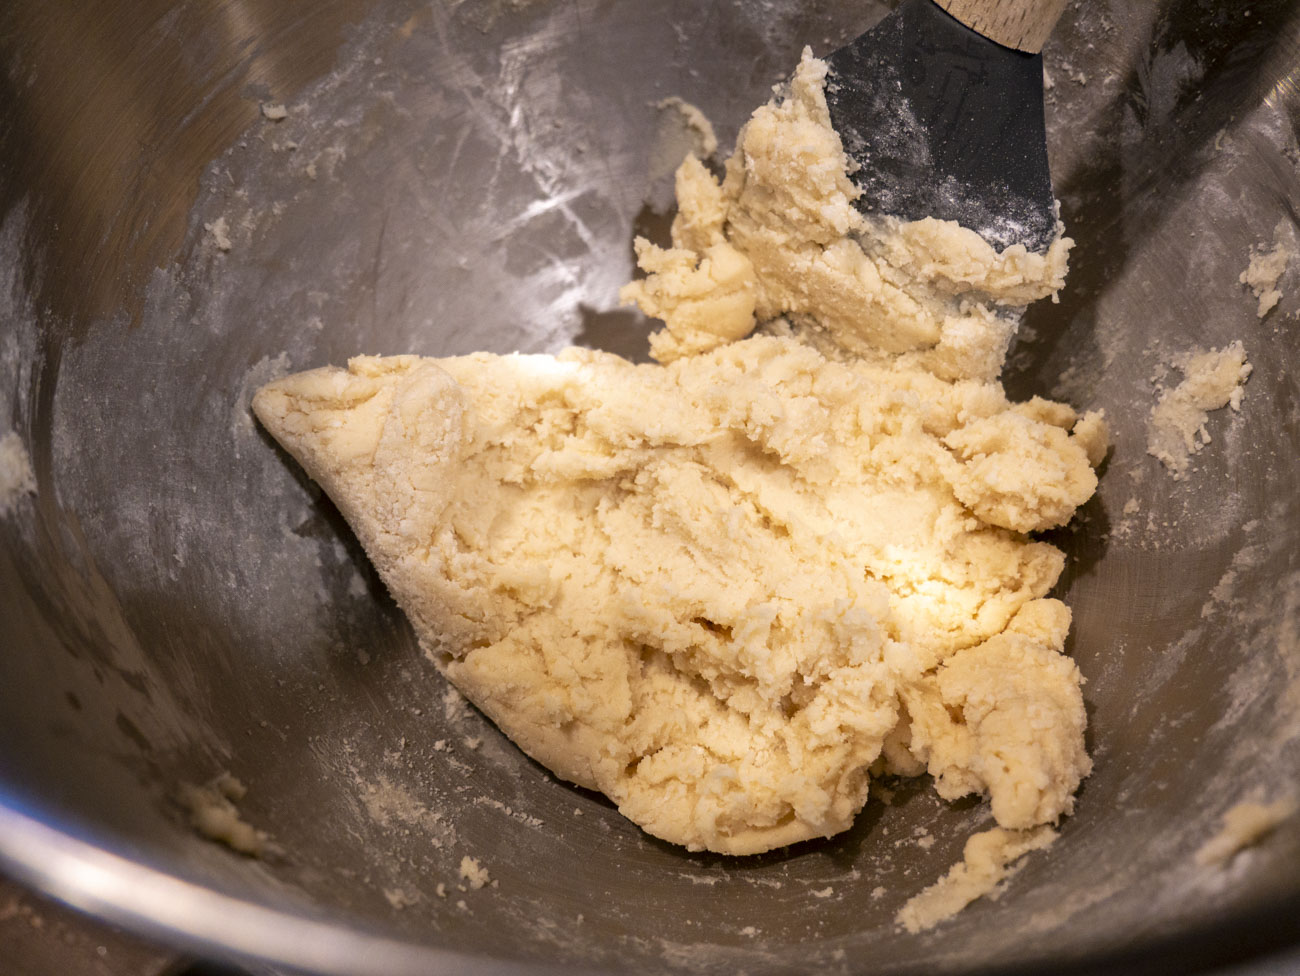
You won’t think it will all incorporate, but it will.
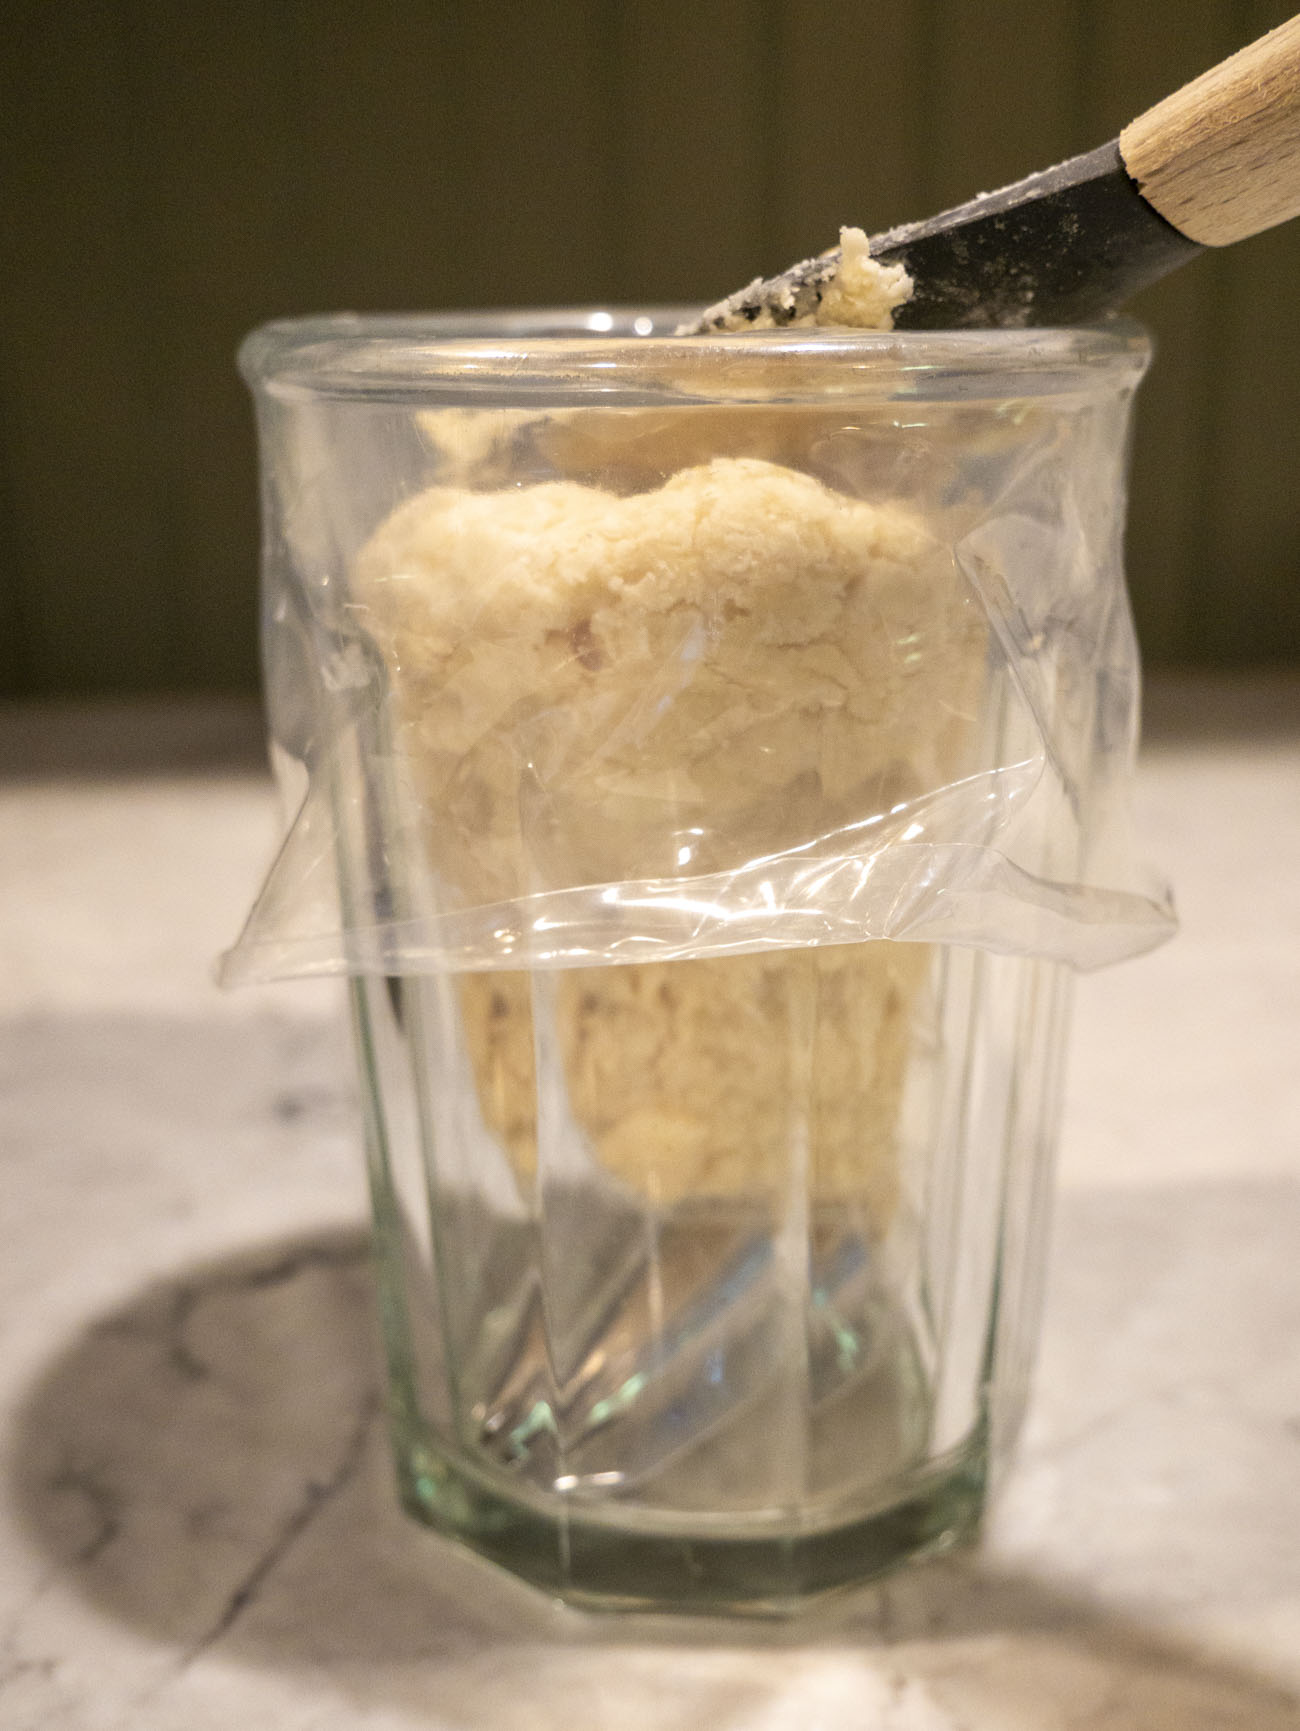
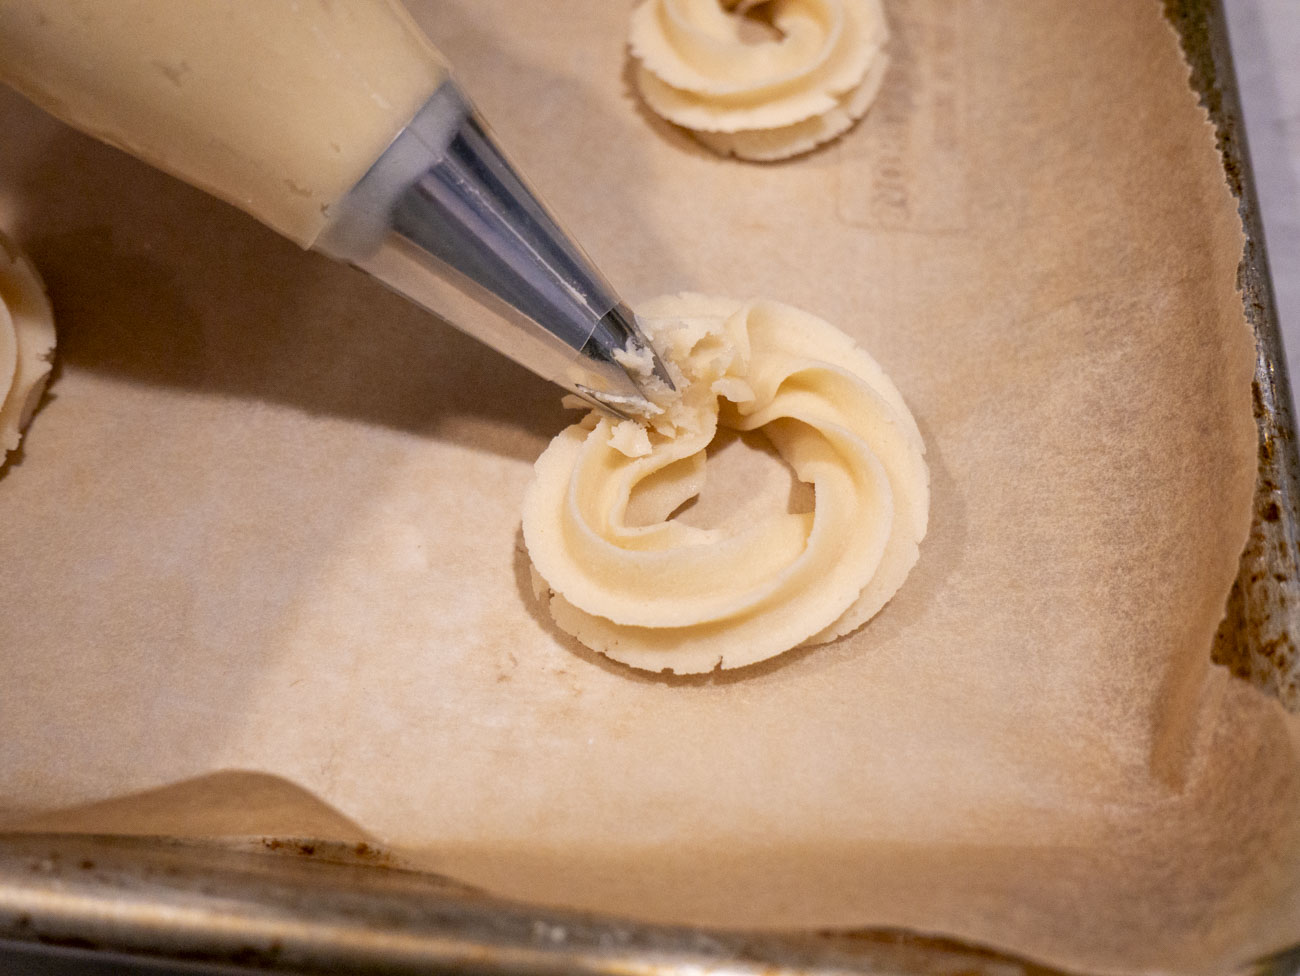
Once all the flour is in, transfer the dough to a piping bag fitted with a 1M open star tip. I find it helps to put the piping bag in a tall glass, fold it over the edges, and use a rubber spatula to scrape the dough in.
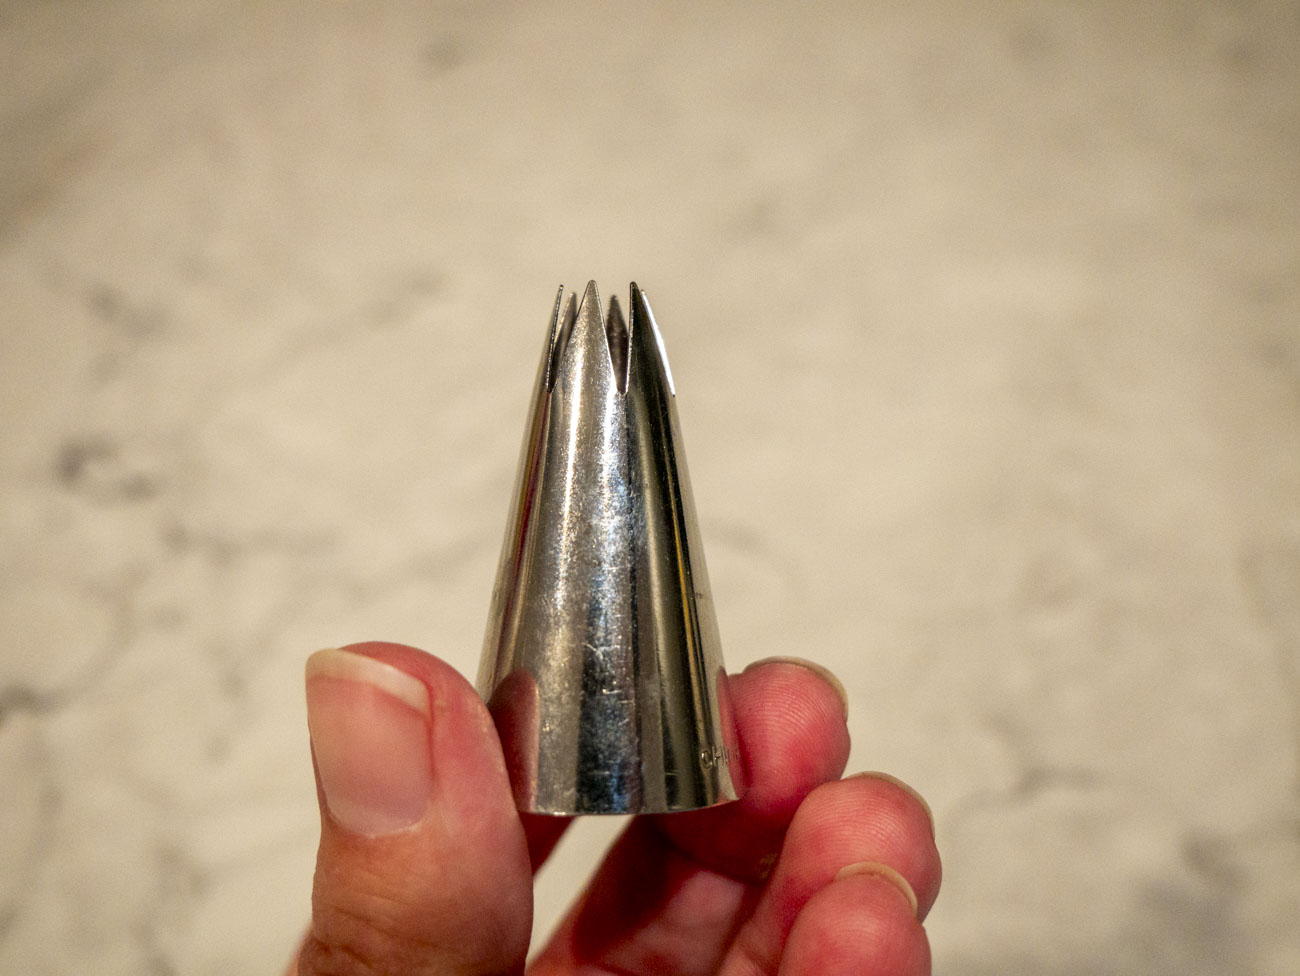
An open star tip looks like this.
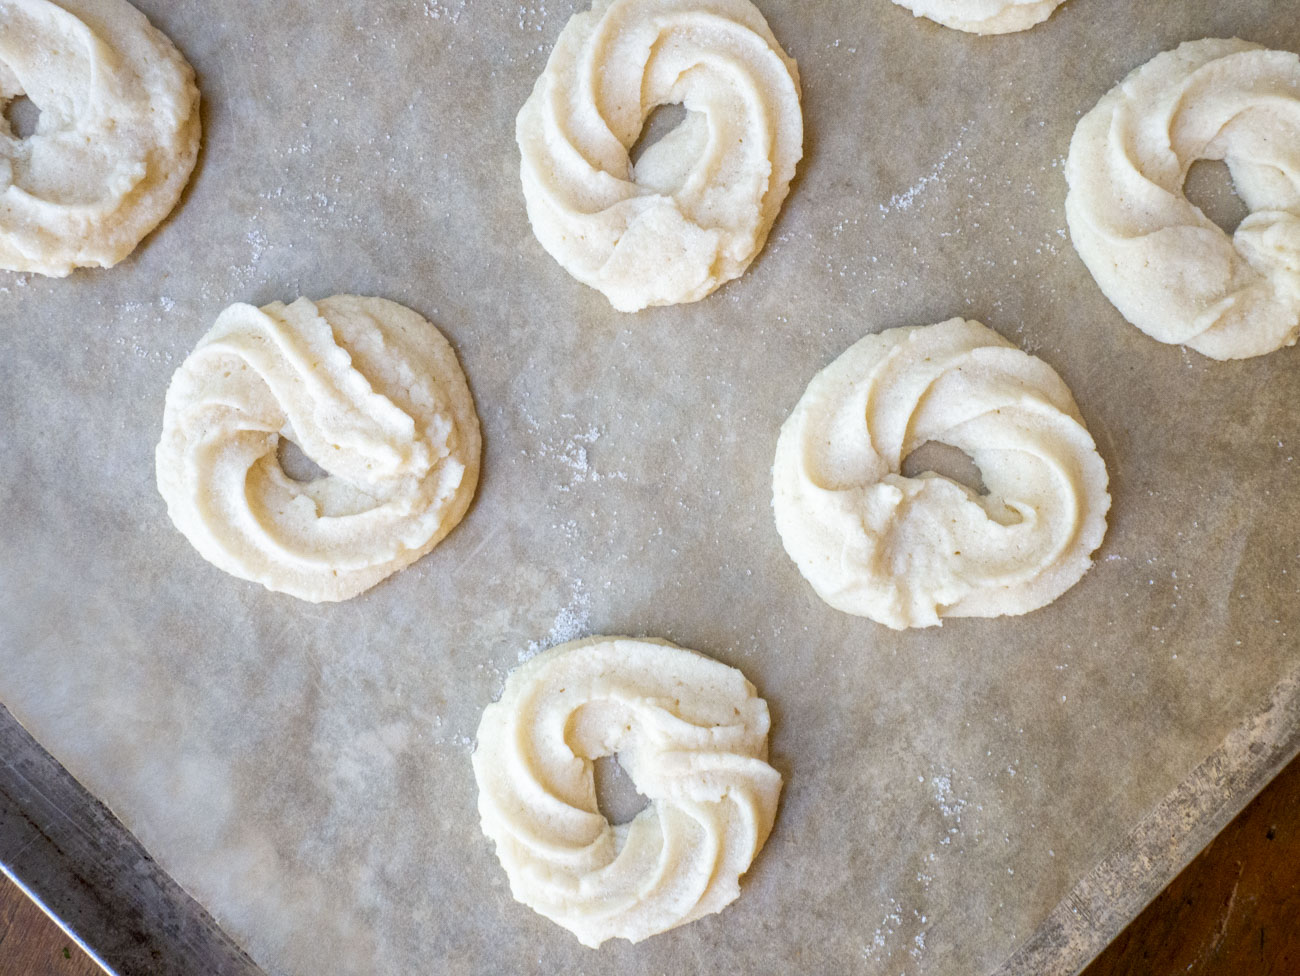
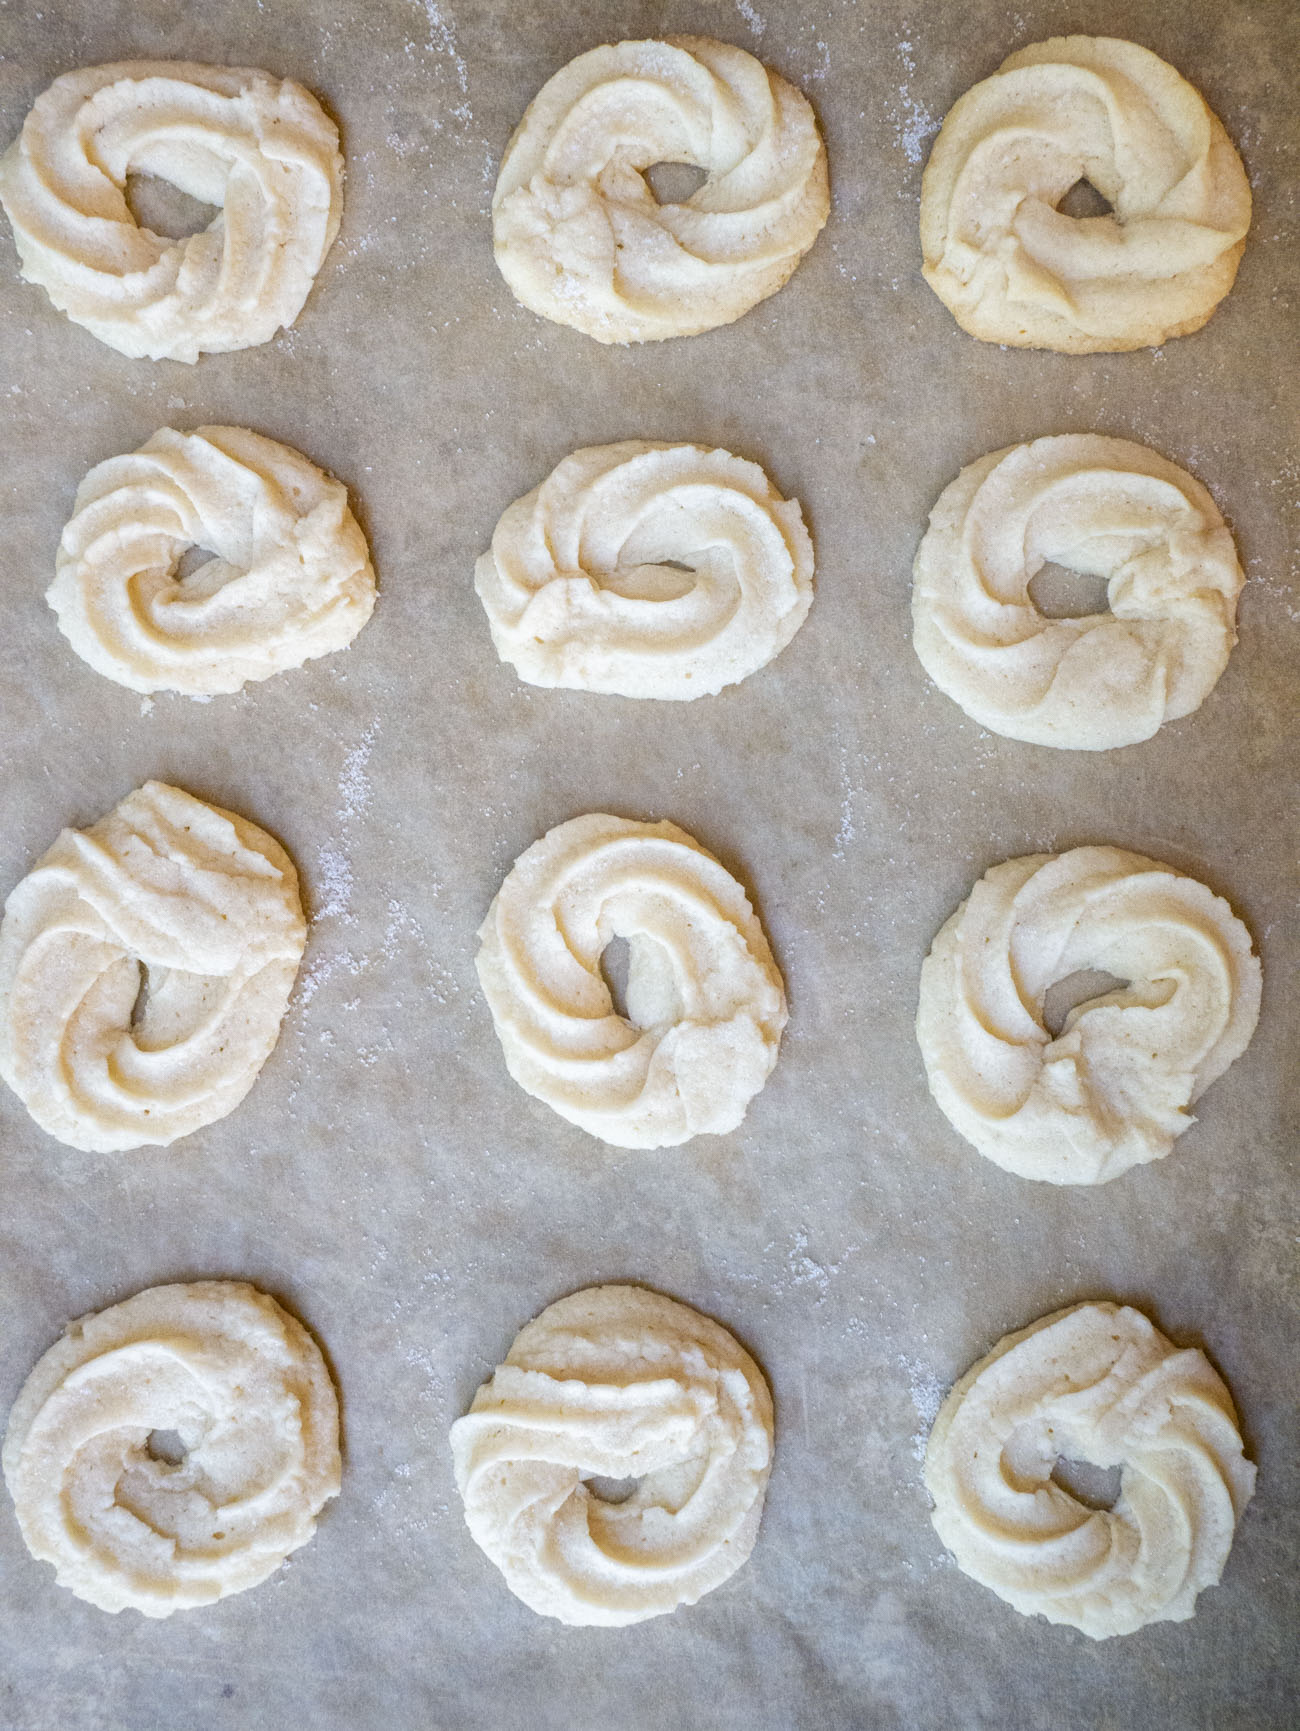
Then you’ll pipe the dough in circles onto a parchment lined baking sheet. Tighter, smaller circles will yield you about three dozen cookies.
Once all your dough is piped out, you’ll want to chill the baking sheet (with the cookies on it) for thirty minutes. It helps them keep their shape and prevent all that butter from spreading.
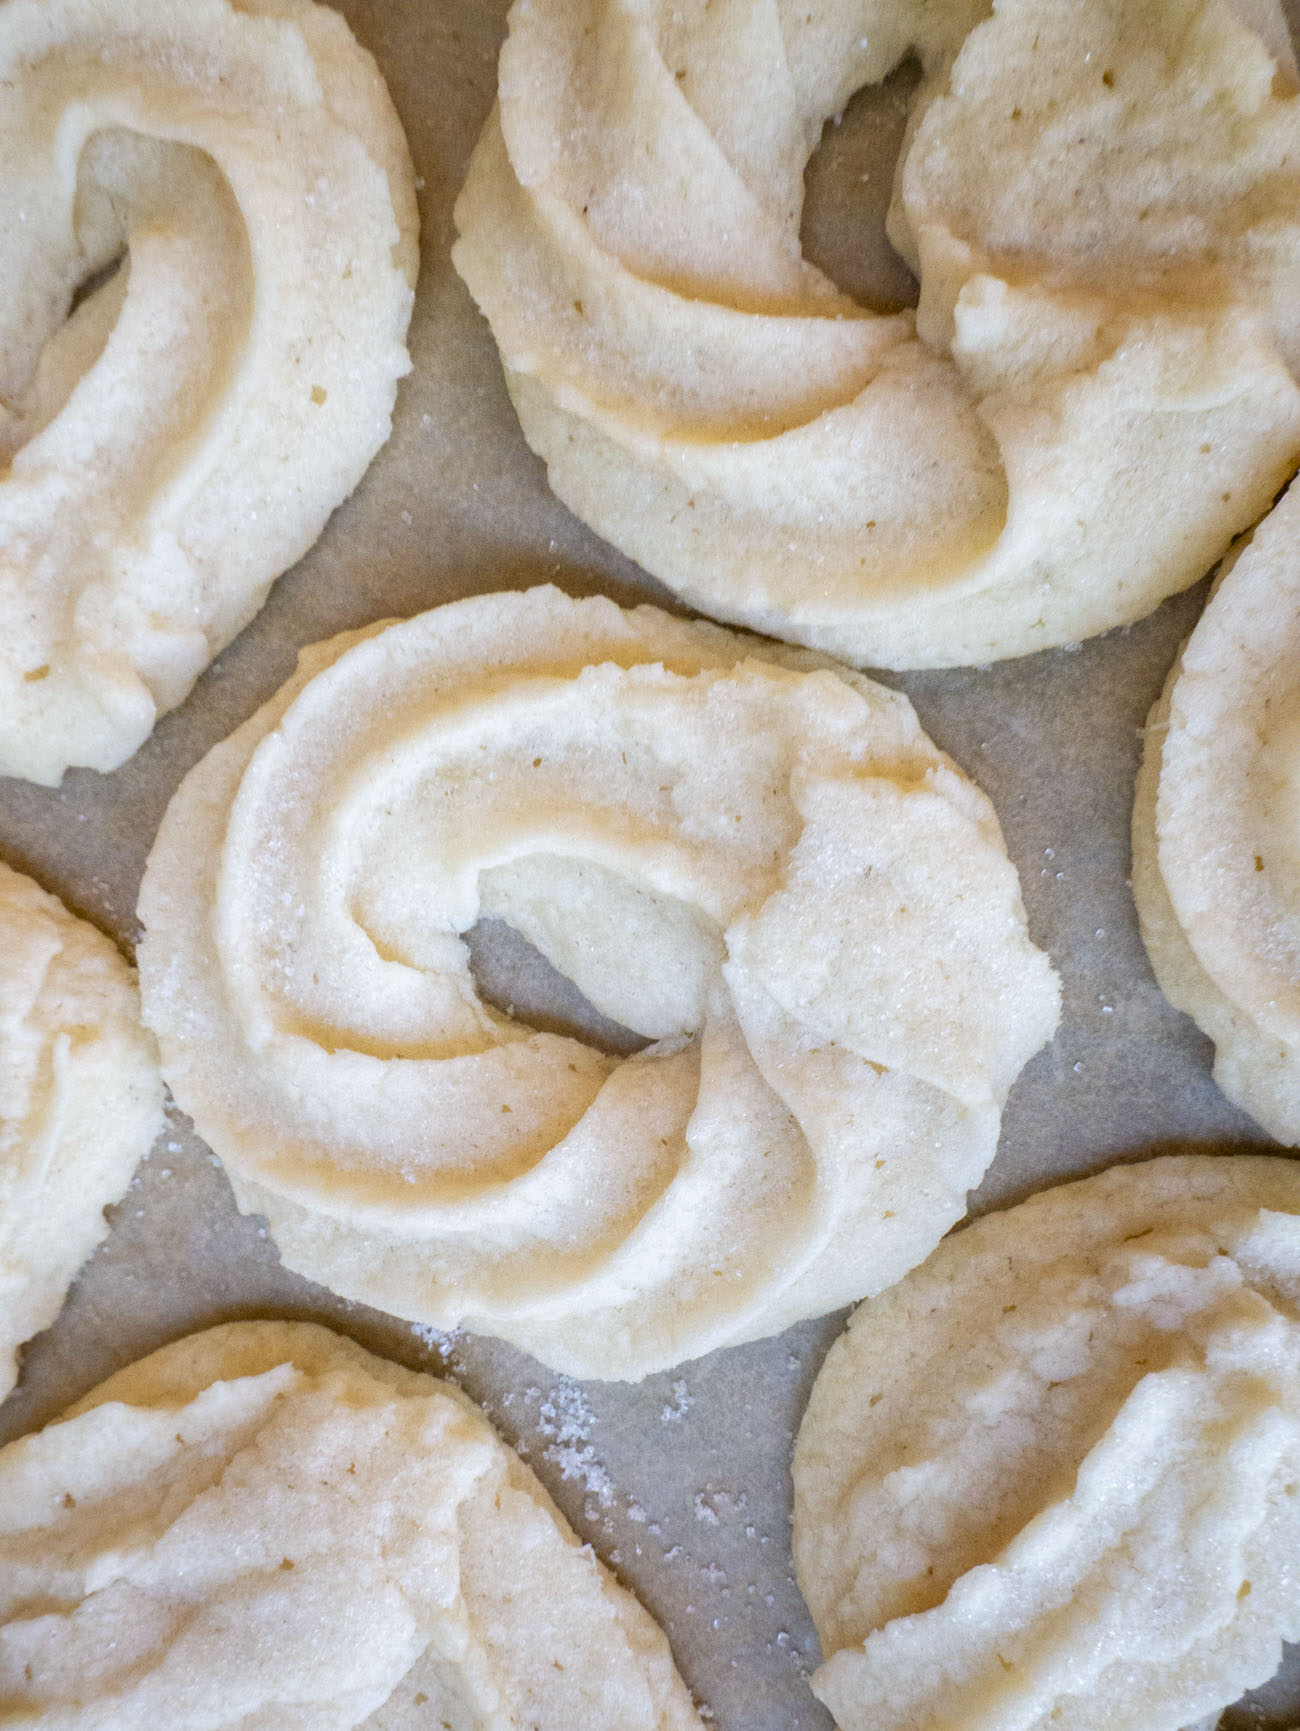
You, of course, need a little sprinkle of sugar over the top, which adds a lovely crunch in the end.
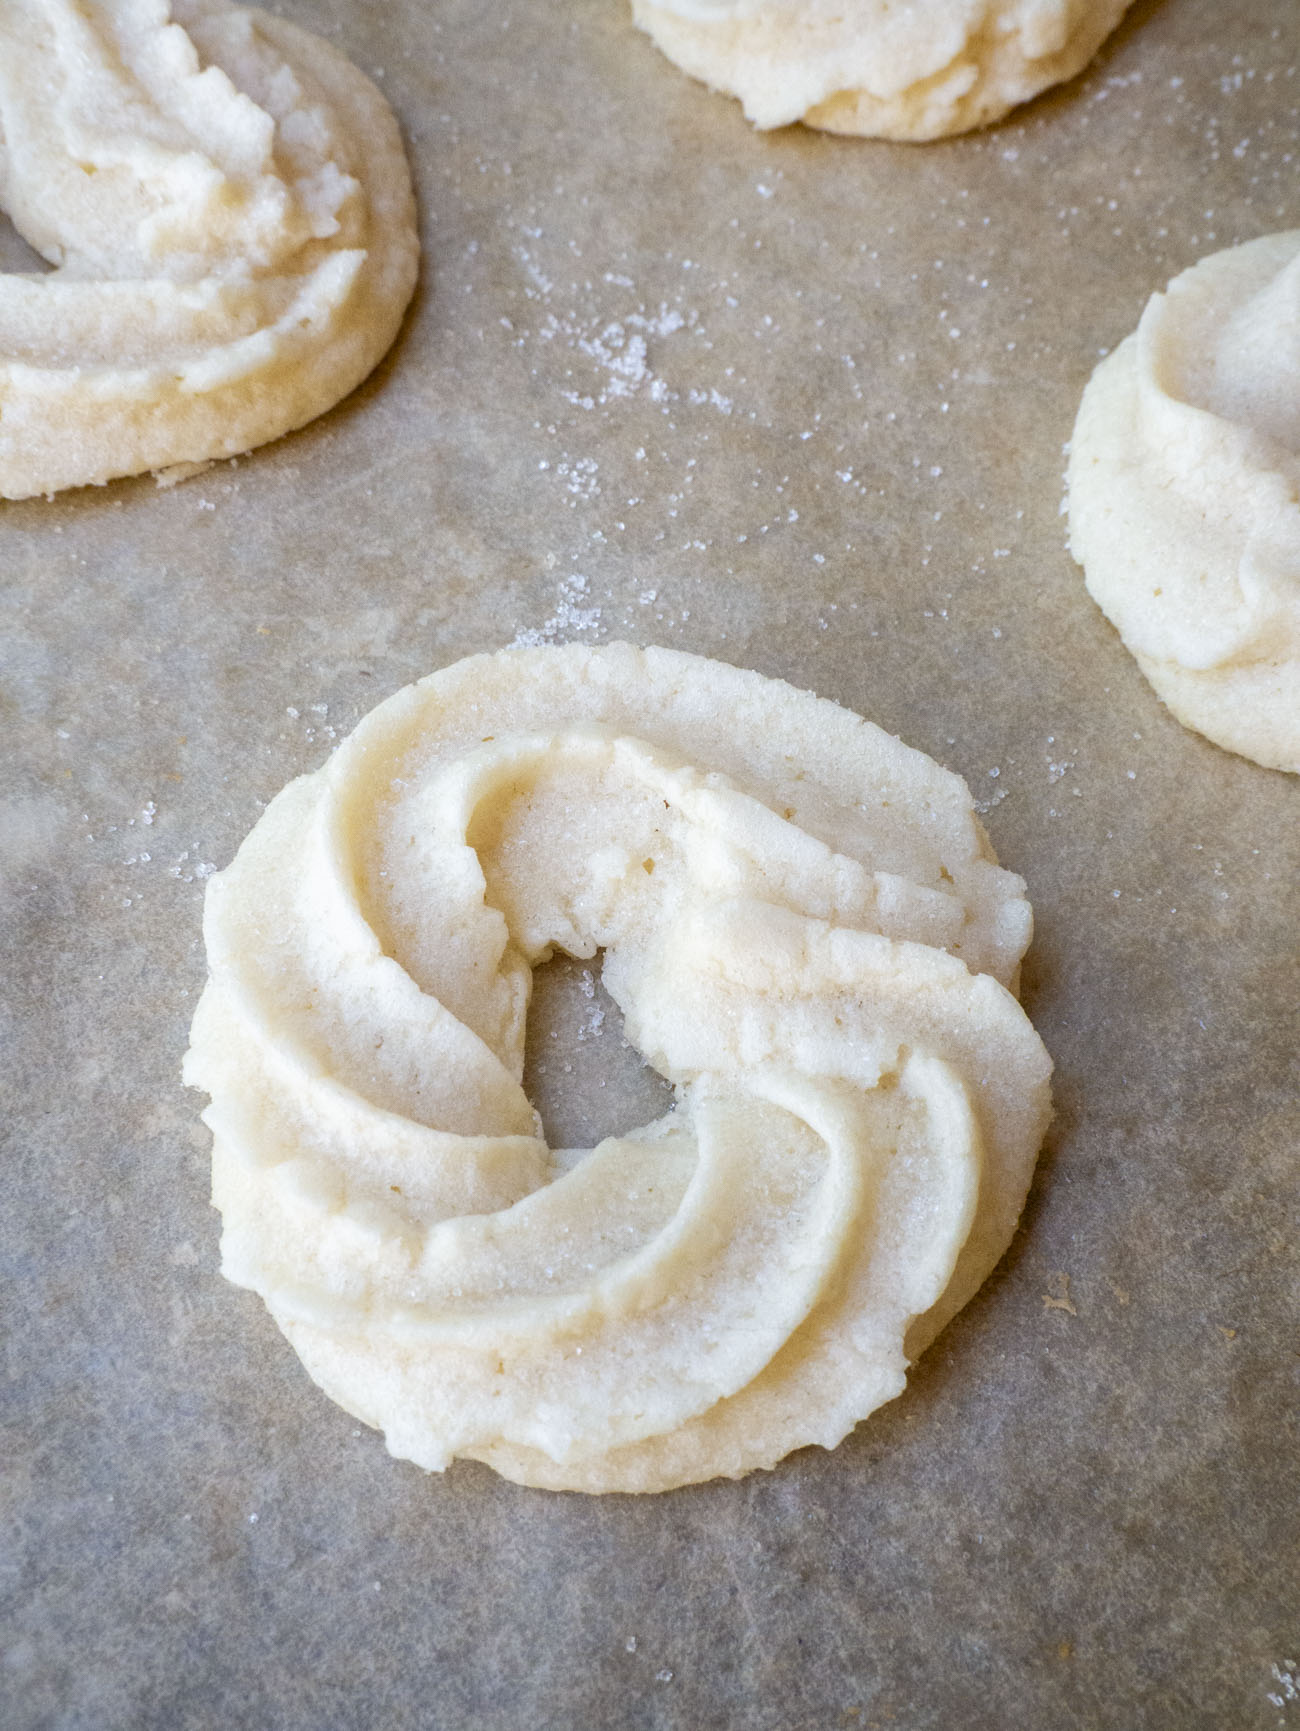
And then you bake. These bake at just 300 degrees until they’re still very pale and just set. (That should take fifteen minutes.) You don’t want them to take on much color at all so pull them out before an edges go golden.
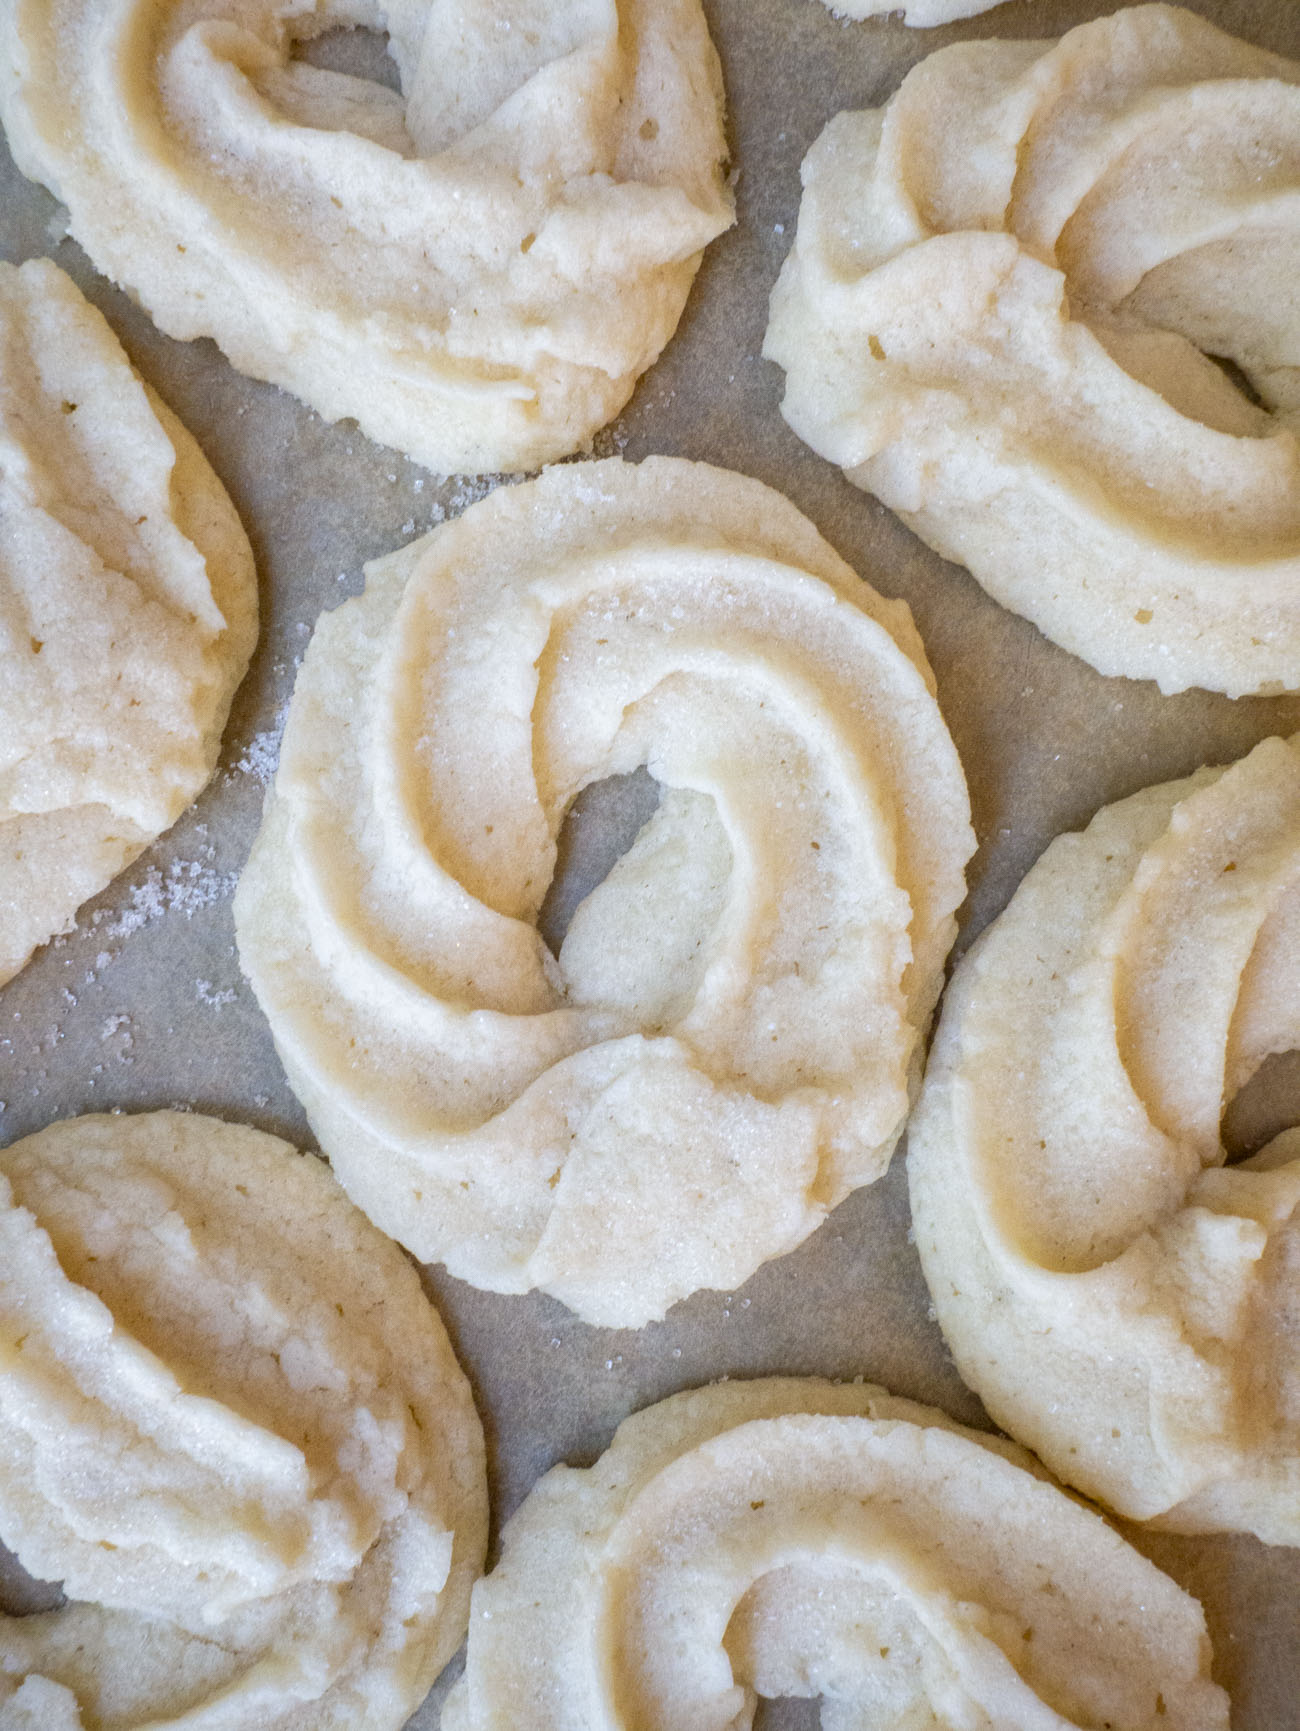
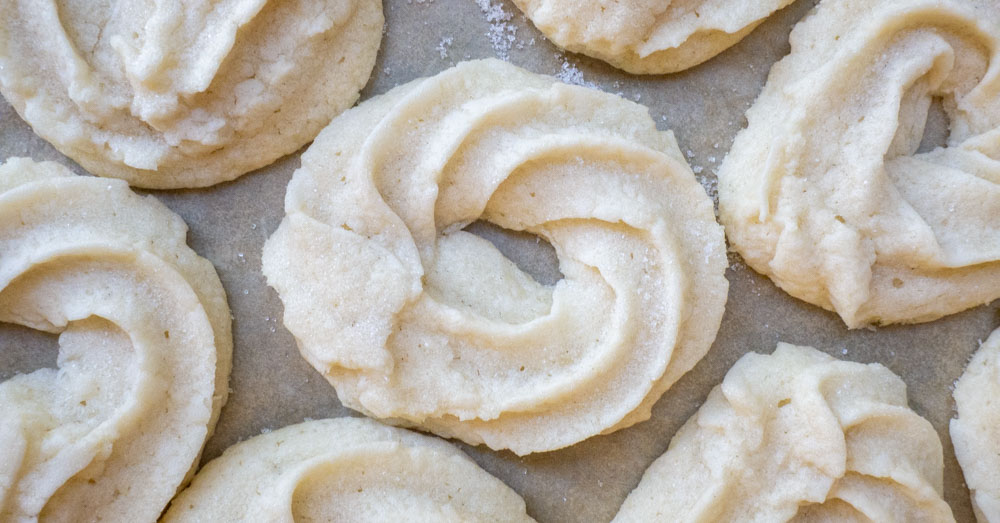
And then you get to enjoy that delicate, buttery, crisp bite you so fondly remember. These melt in your mouth a little more than the ones in the blue tin but in what world could that be a bad thing?
Danish Butter Cookies
Ingredients
- 1/2 cup (1 stick) unsalted butter, at room temperature
- 1/2 cup powdered sugar
- 1 teaspoon vanilla extract
- 1 cup cake flour
- 1/4 teaspoon salt
Preparation
- Let butter sit at room temperature for at least 1 hour. It should be very soft, but not melted.
- In a large bowl, cream together the butter, sugar, and vanilla until light and fluffy, 5-8 minutes.
- Scrape down the sides of the bowl, then add the flour 1/3 cup at a time, gently stirring the mixture in. Repeat until all flour is used. Add salt with last addition.
- Transfer dough to a piping bag, with open end facing the tip. Use a 1M open star piping tip.
- Pipe dough in circles onto a baking sheet lined with parchment paper.
- Place baking sheet in refrigerator for 30 minutes.
- While cookies chill, preheat oven to 300°F.
- Sprinkle sugar over cookies if desired, then bake until lightly golden, about 15 minutes.
- Remove from oven and let cool on baking sheet for 10 minutes. Enjoy!
Recipe adapted from The Gardening Foodie.