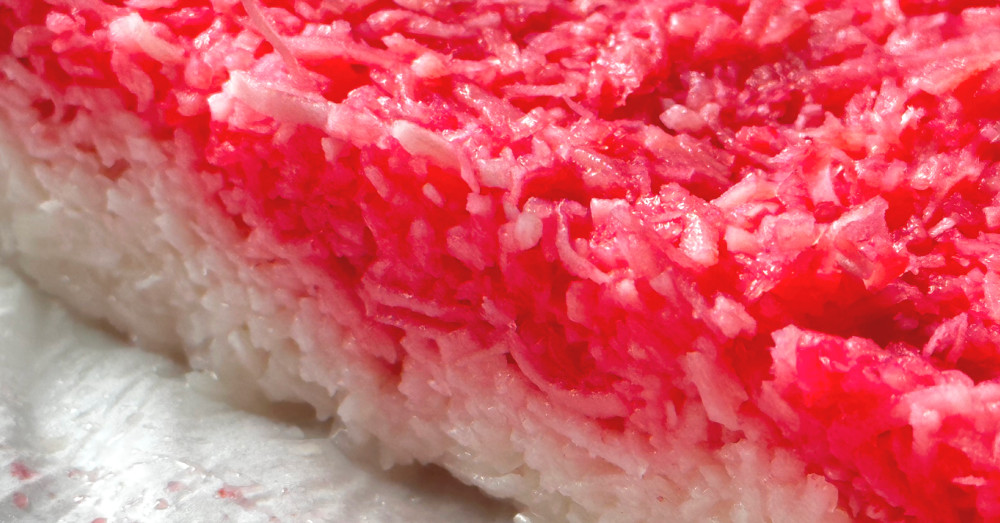
Vintage Coconut Ice Bars
The pretty pink sweet treat to make any time of the year.

Recipe of the Day
Discover a New Recipe Every Day. Give Back With Every Bite.
Every day, we feature a hand-picked recipe for you to discover, cook, and share. The best part?
Every recipe you read helps feed the hungry.


Pink is the essential visual pick-me-up color, and that’s exactly what these Vintage Coconut Ice Bars will do to your day. This recipe from the 1930s uses the stovetop to create a satisfying treat. Two-toned coconut candy is a textural delight and is teaming in floral coconut flavor.
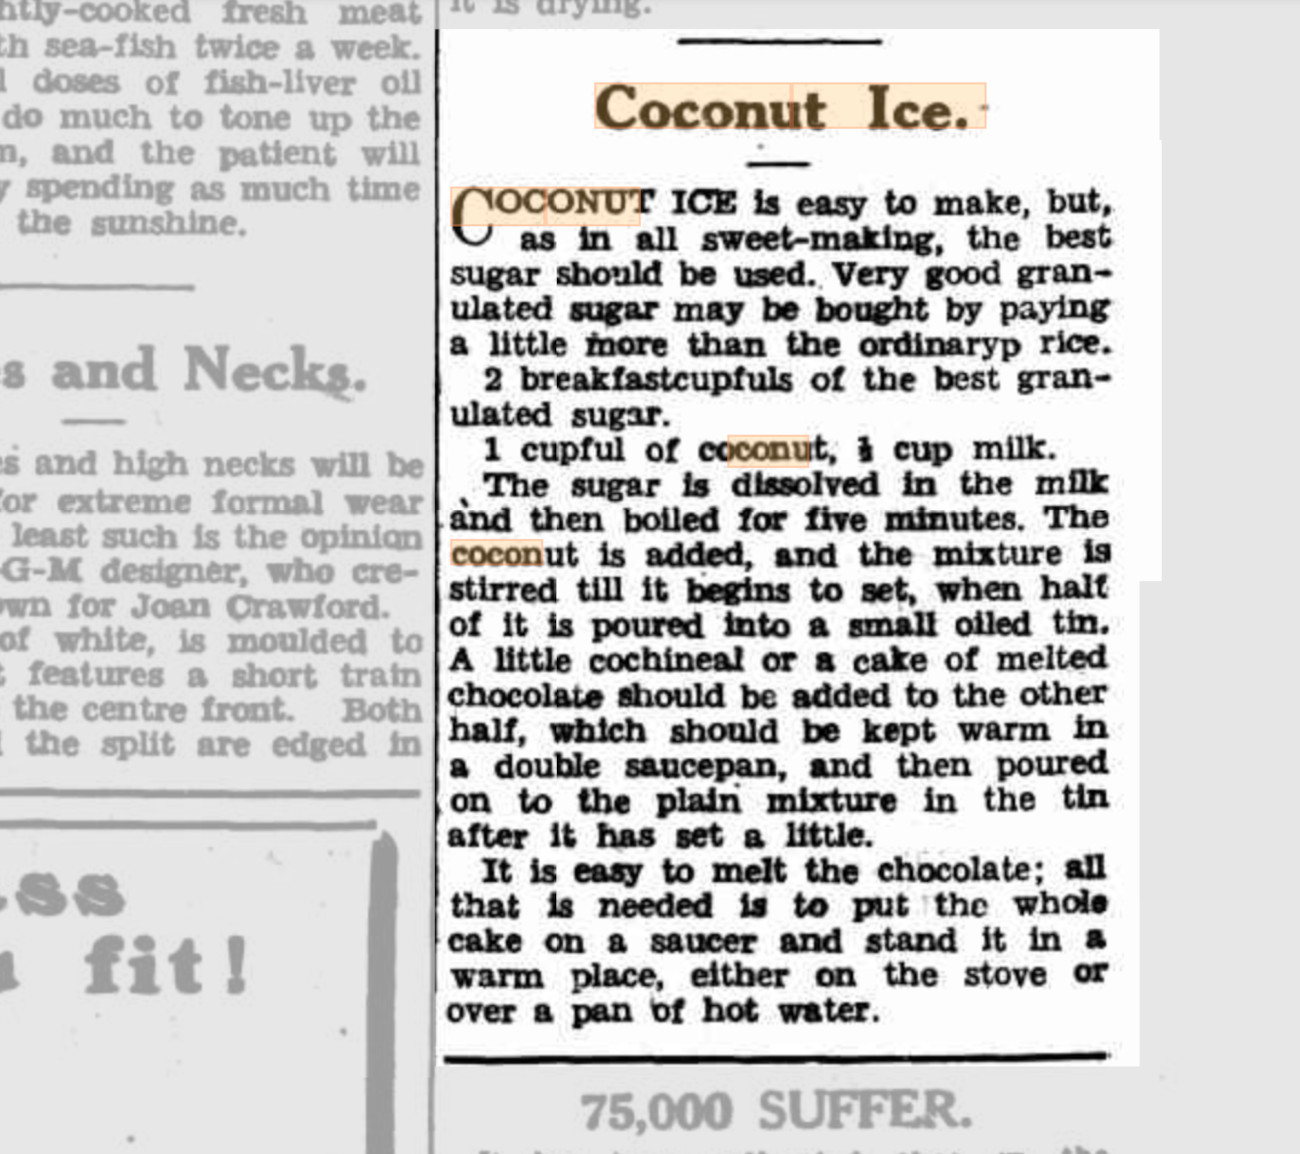
The name coconut ice is deceptive because there’s no ice in this treat. It’s a portable room-temperature candy. Maybe the ice cube-like shape is what gave Coconut Ice its name, but it’s unquestionably stuck for decades. Back in the day, Brach’s Pick-a-Mix bins had something similar called Neapolitan Coconut, which had an additional chocolate layer, however Coconut Ice isn’t a local stateside treat. Coconut Ice hails from Britain but it’s also popular in South Africa, Australia, and New Zealand. It has been a bake sale and childhood staple for many in these regions. The recipe here is based on a magazine clipping from a 1930s Australian newspaper, yet the earliest recipe for Coconut Ice dates back to the mid-19th century.
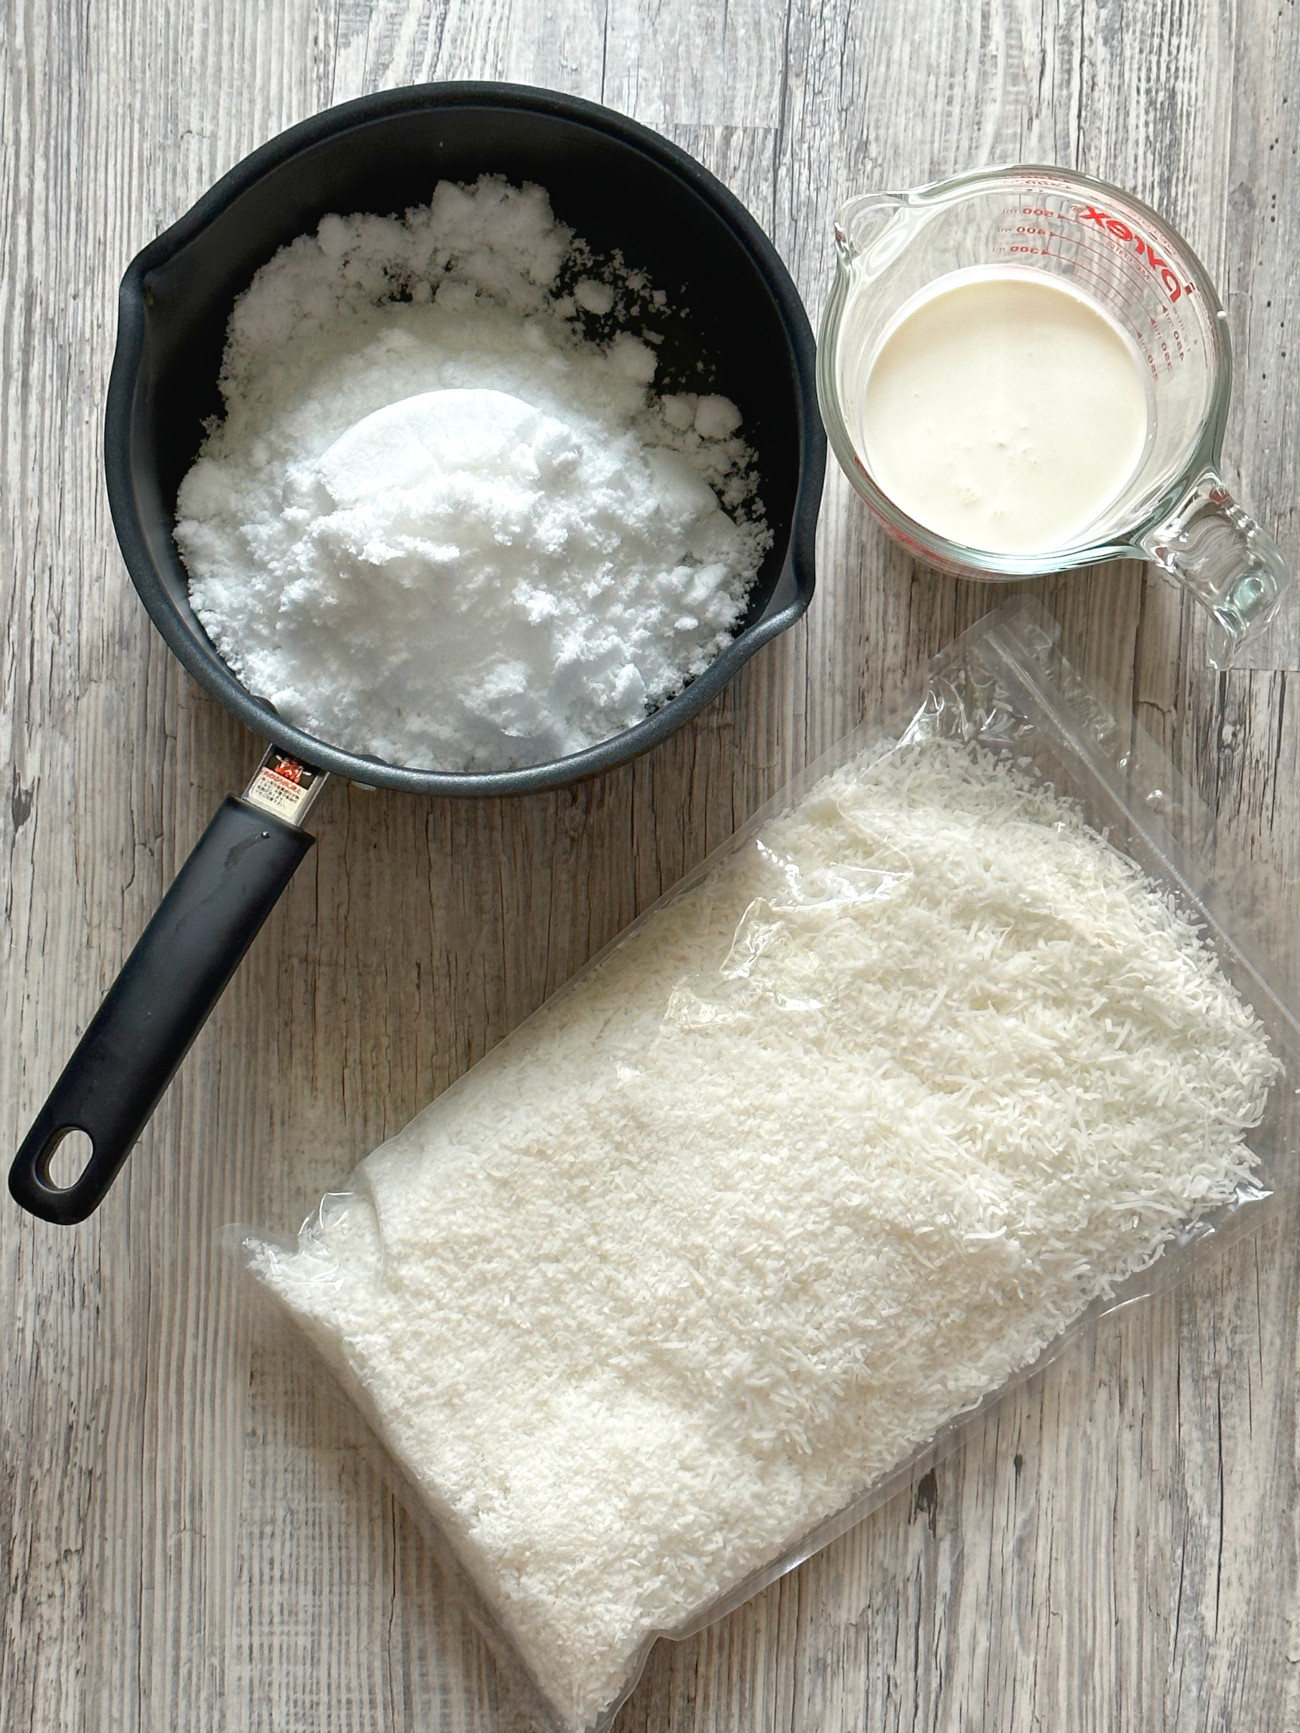
Ingredients are simple — sugar, heavy cream, coconut, and food dye. I went a bit further and added coconut extract to the lot, as the extract cuts through the sweetness and enhances the coconut flavor. Sometimes coconut extract is out of stock, so you can use a splash of almond extract as well.
The coconut here is desiccated coconut, which is different from the sweetened shredded coconut we’re all used to. Outside of the US, most coconut is desiccated and not sweetened coconut which is moistened by soaking in a sugar-based syrup solution. I was able to find the desiccated coconut in the health food section of my grocery store, but honestly don’t worry, sweetened coconut can work as well. The only difference will be that the shreds of sweetened coconut will be longer in length than the desiccated coconut.
With this recipe, you’re essentially making candy, so you have to keep your eyes on the saucepan the whole time, it boils fast!
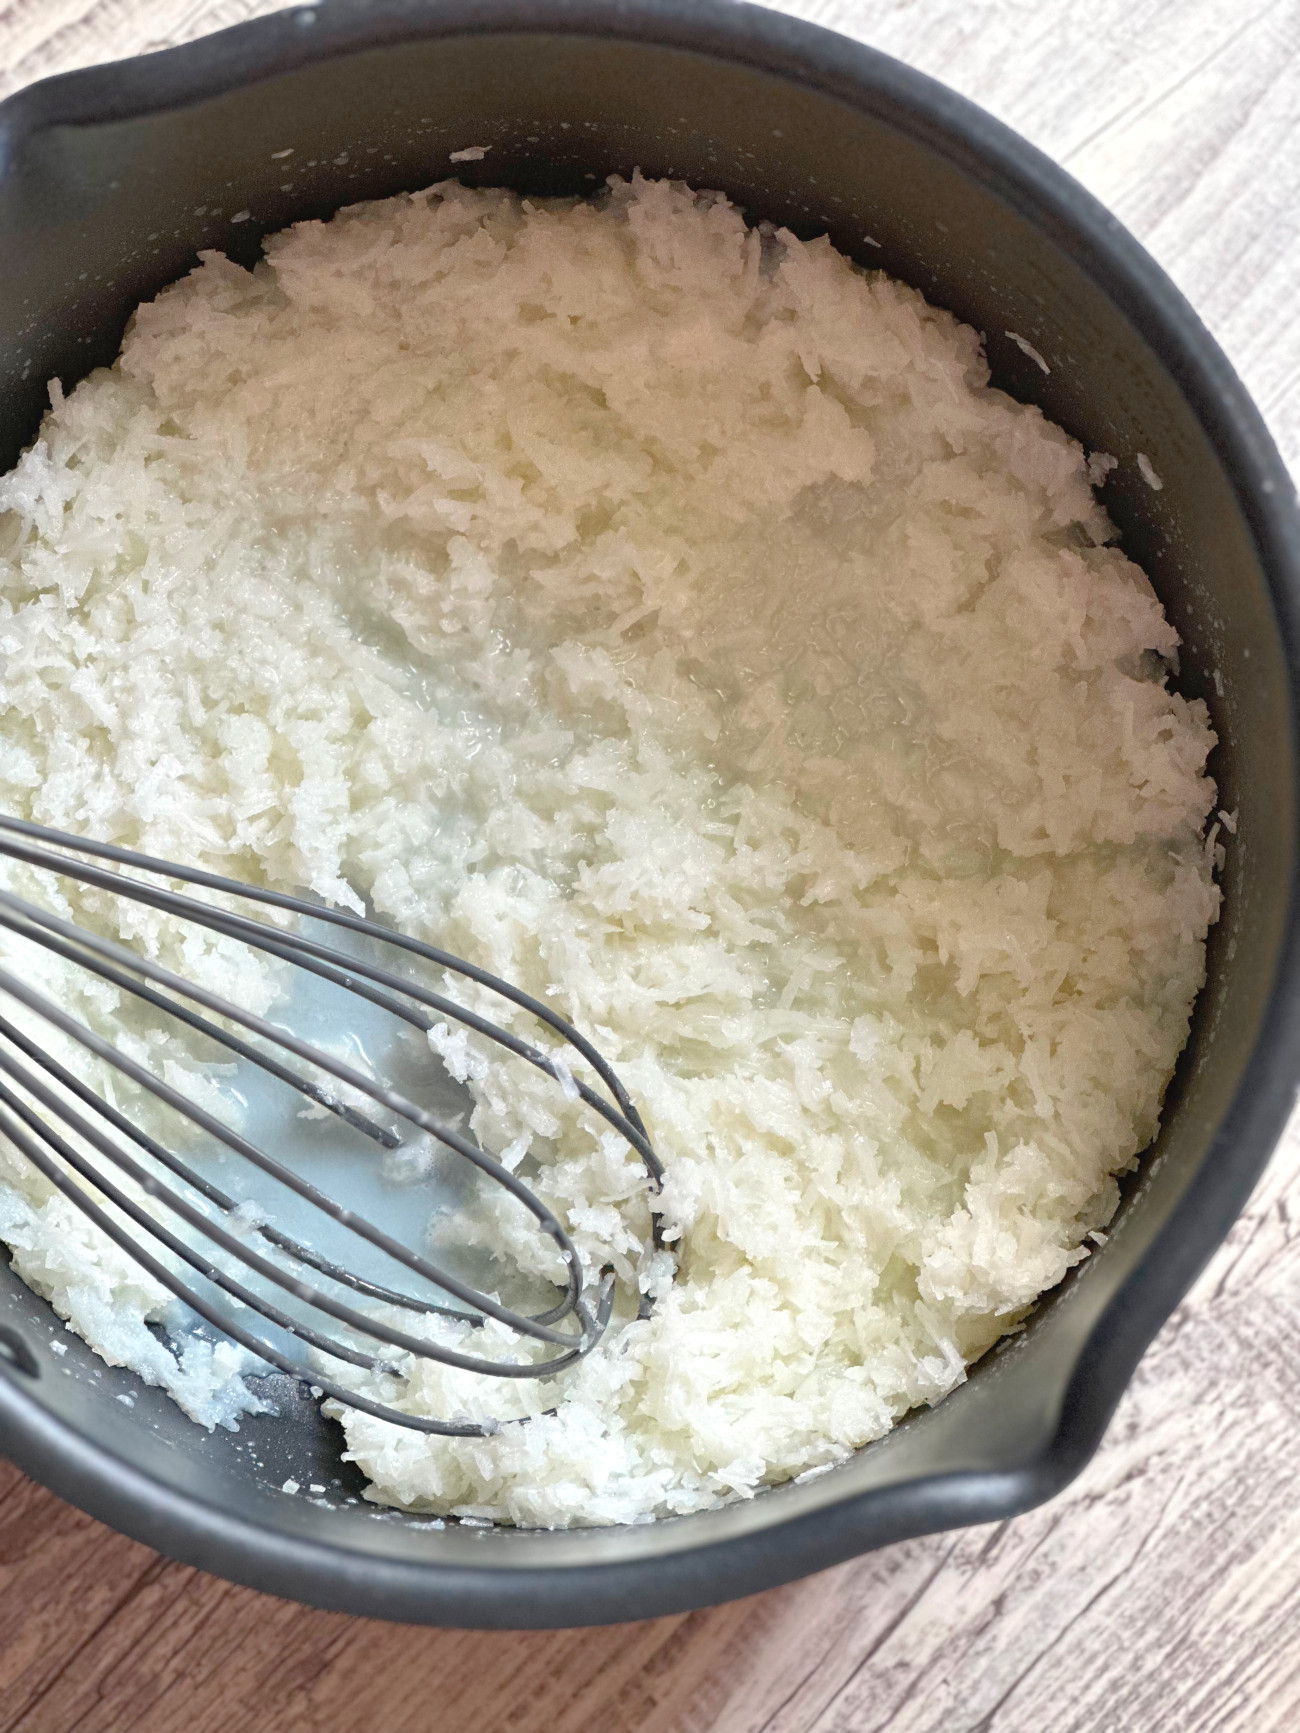
Once the sugar and heavy cream come to a rapid boil and cook on a rolling boil for a few minutes, add in the coconut. After a few stirs, the mixture will cool down enough for you to add the coconut extract.
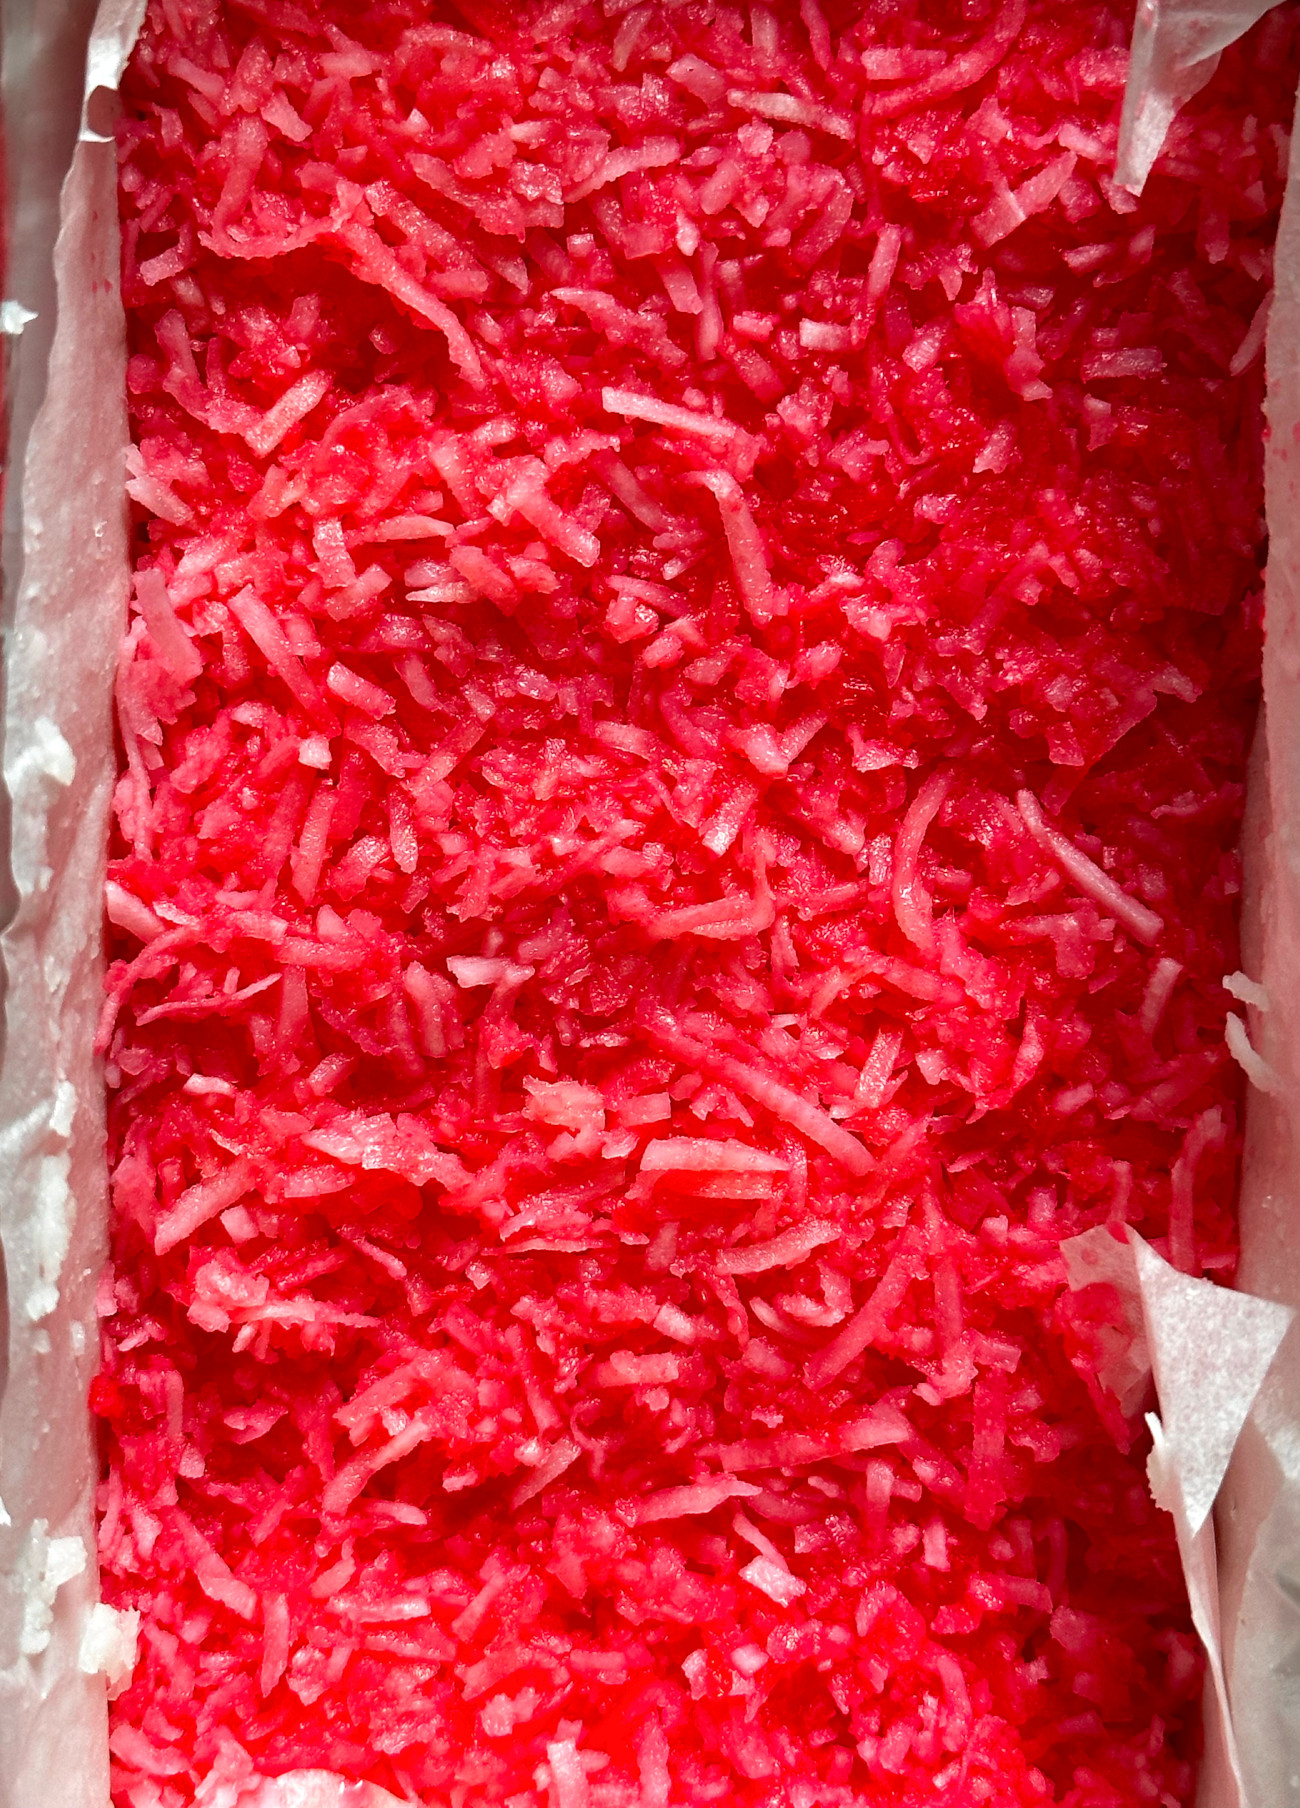
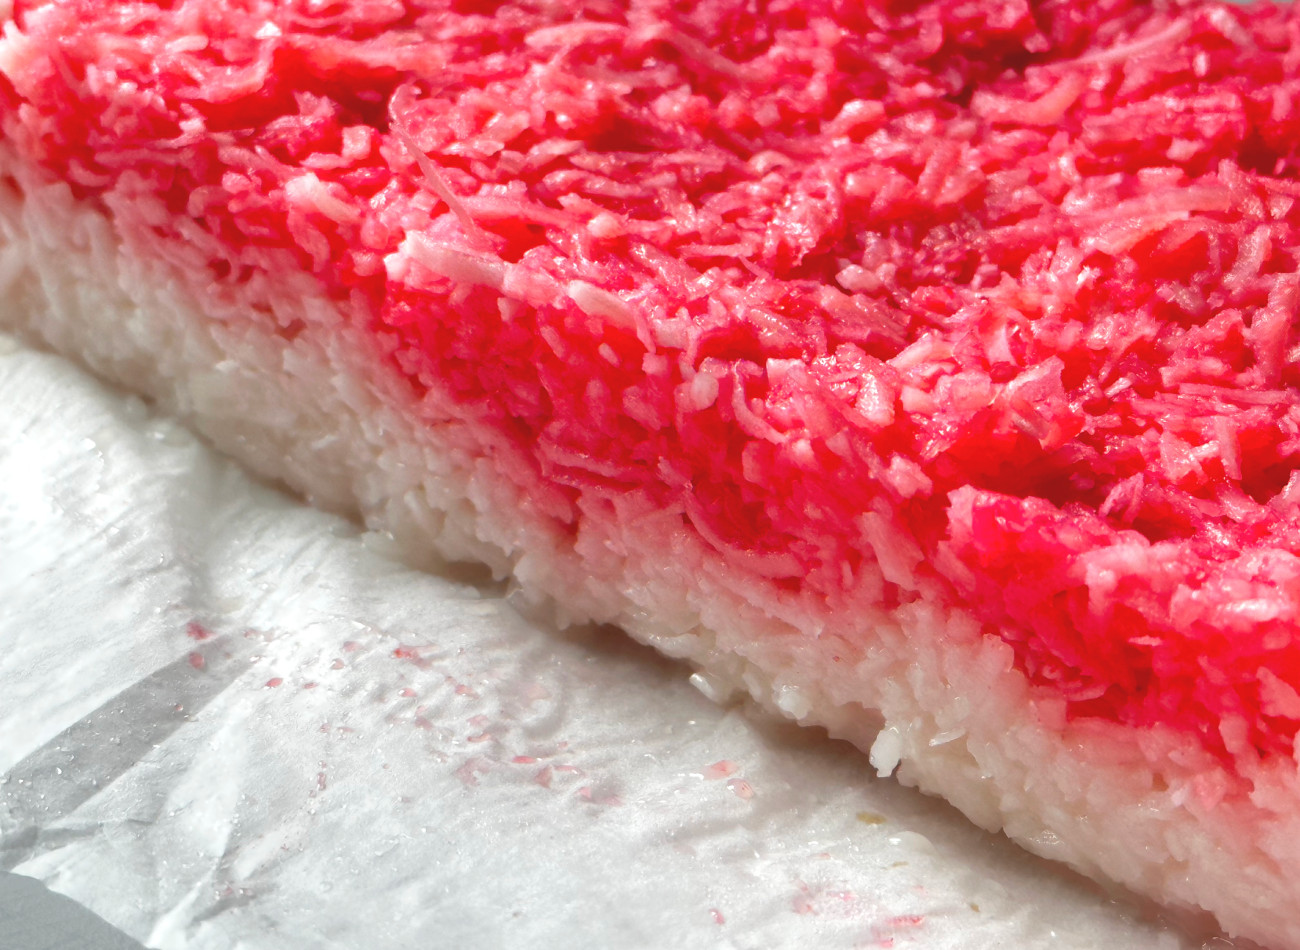
Pour one-half of the mixture into a prepared pan and let it firm up in the fridge for a few minutes. In the meantime, you can go ahead and tint the remaining portion of the Coconut Ice pink. Pull the baking dish out of the fridge and top the bottom portion of Coconut Ice with the pretty pink half.
Now comes the waiting game. You want to wait a full three to four hours before even attempting to slice into them. I’m terribly impatient, so it was a painful long stretch of waiting, but it’s worth it!

Once sliced, they are a bright little dose of happiness on a plate. The coconut is chewy, and the sugar is, well, sugary (in the best possible way!). Eating a bite of these candies is like picking a piece of candy from the large bins in the old-fashioned general stores of the past. Give yourself a cheery refresher with these treats, and this recipe is bound to become a tradition to make again and again.
Vintage Coconut Ice Bars
Allergens: Milk
Ingredients
- 4 cups granulated sugar
- 1 cup heavy cream
- 2 1/2 cups desiccated or shredded coconut
- 1 1/2 teaspoons coconut extract
- Pink food dye
Preparation
- Line an 8x8 pan with parchment paper, set aside.
- In a large saucepan, combine the sugar and cream cooking on a low heat until the sugar is dissolved.
- Raise heat to medium, bringing the mixture to a boil. Let the sugar-cream mixture boil for 5 minutes. During the boiling time, if it starts to boil too rapidly, then remove it from the heat, you don’t want the hot mixture splattering out of the saucepan.
- After 5 minutes, remove from heat and add in the coconut and coconut extract.
- Pour half of the mixture into the pan and refrigerate for 10 minutes.
- Tint the remaining mixture with pink color, stirring to evenly distribute the color. Put the saucepan back on the warm burner to keep it from setting up.
- Remove the pan from the refrigerator and pour the pink mixture on top.
- Let the mixture set up in the refrigerator, about 3 to 4 hours. Once firm, cut into small squares and enjoy.
Recipe adapted from Cooking With Nana Ling