Grandma’s Raspberry Cream Cheese Coffee Cake
We just can’t get enough of that topping…

Recipe of the Day
Discover a New Recipe Every Day. Give Back With Every Bite.
Every day, we feature a hand-picked recipe for you to discover, cook, and share. The best part?
Every recipe you read helps feed the hungry.

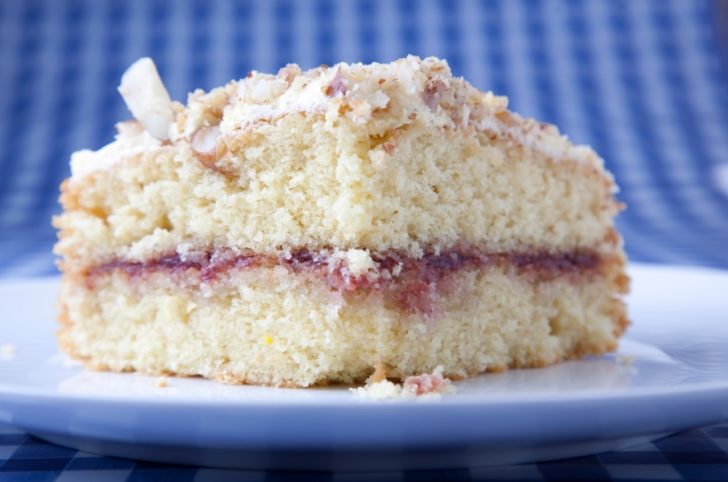
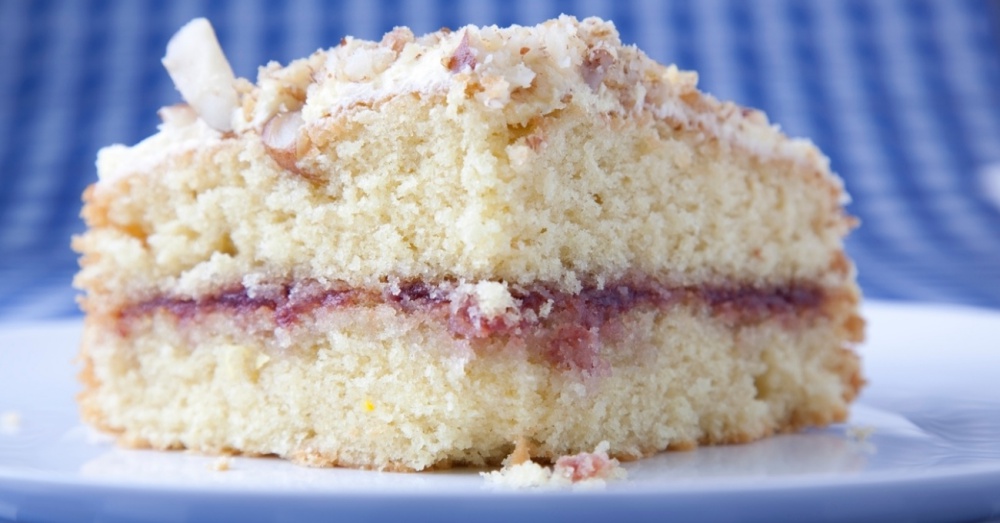
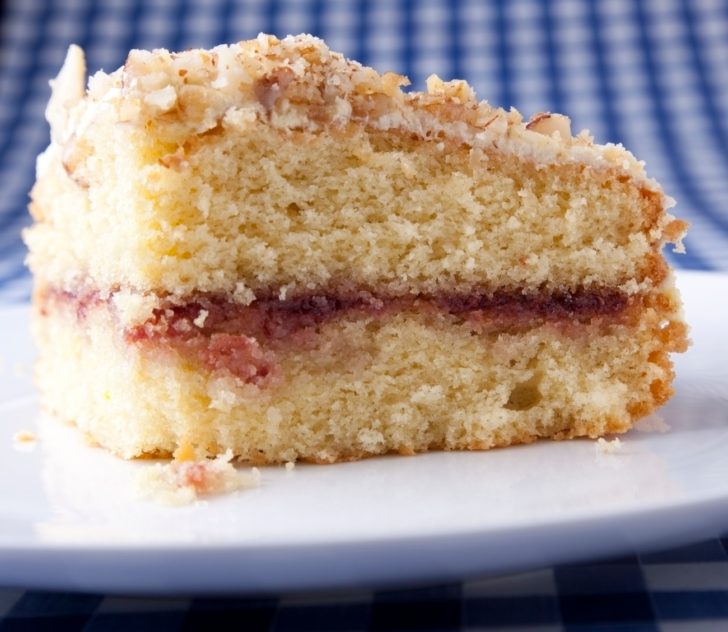
You know those recipes of Grandma’s? Those ones on simple lined cards with steady cursive handwriting and the occasional greasy fingerprint or smudge left behind? And then you know the ones that were used so much the corners had turned and ink had smeared from spilled milk or eggs? This is one of those. A family favorite used so often that the recipe card was barely even needed anymore. Coffee cake is a classic but we can’t tell you just how much we love this particular version. It’s moist and tender, and the timeless cinnamon flavor is joined by sweet raspberry and velvety cream cheese for an extra special touch. Grandma topped hers with almonds for an extra crunch, so we do too.
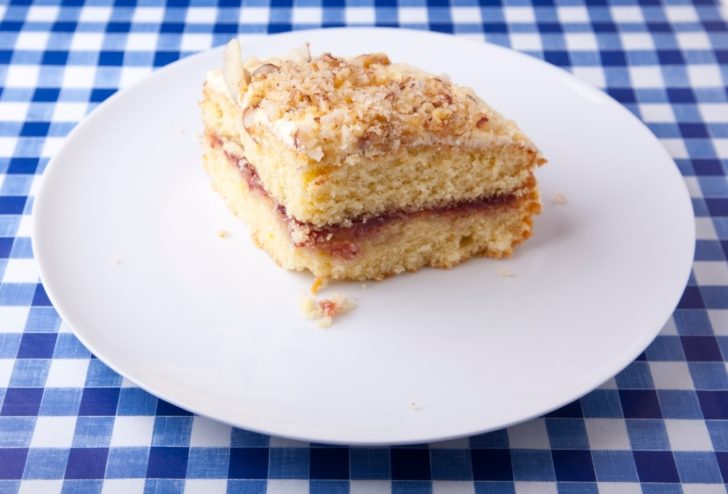
We guess it’s called coffee cake because it’s meant to be served with coffee, but we think somebody long ago probably just wanted to eat cake for breakfast and named it in such a way that no one would question their motives. And we like the way they were thinking! It does go great with coffee, but we love that you can serve coffee cake for breakfast, brunch, dessert, or an afternoon snack and no one will complain. In fact, if you serve this version, they’ll be begging you for the recipe! It’s the perfect coffee cake. That fluffy, buttery cake lined with tart raspberry and topped with a rich cream cheese and crunchy cinnamon almonds… There’s a reason Grandma made it over and over again, and we’ll keep doing the same.
Raspberry Cream Cheese Coffee Cake
Ingredients
- Cake:
- 1 1/2 all-purpose flour
- 1 cup granulated sugar
- 1 cup sour cream
- 2 eggs
- 1/2 cup (1 stick) unsalted butter, softened
- 2 teaspoons baking powder
- 1 teaspoon vanilla extract
- 1/4 teaspoon salt
- Filling:
- 1/2 cup all-purpose flour
- 1/4 cup (1/2 stick) unsalted butter, melted
- 1/2 cup packed brown sugar
- 1 tablespoon cinnamon
- 3/4 cup seedless raspberry jam
- Cream Cheese Topping:
- 8 ounces cream cheese
- 1/4 cup granulated sugar
- 1 egg
- Almond Topping:
- 1/4 cup packed brown sugar
- 1/2 cup almonds, chopped
- 1 tablespoon cinnamon
Preparation
- Preheat oven to 350°F and grease a 9-inch square baking pan. Begin by making filling and toppings.
- For raspberry filling: In a separate small bowl, whisk together 1/2 cup flour, 1/2 cup brown sugar, and 1 tablespoon cinnamon. Add melted butter and jam and stir to combine. Set aside.
- For cream cheese topping: In another small bowl, beat together cream cheese, 1/4 cup white sugar, and one egg until smooth. Set aside.
- For almond topping: In a small bowl, toss together 1/4 cup brown sugar, 1 tablespoon cinnamon, and almonds. Set aside.
- For cake: In a medium bowl, whisk together 1 1/2 cup flour, baking powder, and salt.
- In a separate bowl, beat stick of butter with an electric mixer on medium speed until creamy, about one minute.
- Add 1 cup sugar and continue beating until light and fluffy, about three minutes. Add eggs one at a time, beating after each addition, then beat in vanilla extract.
- Add 1/3 of flour mixture to butter/egg mixture, and beat on low to combine. Add half of the sour cream, mix until just incorporated, then alternate with remaining flour mixture and sour cream.
- Pour half the batter into prepared pan and smooth out evenly. Sprinkle the raspberry filling mixture over batter in pan.
- Scrape remaining batter into pan and smooth it out. Spread cream cheese topping evenly over batter and sprinkle with almond topping.
- Place pan in oven and bake until toothpick inserted into center comes out clean, about 30-40 minutes.
- Let cool in pan completely before serving. Enjoy!
Adapted from Pretty Simple Sweet.