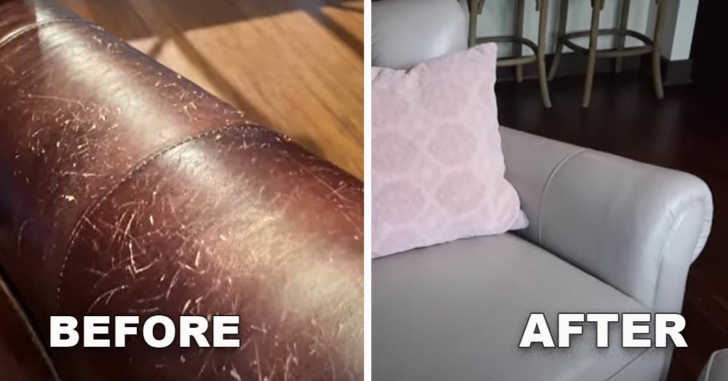
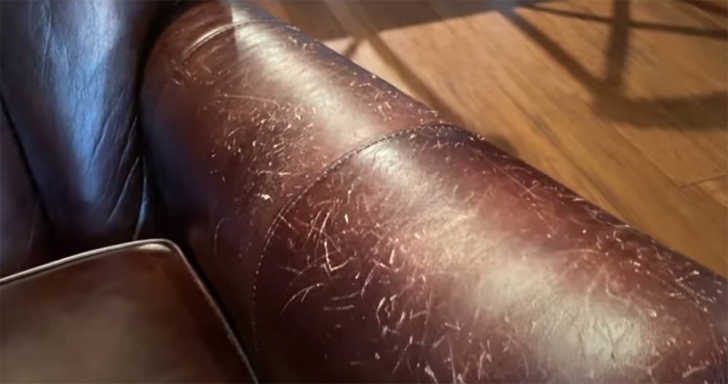
Look familiar? Cat scratches, roughhousing, wear and tear from moving – all of these things can leave leather furniture in a sad state of disrepair. If this sounds anything like you, then I’ve got good news! Let’s take a look at how to repair scratched leather. It’s easier than you might think! With the proper prep work and tools, you can undo the damage to your furniture. Let’s see how it’s done!
Prep The Piece
It’s tempting to dive right in and start covering up those nasty scratches in your beautiful leather furniture, but that would be a mistake! As with any painting project, the key is prep work.
Start by cleaning and drying the leather. Then, take some fine-grit sandpaper and lightly sand over the scratches. This smooths down and evens out the surface. You don’t have to go overboard here, just clear the surface of flyaway leather scraps and bumps in the material.
Leather Paste & Smooth Surface
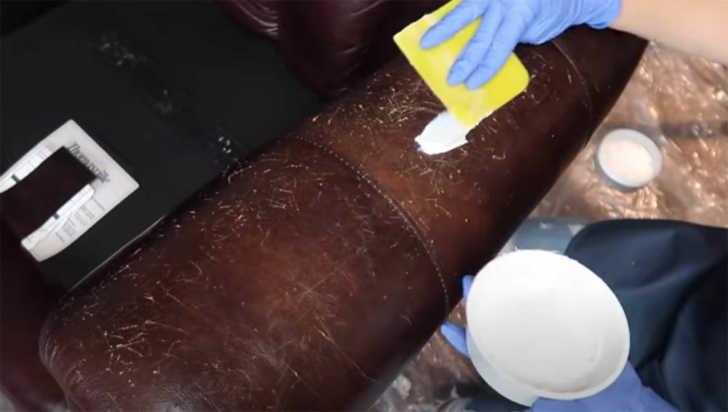
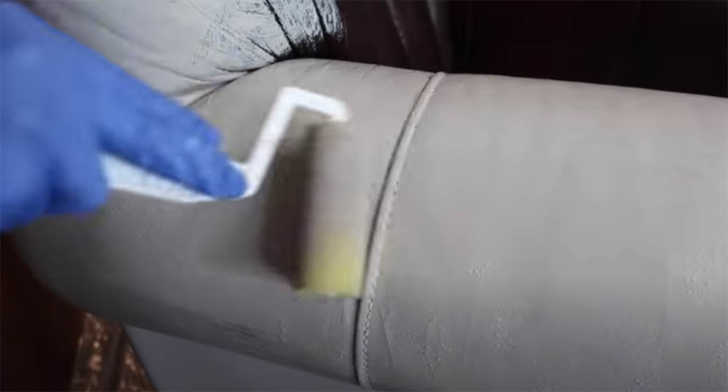
Here’s where the magic comes in. The key ingredient to this repair job is a bond & flex paste. There are several repair kits that include this paste, but you can also purchase just the paste. Bond-N-Flex has a great kit, as well as the Furniture Clinic. The thing you’re looking for is the “flex” in the title. This means it will mold to the leather instead of drying stiffly and cracking.
Simply scoop the paste on and coat the entire area. There’s no real technique to applying it as long as all the scratches are filled. You’ll want to err on the side of too much versus too little.
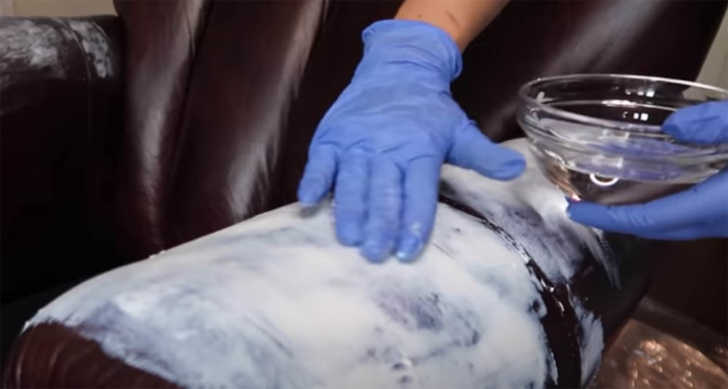
Once you have the area covered, wet down your fingers and smooth over the paste to make everything even. Make sure not to wet the surface too much, as that will just make the flex paste drip down the furniture. Once dry, go over the paste once again with sandpaper, really creating that smooth, flat surface.
Paint & Roll
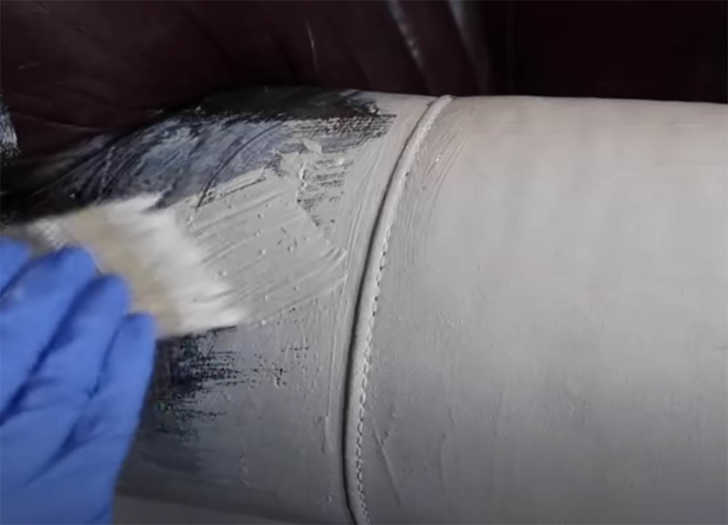
Finally, it’s time to paint! Most repair kits come with paint, but if you don’t like the color provided, there are dozens of different paints made specifically for leather furniture.
Start applying the paint with a regular brush, working in sections. While the paint is still wet, go over it with a sponge roller. This will get rid of lines left by the brush, thus giving the leather a more authentic feel. Depending on what color you’re painting your chair, you may need two or three coats. Let everything dry overnight, and you’re all done!