
This appetizer is perfect for any and all parties you’ve got coming down the pipeline….heck, it even makes a great after school (or work!) snack. Everyone loves a good cheese straw, and these ones are delicious and easy to boot! Using puff pastry is the secret here, folks, and it gives you a buttery, flaky cheese stick without all the hassle of making the dough yourself; basically all you have to do is mix the cheeses and spices together.
Once you do that and cut the dough into strips, you give everything a twist and pop them in the oven. People’s faces will light up when they see this complicated-looking snack, and they’ll be quick to thank you for your “hard work” preparing them. Get ready to bask in the glory, but before that, make these cheese straws!
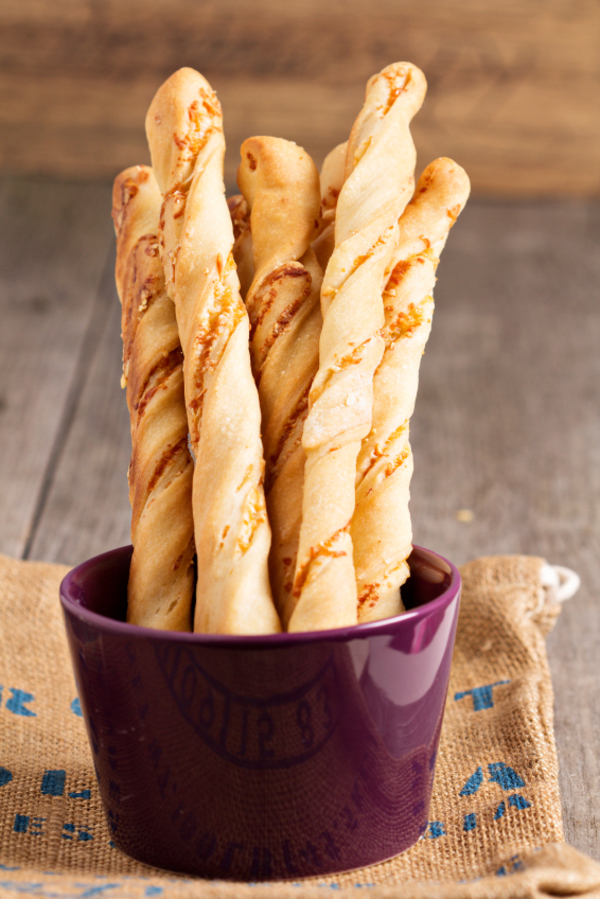
Cheese Straws
Yields 20-24 straws
Ingredients
- 1 (14 oz.) package frozen puff pastry, defrosted completely
- 1 large egg, beaten
- 1 cup Parmesan, grated
- 1/2 cup Gruyere, shredded
- 1 tablespoon water
- 1/2 teaspoon cayenne pepper
- kosher salt and freshly ground pepper, to taste
- flour, for dusting
Directions
- Preheat oven to 375º F.
- On 1 or 2 lightly floured piece(s) of parchment paper, roll out each sheet of puff pastry to a 10×12-inch rectangle that is 1/8-inch thick.
- In a small bowl or glass, beat together your egg and water, and brush it onto the puff pastry.
- In a medium bowl, combine cheeses, cayenne, salt and pepper. Toss to mix thoroughly.
- Spread cheese mixture out over the puff pastry and gently press it into the pastry to adhere.
- Using a sharp knife or pizza cutter, cut each sheet (horizontally) into 10-12 thin strips.
- Spread apart each strip so there’s 1-2-inches between them, twisting them before laying them back down on parchment paper.
- Place in oven and back for 12-15 minutes, or until puffed up and golden brown. Turn each straw over and return to bake for another 2 minutes.
- Remove from oven and let cool before serving.
Recipe adapted from Cup Of Jo