

Recipe of the Day
Discover a New Recipe Every Day. Give Back With Every Bite.
Every day, we feature a hand-picked recipe for you to discover, cook, and share. The best part?
Every recipe you read helps feed the hungry.

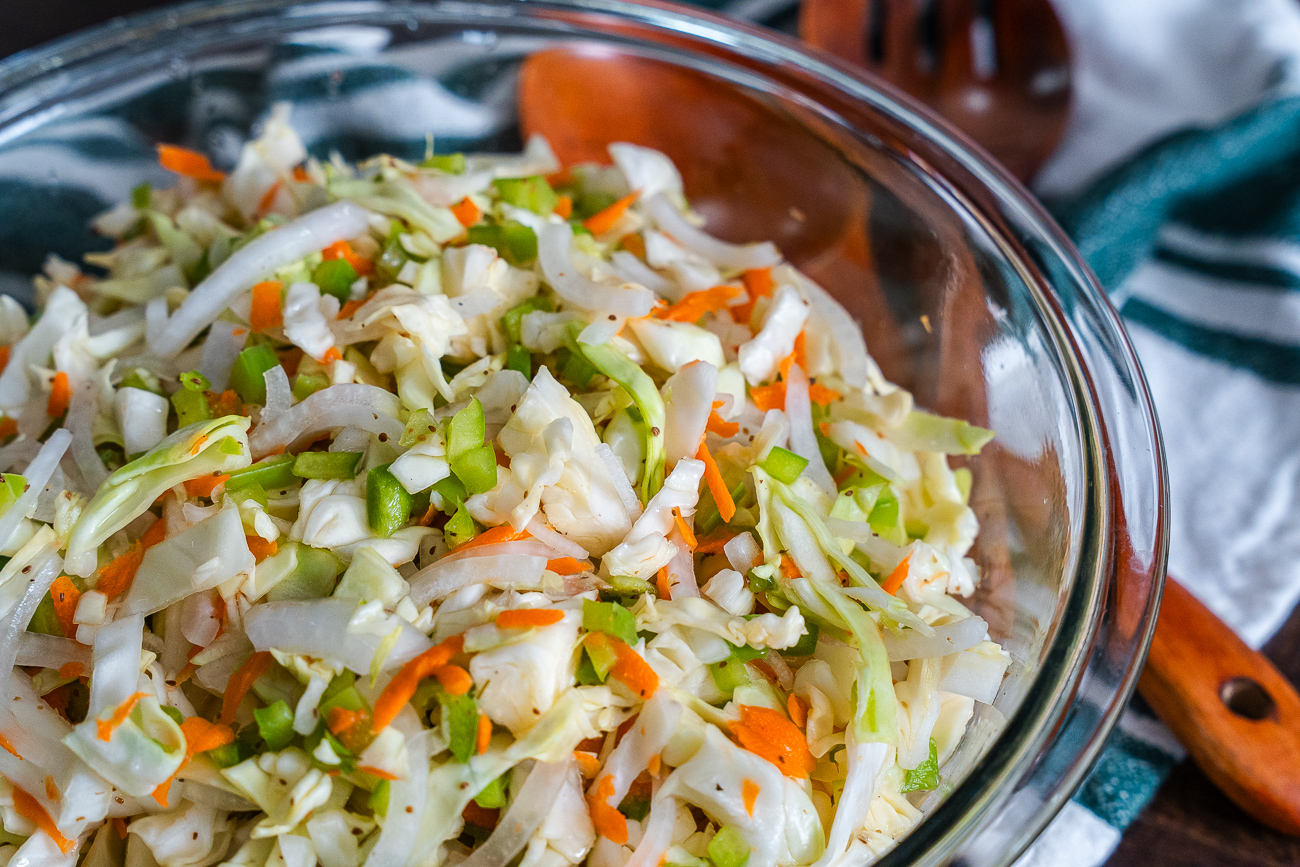
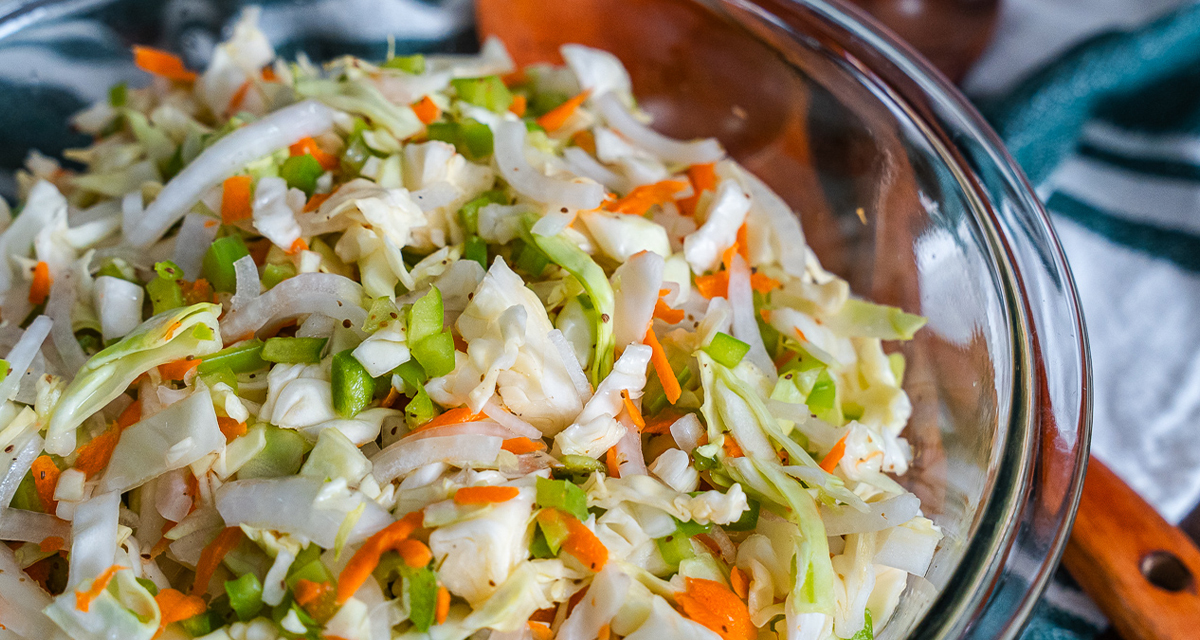
Maybe when you think coleslaw, you think creamy, but that’s not the only way to go about it. In Pennsylvania Dutch country, you’ll find a style of coleslaw that uses a warm (!!) sweet and tangy vinegar-based dressing that helps keep the slaw crisp and bright for days, gets better the longer it sits, and is as good on a pulled pork sandwich as it is eaten straight out of a bowl. Amish Coleslaw is the kind of side that quietly steals the show, and if you’re nowhere near Pennsylvania Dutch country, the great news is you can easily make your own. Here’s how you do it:
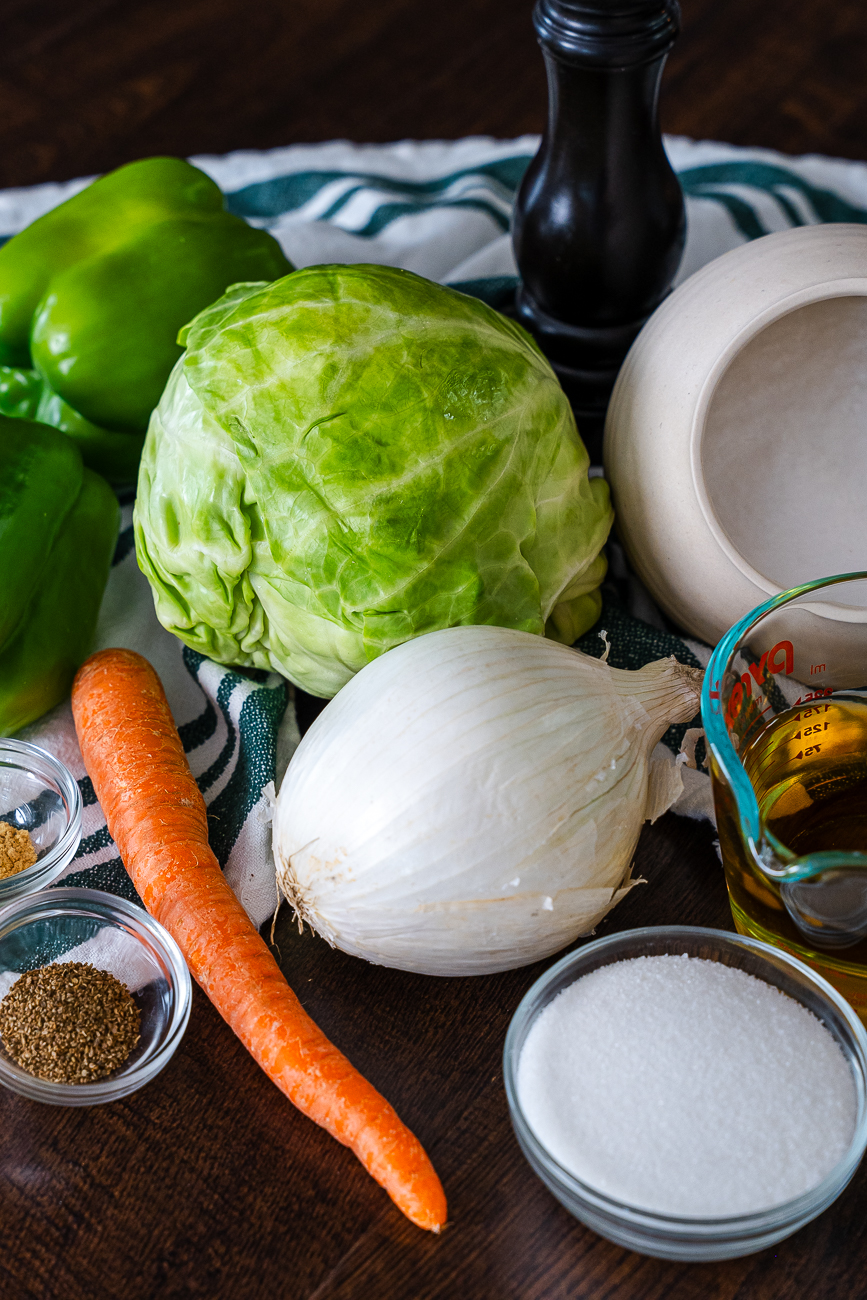
What Ingredients Do You Need for Amish Coleslaw?
A simple ingredient list that lets the technique do the talking. You’ll need:
- A head of green cabbage.
- A carrot.
- Green bell peppers.
- Salt. (This gets used to draw the moisture out of the cabbage before the dressing goes on — an important step!)
- And a small onion.
For the dressing you’ll need:
- Apple cider vinegar. (This is what gives the slaw its signature tang.)
- Granulated sugar.
- Water.
- Celery seed. (A must!)
- Ground mustard.
- And salt and pepper.
Why salt the cabbage first?
Salting the cabbage and letting it sit before dressing it draws out excess moisture so your slaw stays crisp rather than watery. It’s a technique that takes a little extra time but makes a real difference, especially for a vinegar-based slaw where you want clean, bright flavor rather than a diluted dressing.
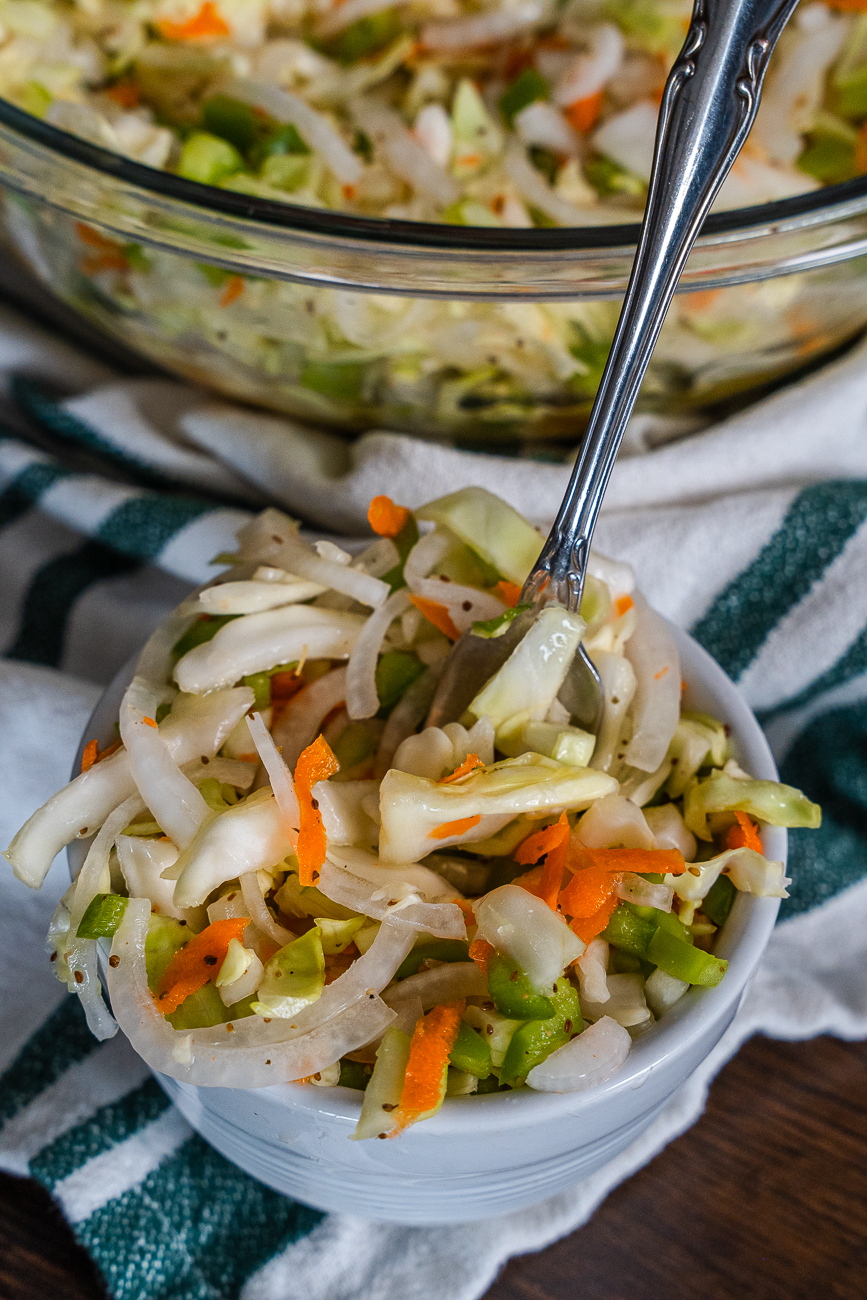
How Do You Make Amish Coleslaw?
This is a make-ahead recipe at heart, and aside from flavor, that’s one of its greatest strengths. The hands-on time is minimal and the refrigerator does the heavy lifting for you — by the time you’re ready to serve, the flavors have melded into something greater than the sum of its parts.
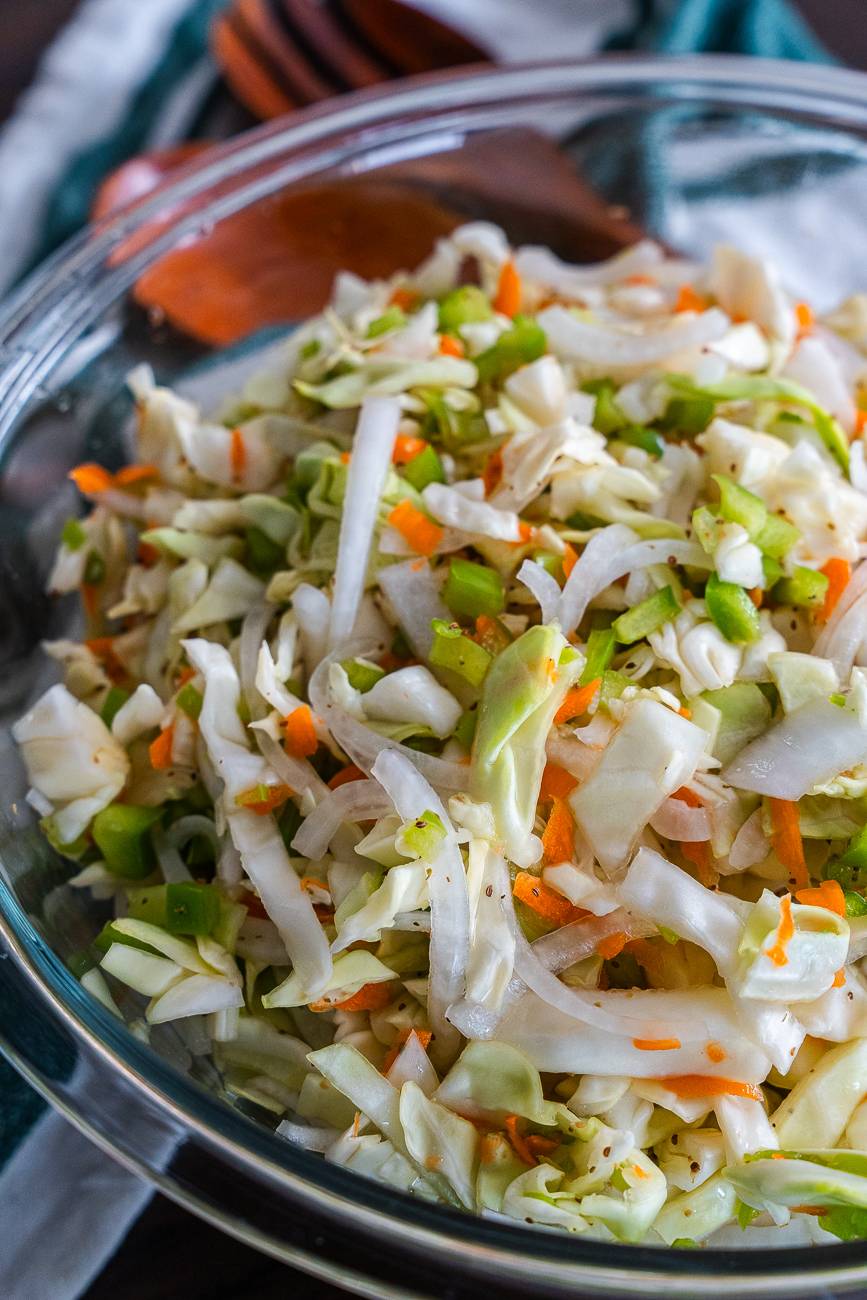
Start by grating or very finely chopping the cabbage and carrot, then toss them with the diced bell pepper and salt and set the whole bowl aside for 30 to 60 minutes. The salt will draw out a surprising amount of liquid. Just drain it off and then squeeze out as much remaining moisture as you can with your hands or a clean kitchen towel. This step is worth the effort!
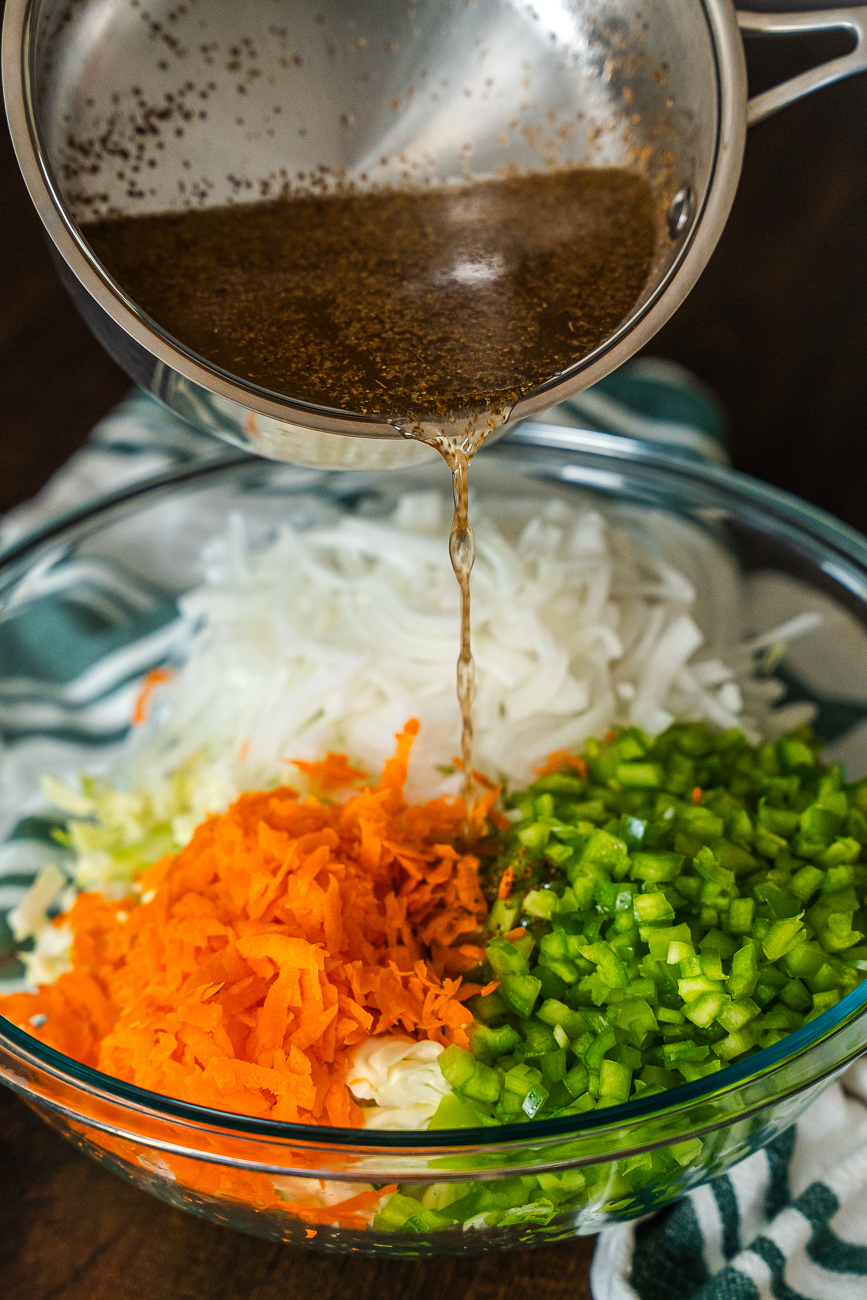
While the vegetables sit, make the dressing by combining the vinegar, sugar, water, celery seed, and ground mustard in a small saucepan and heating it over medium until the sugar dissolves completely. It doesn’t need to boil or reduce; you’re just looking to dissolve that sugar. Let it cool slightly off the heat, then add the sliced onion to the vegetable bowl and pour the warm dressing over everything.
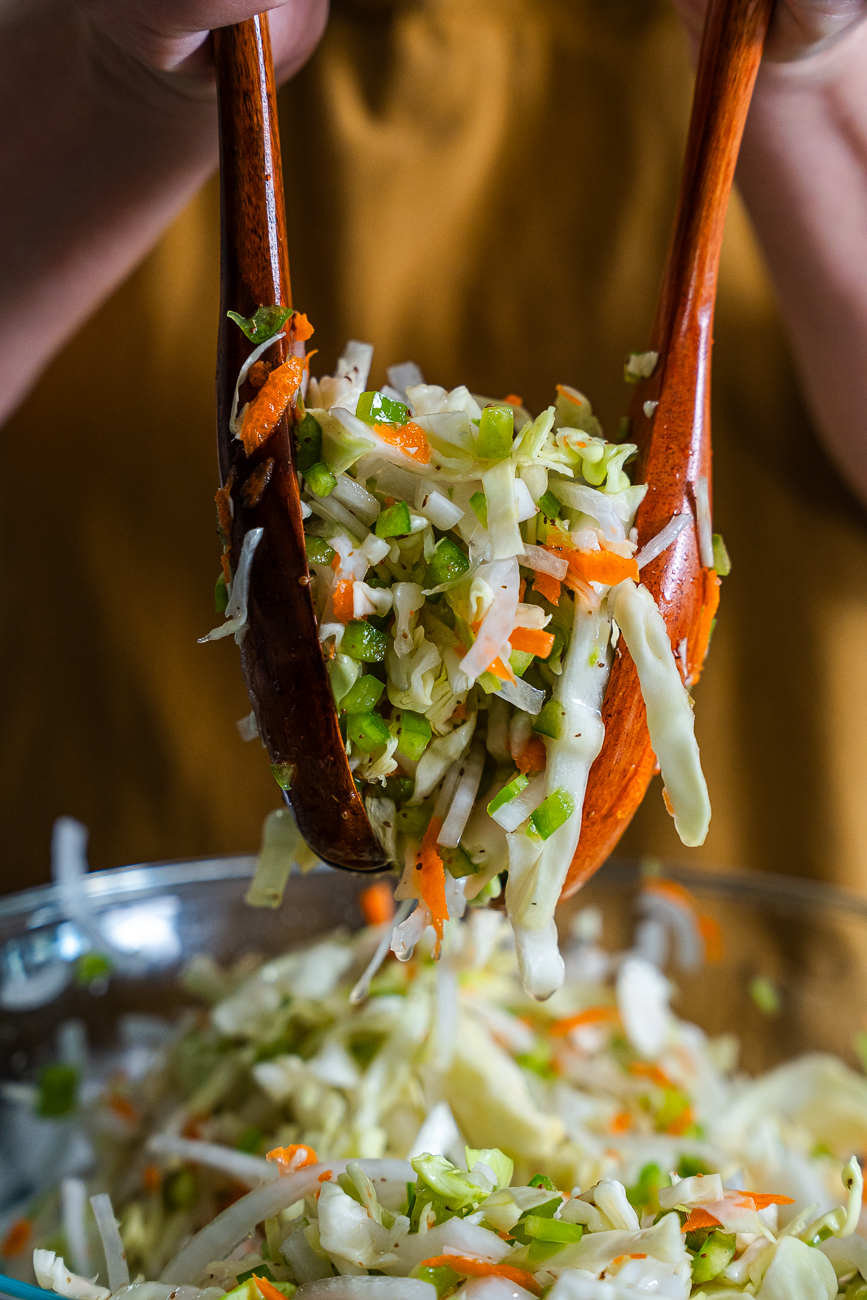
Toss it all together, then adjust the seasoning as needed, and chill it for at least two hours (though overnight is even better). The longer it sits the more those crisp vegetables soak up that tangy, sweet dressing and the better it gets!
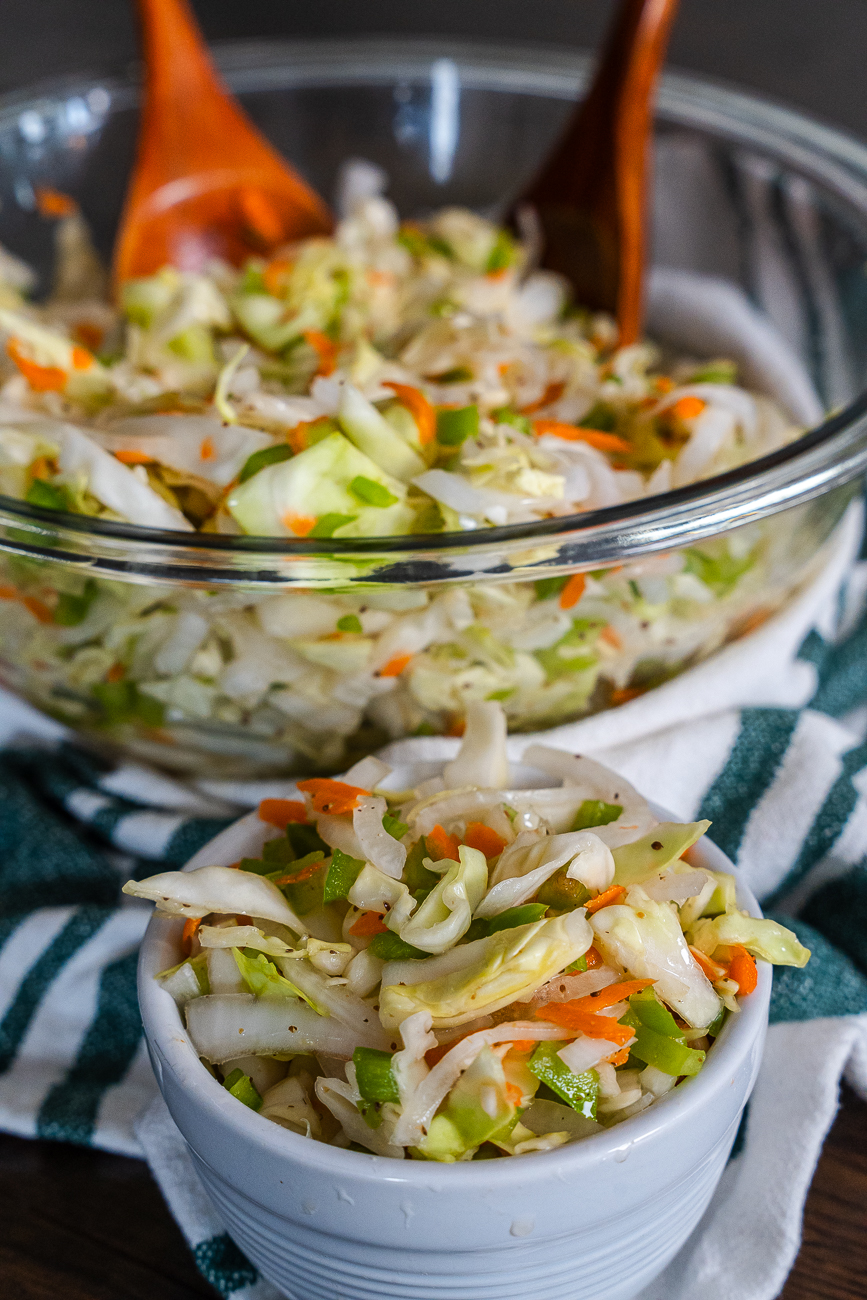
Amish Coleslaw
Diet: Vegan Vegetarian Gluten-Free
Ingredients
- 1 head green cabbage, cored
- 1 medium carrot, peeled
- 2 green bell peppers, finely diced
- 2 teaspoons salt
- 1 small onion, thinly sliced
For the dressing:
- 3/4 cup apple cider vinegar
- 1/2 cup granulated sugar
- 1/4 cup water
- 1 teaspoon celery seed
- 1 teaspoon ground mustard
- Kosher salt and freshly ground black pepper, to taste
Preparation
- Grate or very finely chop the cabbage and carrots.
- Toss the cabbage, carrot, and bell pepper with salt and set it aside for 30-60 minutes. Drain off any excess liquid, then squeeze out any more liquid that you can and drain again.
- While veggies sit, make the dressing:
- In a saucepan, combine the vinegar, sugar, water, celery seed, and mustard. Heat over medium until sugar dissolves, stirring occasionally. Let rest off the heat until it has cooled slightly.
- Add onion to bowl of veggies, then pour the slightly warm dressing over and toss it all to combine. Season to taste with salt and pepper, then chill at least 2 hours but ideally overnight. Enjoy!
Recipe adapted from My Homemade Roots.