Running shoes do not always come cheap. Since they’re often a major investment, it only stands to reason that we would want to get the most out of them. Our running shoes receive lots of wear and tear, but there are a multitude of tricks and hacks that are designed to keep them looking great. If you have white running shoes, you have probably cleaned them with water and baking soda a few times.
Now, we are here to offer an even better trick that will allow you to remove the creases from your shoes. The top middle section of each shoe is most susceptible to those pesky creases. Shantel De Bonsu is sharing an excellent hack on her Twitter account and we are now forever in her debt. All you’ll need to get started is an iron, some hot water, a small cloth or towel, and some tissue paper (socks or old clothes could be used as well).
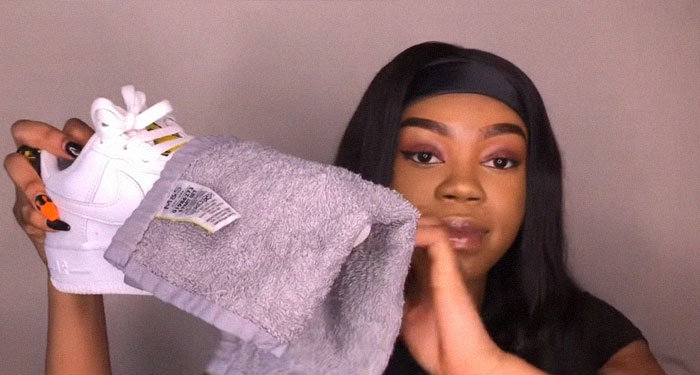
Take the socks and tissue paper (or old clothes) and stuff them inside of the shoe until the creases are no longer visible. Does the shoe move when you press down on top of it? If the answer is no, you’re ready to take on the next step. Grab the hot water and use it to dampen the small towel or cloth. Place the cloth or towel on top of the crease that you are trying to remove.
Iron the cloth or towel with some vim and vigor. Be careful, though. Be sure to keep lifting up the iron, so that your shoe does not end up burned. The amount of time that you need to spend on this task will depend on the severity of the crease that is being removed. The tips were posted by Shantel and she is also providing a helpful tutorial video.
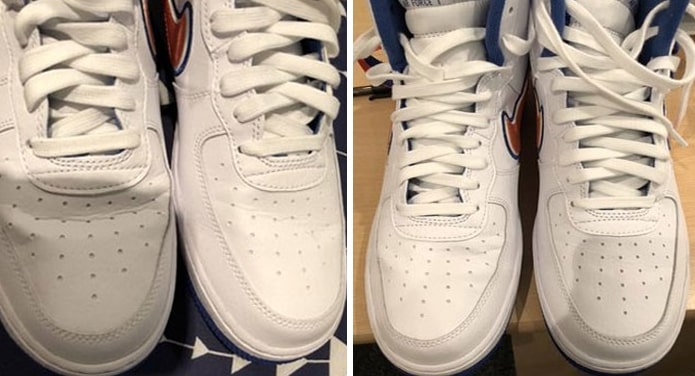
Once the video and her tips were posted, they received a sizable amount of attention. As it turns out, this is a common issue and lots of people are looking to fix their running shoes. The before and after photos that have been posted since Shantel shared her hack speak for themselves.
Many of these shoes look like they are essentially brand new again. If you have a pair of shoes that are in need of a little pick me up, this hack is here to make your life much easier. As always, it is best to try and repair the shoes that you already have. Check out the video below for further instructions!
