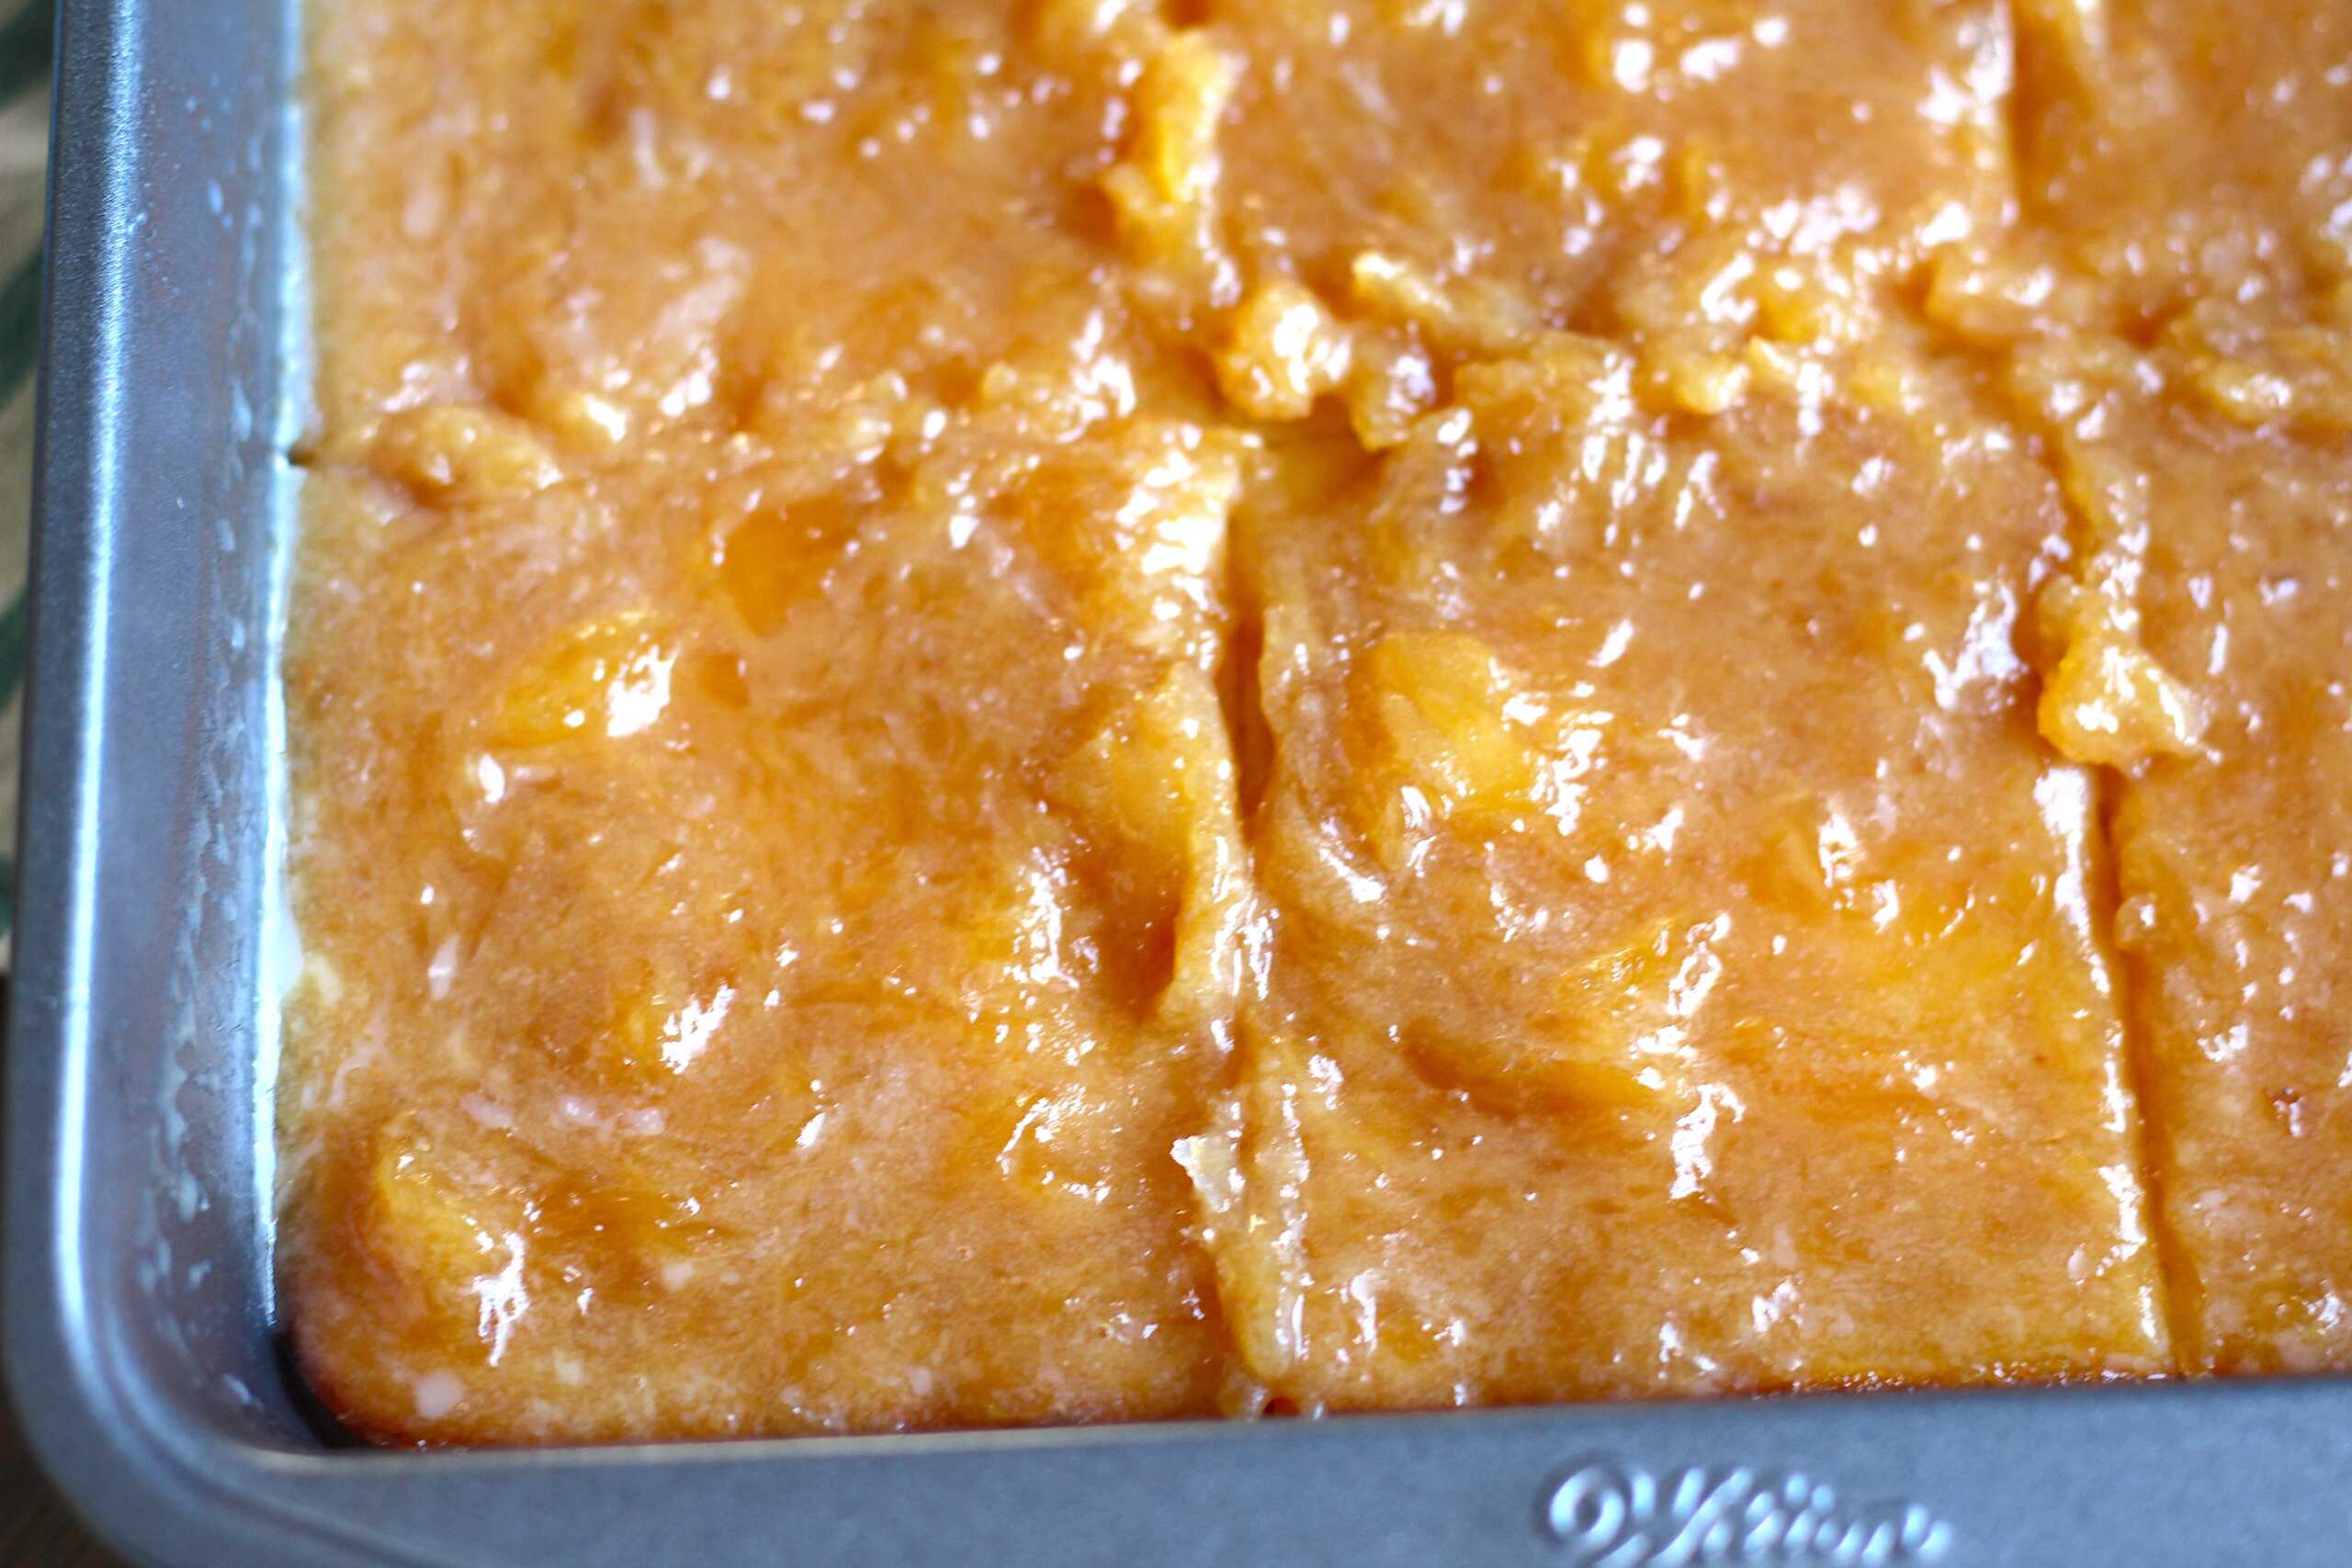
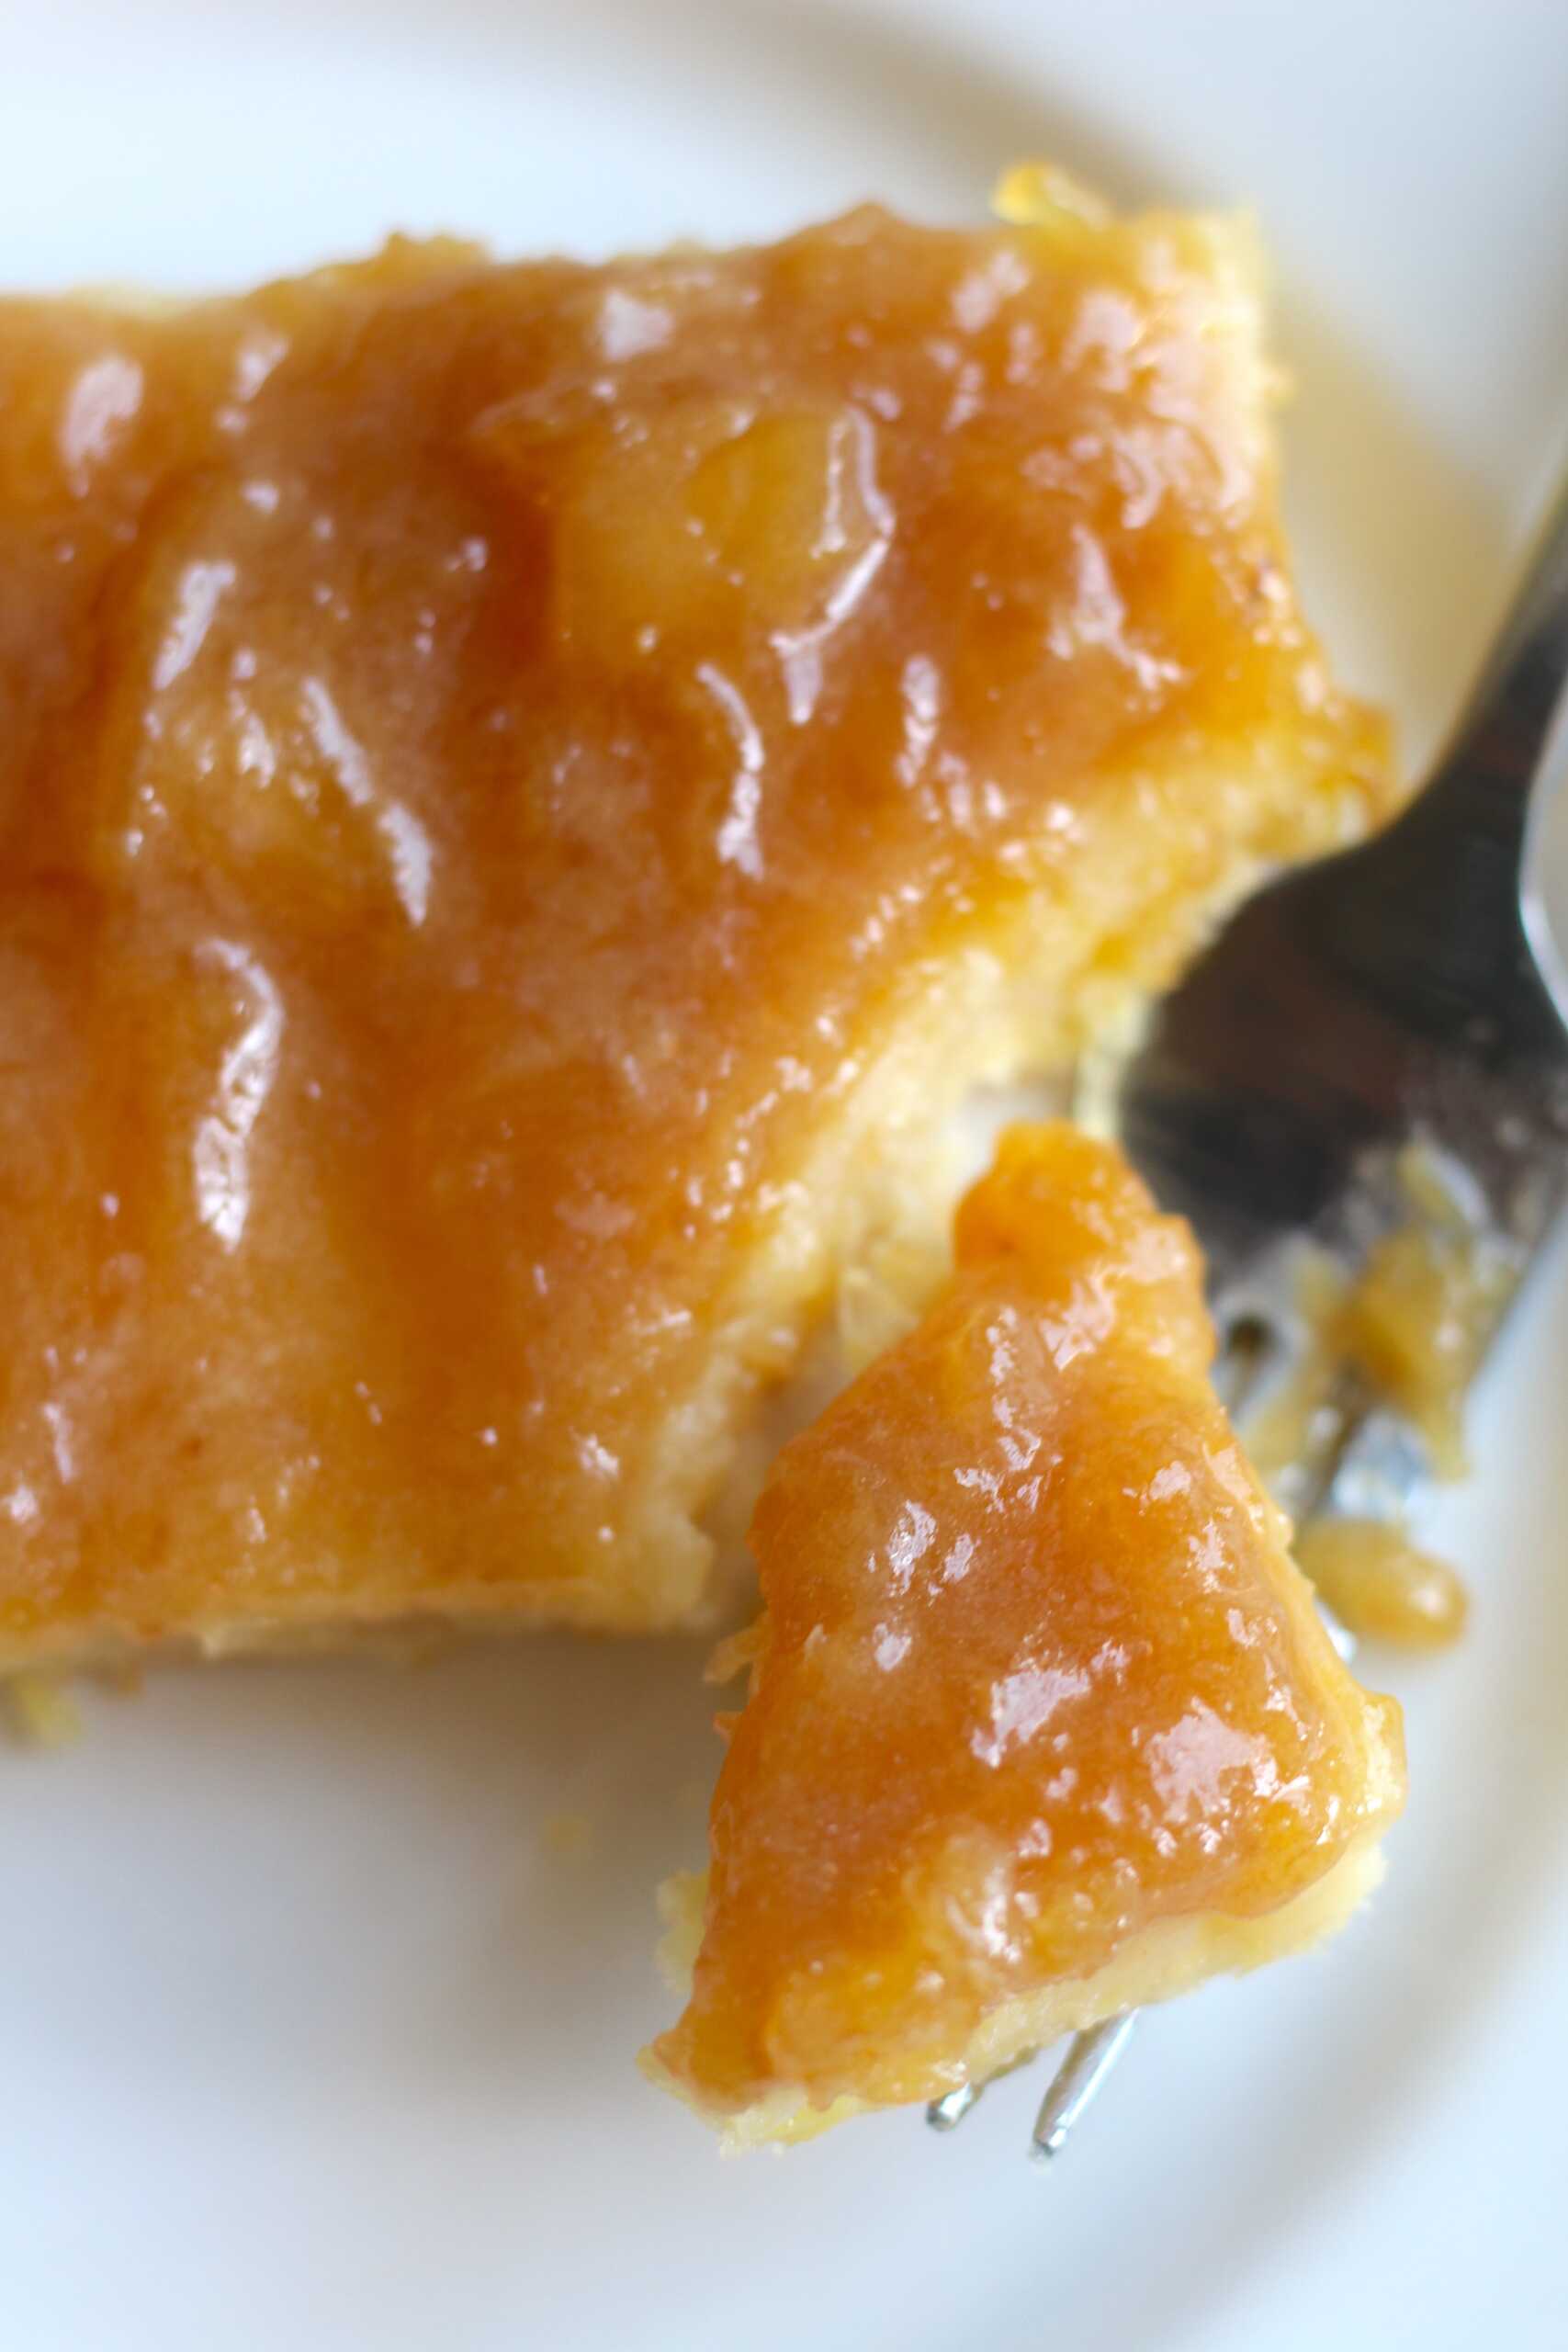
While we’ve made plenty of pineapple cakes over the years that were utterly divine, we hadn’t tried many pineapple bars. It was high time we remedied that! These Chewy Pineapple Bars couldn’t be more decadent and delicious. The chewy pineapple baselayer is topped with a fruity caramel frosting that is nothing short of heavenly. We won’t blame you for sneaking a few spoonfuls before the squares even get frosted. If you’re looking to freshen up your baking repertoire, this fun new recipe is just the ticket!
The sweet and tangy flavor from the pineapple is balanced perfectly with the buttery base layer. Kids and adults alike will love the chewy texture, and probably go back for a second serving or two! Mix things up by adding in a handful of shredded coconut to the frosting if you’re looking for a truly tropical vibe. It’s a great base recipe to tailor to your personal taste.
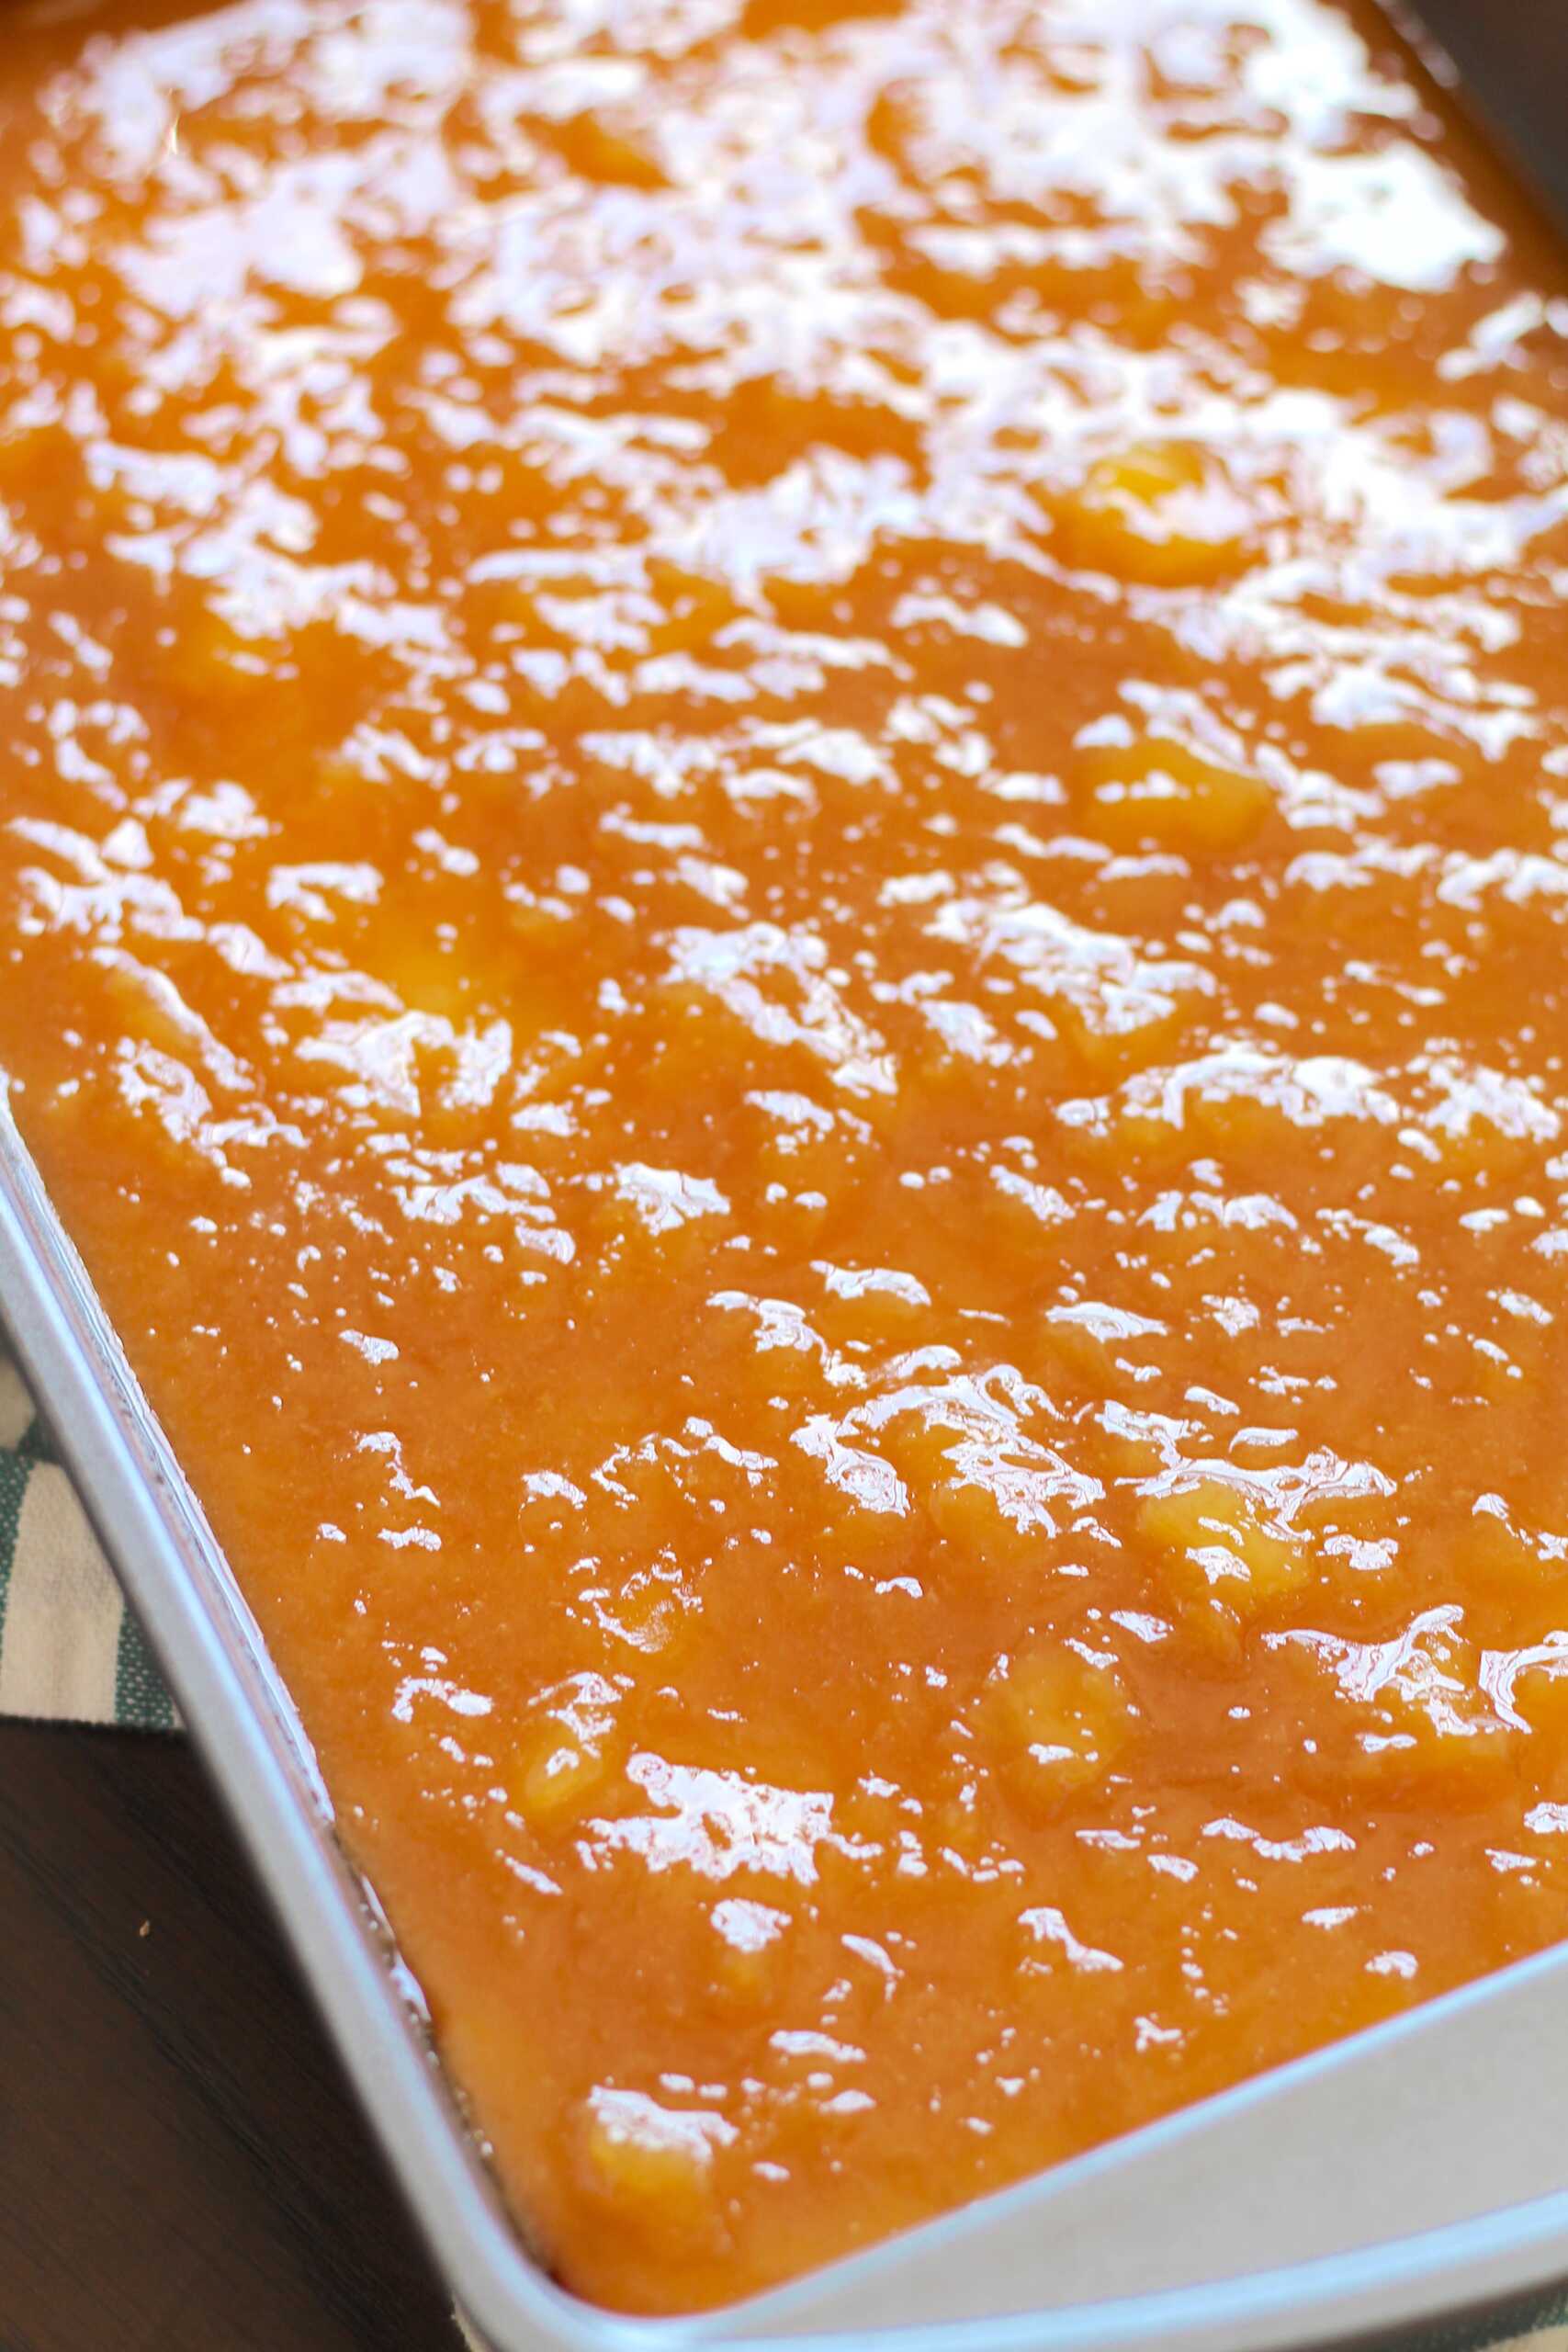
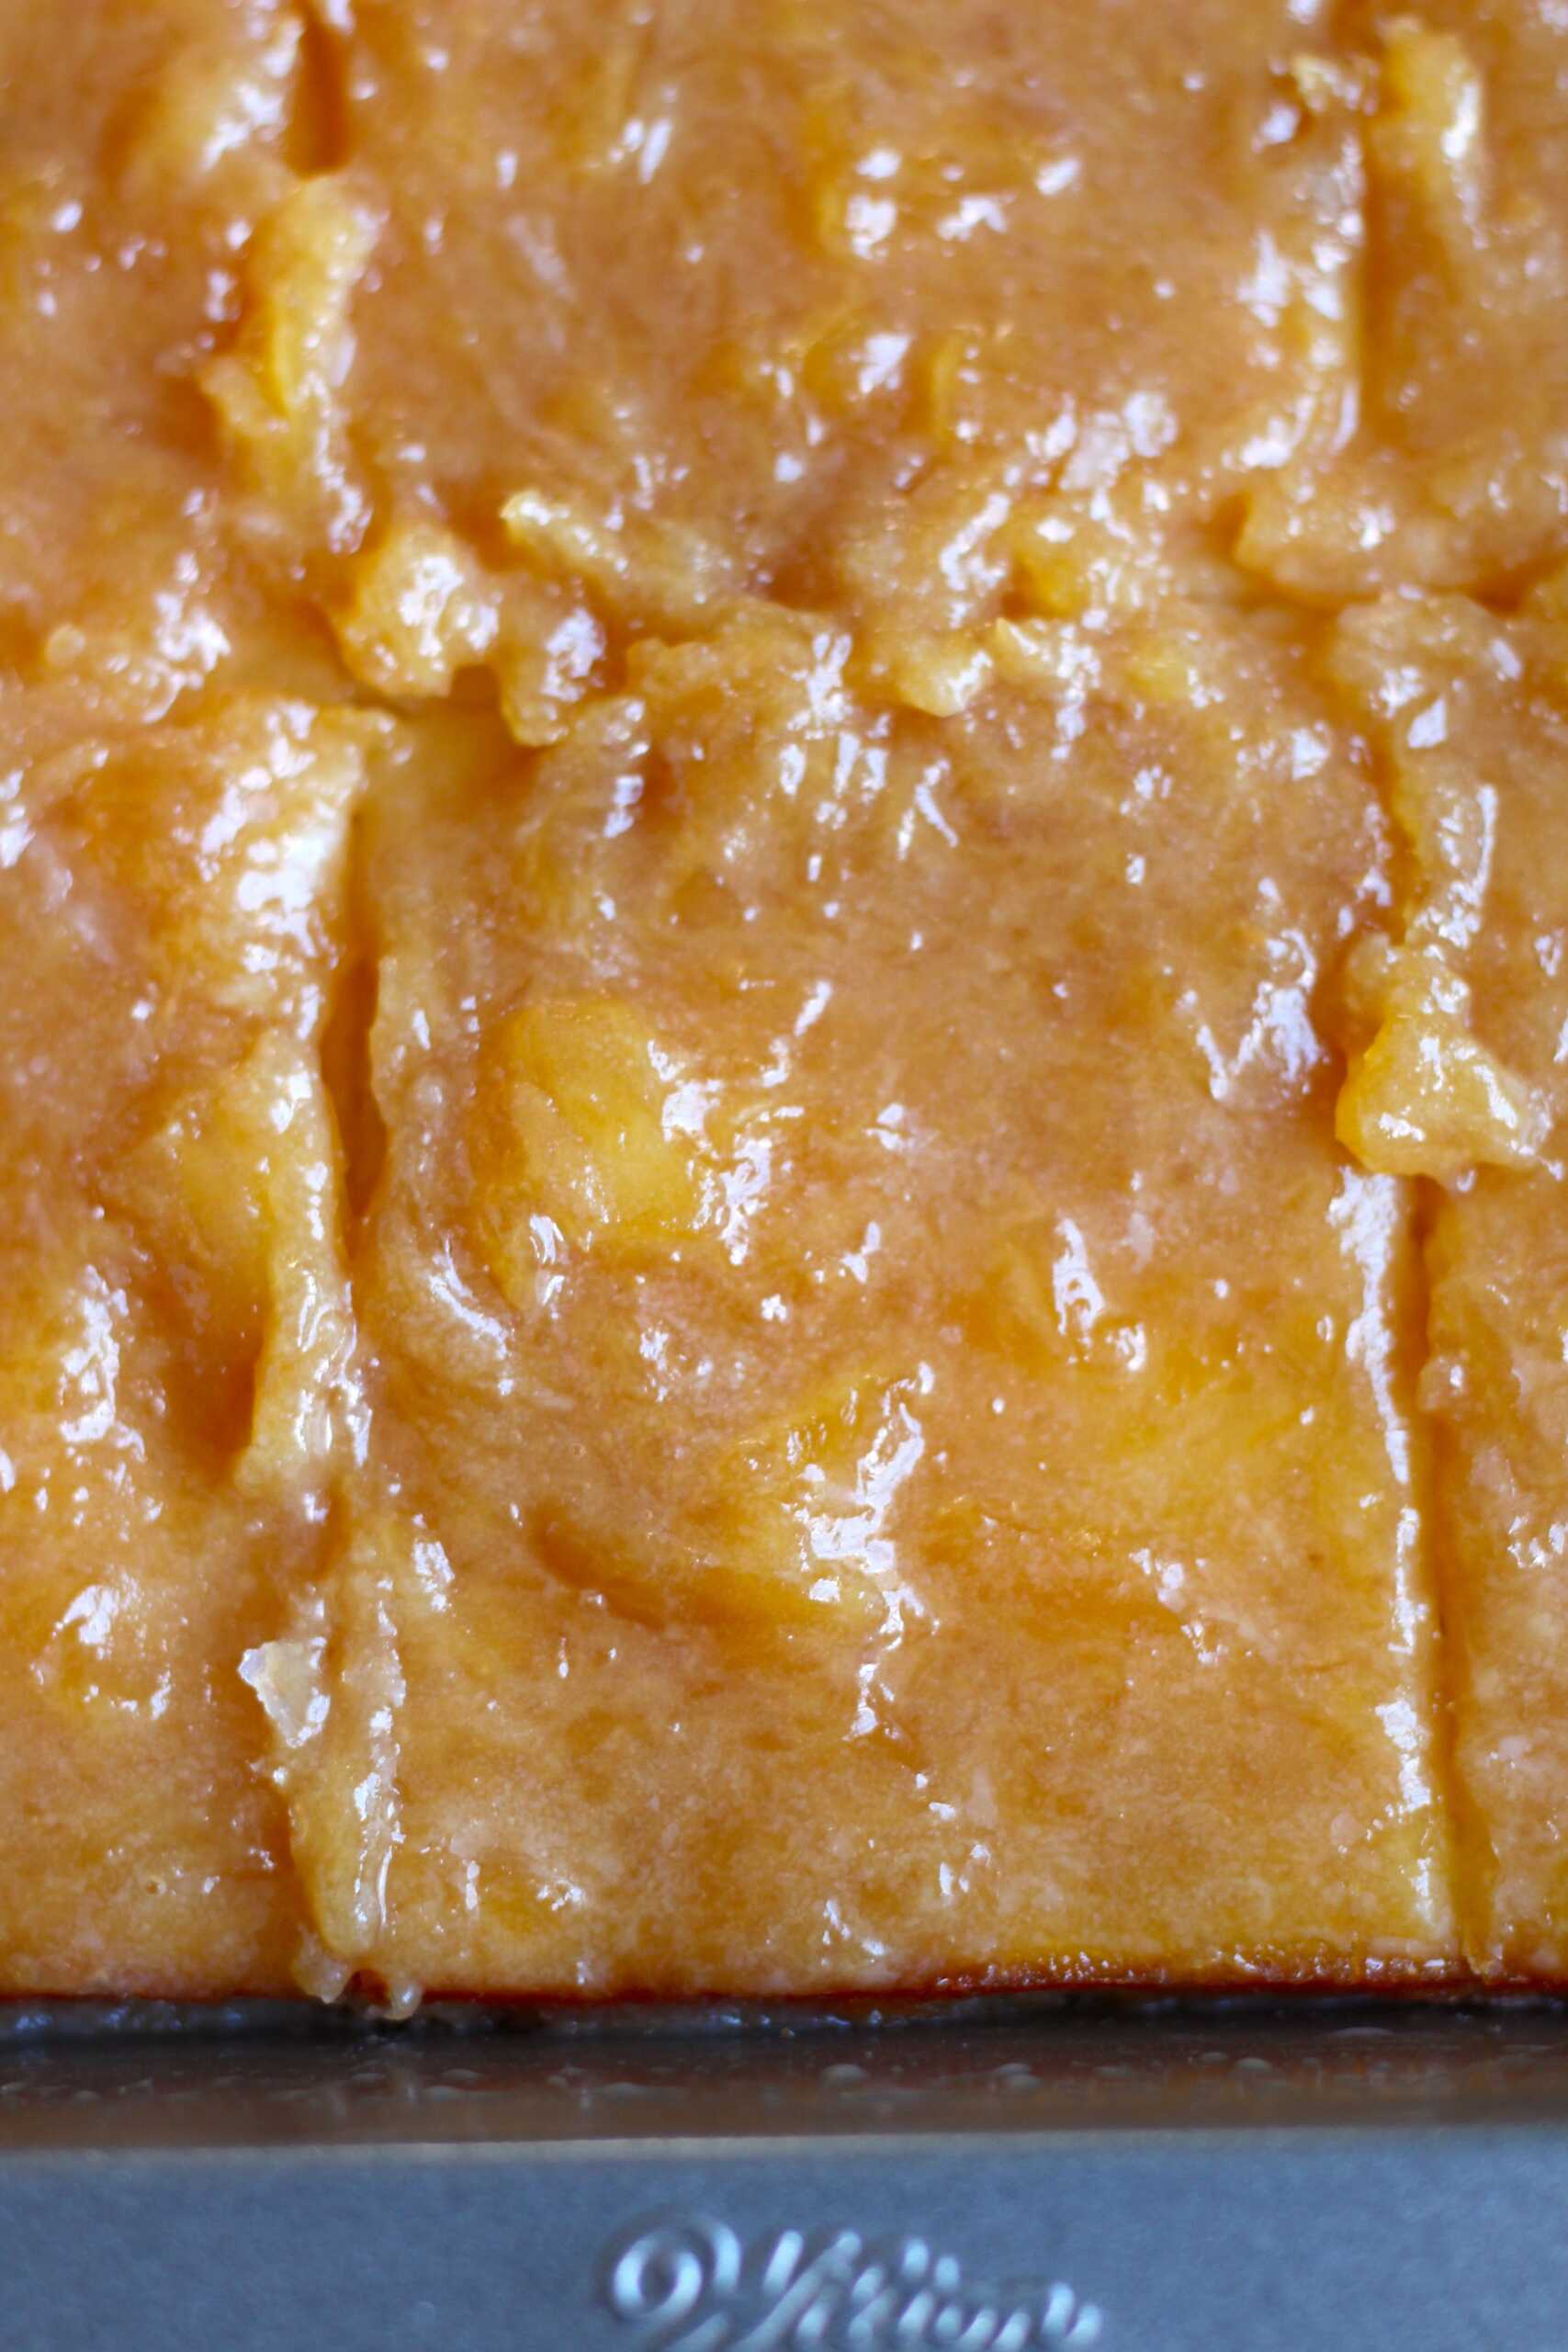
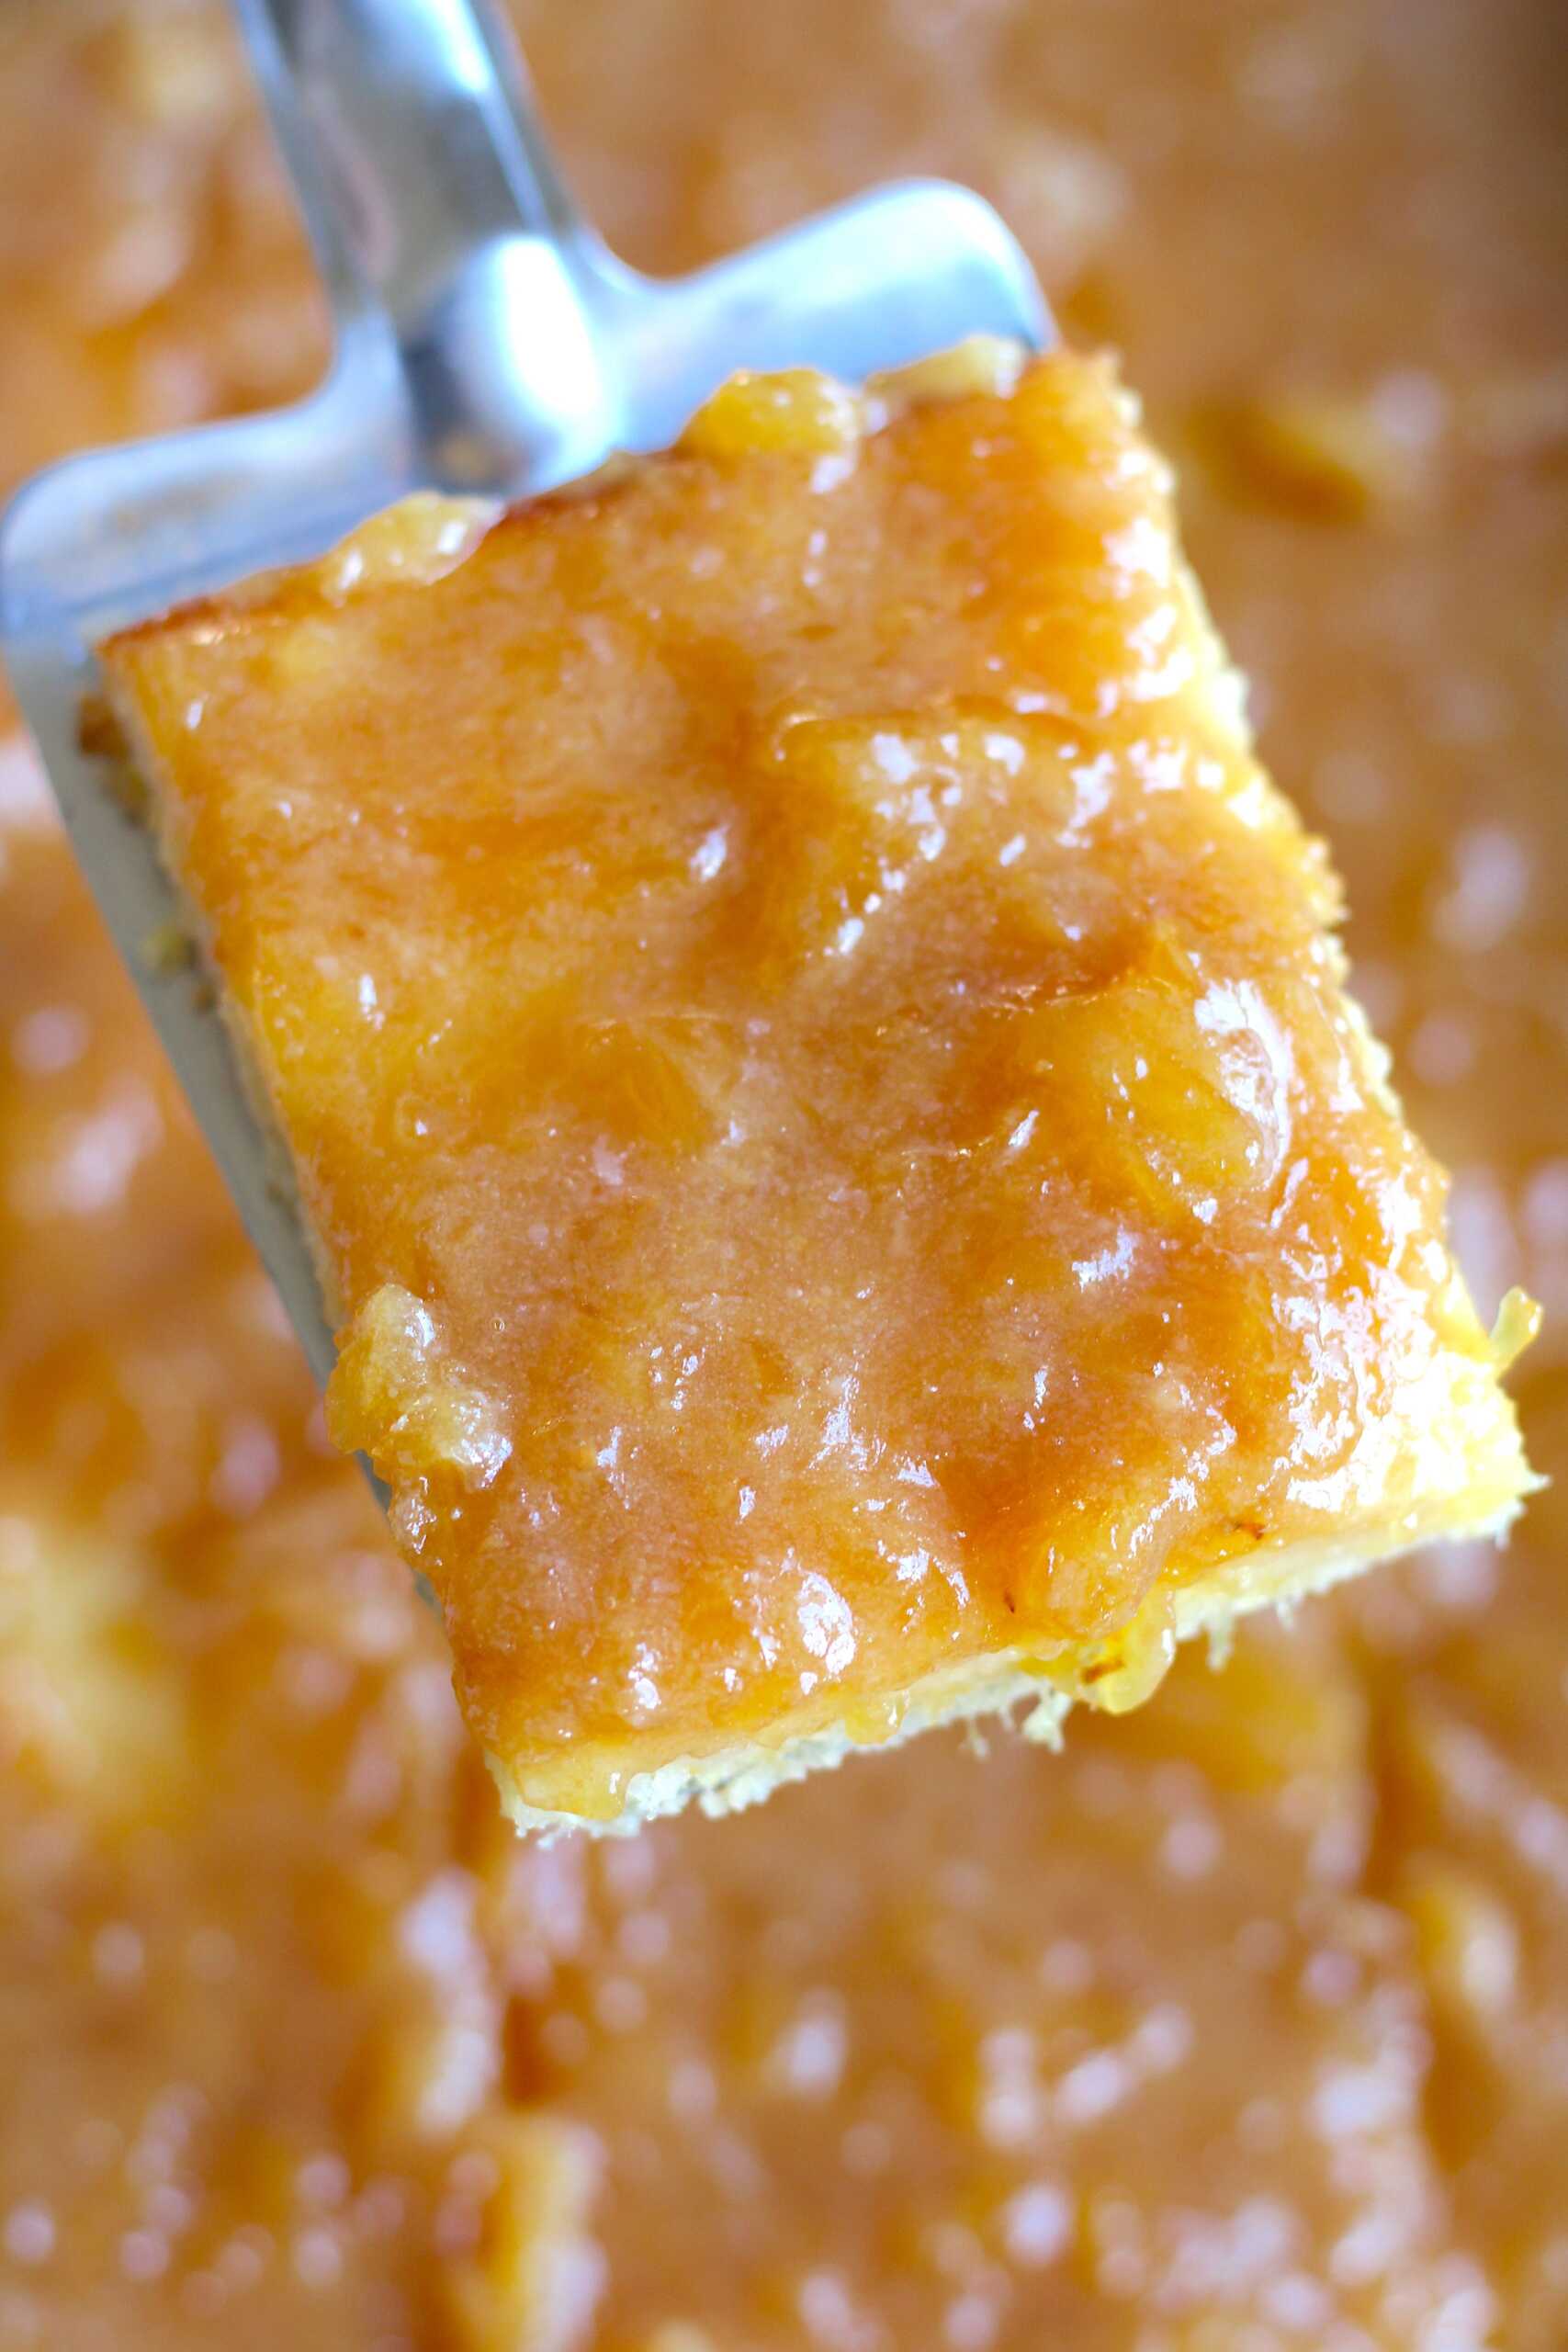
Make up a batch for your next get together or backyard barbecue. You can’t go wrong with flavors this tasty, but they pair extra well with spicy food like Thai or Caribbean fare. Satiate your sweet tooth and give these Pineapple Chewy Bars a try!
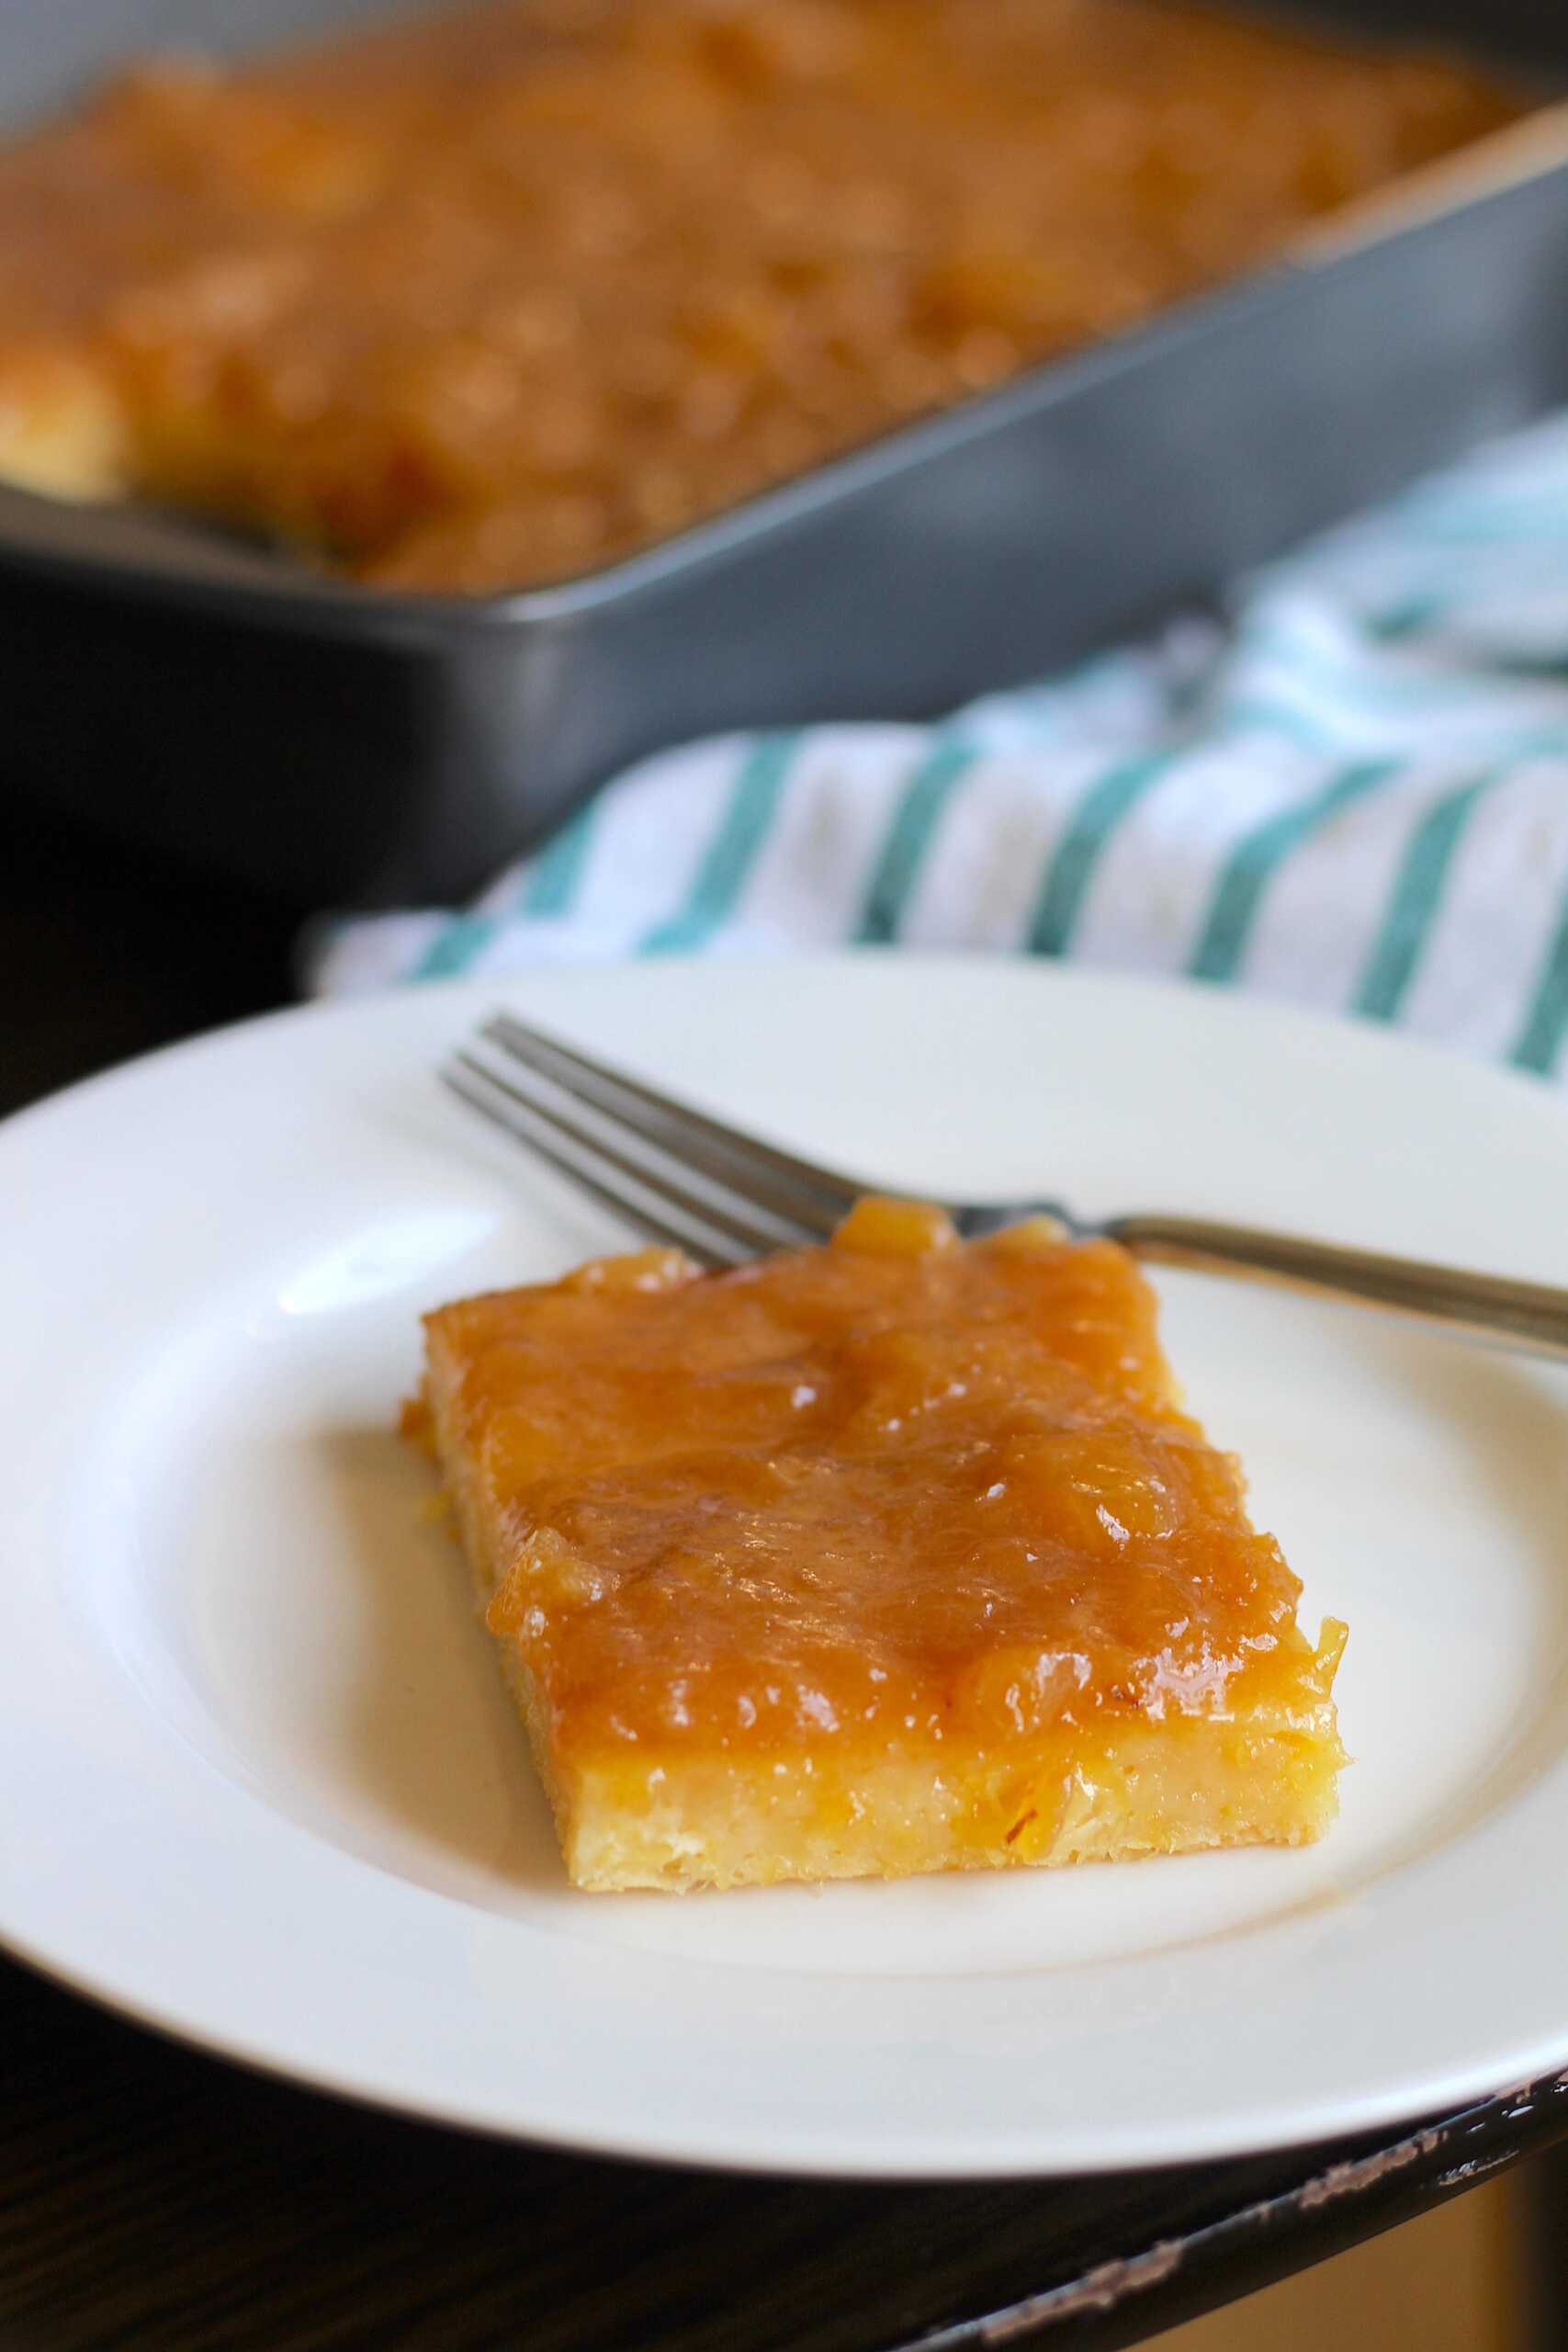
Pineapple Chewy Bars
Yield(s): Serves 12
20m prep time
45m cook time
Ingredients
- 1 ½ cups sugar
- 2 eggs
- 1 (20oz) can crushed pineapple with juices
- 2 cups flour
- 1 tsp baking soda
- 1/2 teaspoon salt
Frosting
- ½ cup heavy cream
- ¾ cup butter
- 1 1/2 teaspoons vanilla
- 1 cup sugar
- 1 (8oz) can crushed pineapple, fully drained
Preparation
- Preheat oven to 350 degrees F and grease a 9x13 baking dish.
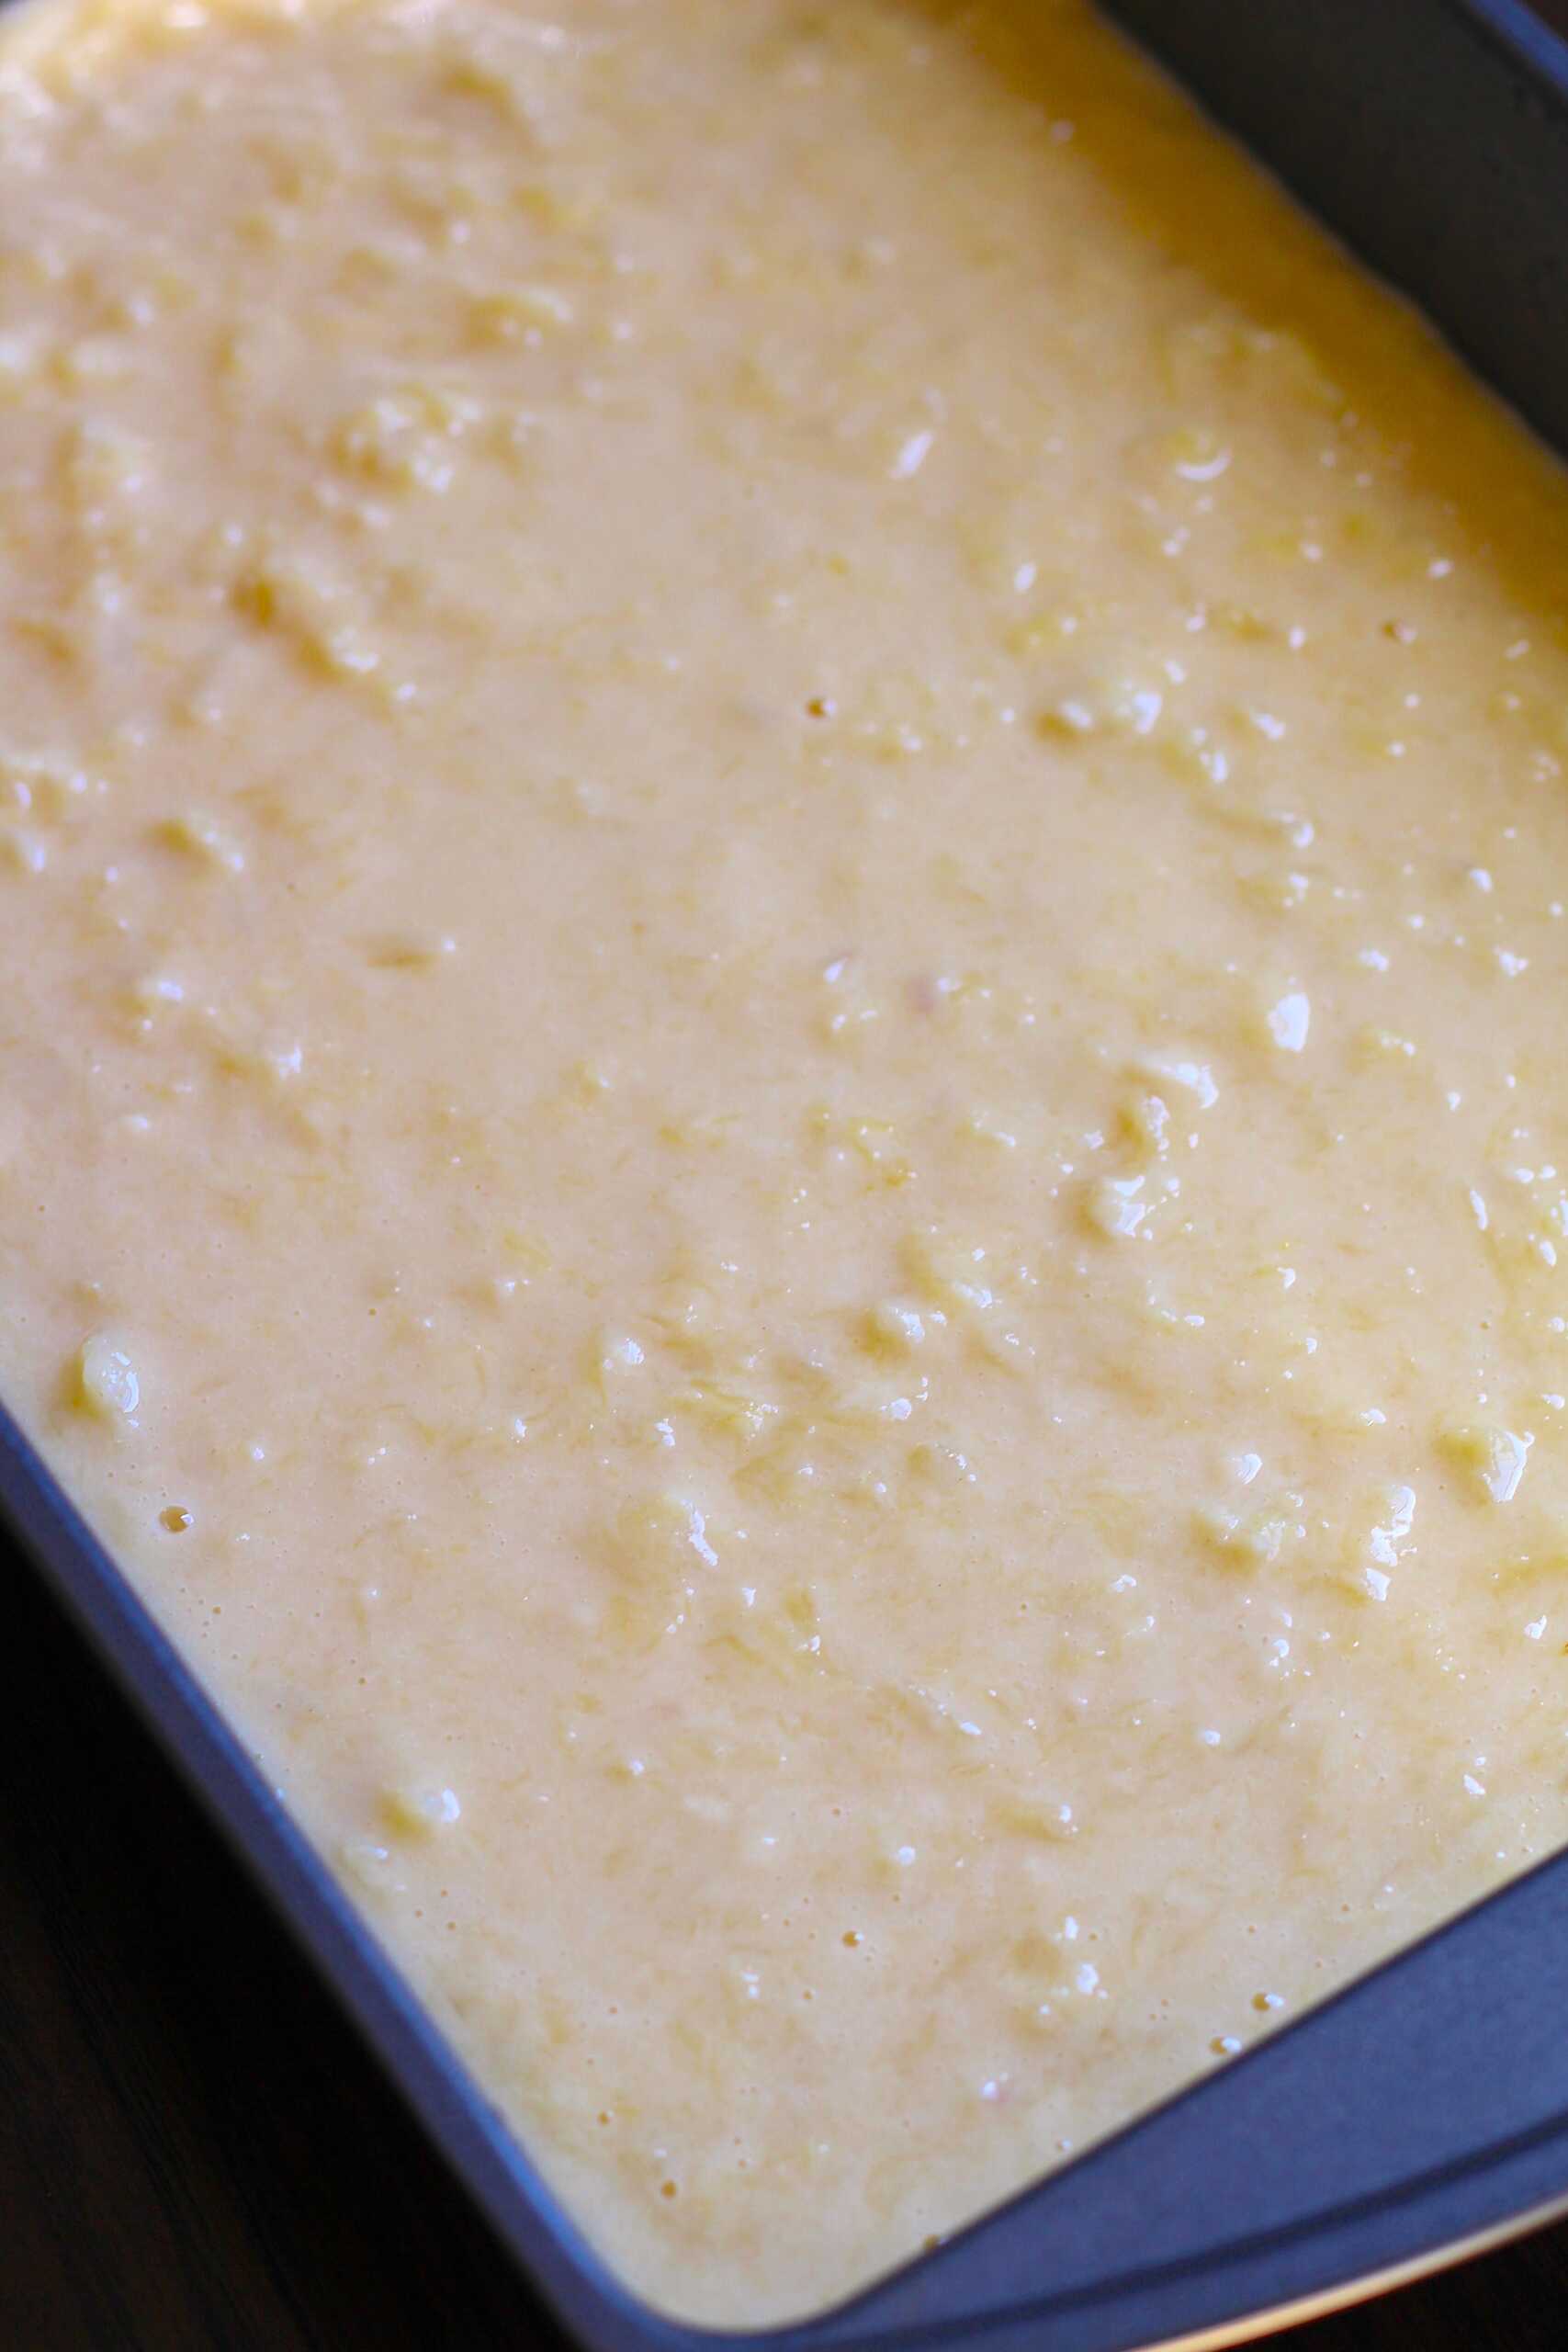
- In a large bowl, mix together the sugar, eggs, and 20oz can of pineapple with juice. Once combined, add the flour, baking soda, and salt.
- Transfer batter to the prepared baking dish and bake for 43-45 minutes.
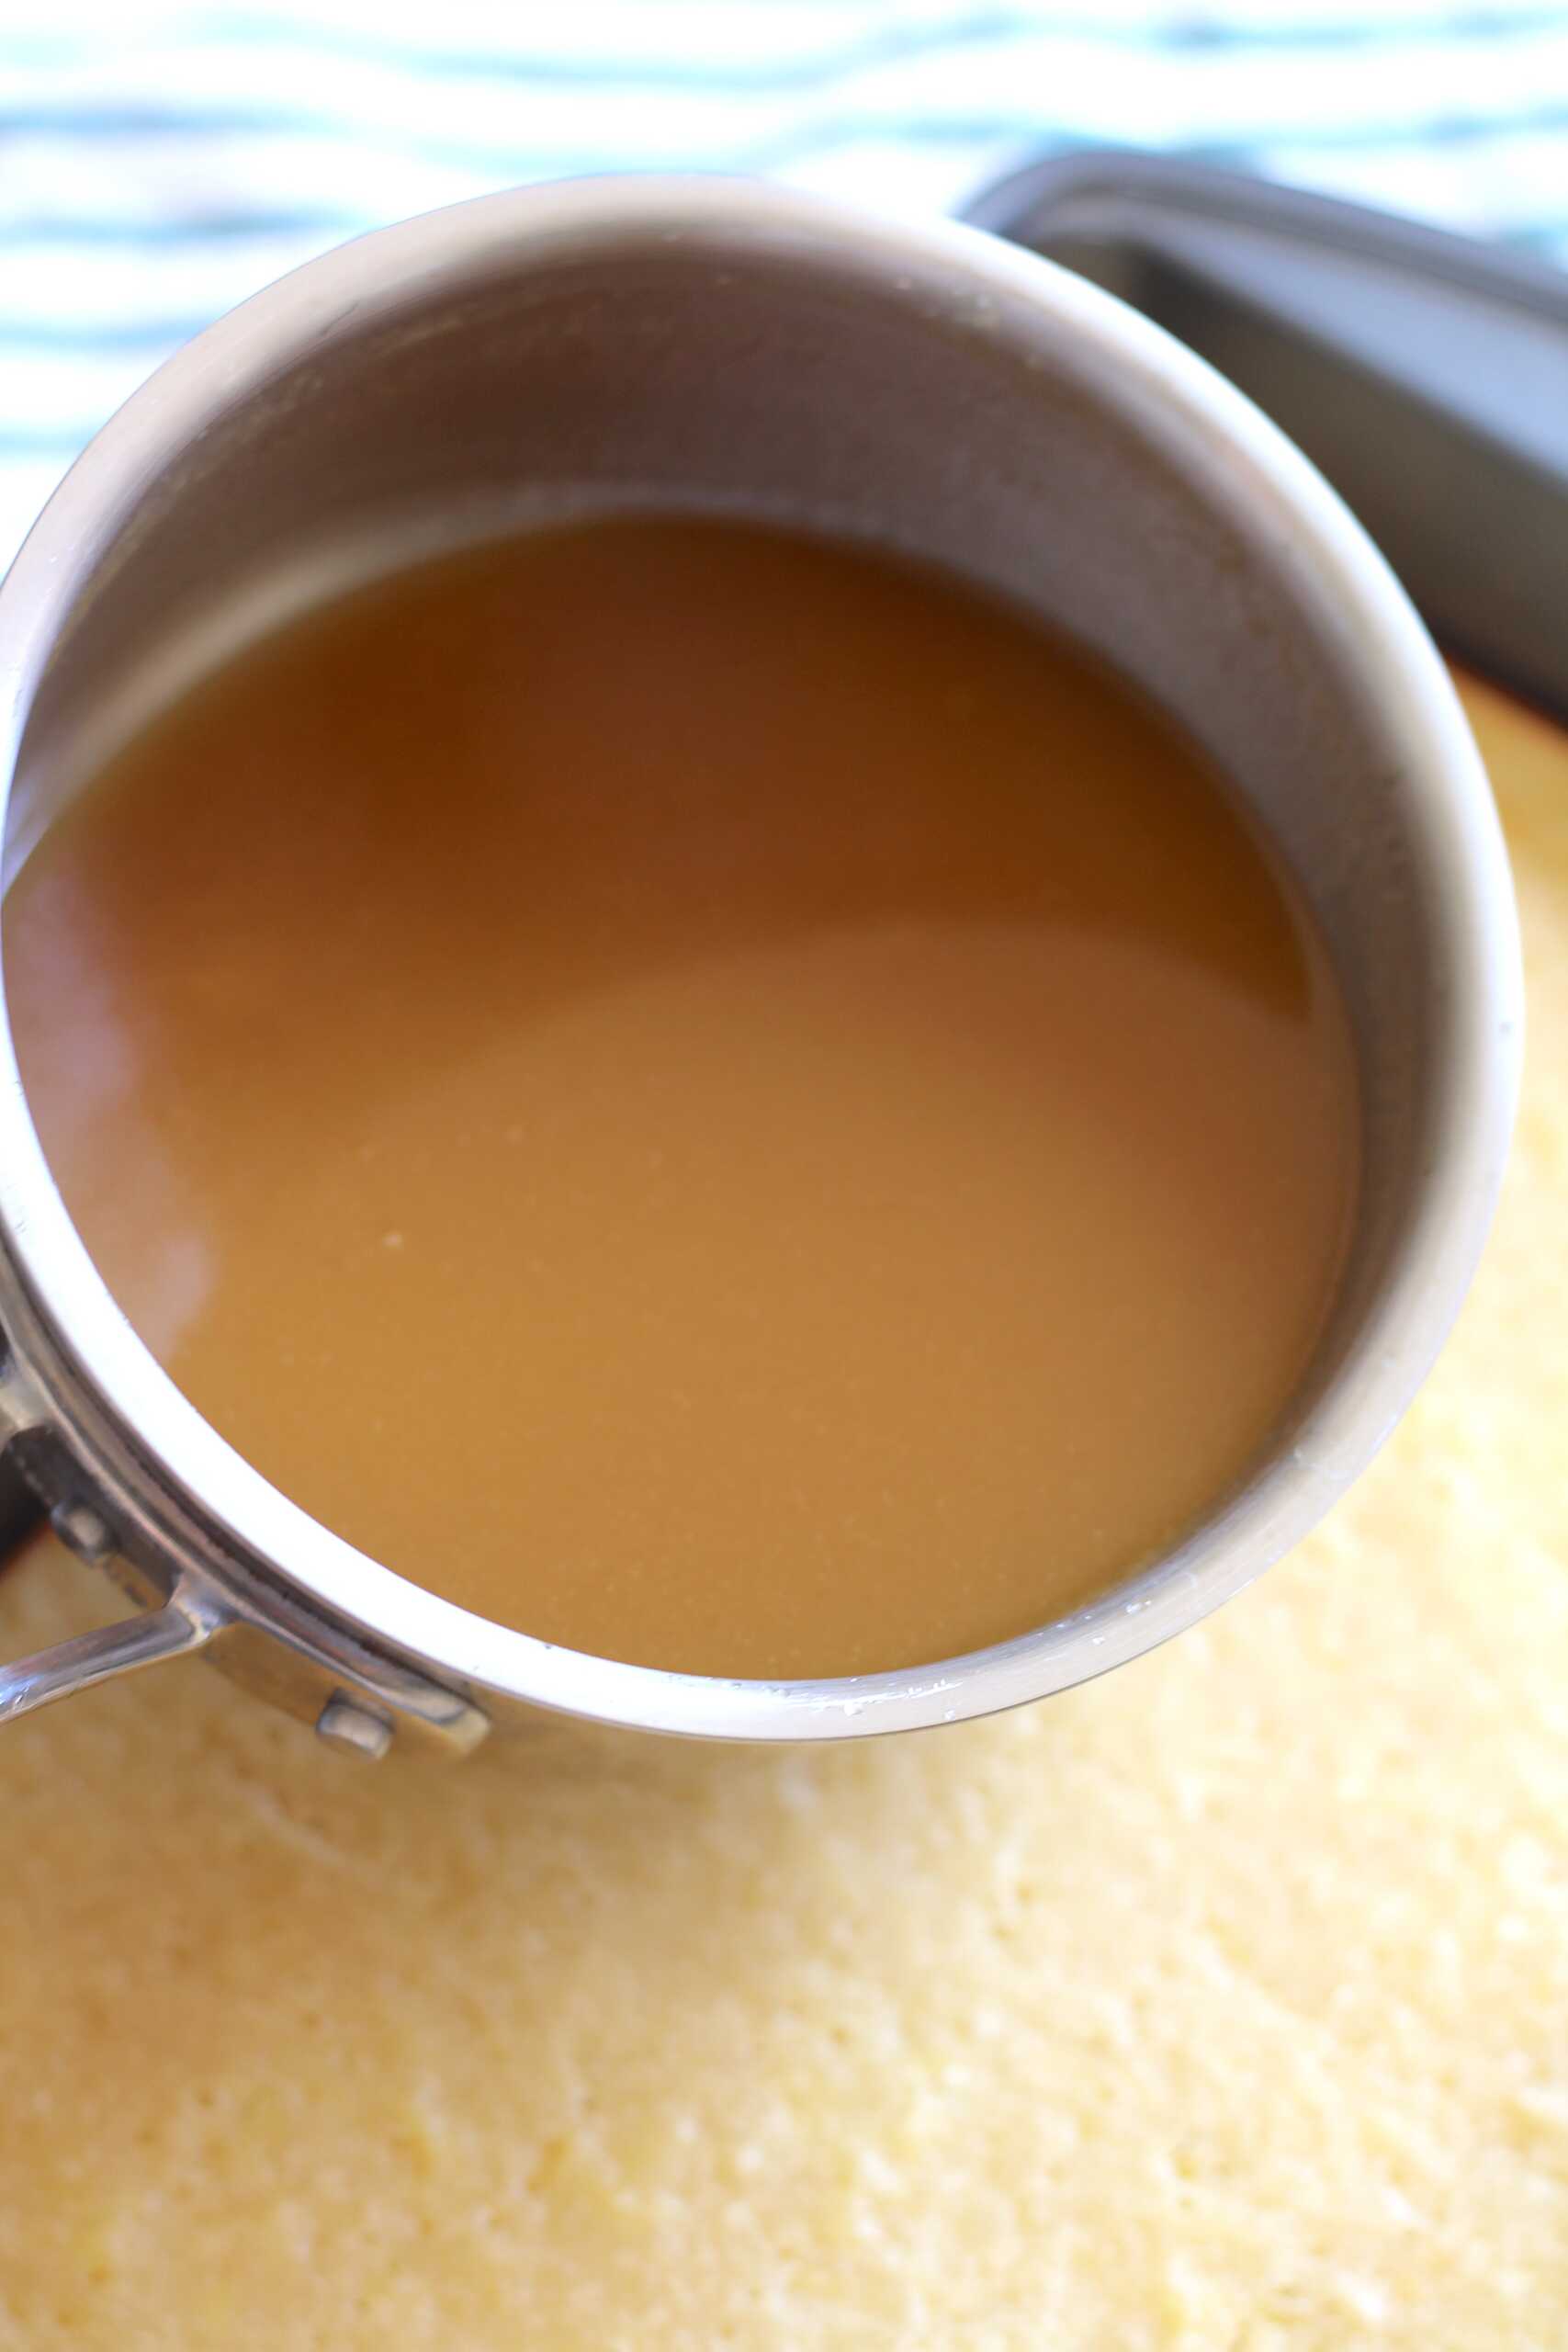
- As cake bakes, prepare the frosting: add all frosting ingredients to a small saucepan. While continuously stirring, cook over medium heat for 8-10 minutes or until thickened.
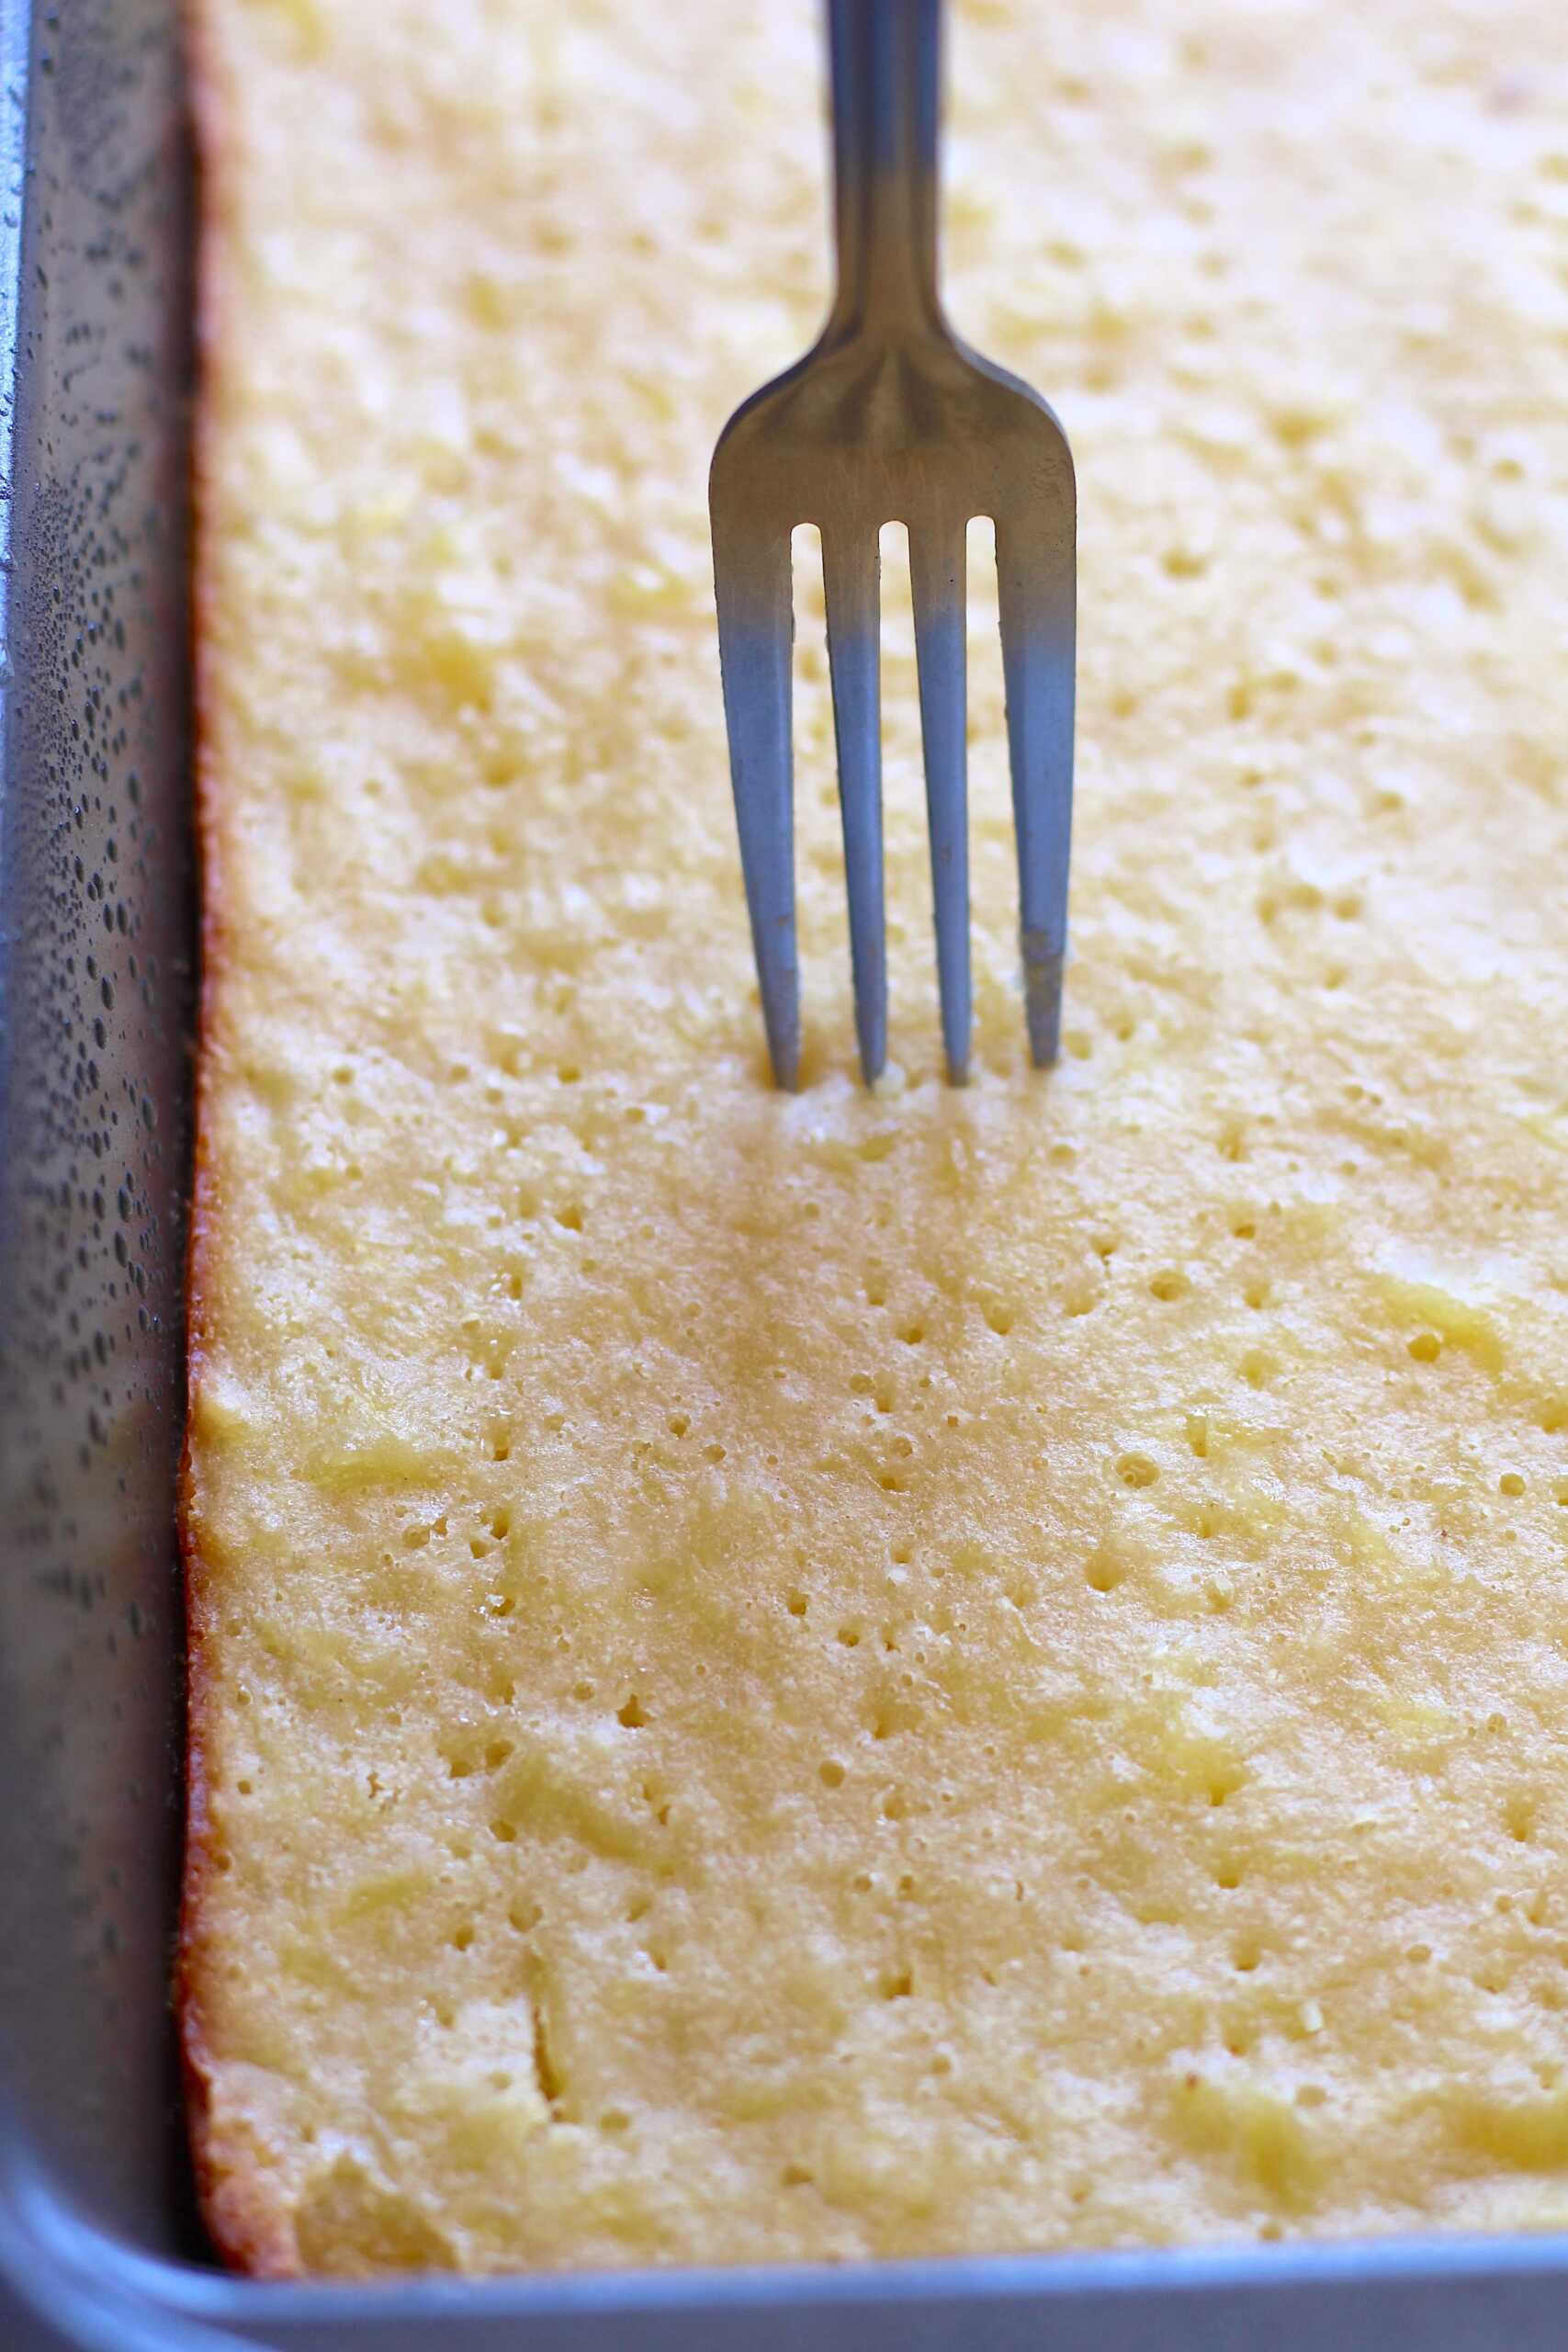
- Once cooled, use a fork to poke holes all over the top of the cake, then pour frosting over the top. Chill until ready to serve.
Recipe adapted from Simpleasthatblog.com
