

Before I tumbled head over heels in love with bread making I found it all to be a little daunting, scary even. But I started with no-knead breads – as every beginner should – because they offer a really gentle foray into what can be a rather complicated process. No-knead breads are decidedly not complicated. The set-it-and-forget-it solution of the bread world, they take little more effort than stirring together a few ingredients and setting your timer for many hours in the future. You don’t have to stress over folding technique or shaping or overproofing because they’re bountifully forgiving. Oh, and they still turn out an excellent homemade loaf of bread.
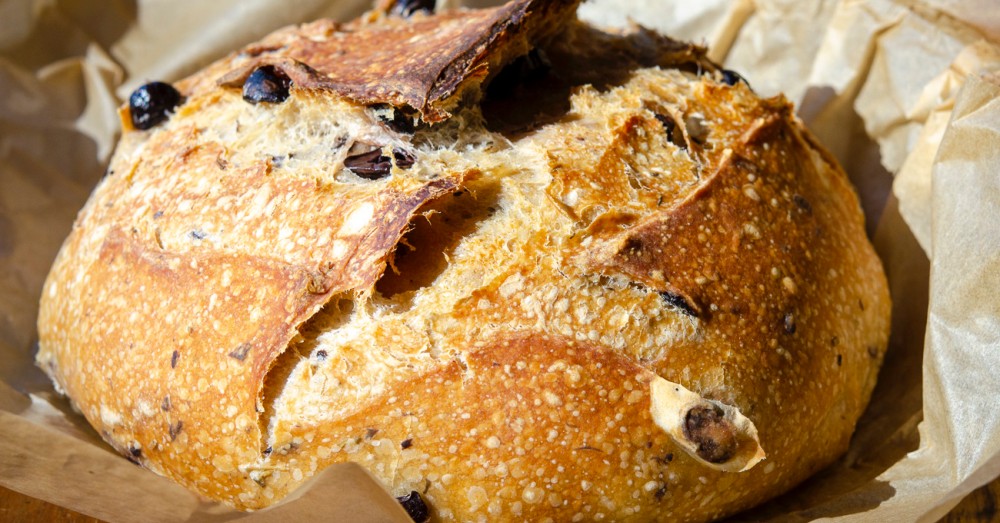
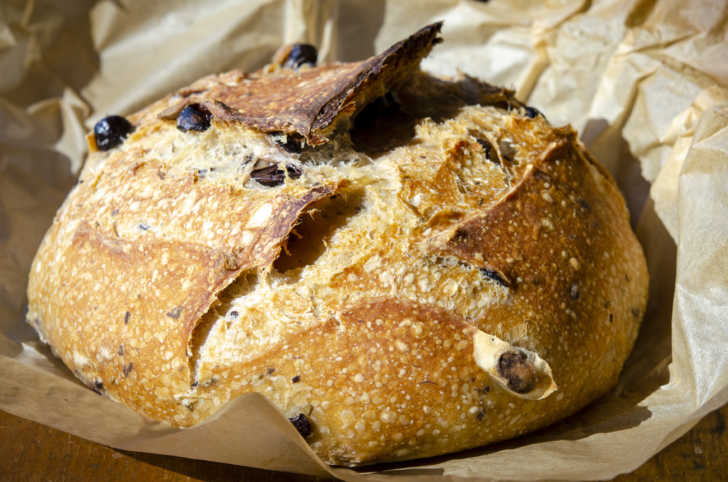
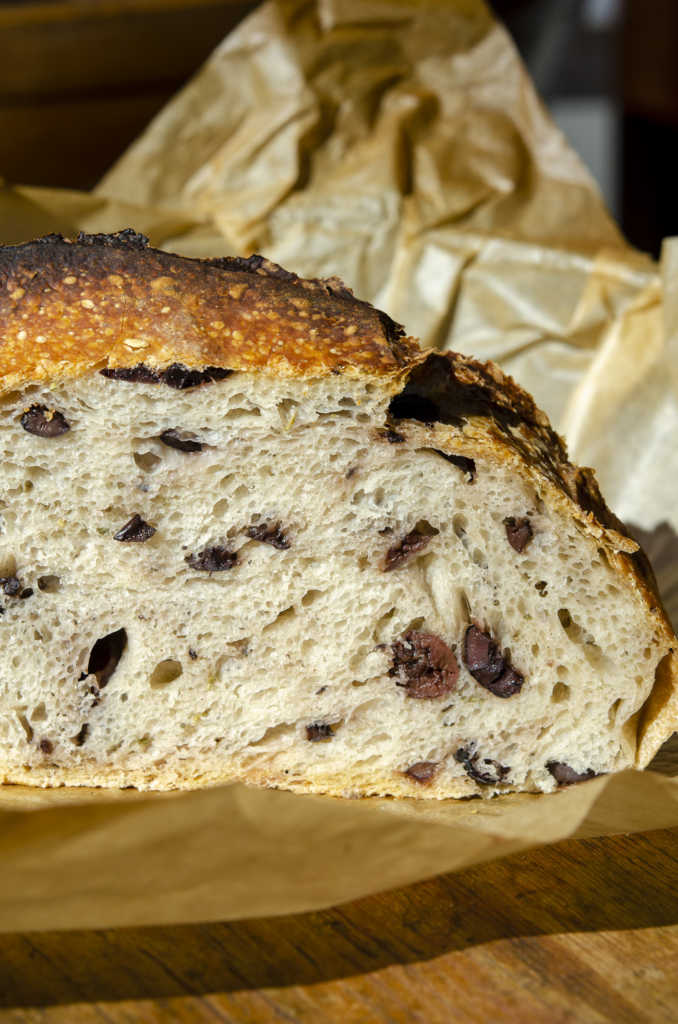
This one shows the versatility of a no-knead loaf. Using the basic recipe, you can take add-ins and create completely new flavors with your bread. In this case, salty olives and fragrant rosemary are added into the dough and it makes for a bread that’s an ideal appetizer. Toast it and serve it with a simple dip or a soft cheese, or just go ahead and do what I do – cut off a slice and eat it just as is!
You don’t need special tools or skills to create this bread – it’s pretty much foolproof. You do need time and some forethought, but that’s not so much to ask for a loaf that looks and tastes this good.
You start the way you start with all bread – by mixing your ingredients together. You just want to grab a big bowl and add your flour, yeast, salt, and water. Since this is so forgiving, measurements aren’t by weight here – you can just use your standard measuring cups. You want your water warm, at about 110°F, but this isn’t as exact as long-fermented sourdough so you can just run your hand under the tap until it feels warm but not scalding. (You just want to avoid it being so hot that it kills the yeast.)
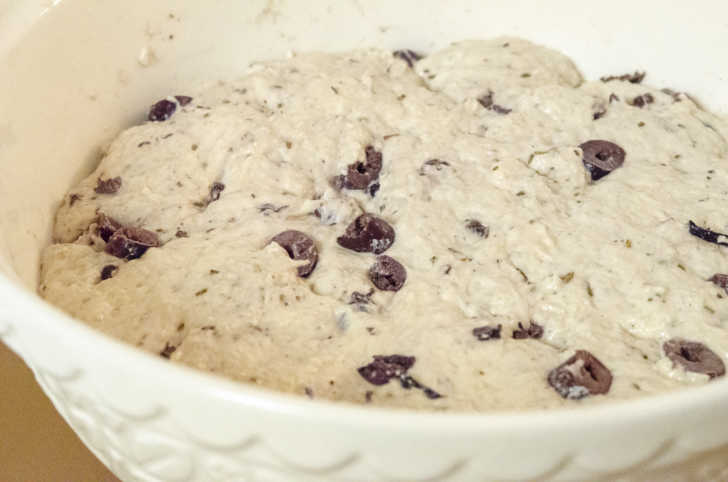
Stir those ingredients together. The dough will seem a little floury, but you don’t need to stress about incorporating every single bit of dry flour – time will take care of that. Once you have something resembling dough, mix in the olives and rosemary. You can use a spoon, but I like to work it in with my hands.
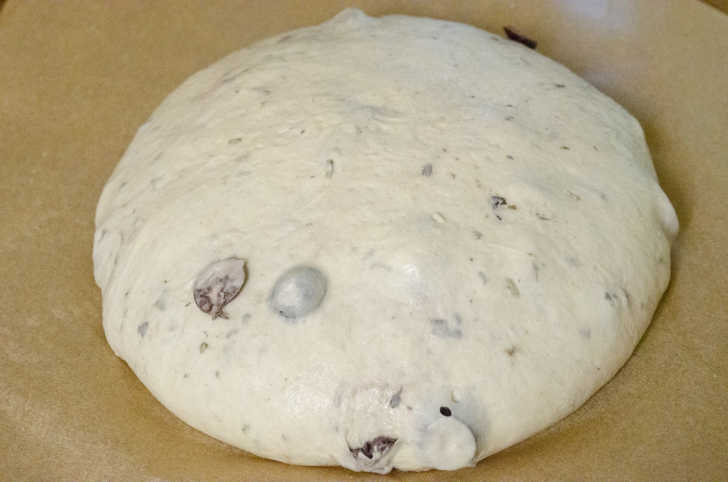
Then you let it sit. For eighteen hours. (This is the planning ahead part.) When you come back to it, the dough will look much wetter and larger too. And full of little yeasty bubbles.

At this point, you gently turn the dough out onto a floured surface. It will stick to the sides of the bowl but just give it time and gently help it along with a scoop of your hand while trying not to tear the strands. (Don’t destroy that gluten!)
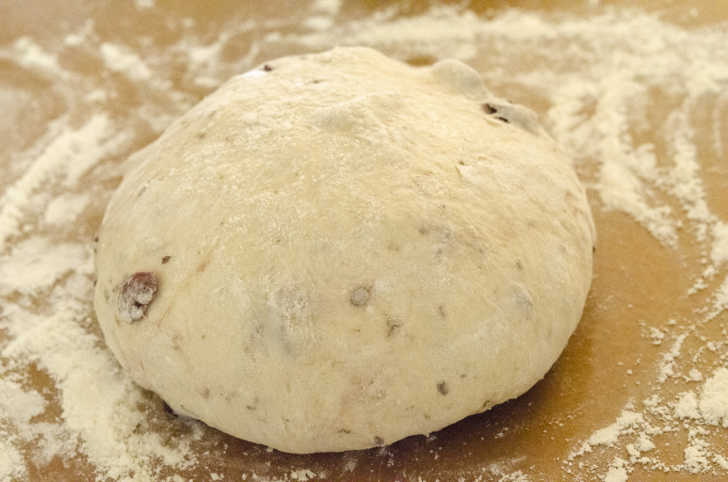
Then you shape it. I like to turn the dough over so the floured side is on top and then form it into a ball by turning it clockwise while using my right hand to tuck dough under as it turns. But don’t stress – you’ll find your own way. Just get that blob into something resembling a sphere and then let it sit again, this time on a piece of parchment paper. In about an hour, the dough will be much bigger and that means it’s time to bake. You can cut a few slashes in the top (score the bread) or you can skip it. Scoring gives the bread some direction on where to expand so it doesn’t split open wherever it might feel like, but with a bread like this, you’re not seeing a rapid increase in size in the oven so it doesn’t matter all that much. Again – say it with me this time – it’s forgiving.
Now for that part with the heavenly smells – baking time! The best way to do it is in a Dutch oven but it’s certainly not the only way to do it. A Dutch oven just helps to trap steam and creates a wonderfully crispy, crackly crust. Don’t have one? A pizza stone will do. You could even use a regular pot and cover it with a sheet pan. What I’m saying is – don’t let not having a Dutch oven dissuade you from making this.
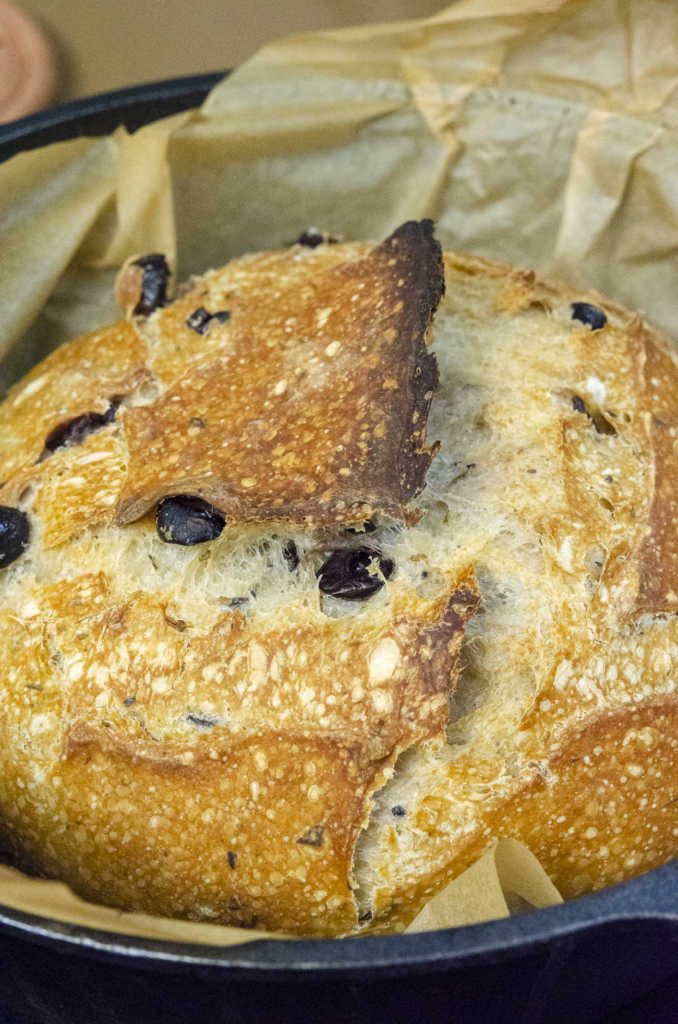
Put your Dutch oven in the oven while it preheats so it gets nice and hot. And you’re cranking your oven up to 450, so it’s really nice and hot. Lift that parchment paper straight into the hot Dutch oven and bake thirty minutes with lid on, twenty minutes lid off. I like my bread with a very dark crust, so you can cut down on the second stint of baking time if you don’t share that preference. (But that’s where all the flavor is in bread so I hope you do.) Your bread should sound hollow when you tap the bottom; that means it’s done.
So now you have a piping hot loaf of bread sitting on the counter and you can probably hear the crust crackling as it hits the cool air and you can definitely smell the olives and rosemary and yeast… but now comes the hardest part. You have to wait.
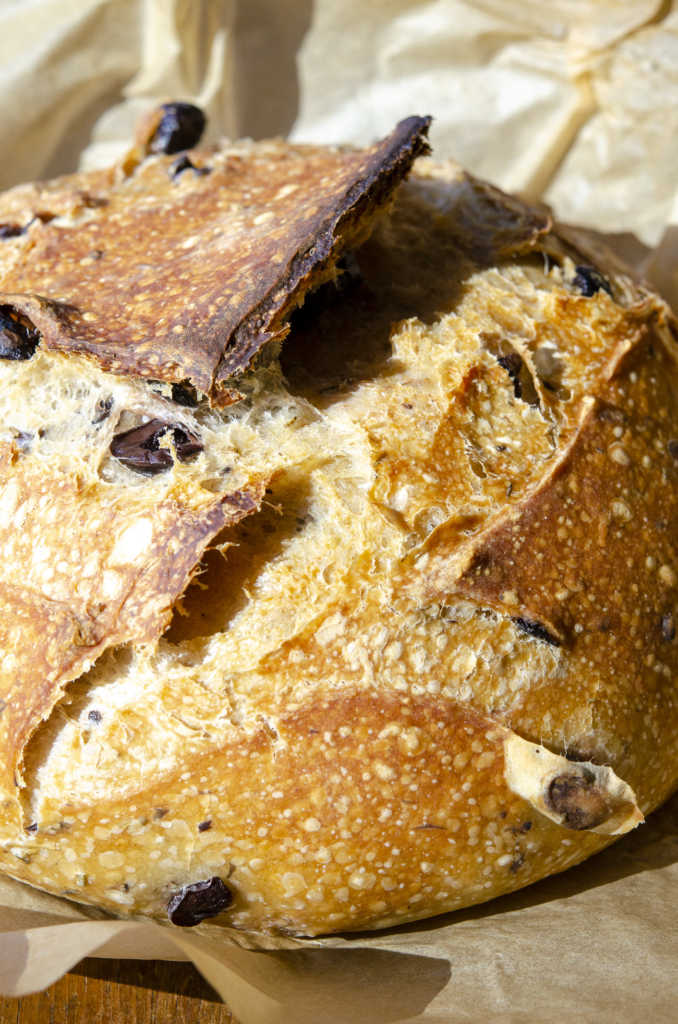
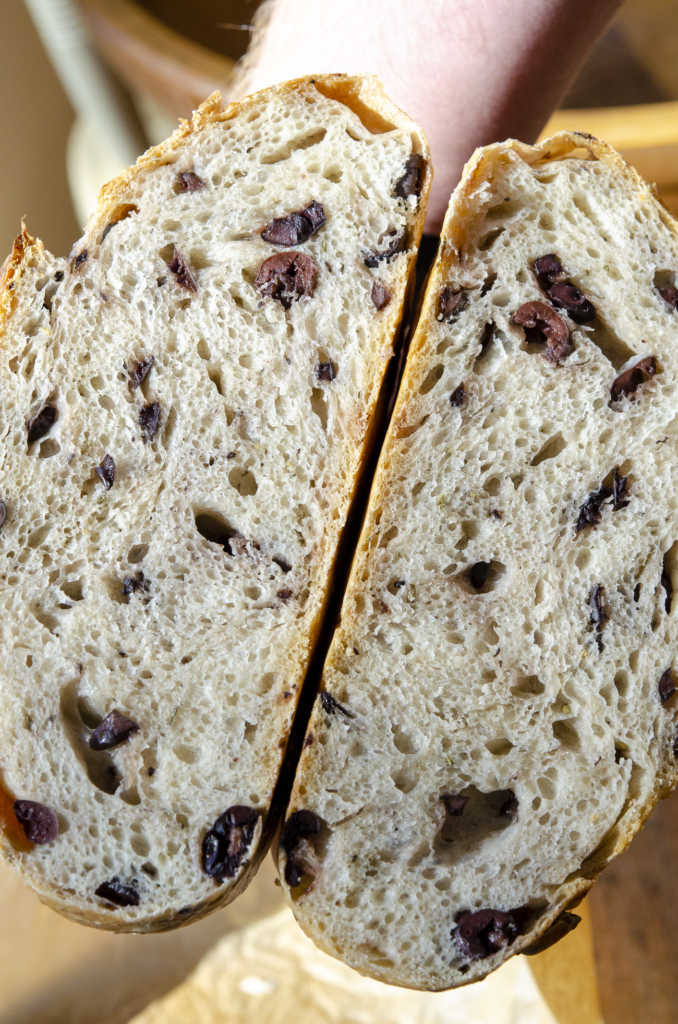
I know. I’m sorry. But you don’t want to cut right into a hot loaf of bread even if it seems like that is precisely when it is begging to be slathered in butter. There are lots of sciencey reasons but basically, the bread is still cooking as it cools and if you cut it now you risk gummy bread that has released its steam and thus dries out later. Ideally, wait until it’s totally cool, but if you can’t do that, at least give it thirty minutes or so. They do say the best things in life are worth waiting for and so I dare say that this loaf is worth a loooong wait. It’s everything you love about homemade bread – a crackly crust, a soft and chewy crumb, plus the salty bite of olives and herby rosemary. It’s hard to go wrong with that combo and it’s just as hard to go wrong making this bread.
No-Knead Olive Bread
Allergens: Gluten
Diet: Vegan
Ingredients
- 3 cups bread flour
- 1/2 teaspoon active dry yeast
- 2 teaspoons Kosher salt
- 1 1/3 cups lukewarm water (between 100-110°F)
- 1 cup kalamata olives, chopped
- 1 tablespoon fresh rosemary, chopped
Preparation
- In a large mixing bowl, stir together the flour, yeast, and salt.
- Add the lukewarm water and stir with a wooden spoon. Dough will be rather sticky. Stir in olives and rosemary.
- Cover bowl with plastic wrap or a clean kitchen towel and let sit in a warm spot in your home for 18 hours.
- Dust a clean surface (such as a countertop) with flour and turn dough onto it. Lightly dust dough with a little bit of flour, then form into a ball by tucking sides under as you turn.
- Transfer dough to a piece of parchment paper, cover again with a clean kitchen towel, and let rise until doubled in size, 1-2 hours.
- While dough rises, place a dutch oven in the oven and pre-heat to 450°F.
- When ready to bake, carefully remove the hot Dutch oven.
- If desired, score dough with a few slashes, then using the parchment paper, place dough into Dutch oven. Cover with lid and bake 30 minutes.
- Remove lid and bake until golden brown, about 20 minutes more.
- Let cool completely before slicing and serving to avoid a gummy texture. Enjoy!
Recipe adapted from Foolproof Living.