
This Gelatin Cloud Cake Takes A No-Bake Dessert To The Next Level

I think we’ve all gotten into a gelatin-rut — blah designs and flavors fitting into a run-of-the-mill casserole dish. What if I said no-bake desserts didn’t all have to be the same? Luckily this no-bake gelatin cloud cake fits the bill of being easy and almost too pretty to eat!
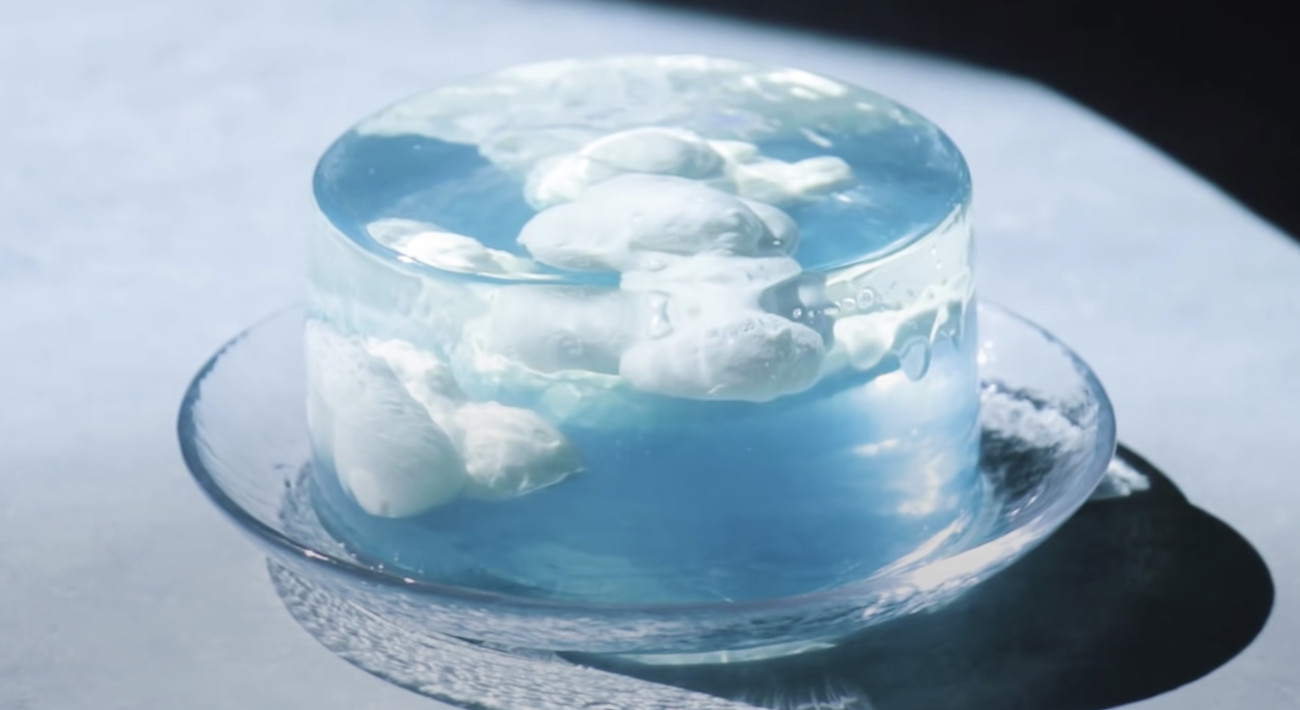
This gelatin dessert looks so realistic it’s like you grabbed a bit of the sky and put it onto a plate. Despite it being super realistic, it’s also super easy, the only real secret ingredient you need is time on your side.
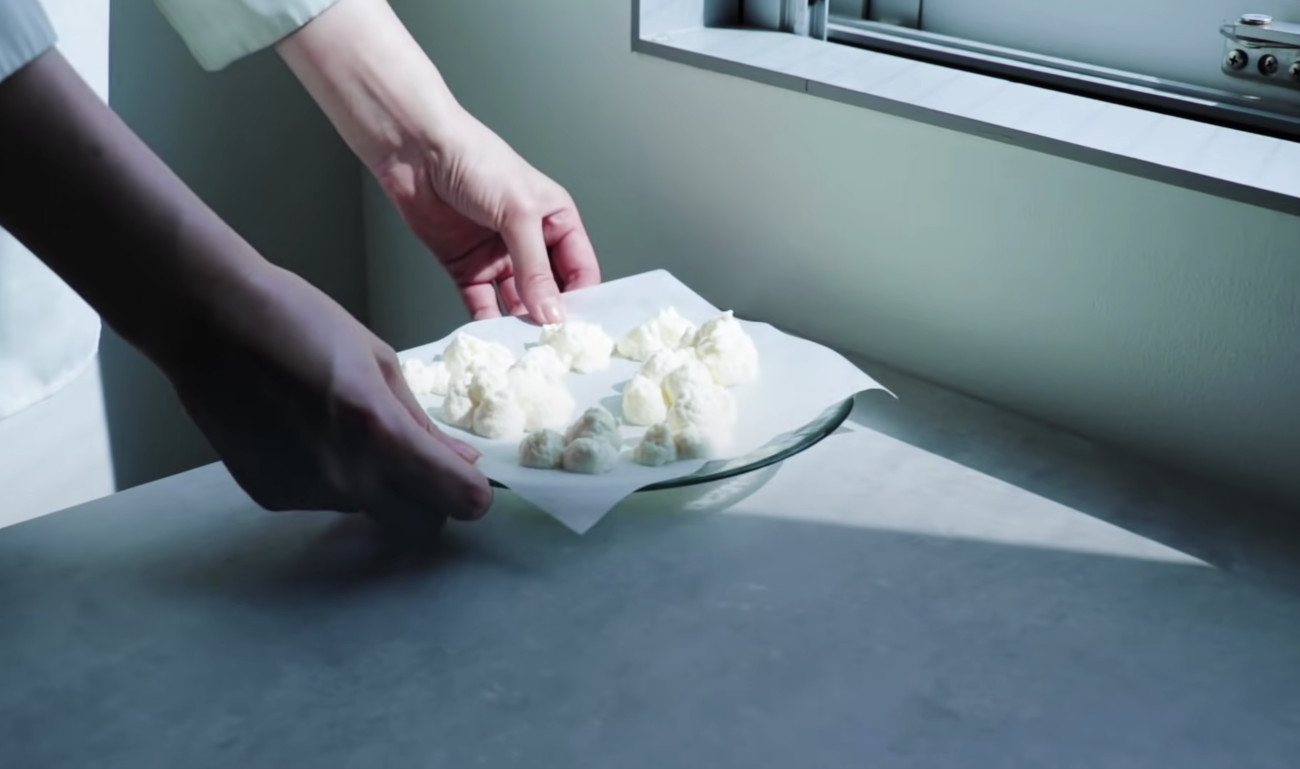
The first step is to make the clouds. Start by blooming some gelatin, beat softened cream cheese with sugar, and then lastly fold in whipped cream. After incorporating the gelatin, pipe the mixture into dot shapes onto parchment paper and allow the clouds to firm up in the refrigerator.
Just like the clouds, the sky portion also required bloomed gelatin. In the video, gelatin sheets are used, but you can easily use granulated gelatin. After it blooms, you make the sky by heating up water, white wine (it can be substituted with water, but then you’ll have to add some flavoring into the mixture), and sugar. When the sugar has dissolved, you’ll add the bloomed gelatin.
Once everything is thoroughly mixed together, place the pot into a bowl of cold ice water, this will start the cooling down process. After a few minutes, remove five ounces of the gelatin liquid and dye it with blue coloring like blue curacao (or if you want to make it non-alcoholic, you can use blue gel dye). Don’t be skimpy on the coloring! If you only use a tiny bit of coloring, the blue portion will look kind of green and sickly. In the video, they used a clear strawberry flavoring for this blue layer, but really you can use any flavor (I think coconut would taste amazing).
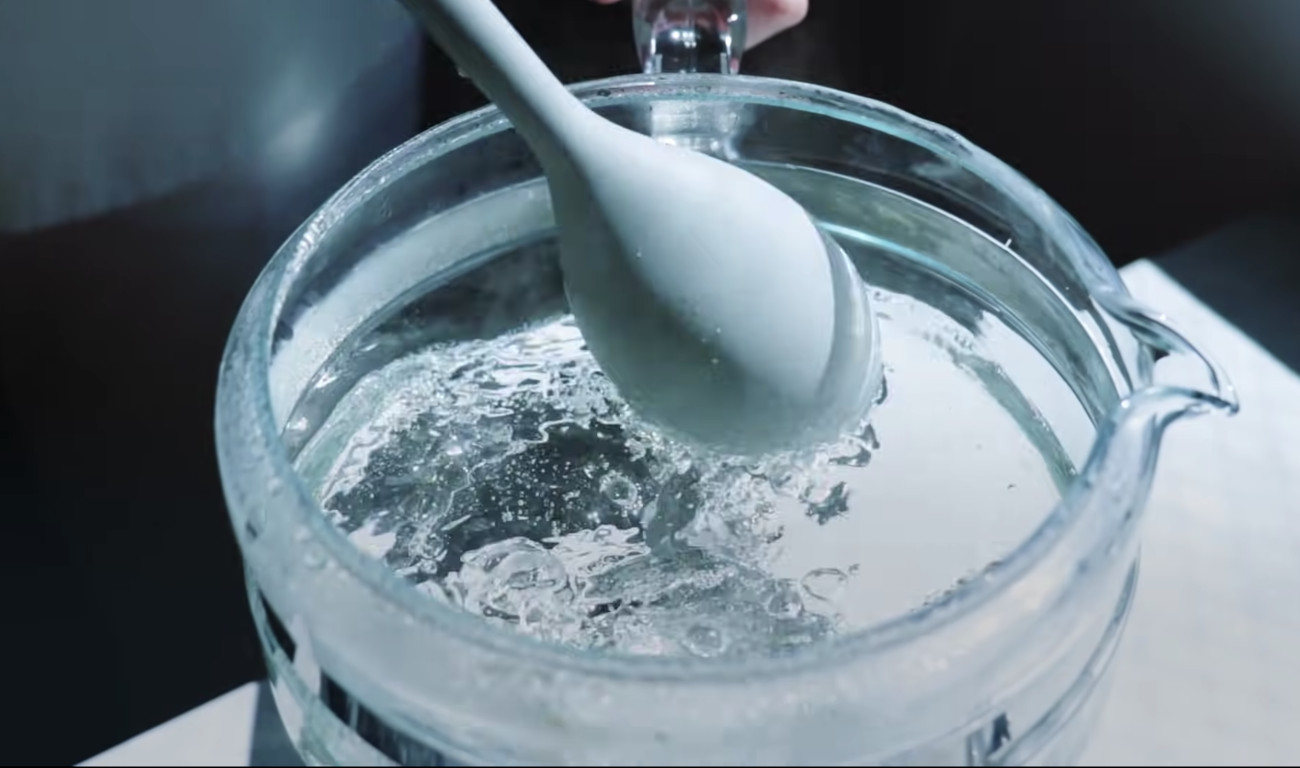
Really it’s not too hard! Honestly, the most difficult thing about this process is chilling the layers, which I never have enough patience for, but I know the results are worth it. The key is to refrigerate the layers until they’re soft but not completely set.
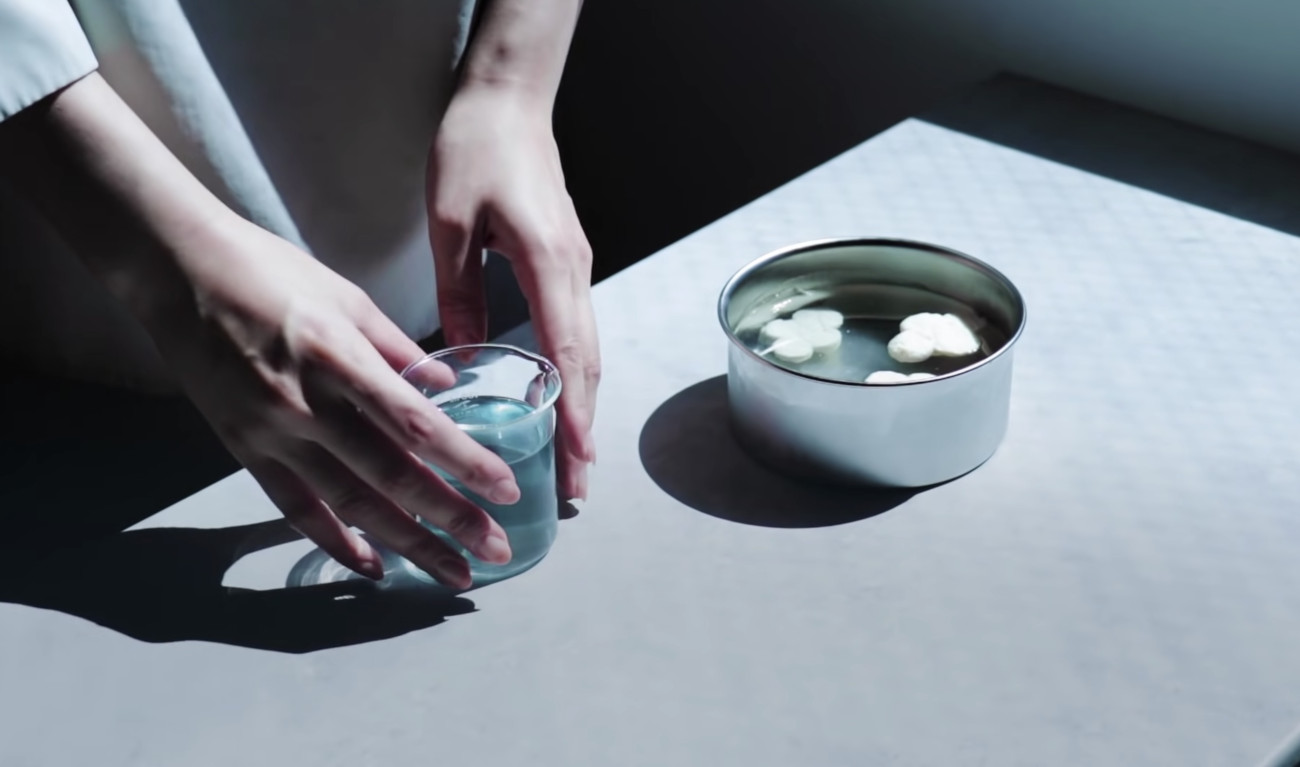
To start the assembly, pour the first clear layer of gelatin into a cake ring or pan and set one to two clouds into the layer. The clouds may move around, but don’t worry. Let this layer chill for about two hours, and repeat the process again. The trick to the realistic illusion is to layer the clear mixture first, followed by the colored mixture. So that means you’ll pour the third and final blue-tinted gelatin into the mold and let it firm up completely (I would recommend refrigerating it overnight).
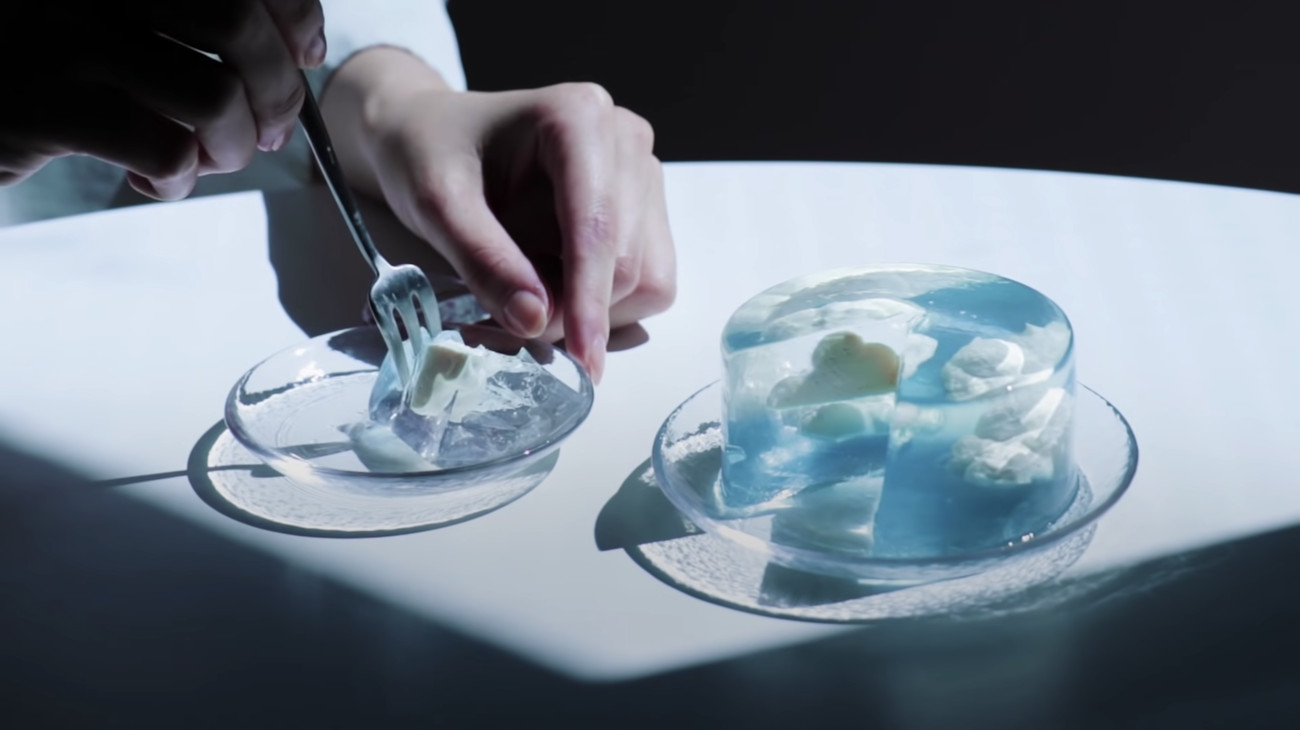
Removing the cake from the mold isn’t the easiest, but if you take your time, it’ll come out fine. Invert the pan onto a plate and use a hot wet towel to cover the pan, the temperature difference will break the seal between the pan and the cake.
The mixture of clear and blue gelatin makes for a pretty realistic illusion, it’s like you’re really looking at the sky. Try this layering trick, and you’ll surely change up your no-bake dessert game for good.