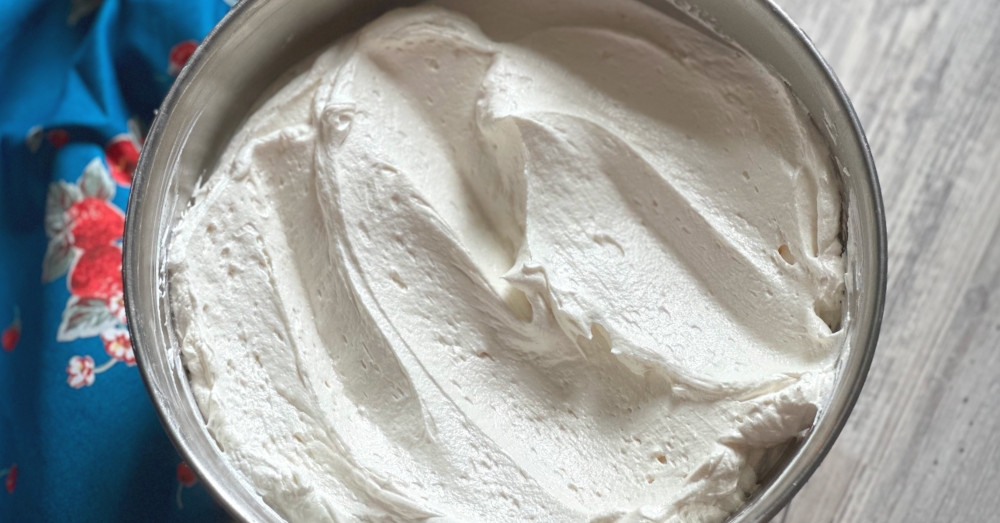
Miracle Frosting is nothing short of a miracle! This frosting is far from your average buttercream with a creamy texture and mild sweetness, it’s the perfect companion to any cake.
This mysterious frosting goes by many names — $300 frosting, ermine icing, boiled milk frosting, or flour frosting — but Miracle Frosting is its catchiest title. Earliest references to this frosting date back to a cookbook in 1886. Here the Miracle Frosting was paired with a mahogany cake (which looks like a predecessor to red velvet cake).

There are many recipes out there for this type of frosting, but many lead to disaster. Up until this recipe, I had trauma pertaining to Miracle Frosting. In the past, I ended up with a lumpy, separated mess, with a saccharine, gritty texture. Not here! This frosting uses a few tricks to make the smoothest and creamiest version of Miracle Frosting around.
Looking at the ingredients, it almost looks like you’re making a pudding, and in some sense, you are. Start by cooking the flour and sugar with milk and cornstarch. Many recipes call for cooking only milk and flour, but in this recipe, sugar is also cooked in the saucepan. Why? Stirring the sugar with the flour and milk dissolves the sugar granules, creating a smooth, grit-free texture.

Next whisk the ingredients in a bowl and then strain it into the saucepan.

Now, you may have been shocked to see cornstarch in the ingredient lineup, but it serves a purpose! While cornstarch might not be a traditional Miracle Frosting component, it helps bind the flour-milk paste and prevents the flour from separating or the frosting wilting.
Like a pudding, this mixture takes a few minutes to come together, but once it does it’ll become thick. Strain the mixture through a mesh strainer, this will remove any excess lumps.
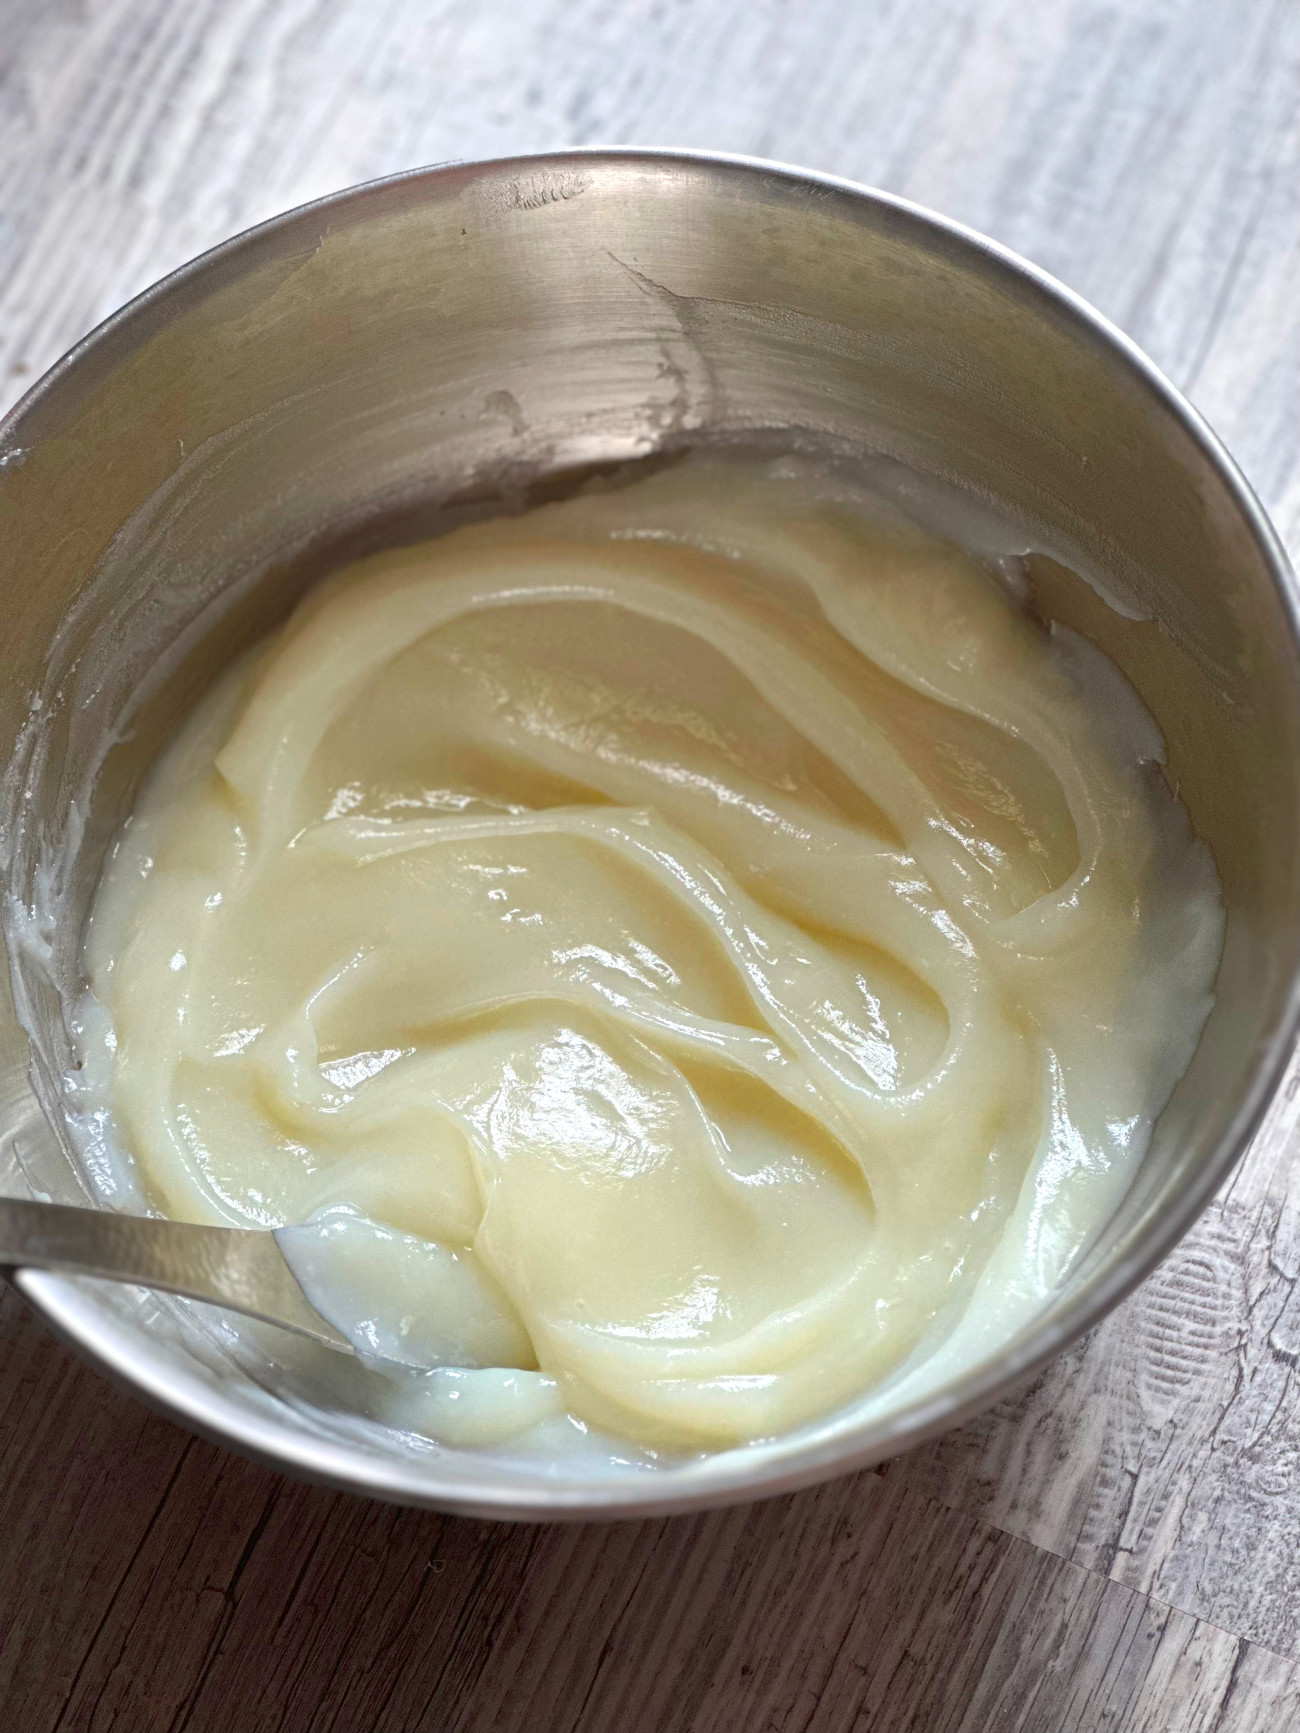
The hardest part about this recipe is waiting for it to cool down. To quicken the process, put the mixture in a wide, shallow dish, cover the top in plastic wrap, and put it in the refrigerator until it cools down to room temperature.

Once the mixture is cool to the touch (but not hard), transfer half of the mixture to a mixing bowl with very soft butter and shortening. This is an old-style recipe, so it’s not gonna be cheap on the fats.
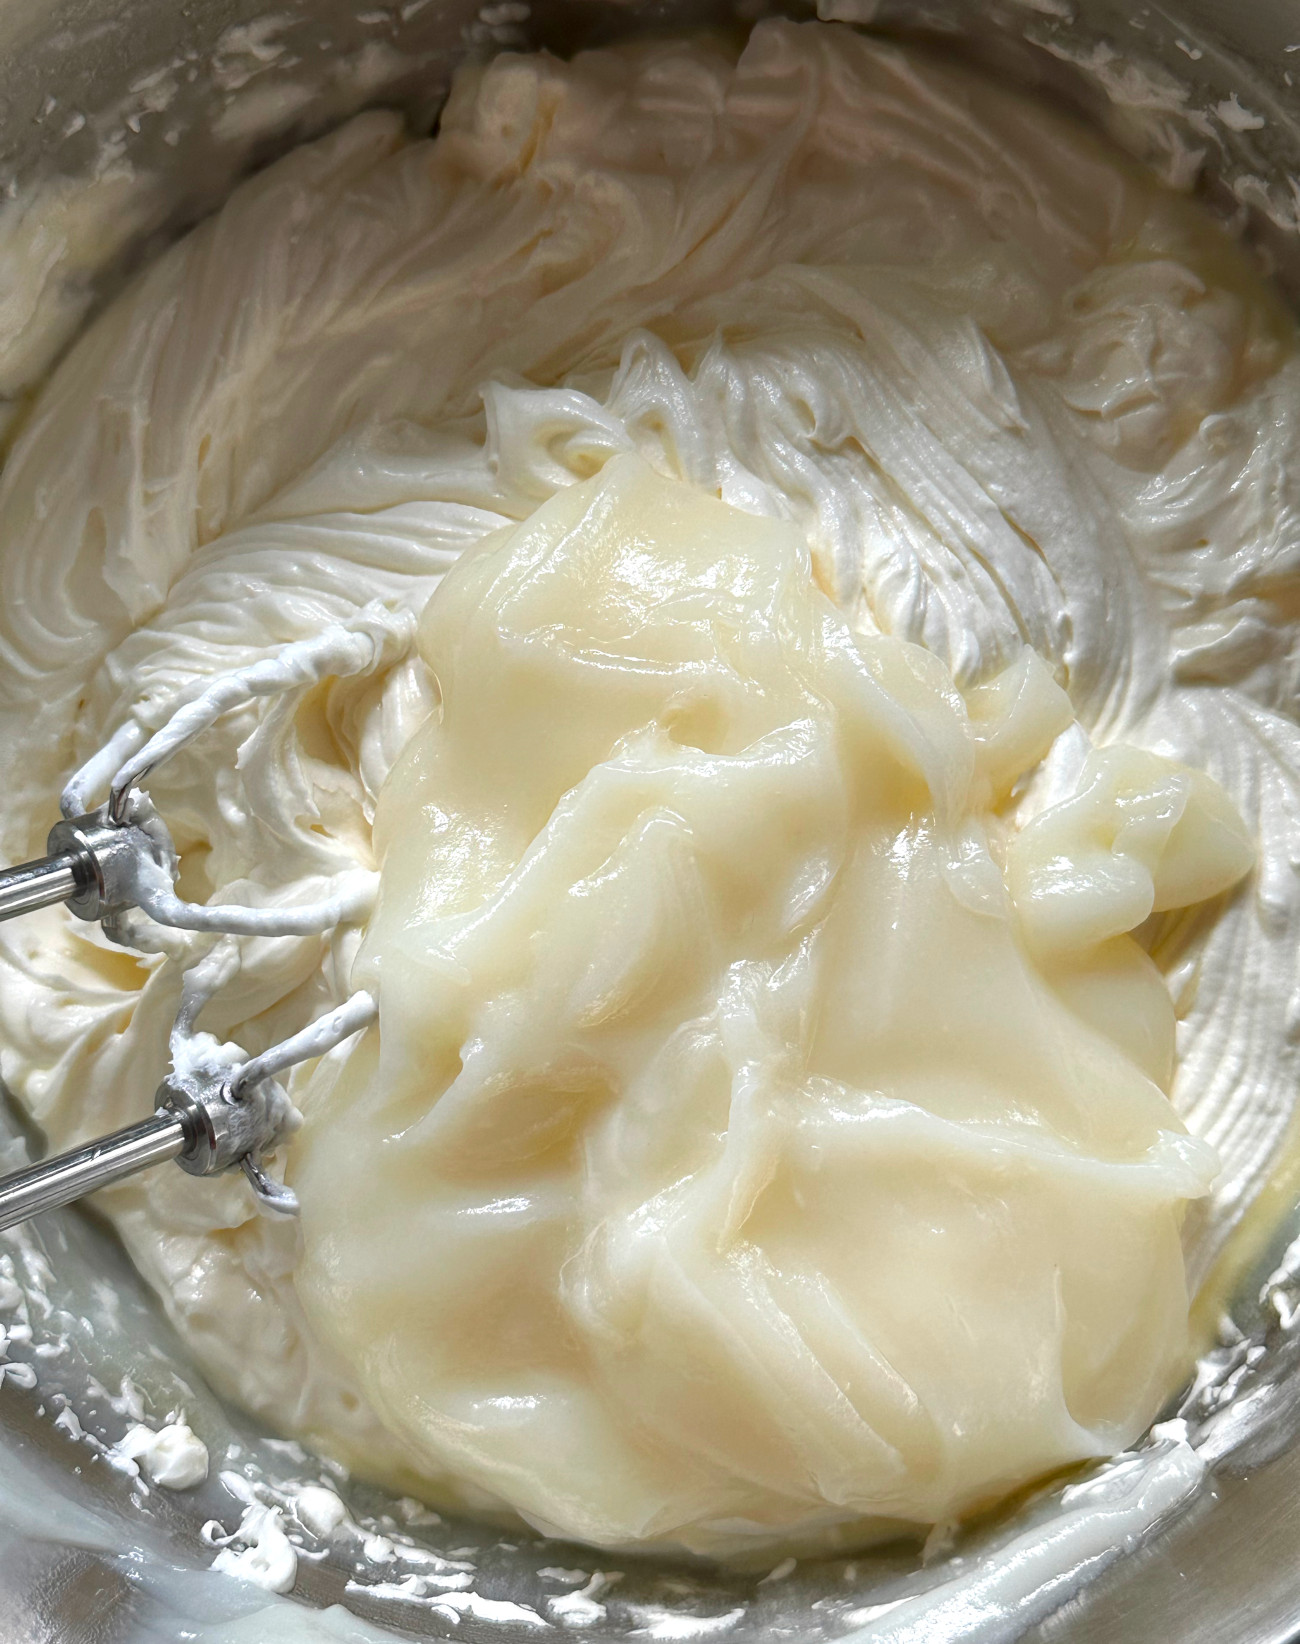
Whipping only half of the flour-milk mixture with the fats decreases the chances for lumps. Dumping the whole batch of the cooked flour-milk mixture into the bowl with the butter and shortening wouldn’t allow the fats to properly mix.

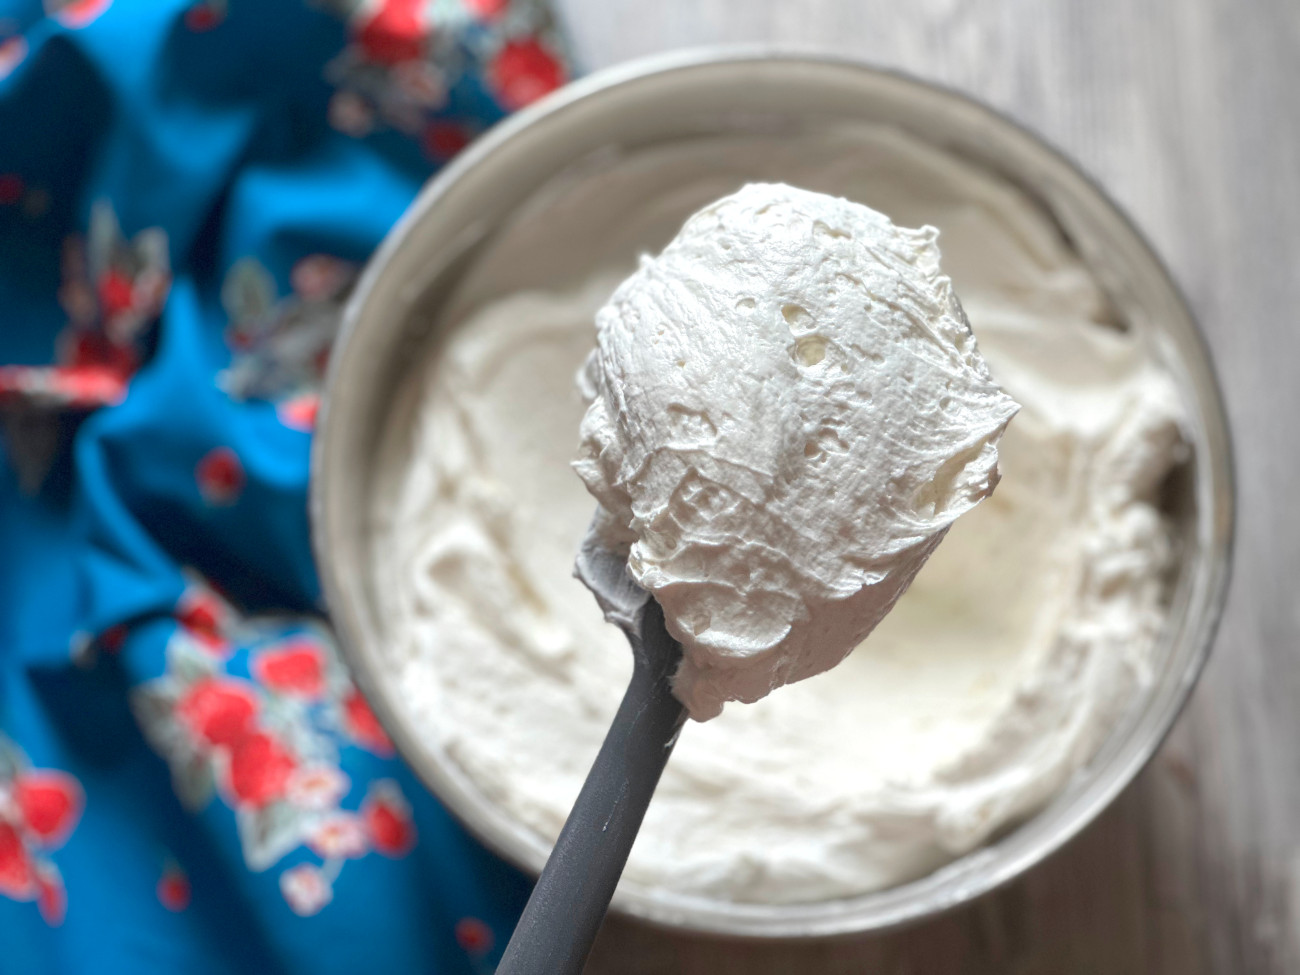
After a minute or so, you can add in the remaining half of the flour-milk mixture along with vanilla. The key to the light angelic texture is the aeration. Whipping the frosting for a good five to seven minutes gives it the texture you want.

This batch can easily frost a two or three-layer cake, no need to do the math and try to double the recipe! It’s rich, smooth, creamy, and has a silky texture akin to fancy European buttercreams. You wouldn’t guess that it was made with flour!
Miracle Frosting
Yield(s): Makes 2 1/2 Cups
16m prep time
12m cook time
1h 30m inactive
Ingredients
- 2 cups granulated sugar
- 1/3 cup all-purpose flour
- 4 tablespoons cornstarch
- 1/2 teaspoon fine salt
- 1 3/4 cups whole milk
- 2 teaspoons vanilla extract
- 1/2 cup unsalted butter, room temperature and cut into small pieces
- 1/2 cup vegetable shortening, room temperature and cut into small pieces
Preparation
- In a bowl whisk sugar, flour, cornstarch, and salt, slowly whisk in milk. Strain mixture through a strainer and into a medium-sized saucepan set over medium heat. Whisk continuously until the mixture thickens, about 8 to 10 minutes.
- Transfer to a bowl, cover in plastic wrap, and let it cool to room temperature, about 2 hours.
- With a mixer whip the milk mixture until softened up, about 30 seconds. Remove half of the whipped milk-mixture and gradually add in the butter and shortening a few pieces at a time.
- Once butter and shortening are all added, add the removed milk-mixture back into the bowl and continue to whip the frosting for another 5 minutes. Use immediately to decorate and enjoy!
Recipe adapted from Cooks Illustrated
