Simple Tips for Cleaning Your Coffee Maker

Is your morning brew more bitter than usual? Is there a buildup of gunk and sludge or heavy duty stains on your machine? Does it sound angry in the morning when you switch it on and put it to use?
Your kitchen MVP (Most Valuable Pour) might need a good clean to get back to its best when making fresh-brewed coffee.
For some home kitchens, nothing worthwhile can be achieved without a quality cup of coffee, while for others it’s part of the morning smash-and-run to get out of the house and onto the next part of your day.
The often frenetic coffee making routine can leave your machine tired and neglected or create an unhealthy environment for germs to thrive in.
Below you’ll find useful tips for cleaning for traditional and Keurig coffee machine types so you can get back to enjoying a nice cup of Colombian brew instead of cursing the world because the machine’s clapped out.
1. The Vinegar Method: Drip Machine

The most popular way to clean a traditional coffee machine is running vinegar through to aid in descaling.
The vinegar sanitizes the pot and reservoir but also dissolves mineral deposits and buildup of residues.
Some manufacturers recommend white vinegar as the best way to remove limescale and decalcify your coffee maker.
Cleaning your coffee maker with vinegar
- Add 2-3 cups of white vinegar to the machine’s reservoir and top up with water.
- Stand for 25-30 minutes.
- Run the vinegar solution through a full brewing cycle.
- Empty the reservoir completely, wiping off any excess with a damp, clean cloth.
- Run three brewing cycles of fresh water through the machine or until the smell of vinegar disappears.
There is opposition to this cleaning method, however. Some people dislike using vinegar at all in the kitchen, while others believe the process leaves the aftertaste and sharp tang behind no matter the filtering you do with clean water.
2. The Vinegar Method: Keurig Machine
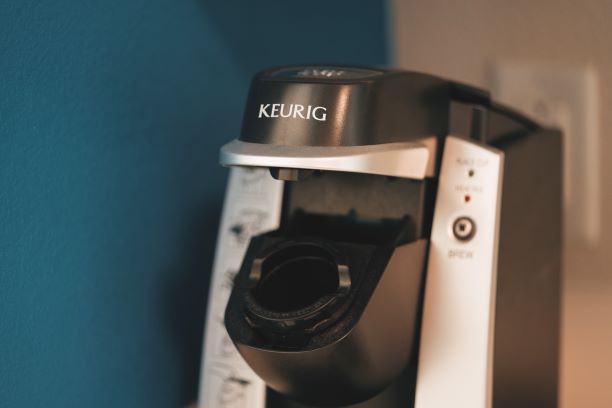
Cleaning your Keurig or one cup coffee maker with vinegar uses the same materials, but a slightly different process.
First, give the exterior a good scrubbing, then wash all the detachable units (aside from the reservoir lid) in hot soapy water/dishwasher.
While this is happening, a gentle toothbrush or pipe brush can be deployed to remove stray grinds in the K-Cup holder, while a clean damp cloth should take care of any buildup.
If there’s evidence of limescale, dip your cloth in vinegar and apply it to the affected area, let it soak for a few minutes, then give it a gentle rub to eliminate the white crust.
Spray the exterior with a small amount of all-purpose cleaner or gentle polish to leave it sparkling, then reassemble your Keurig Machine.
Fill the Keurig reservoir to the maximum line with a 50/50 solution of distilled vinegar and water
Turn the machine on, select the biggest cup setting, and allow the vinegar solution to run through the machine as many times as it takes for “More/Add Water” to come on.
Make sure you empty the mug each time that it fills. Once it’s run enough times, allow the machine to sit idle for around 30 mins, then remove the solution from the reservoir and wipe it down with a damp, clean cloth.
Then repeat the process, this time with clean water only. Do as many times as needed to remove the smell of vinegar.
3. Citric Acid
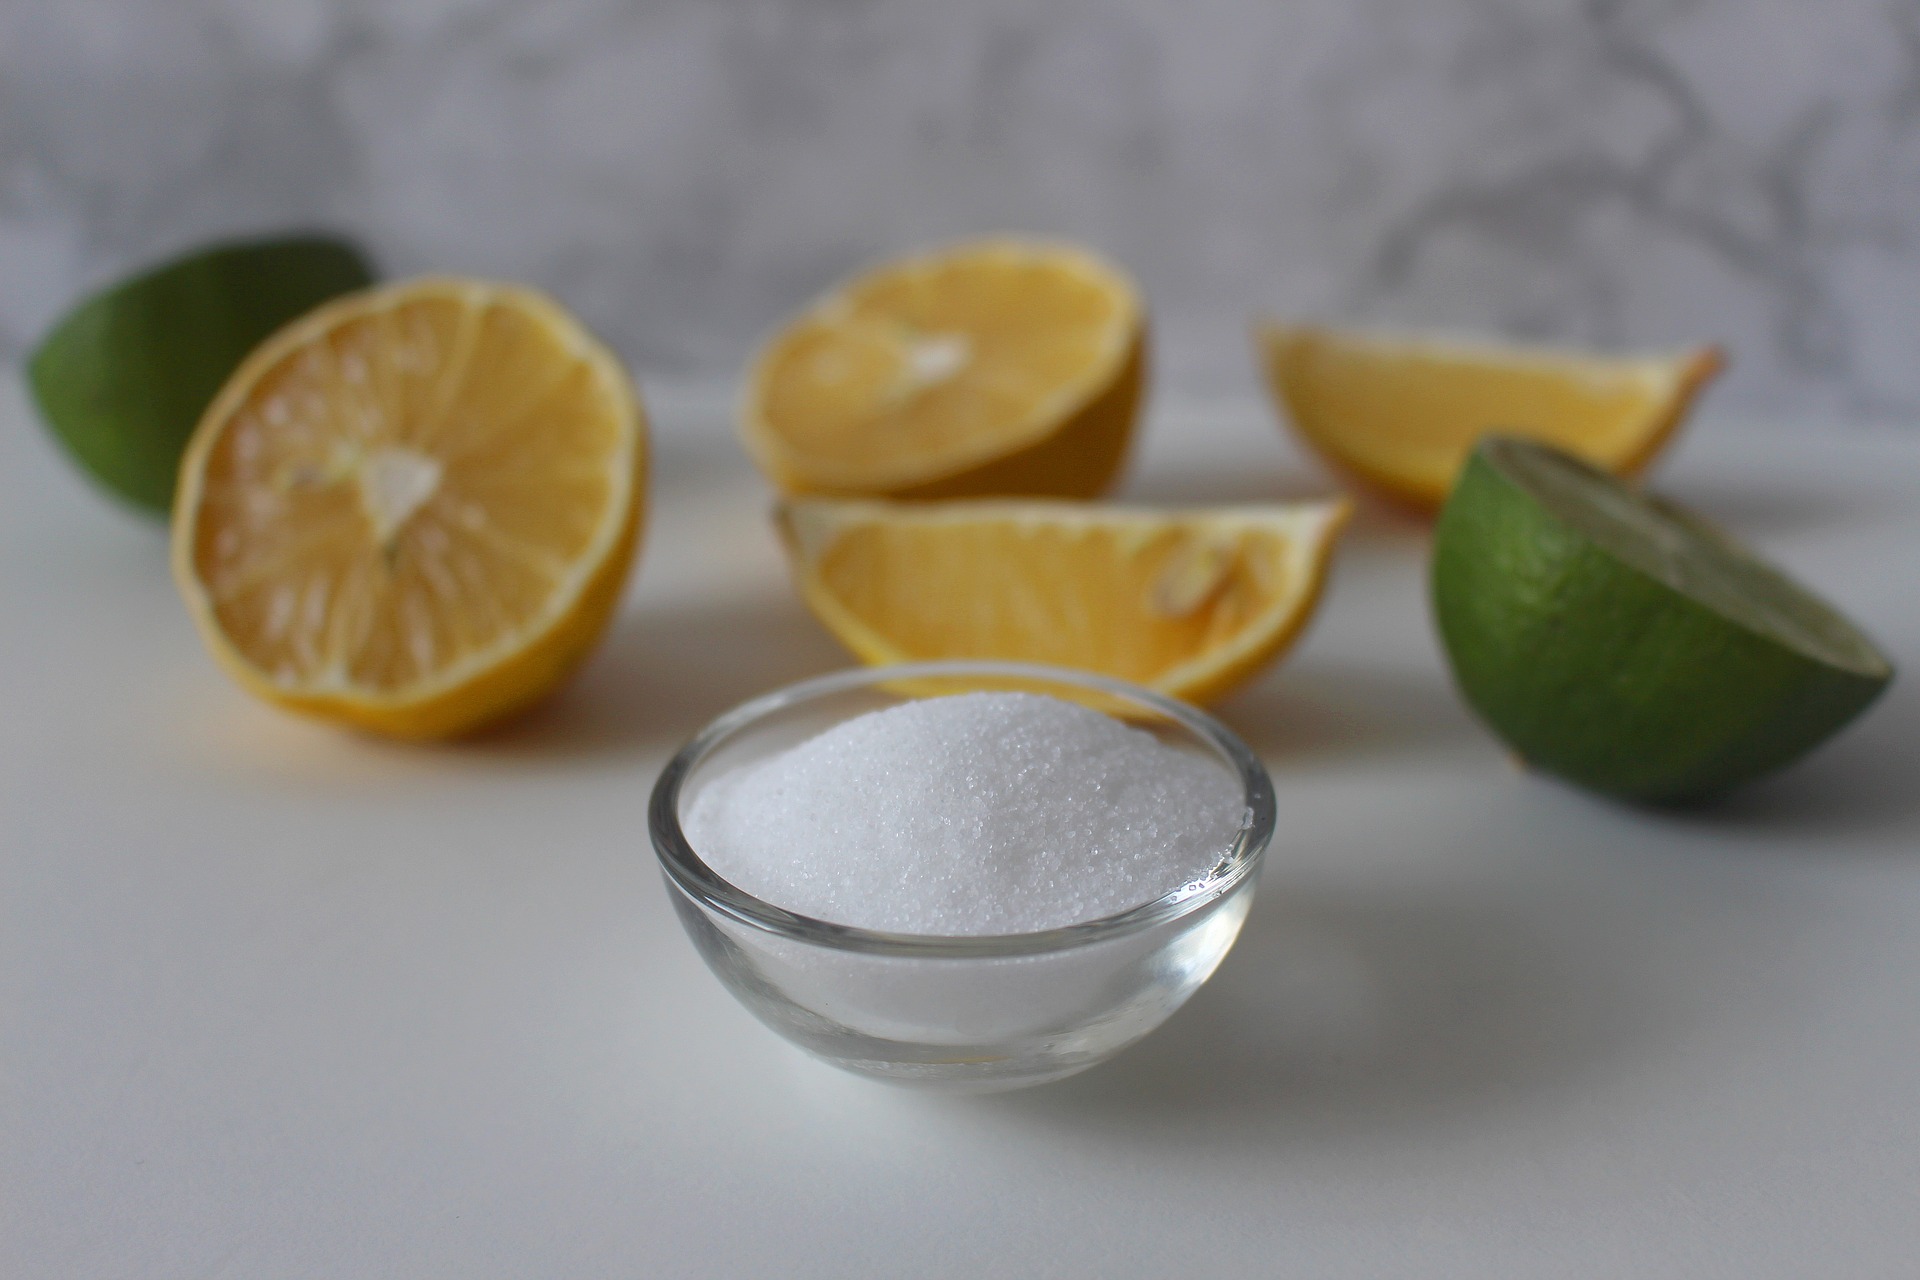
Citric acid is a cheap and effective way to descale a coffee maker and can be purchased from the baking aisle stores.
Citric acid won’t leave a lingering odor inside the machine after you’ve cleaned with it. Citric acid smells better than other options for descaling a coffee maker, however, it’s not as strong as vinegar, so you may need to do it a couple of times to get rid of stubborn limescale buildup.
The following clip shows how simple using a citric acid solution is to clean your coffee maker, and also runs through the vinegar method of descaling your machine as well. It works for both traditional drip machines and pod-style coffee makers.
4. How to Clean a Drip Coffee Maker with Baking Soda
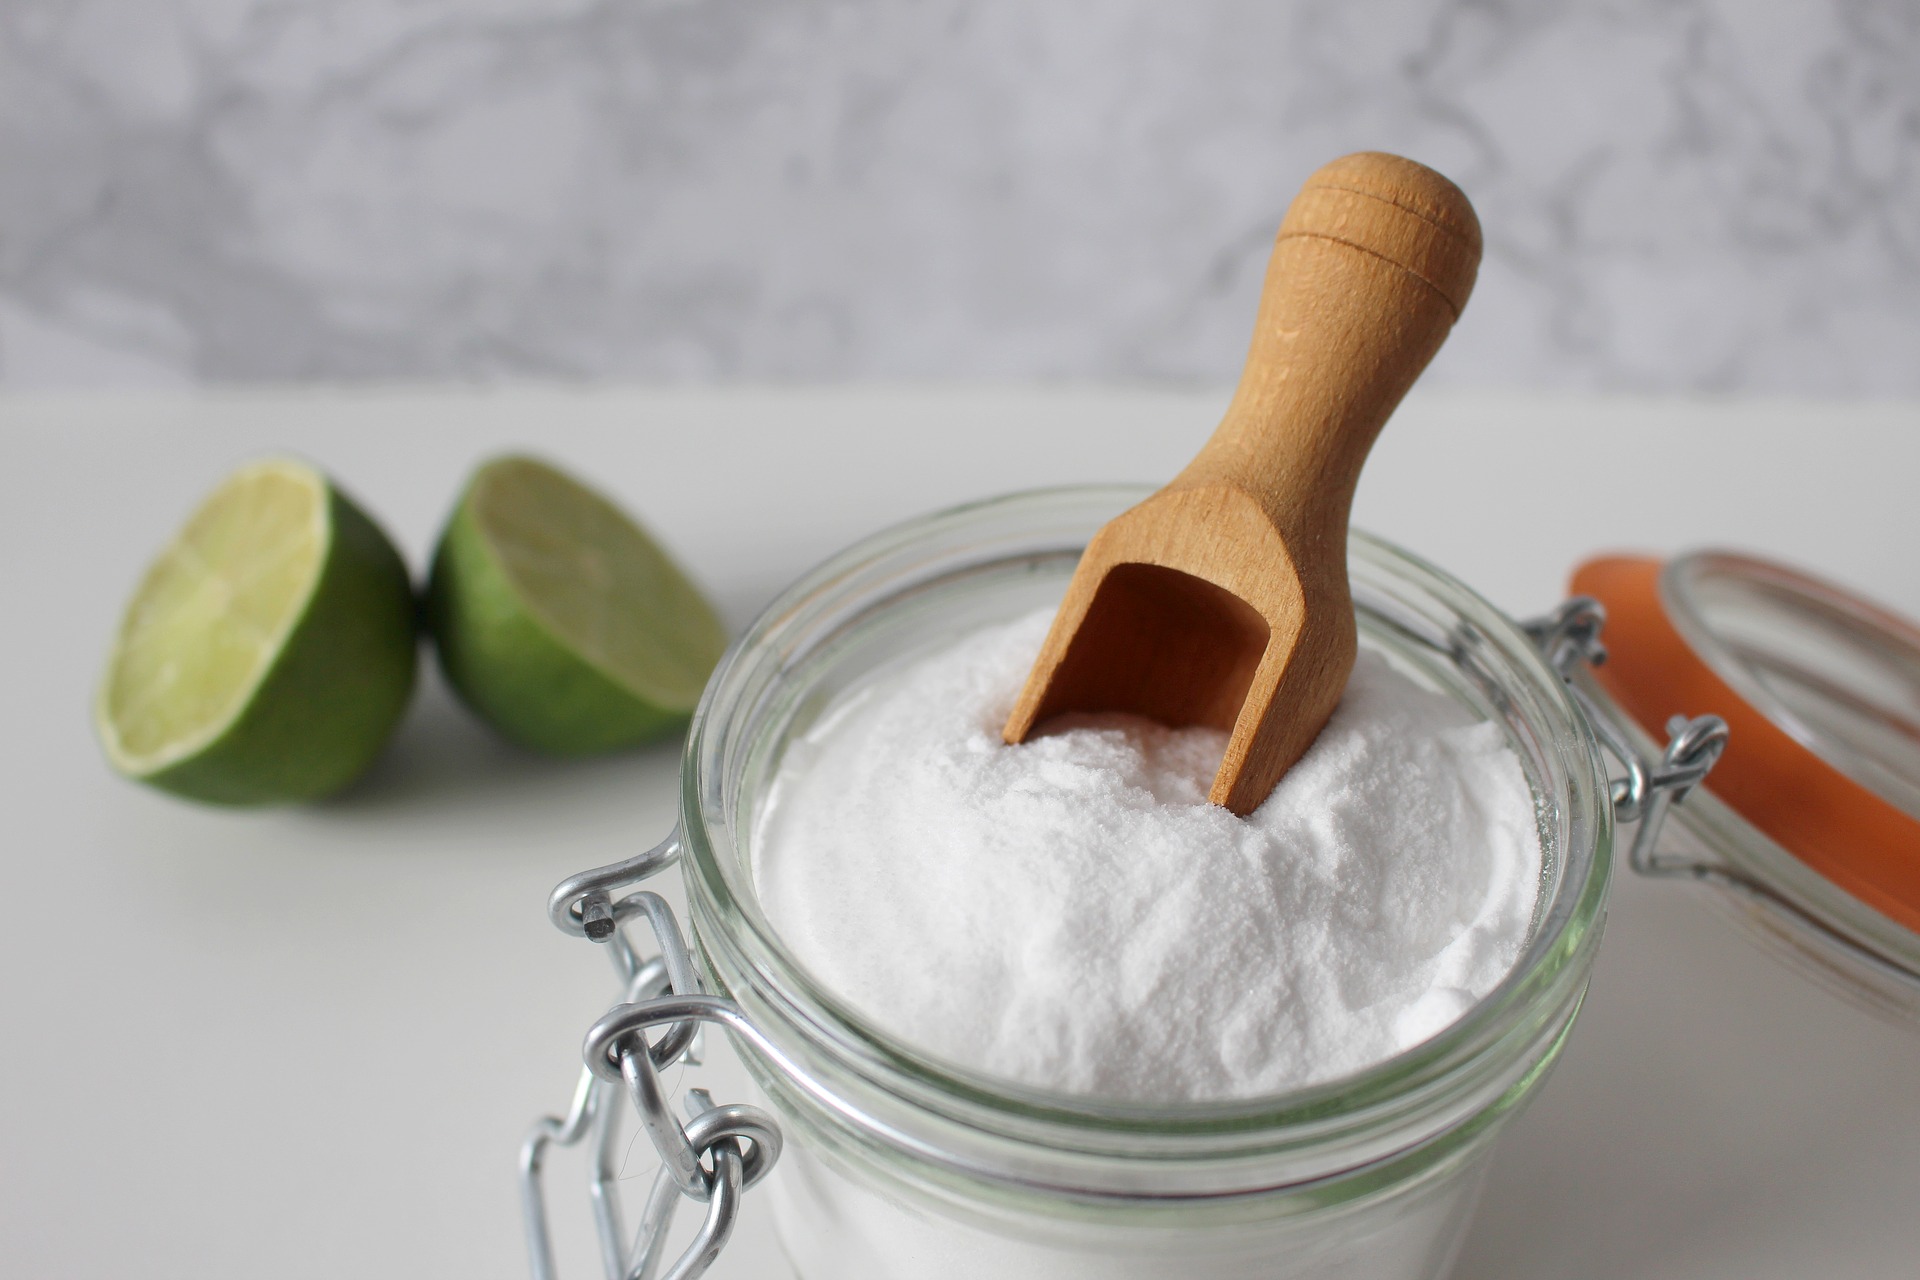
Cleaning your drip coffee machine with baking soda is another effective method of using a naturally alkaline cleaner to help remove debris and descale your machine.
Baking soda is naturally abrasive yet safer than harsh cleaners. Add a quarter cup of the baking soda to the reservoir, mix thoroughly with warm water, then run the coffee maker through a brew cycle.
Make sure the mixture is smooth and clump free before running the cycle, or a blockage could make your cleaning efforts backfire.
Baking soda also works brilliantly to remove stains on your coffee pot, reservoir, mugs, and cups.
5. Cleaning with Denture Tablets
Certainly a left-field option, however denture tablets can do a fantastic job of breaking down buildup and keep your machine humming along.
Drop a couple into your reservoir and let them dissolve in water, filled to the line. Then run your coffee maker or Keurig through a brew cycle, in much the same way as the tips above.
As always, run through the cycles again using plain water to rinse out any residue before trying it out with a cup of coffee.
Watching the clip below was a mesmerizing experience. It yielded a fantastic range of cleaning tips for using denture tablets aside from grandpa’s chompers.
General Advice for Keeping Coffee Makers Clean

- While you can use commercial products such as CLR, they do use chemicals that carry some risk. Make sure you are comfortable with the ingredients if you want to use these products.
- Other commercial descaling solutions may be too expensive, and are best left as a place of last resort for cleaning your machine.
- Also, read the manual for your coffee machines. They can provide useful information about areas where cleaning or clogging can result from descaling.
- Don’t be afraid to alternate your cleaning methods to ensure you find the one that works best for your machine.
- Always wipe down with a clean cloth after use.
- Clean everything detachable in hot soapy water regularly, not just your pot!
General Advice for Cleaning Keurig or Pod Machines

- Don’t leave water in Keurig machines for longer than a couple of days. It’s better to empty the reservoir and drain the Keurig when not in use, as you risk getting mold and limescale buildup.
- Read your manual! Most pod machines are more expensive than their drip counterparts. The more you know about your machine, the better it is for troubleshooting.
- As mentioned above, don’t be afraid to alternate your machine cleaning styles to ensure you find the one that works best for your machine, and to avoid complacency.
- Always wipe down your machine after use
- Clean the detachable parts of your Keurig with hot soapy water, rinse and air dry before putting it back.
Conclusion
Cleaning your coffee machine regularly makes your brews better. It’s important to find a method that works and suits your approach to cleaning – you don’t need to spend a fortune to descale your machine.
Cycling between different cleaning approaches is also useful to avoid complacency and to ensure everything is being done to keep your coffee machine working at its peak.