
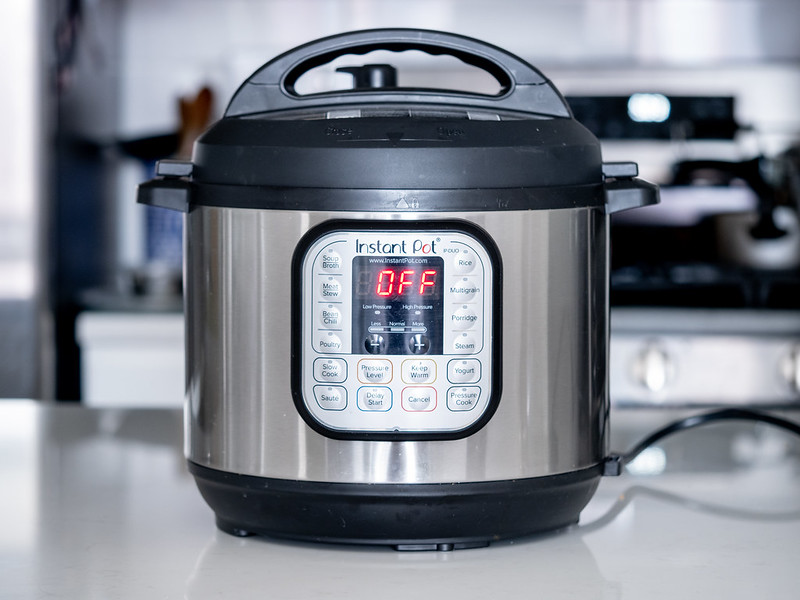
The Instant Pot burst onto the scene in 2010, changing the way thousands of people cook. This kitchen device has a multitude of uses, including sautéing, steaming, boiling, and of course, pressure cooking. Now, pressure cookers have been around for quite a while, but they fell out of popularity when the slow cooker came around. It’s safe to say the Instant Pot has converted many slow cooker fans over to the other side.
Most people use their Instant Pots for cooking quick meals and desserts, among other things like cooking rice and boiling eggs. There are dozens of ways to use this versatile appliance, but one you might not know is that you can use your Instant Pot to germinate seeds!

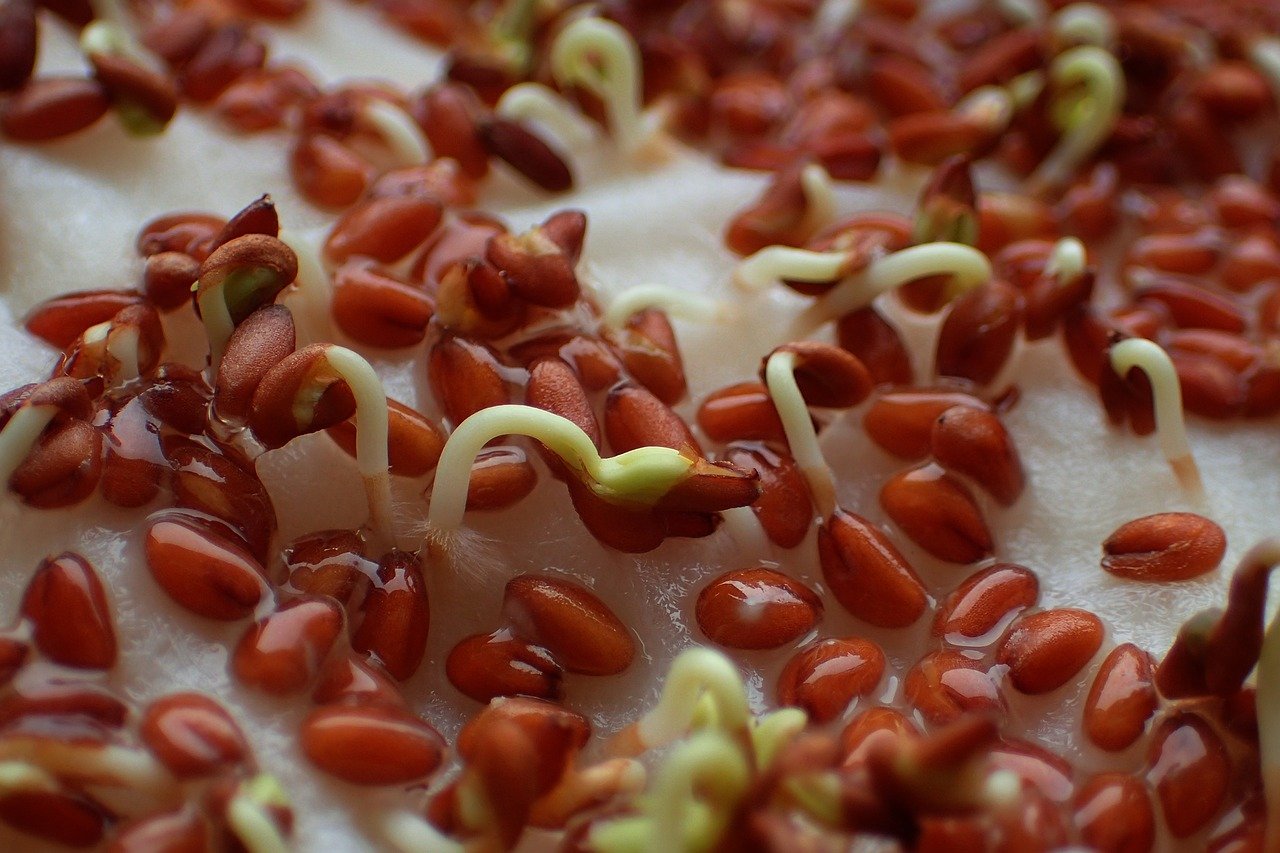
For newbie gardeners, seed germination is the first process in growing food. The seed breaks out of its dormant stage and begins its development into a seedling. From there, it sprouts and grows into a full plant. Most seeds germinate in an environment between 68°F and 86°F.
There are a few reasons you may want to germinate seeds in your Instant Pot. According to Modern Farmer, “This can be particularly helpful if you want to speed up germination with warm-weather crops, such as tomatoes, melons, peppers and cucumbers, and you don’t want to buy a heating mat. It can also be a useful tool if you’re simply late to germinate your seeds or live in an area with a colder climate and a shorter growing season.”
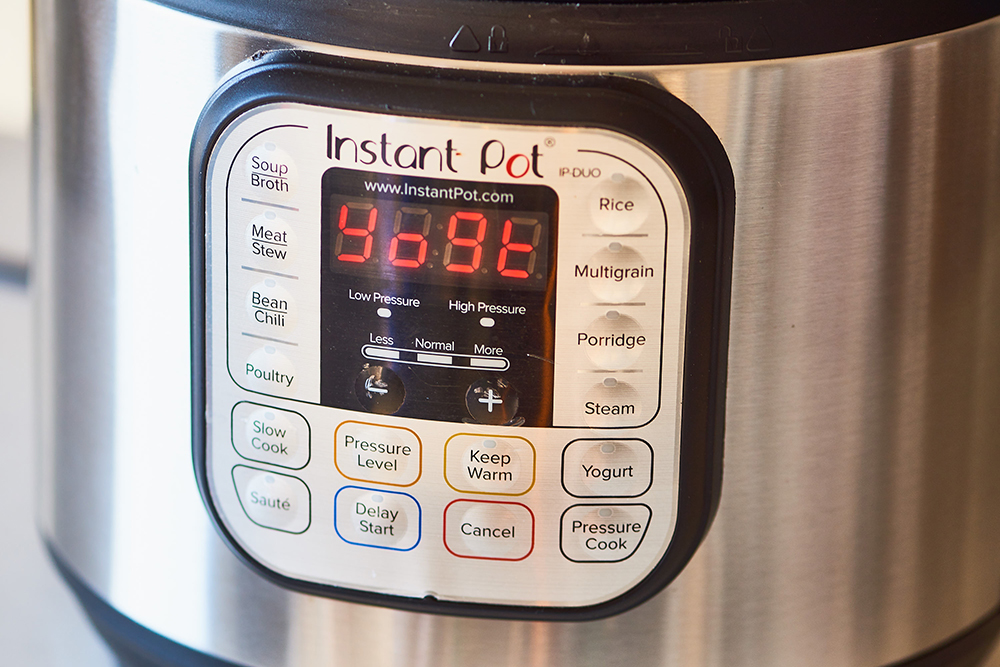
Surprisingly, the “Yogurt” setting on the Instant Pot is the perfect low temp to provide a greenhouse-like environment. It can produce germinated seeds in as little as 24 hours to seven days. Want to give it a try? Here’s what you’ll need to get started:
- Seeds
- Plastic Ziploc bag
- Paper towel
- Sharpie
- Strainer
- Instant Pot
- Potting containers for germinated seeds
- Soil or potting mix
First, wet a sheet of paper towel. You’ll need one sheet for every five seeds. Make sure the paper towel is damp, but not soaking. If it’s too wet, your seeds are susceptible to mold. Pour your seeds on the bottom half of each set, leaving about an inch of space between each seed. Fold the top half of the paper towel over the seeds and place inside a Ziploc bag, marking it with Sharpie so you know what’s what.
Next, pour 1/2 cup of water into the Instant Pot and place the strainer inside. This will help create a warm, humid environment. Make sure to change the water in your strainer every 2-3 days to avoid bacteria. Turn the Instant Pot on the lowest temperature on the yogurt setting (91°F). Depending on the version of your appliance, you’ll need to reset it on this setting every 8-99 hours. Your instruction manual should indicate how long you can run your Instant Pot. Then, place your bags in the strainer, stacking them as high as you want.
Make sure to check on the seeds twice a day (after the first 24 hours). Depending on the type of seed and if they have a soft coating or not, you’ll see germinated seeds between 24 hours and 1 week. You’ll know the seeds are ready to be moved from the Instant Pot and transplanted when they have a tiny white root, about 1-2 inches long.
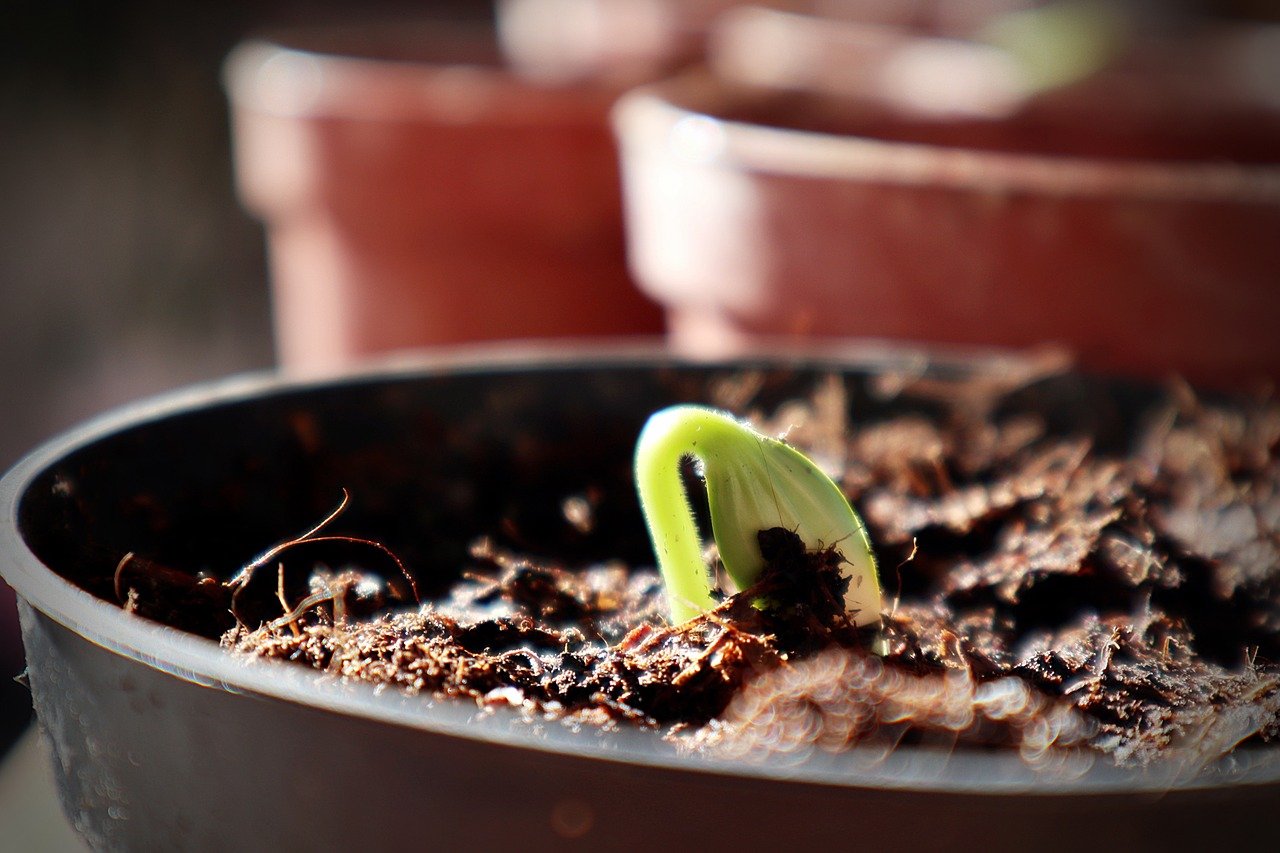
When ready, remove the baggies from the Instant Pot. With a pair of sanitized tweezers, carefully take the seeds from the bag by gripping the seed body, not the root. Transfer the seeds to a container with soil. Dig a tiny hole in the soil and place the seed with the root pointing down. Bury the white root and leave the rest above the soil line. Finally, give the little seedlings about a tablespoon of water.
I hope you found this helpful and will try it out soon!