
It’s hard to believe, but Thanksgiving is right around the corner! I love decorating for different holidays, but it seems like time has totally slipped away from me this year. I swear it was September 1st yesterday, but the calendar tells me differently. If this sounds like you, don’t fret! I’ve got some super cute Thanksgiving DIYs that use things from the dollar store. That’s a win-win in my book! Cute, inexpensive, easy DIYs? Yes, please!
Thankfulness Sign
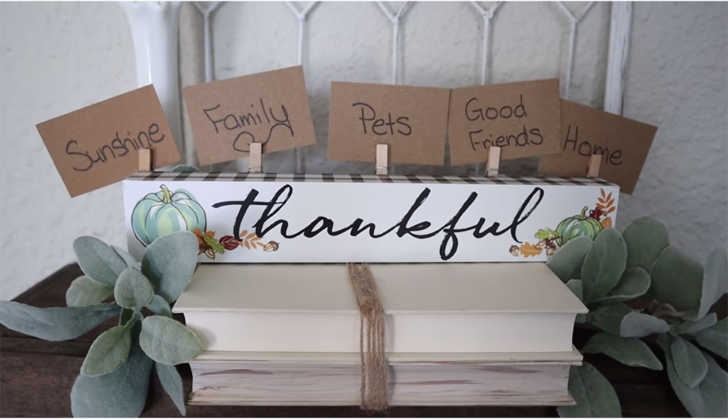
I love this thankfulness sign! It’s insanely simple to do, and yet it gives a little splash of festive color, as well as a cute way to display what you’re thankful for. Depending on who you’re having over for Thanksgiving dinner, you can have your guests fill out cards to display.
All you need for this little DIY is a sign from the Dollar Tree, mini wooden clothespins, hot glue, and cardstock. I’m sure you’ll be able to find a similar sign at the Dollar Tree, seeing as they typically go all out for holiday decor, but if you can’t, no worries! you can just head over to your local home improvement store and grab a 1×2 board and have them cut it down to size. Then, just paint it and write “Thankfulness” on the front.
Once you have your block all ready, simply hot glue the clothespins to the back, with the “mouth” of the clothespin facing up. Then, cut your cards down to size and write away!
Pumpkin Garland
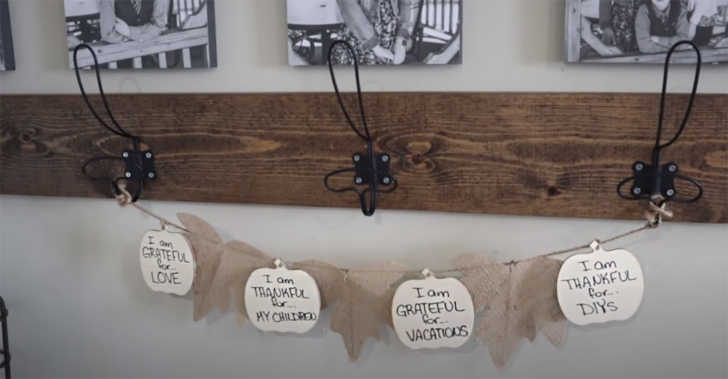
How cute is this little garland? This is another fun way to personalize your decor and have fun getting into the thankful spirit by writing down what you’re thankful for. It’s of course, another super simple craft project that the whole family can get in on!
The pumpkins come from the Dollar Tree, of course, in a pack of 5. They are sold as “make your own ornaments,” but they are perfect for this craft, seeing as they already have the little hole on top of the stem. If you can’t find these wooden cut-outs, you can always make your own from a stencil and some sturdy cardstock or cardboard.
After you’ve gathered your supplies, simply write down what you’re thankful for, or, alternatively, you can write a letter on each pumpkin and have it spell out a word. Either way, once you’re done, just string them through some twine, knotting it when you get the pumpkin where you want it. That’s it!
Thankfulness Jar
Yup, you guessed it, another way to showcase the things you’re thankful for. Hey, ’tis the season, right? This thankfulness jar is great to keep around all year. After all, we shouldn’t just be thankful around the holidays!
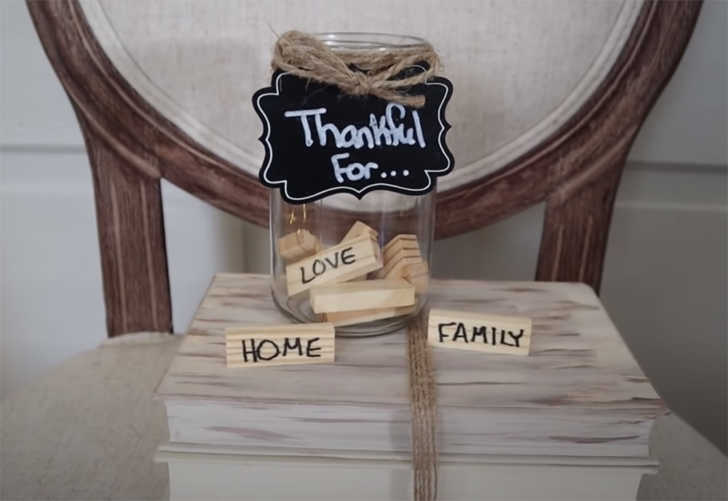
For this project, you’ll need a mason jar, or similar glass jar, twine, mini wooden blocks, and some mini chalkboard signs. The blocks and signs can be found at the Dollar Tree. The mini blocks used in this example were left plain to give off the all-natural look, but you could just as easily paint a thin coat of color or even stain them a slightly darker color if you want. As long as you’re still able to read what’s written, anything is fair game!
This is just as easy as it looks. Start by writing out “Thankful for…” on the sign. Thread the twine through the chalkboard sign, then wrap the twine around the mouth of the jar a few times and tie it off in a pretty bow. Then have the family write down what they are thankful for on the blocks and place it inside! I’ve known families who keep a thankfulness jar year-round and then read each one on Thanksgiving day. How cute is that?
Pumpkin Place Setting/Centerpiece
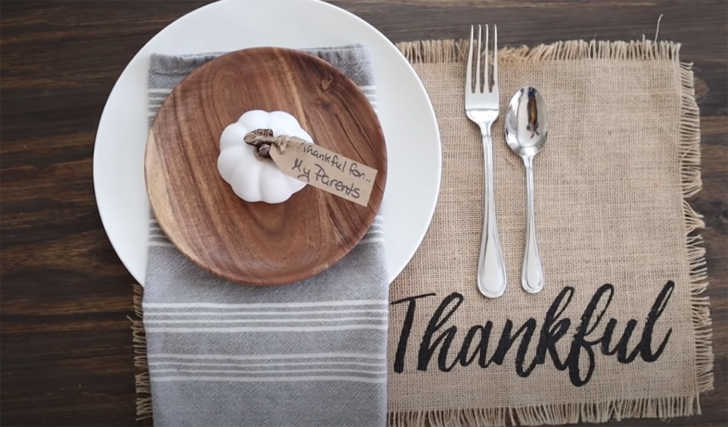
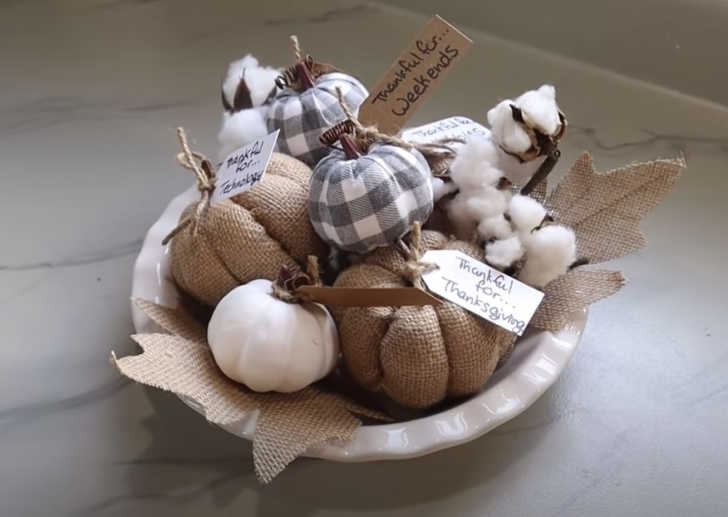
I love this one so much! The DIY here is in the pumpkins, but as you can see, these can be used in a variety of different ways. The burlap pumpkins come from the Dollar Tree, and the white and buffalo plaid pumpkins can be found at Hobby Lobby for super cheap. From there, all you need is some twine and cardstock! Cut each tag from the cardstock and write out what you’re thankful for, then attach to the stem with the twine.
The fun part comes when actually decorating with these adorable pumpkins. You can use them as part of a place setting and leave the tag blank so your guests can write on them. I personally love the centerpiece option. Simply grab a bowl or dish to hold the pumpkins and stuff it with other things you can find at the Dollar Tree or Hobby Lobby. I love the cotton and burlap leaves here. I’d also put some cinnamon sticks and pinecones for a little extra texture and amazing smell!