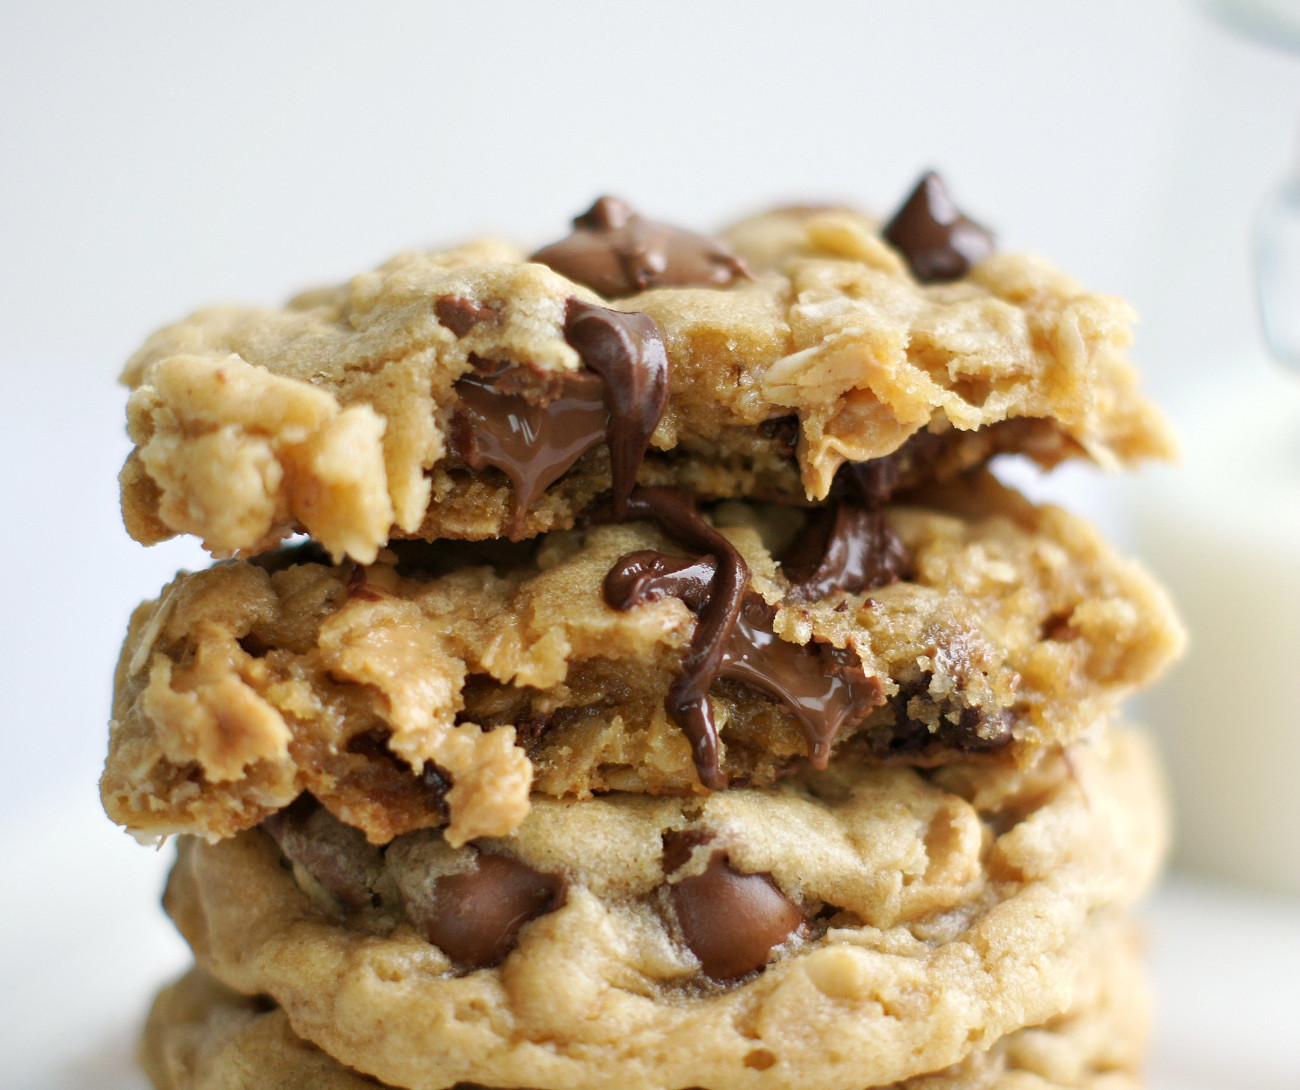
Simple Tricks To Get Thick Chewy Cookies That Don’t Spread

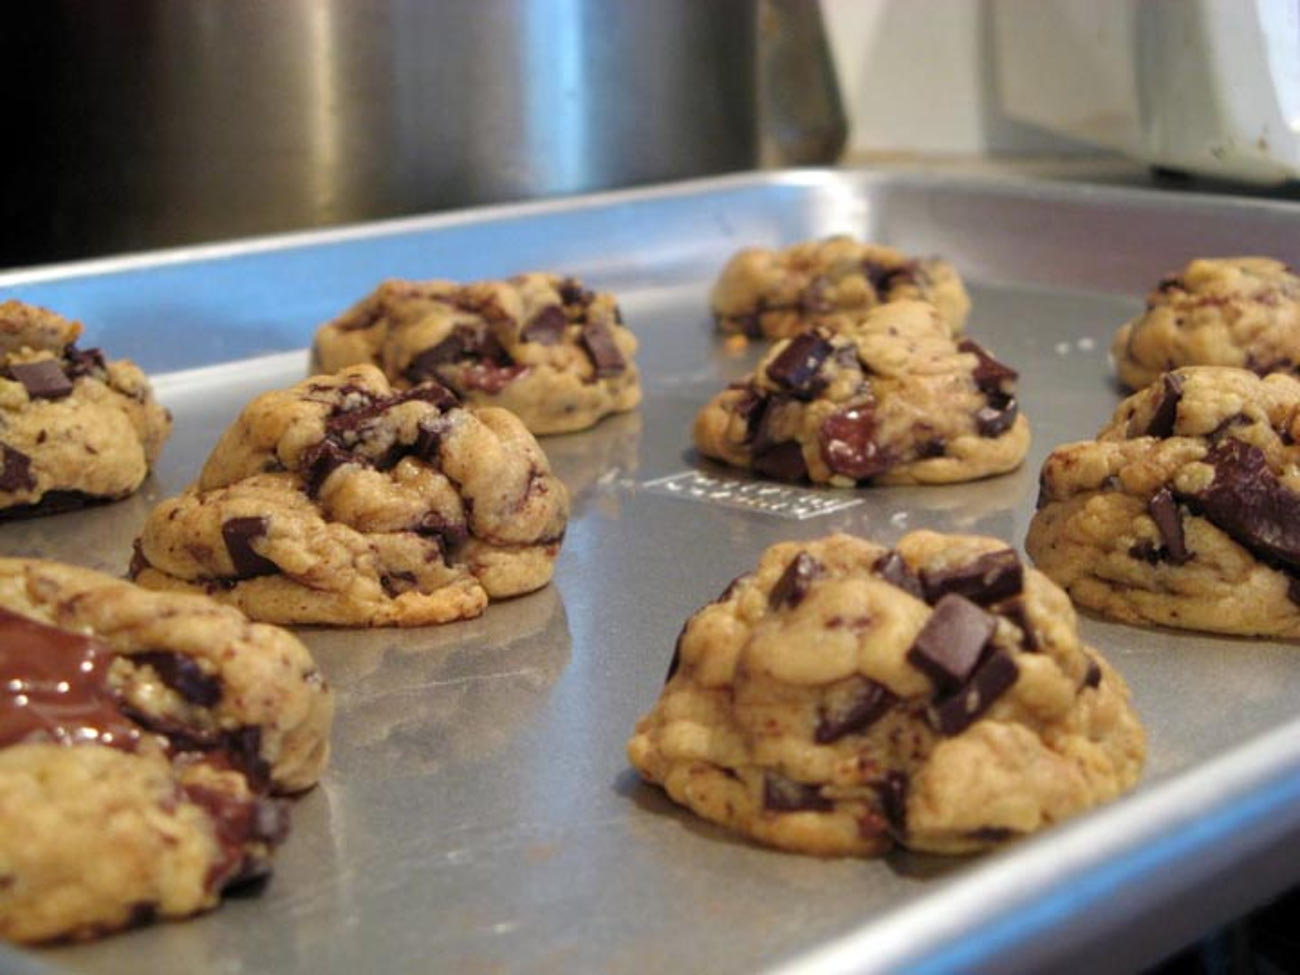
Feel like you’re constantly facing cookie failures, it’s as if no matter what you do you end up with flat melted crackers, and no one wants that! Unless you’re one of those people who like crispy, thin cookies, I believe cookies should be hefty, and to achieve thick cookie goals, follow this ultimate troubleshooting guide below.
1. Prevent The Spread With Some Chill Time
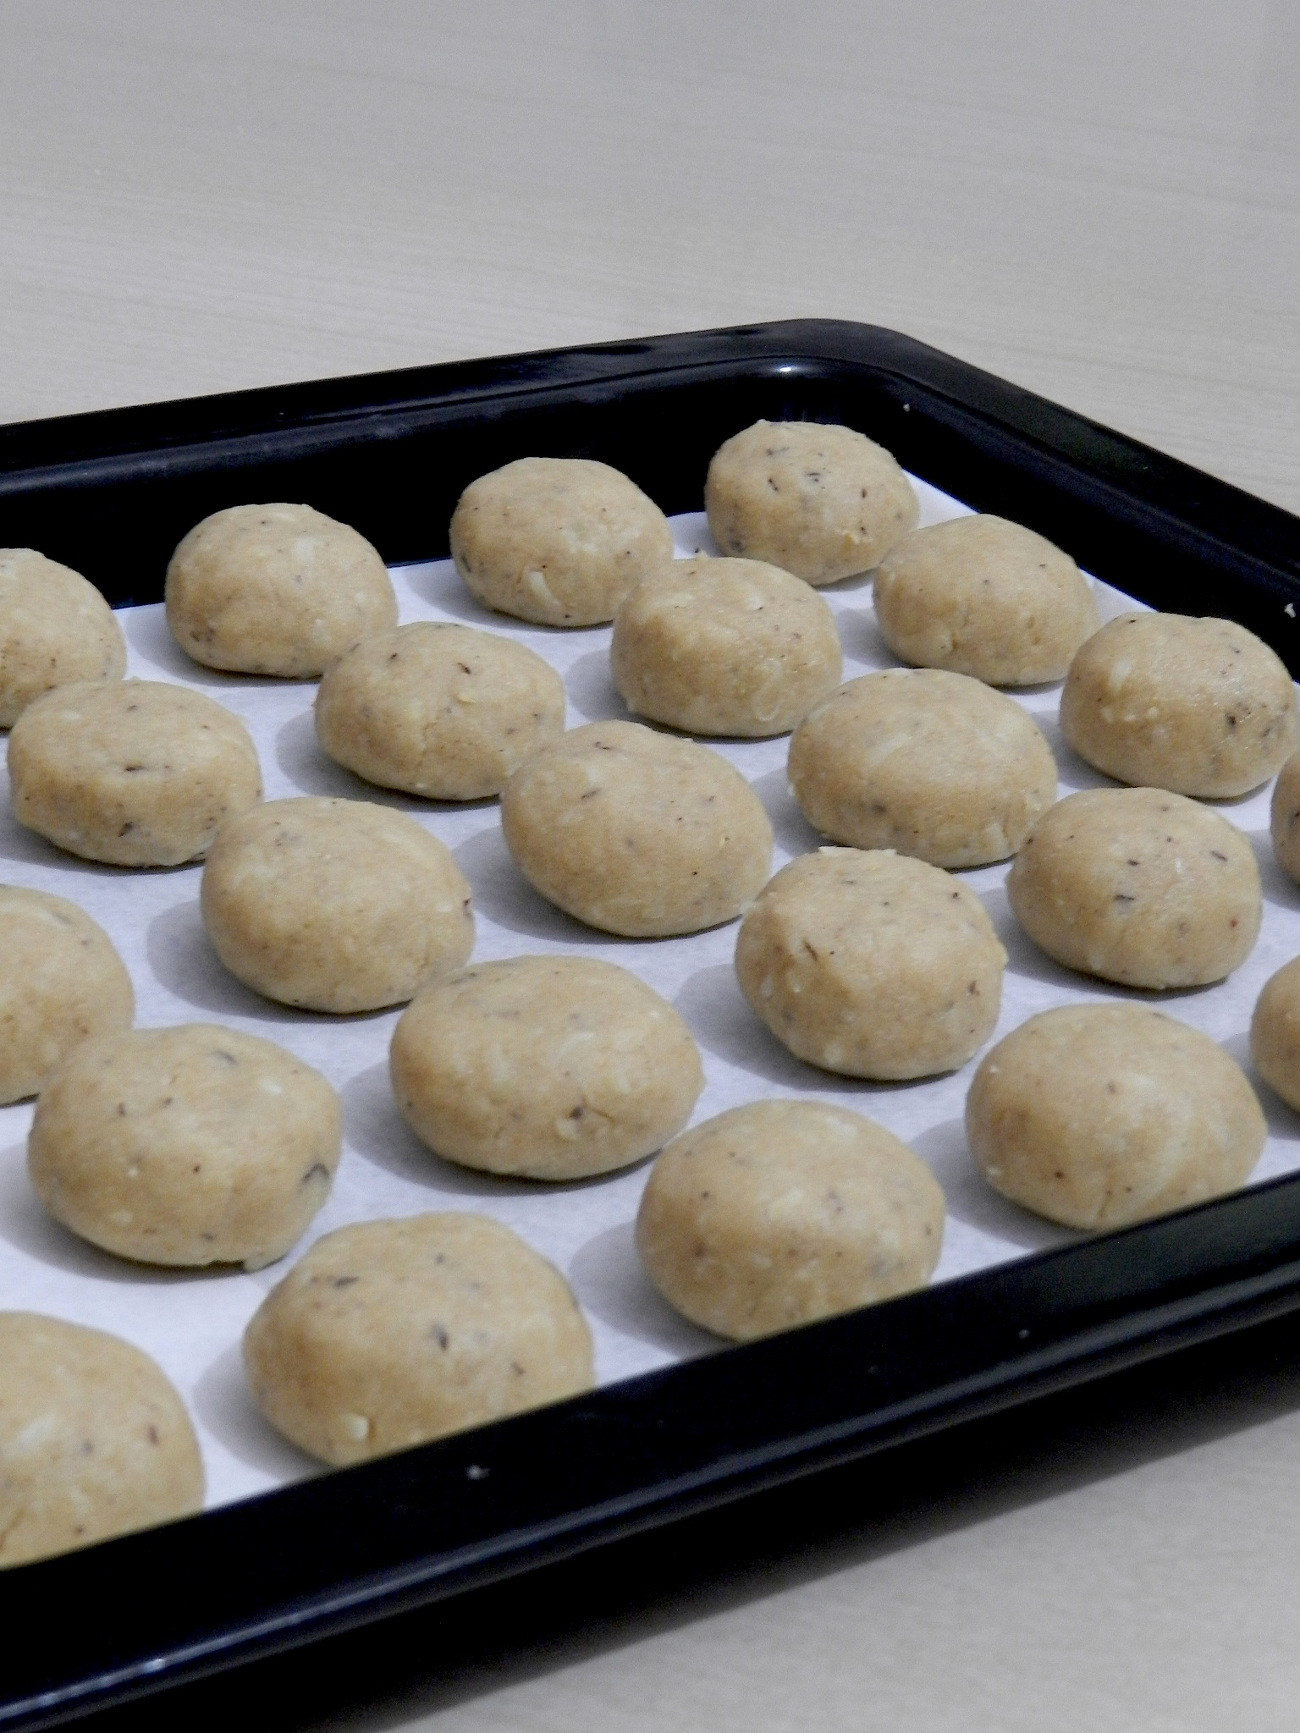
Recipes that call for melted butter result in chewy cookies, but they’re also prone to spreading out on the baking sheet. Getting the best of both worlds is easy, just portion the cookie dough out on a baking pan and chill the prepared dough in the refrigerator for 30 to 45 minutes. Baking slightly chilled cookies will help the cookies keep their form throughout the entire baking process.
2. Careful With The Substitutions
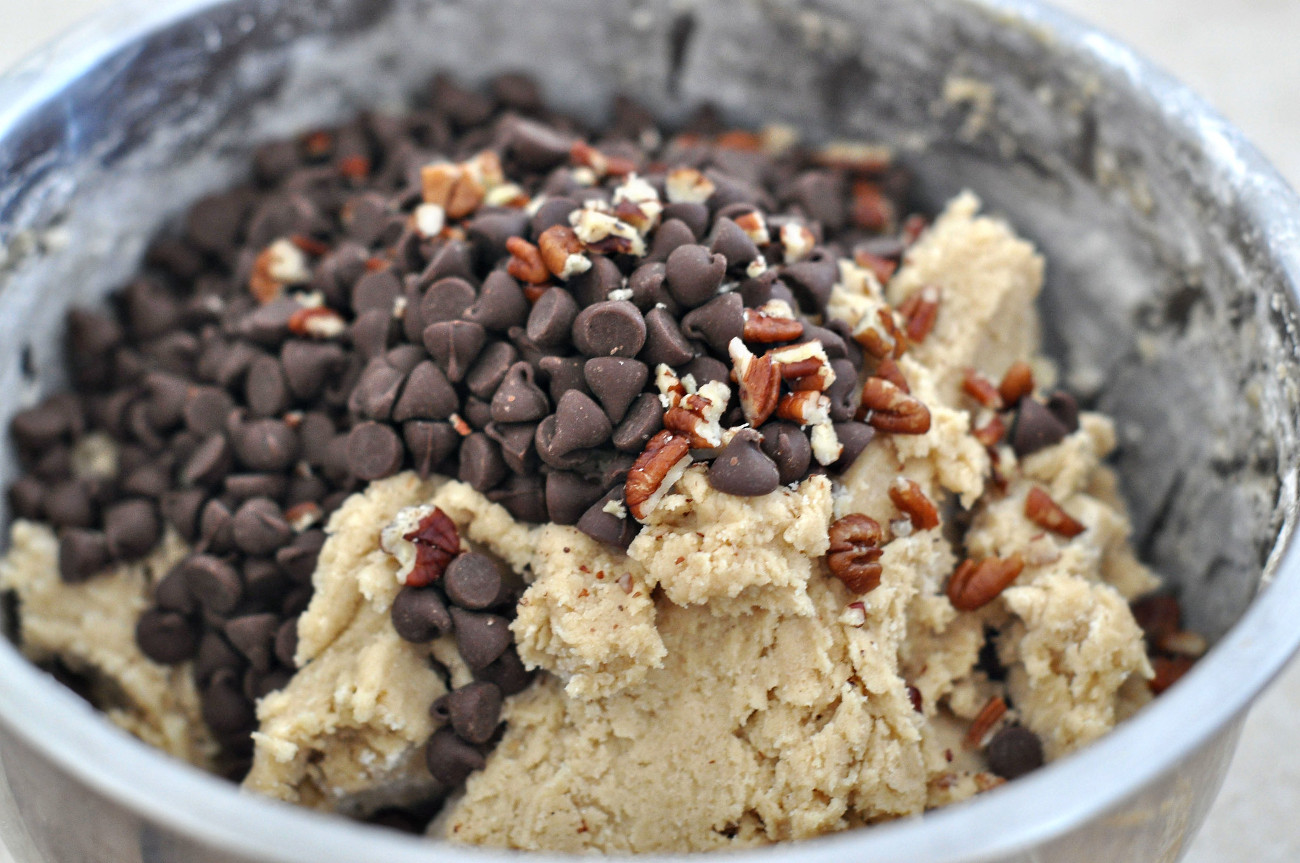
Many classic cookie recipes have both chocolate chips and nuts as mix-ins (ingredients that you fold into the batter at the end, sprinkles, nuts, chocolate, coconut, dried fruit, and oatmeal are classic mix-ins), and if you’re like me, you don’t always have a bag of pecans or walnuts on hand. It doesn’t seem like a problem, but fewer mix-ins negatively impact the cookies, as it alters both the baking time and the structure. Having no nuts on hand is no problem, substitute the nuts with equal amounts of chocolate chips because as long as you have the same amount of mix-ins, your cookies won’t turn into a flat, sad puddle of dough.
3. Cornstarch – The Scaffolding Of Cookie Dough
We use cornstarch in our puddings and sauces, but in our cookies? The answer is a resounding yes – put it right in! When you can’t seem to get your cookie recipe to the right thickness, add a tablespoon of cornstarch to your dry ingredients. Since cornstarch is a binder, it doesn’t just keep cookies from spreading, but cornstarch also makes a chewy cookie that has a delightfully a soft bite. Don’t worry about adding cornstarch to your cookie, it won’t affect the flavor at all.
4. The Secret Is In The Lining
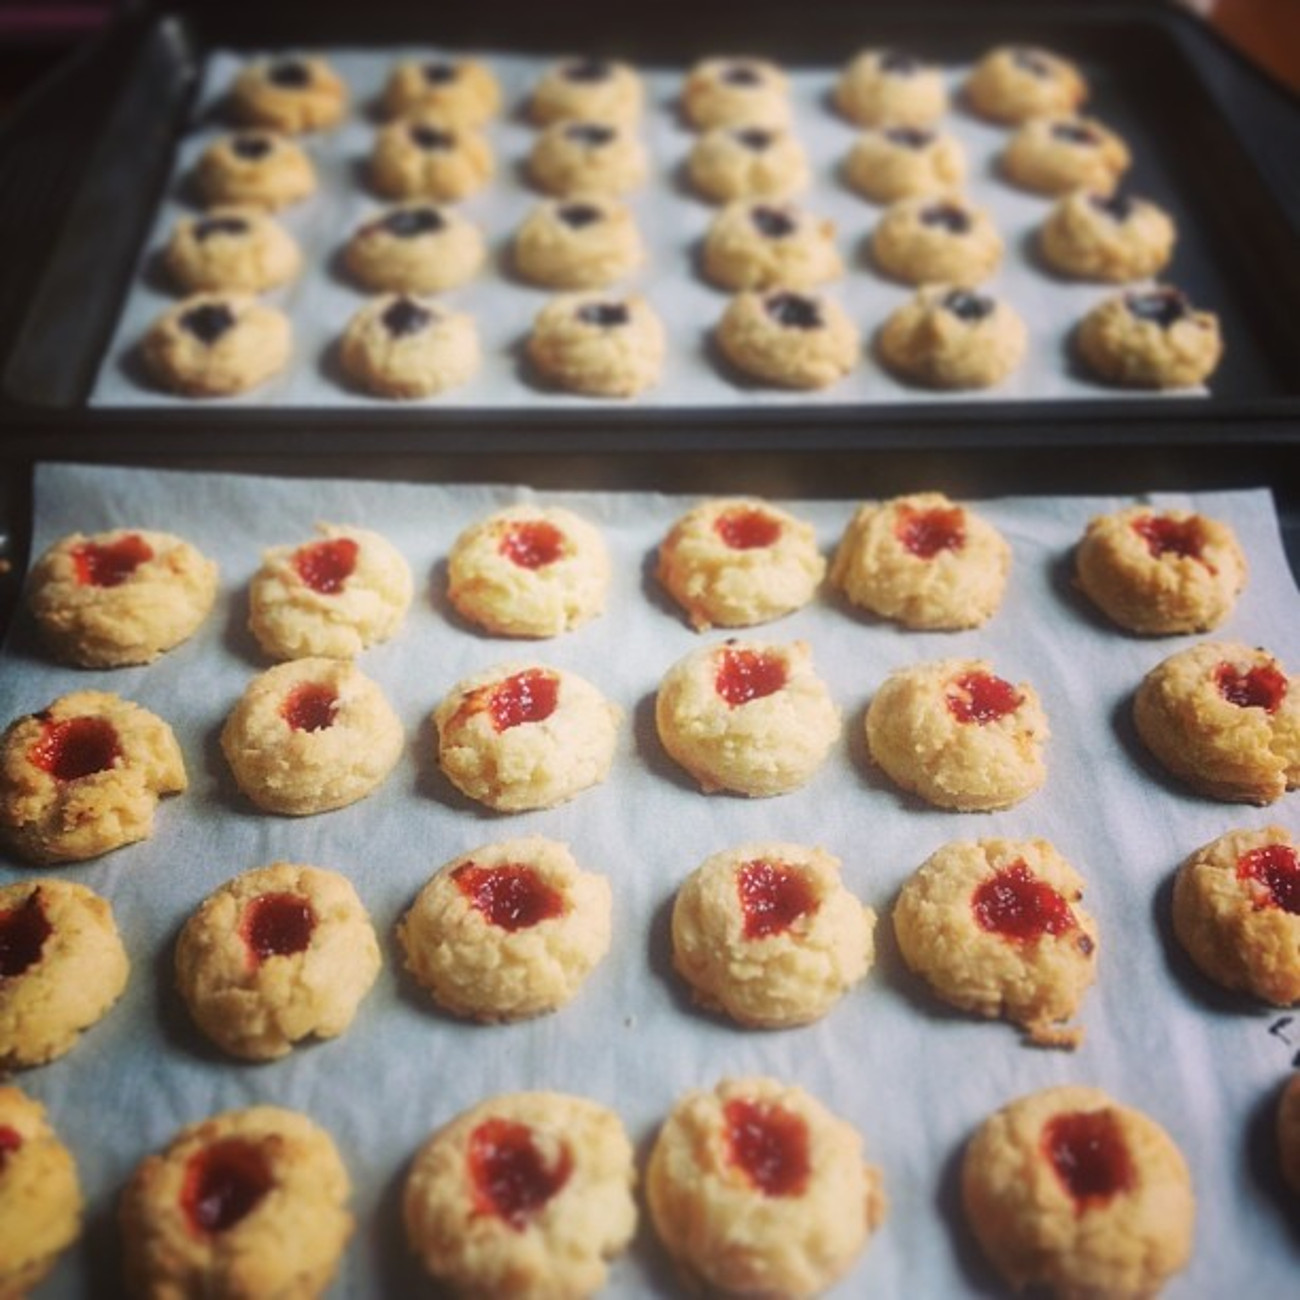
Not all pan linings are equal, though the foil is an easy go-to liner, it’s worth the extra effort to use parchment paper. Aluminum foil absorbs the heat and promotes crisping, meaning it will make cookies that are burnt on the bottom and raw on the top. Parchment paper does not absorb heat like a tanning reflector, and it is naturally nonstick, meaning you won’t end up with post-baking scraping. As you prep the parchment paper, make sure to cut the paper so it fits snugly into the pan, any flaps or overhang can get burnt.
5. Trust In The Carry-Over Cooking
Think your cookies need an extra five minutes? Think again! Though it’s not safe to eat raw dough, know that the cookies are still baking even after you pull them out of the oven. The process known as carry-over cooking is when the food continues to cook and its internal temperature increases by an extra 10 to 20 degrees F, even after it has been removed from the oven. A tiny bit of under-baked dough in the dead-center of the cookie is okay because it will get cooked via this post-baking process. If you bake a cookie completely, once it cools down, you’ll have a tough, not chewy bite.
Follow a few or all of these chewy cookie tips, and it’ll help you get that perfectly thick cookie, and those spreading problems will be a thing of the past!