Hibachi Rice
Rice sautéed with aromatic ingredients and packed with tons of flavor.

Recipe of the Day
Discover a New Recipe Every Day. Give Back With Every Bite.
Every day, we feature a hand-picked recipe for you to discover, cook, and share. The best part?
Every recipe you read helps feed the hungry.

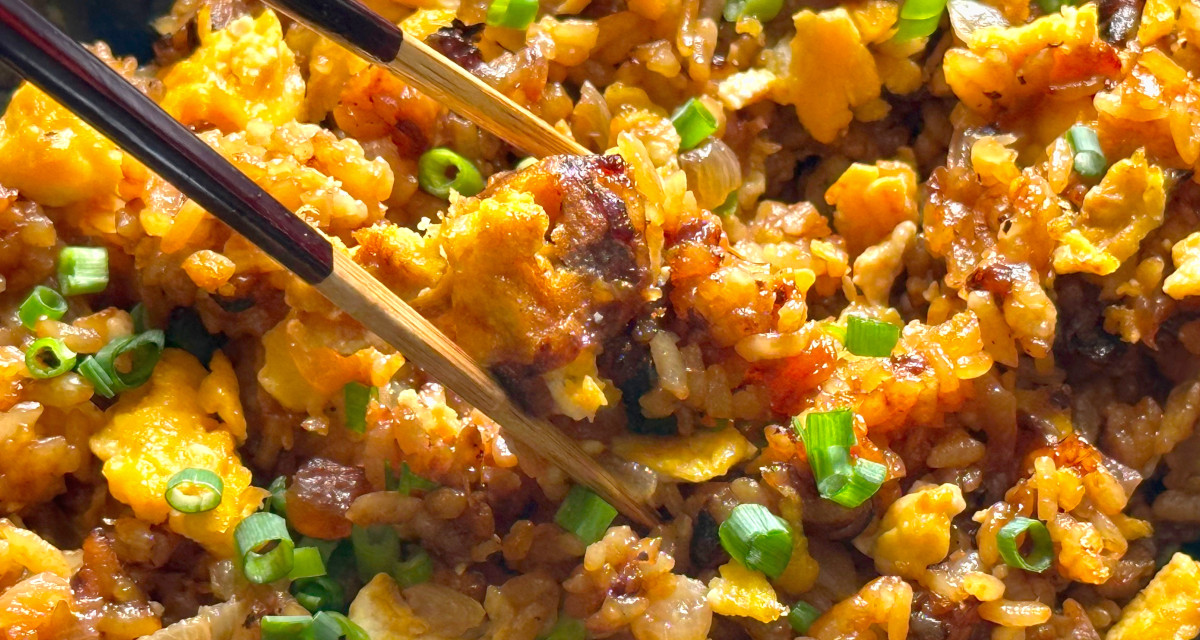
Hibachi Fried Rice is a carbon copy of the version you get at your local restaurant. Rice gets a slight sear in the pan before it’s coated in a garlic-perfumed soy-based sauce and mixed with quick but tender scrambled eggs.
Since the inception of American hibachi cooking, rice has been the original side dish to proteins like chicken, sirloin, and filet mignon. Seared alongside the meats and vegetables, the rice absorbs some of the flavors, creating a rice that goes beyond your average fried rice. Here, we don’t have a flat top that has super high heat, the same flavors can be imparted with a few little tricks.
First, start with your eggs. To have soft and not rubbery scrambled eggs, you’ll want to whisk the eggs with salt and let them rest for ten to fifteen minutes. The rest time with the salt will denature the proteins in the eggs and prevent them from getting too tough.
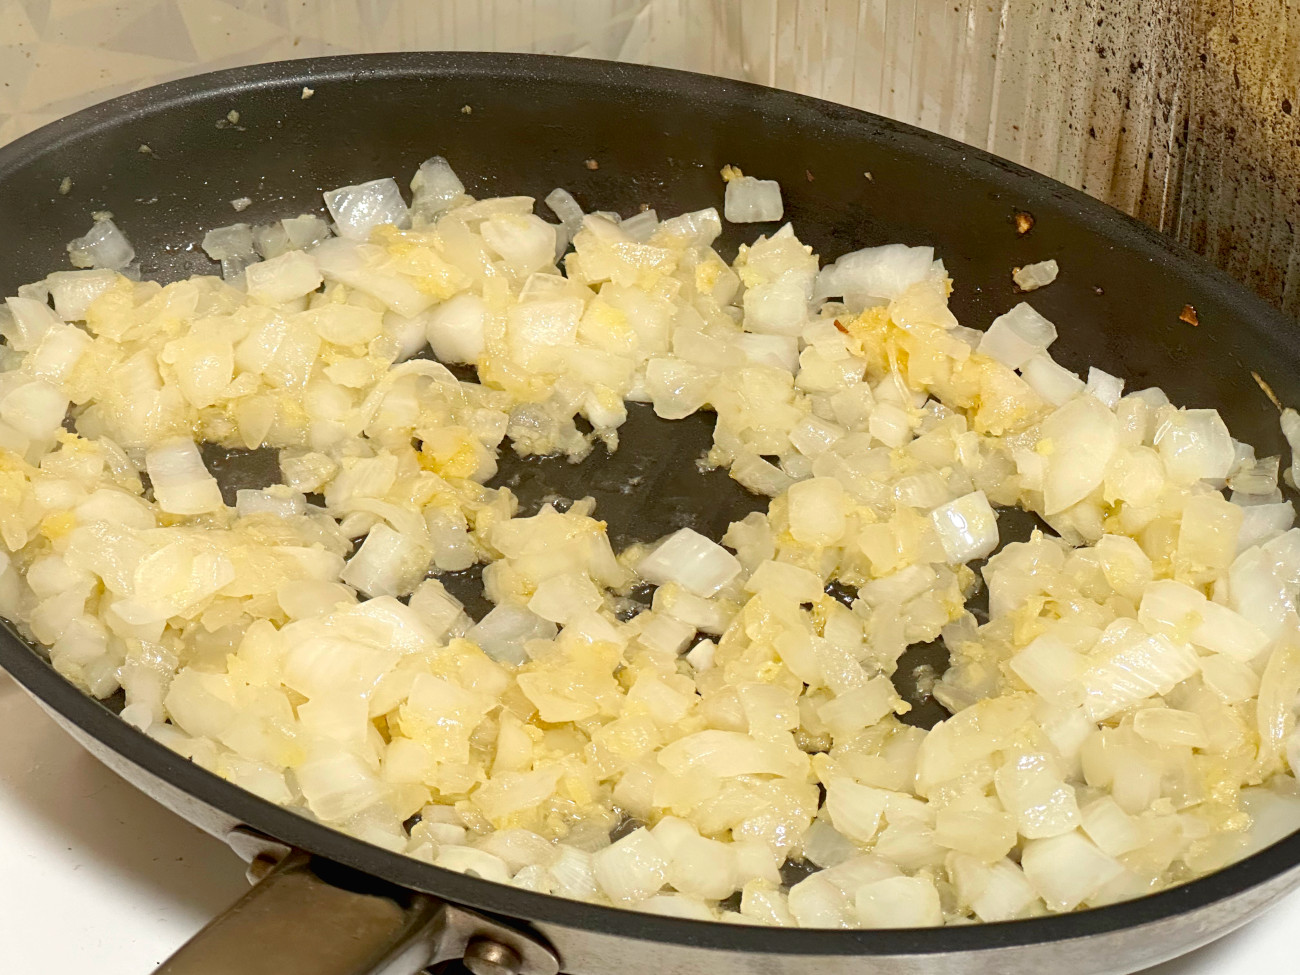
After prepping the eggs, sauté the onions and ginger in sesame oil and butter.

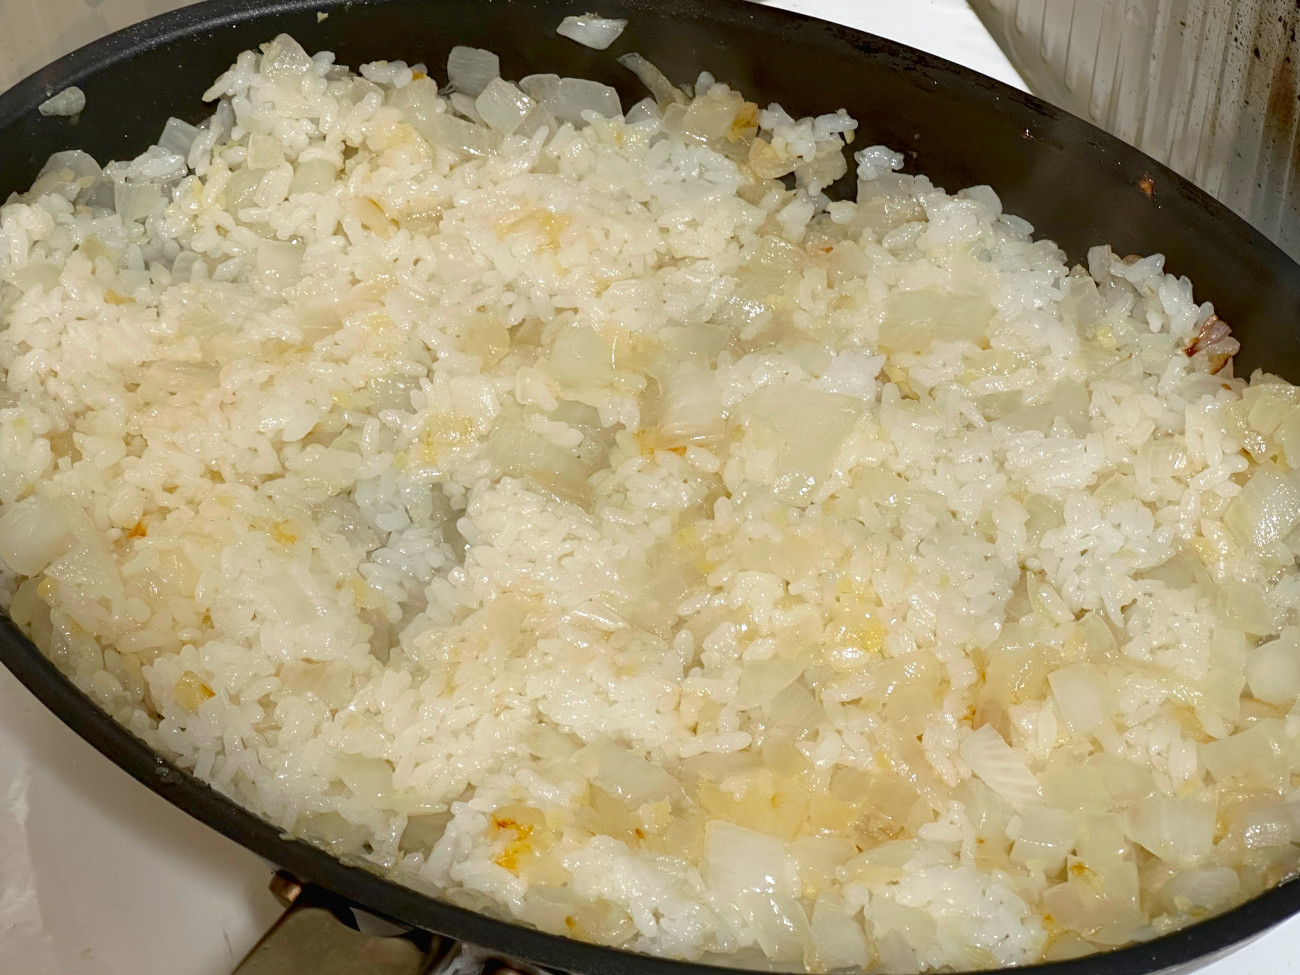
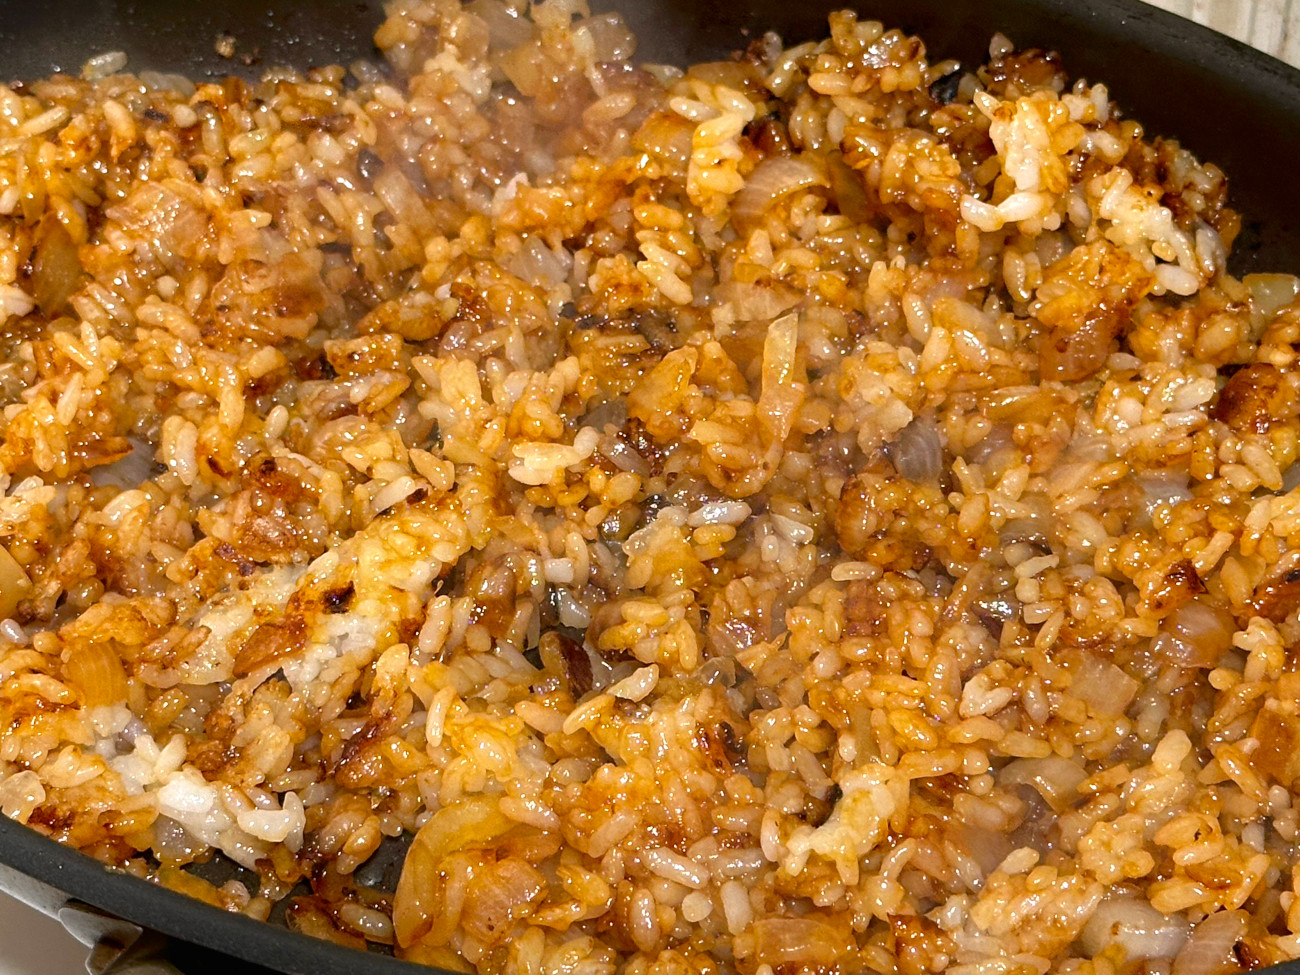
When the onions are slightly softened, add in the garlic, cooking until fragrant. Next add in the rice, breaking up the rice until there are no clumps. Press the rice into a smooth layer and let it crips up on on one side.

Letting it crisp up will give you the same texture that you’d find at a hibachi restaurant.
Stir in the soy sauce.
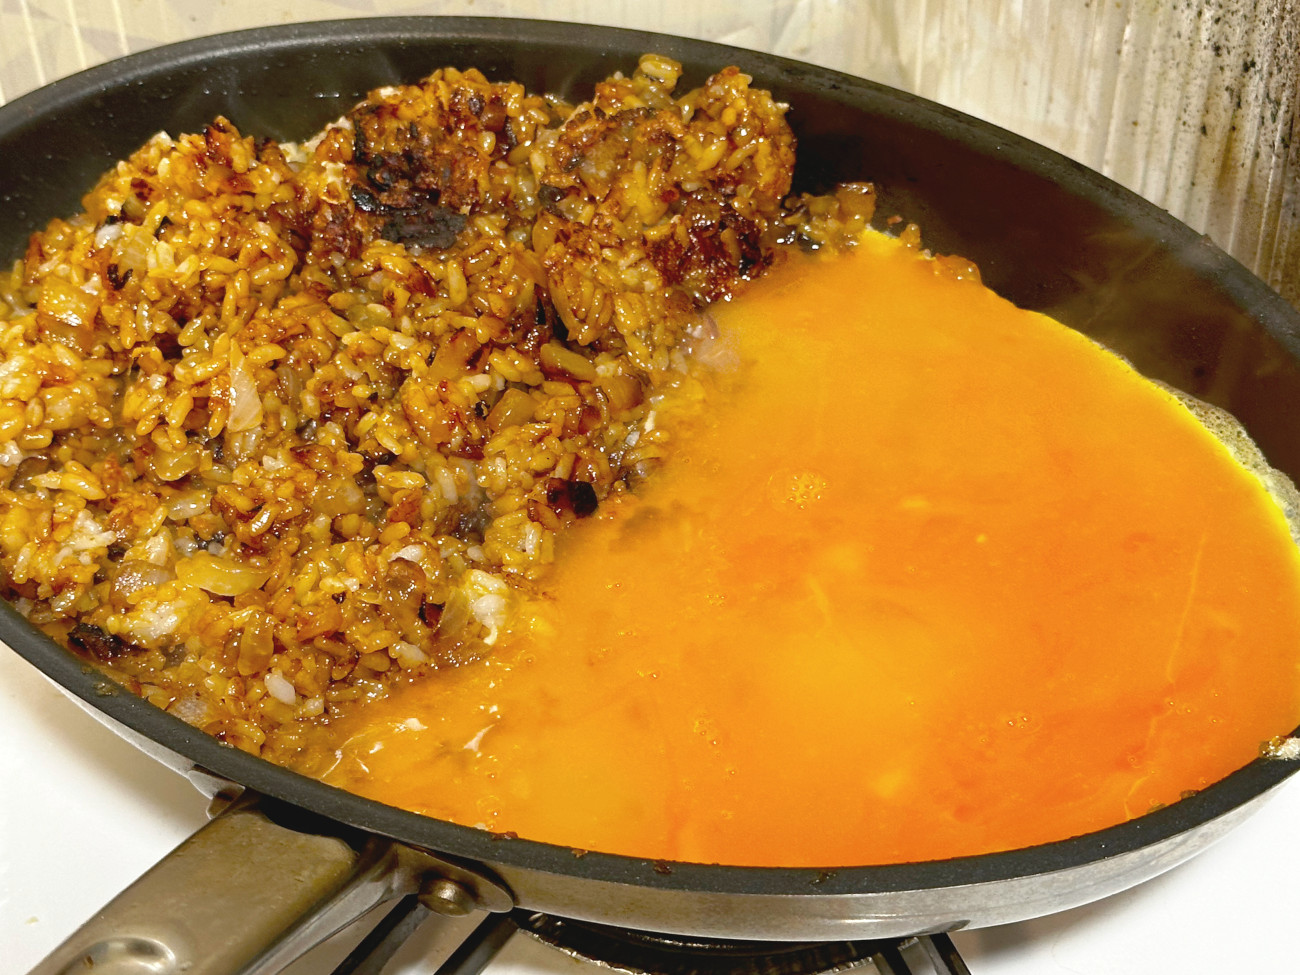
Push the rice to the side and pour in the eggs, letting them cook for a few seconds before scrambling them completely.

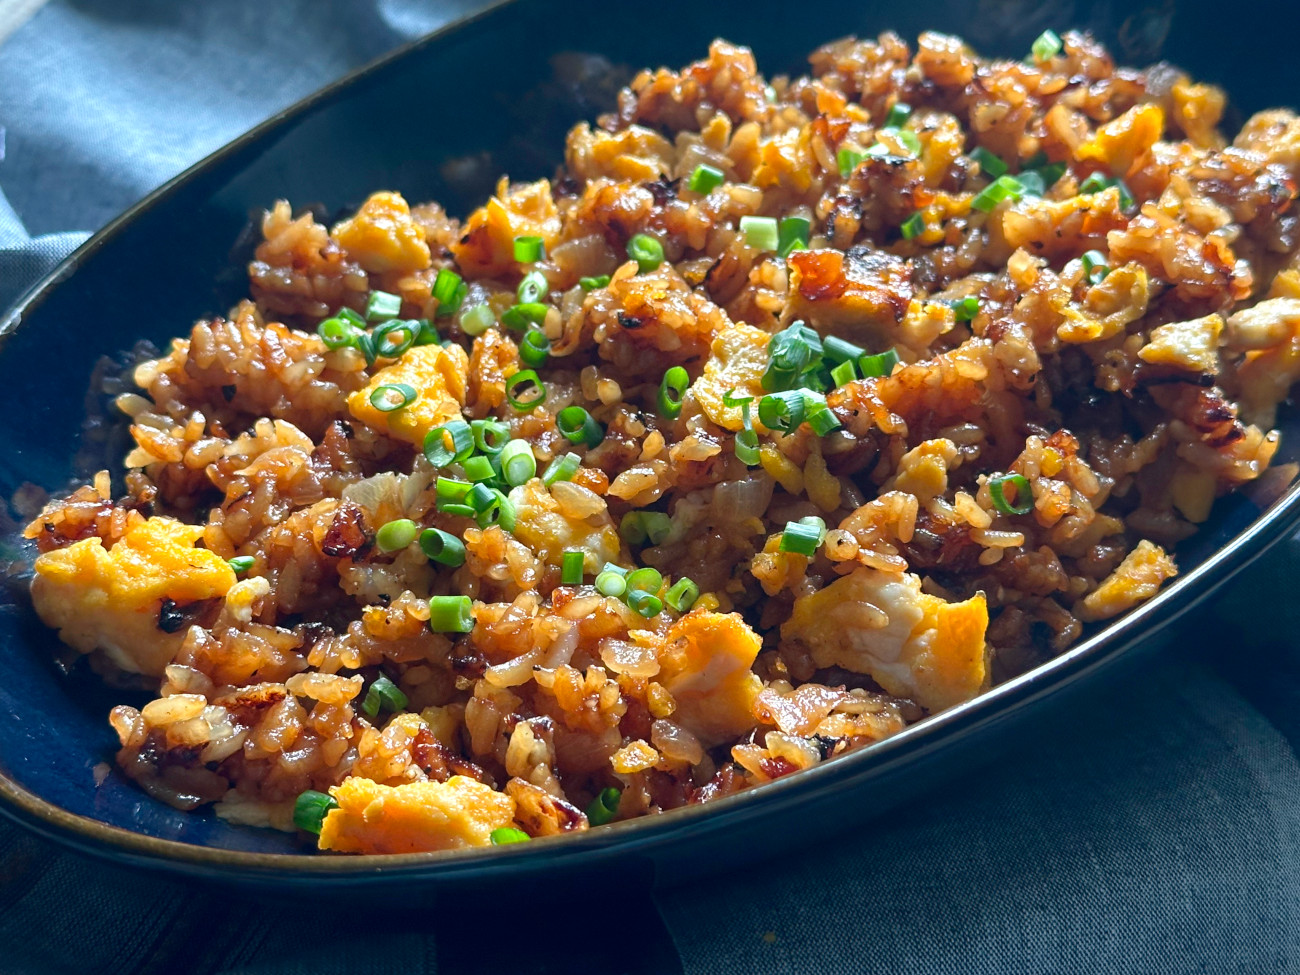
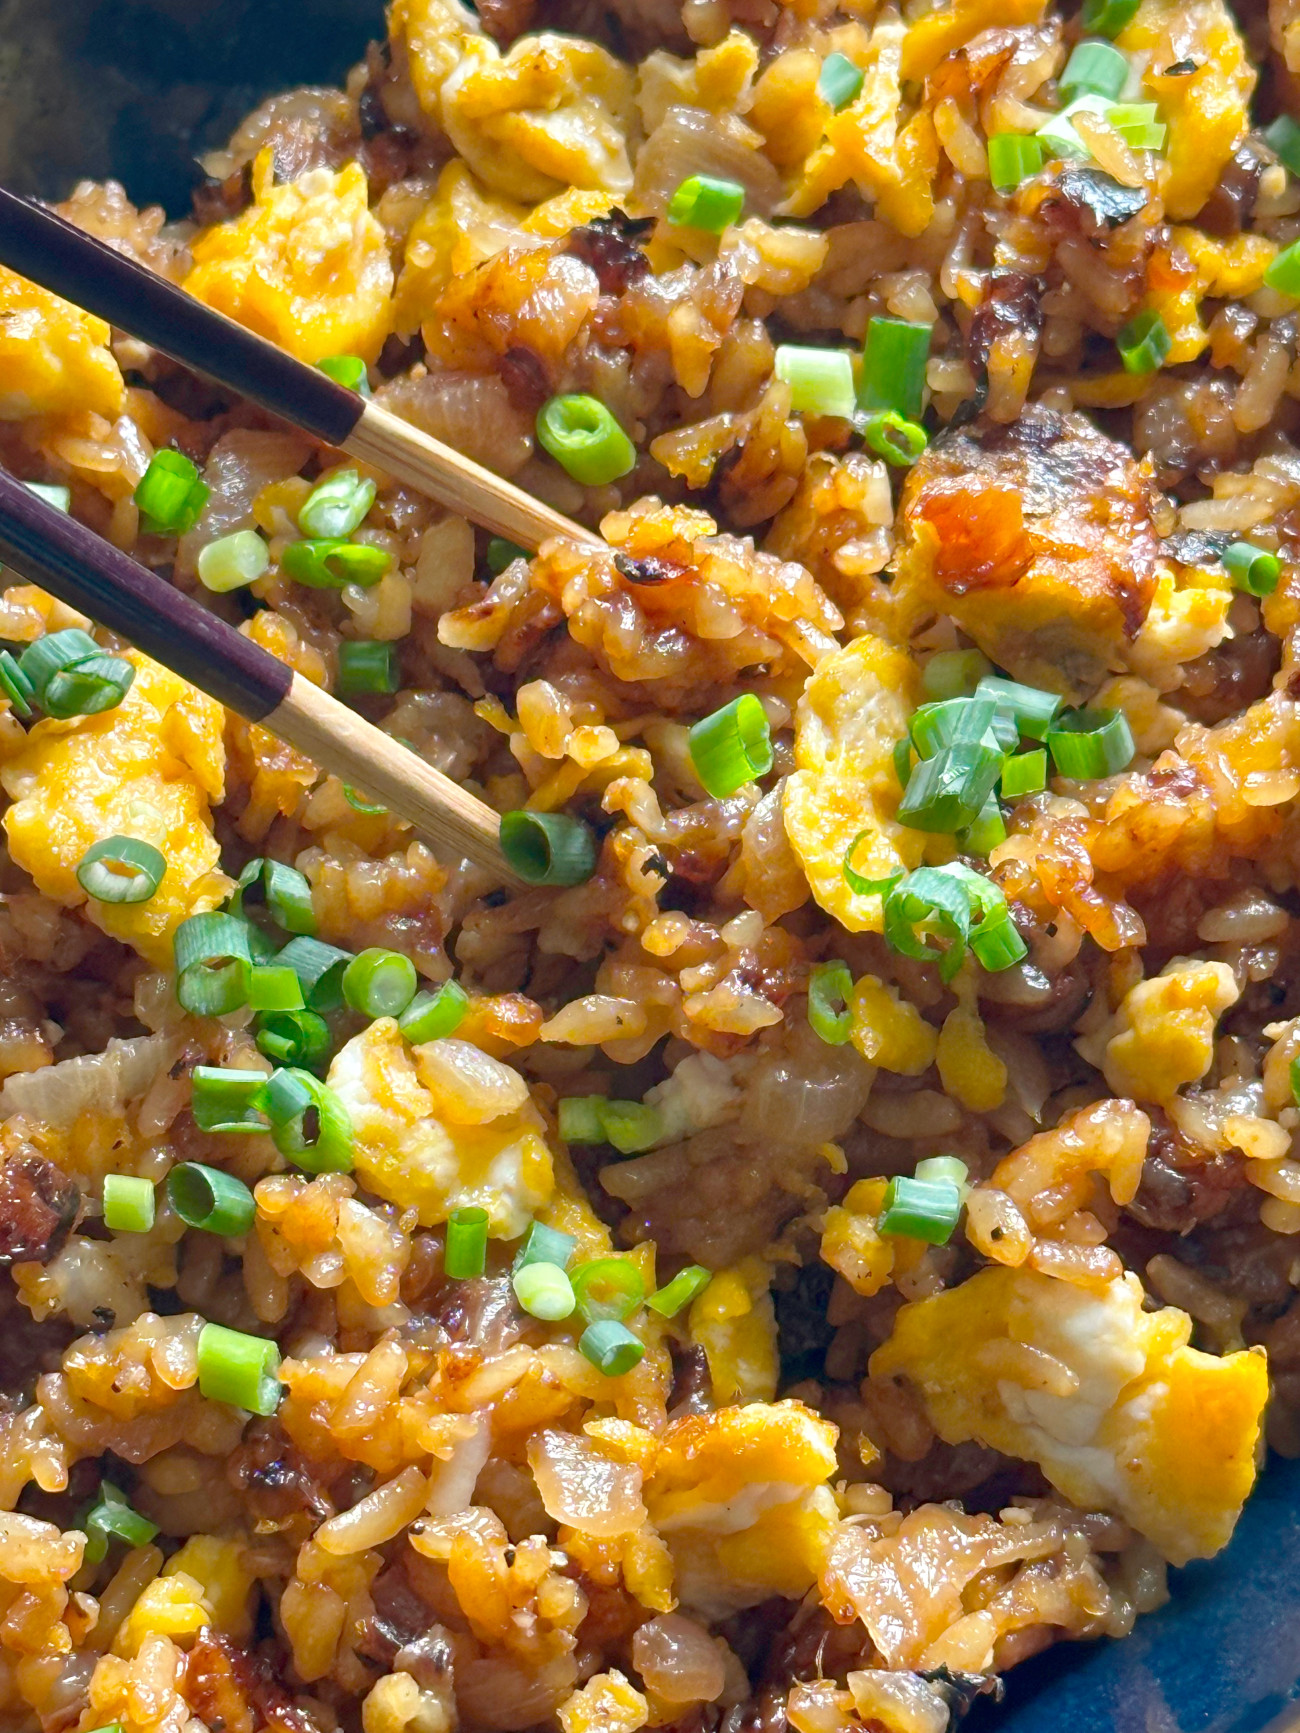
Mix everything together to get all of the flavors well combined. Top with sliced scallion before serving to give it a fresh and bright contrast in appearance.

The rice is full of aromatic scents from the onions, garlic, and ginger. Soy sauce gives the rice the right amount of saltiness and umami flavor. Eggs are tender and add a nice bit of protein as well.
It can be made ahead of time and heated in the microwave wrapped in plastic wrap. The leftovers can also be tossed in a nonstick pan with an additional bit of chicken stock will give it moisture without being mushy.
After having this You’ll be wondering why you haven’t made this recipe before, it’s that good!
Hibachi Rice
Ingredients
- 3 large eggs, lightly beaten
- 2 tablespoons unsalted butter
- 1 tablespoon plus 2 teaspoons sesame oil
- 1 medium onion, finely diced
- 3 teaspoons minced ginger
- 1 tablespoon plus 2 teaspoons minced garlic
- 4 cups cooked white rice
- 3 tablespoons low-sodium soy sauce
- 1/4 cup thinly sliced scallions, for garnish
- Kosher salt and freshly cracked black pepper, to taste
Preparation
- In a bowl whisk the eggs with 3/4 teaspoon of salt, set aside.
- In a large nonstick skillet add sesame oil and butter on medium-high heat.
- Once the butter is melted, add in onion and ginger, cooking until the onion softened and slightly translucent, about 5 to 6 minutes. Stir frequently to prevent sticking. Add in garlic cooking until fragrant, about 1 minute.
- Add in rice, using your spatula or spoon to break up the chunks of the rice. Spread the rice into an even layer and let the rice cook untouched for 1 to 2 minutes. This will give the rice a nice sear.
- When rice is broken up and seared, add in soy sauce, toss to combine.
- Lower the heat to medium and move the rice to one side of the skillet. Pour in the eggs to the empty part of the skillet. Use your spatula to slightly scramble them.
- Once the eggs are 3/4 of the way cooked, toss them in with the rice. Cook the fried rice for an additional 1 to 2 minutes. Transfer to a serving dish, garnish with scallions, and serve immediately. Enjoy!
Recipe adapted from Little Spice Jar.