
Dutch Apple Pie
An apple pie for those of us who LOVE a streusel topping.

Recipe of the Day
Discover a New Recipe Every Day. Give Back With Every Bite.
Every day, we feature a hand-picked recipe for you to discover, cook, and share. The best part?
Every recipe you read helps feed the hungry.

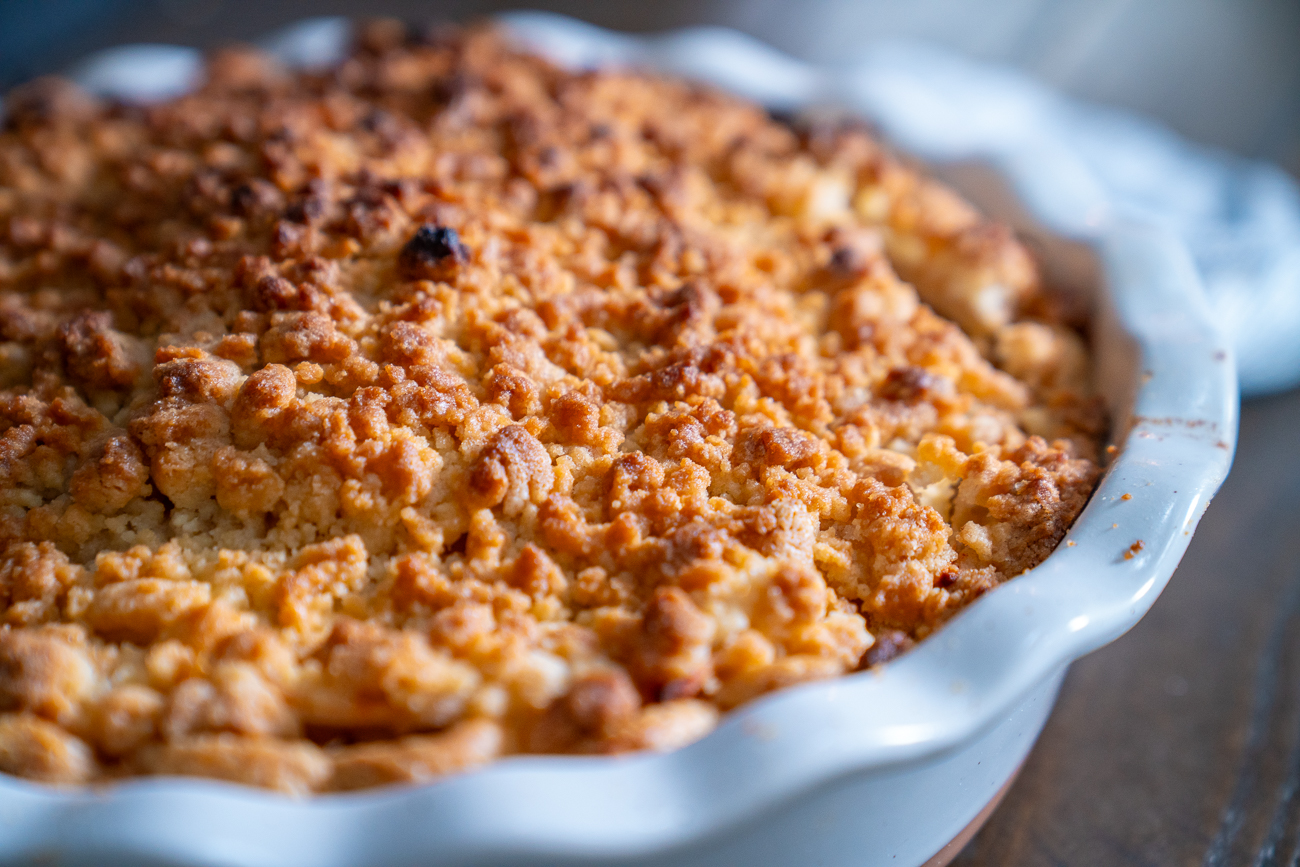
You might think that Apple Pie is just Apple Pie, but the truth is that there are many different varieties out there… You could even say there’s an Apple Pie for everyone. Well, Dutch Apple Pie is certainly the Apple Pie for me because it comes with layers upon layers of not-too-tender apples and an abundance of streusel topping. Since I am always a fan of streusel and not so much a fan of mushy apples, it’s basically my dream Apple Pie. I hope it’s yours too.

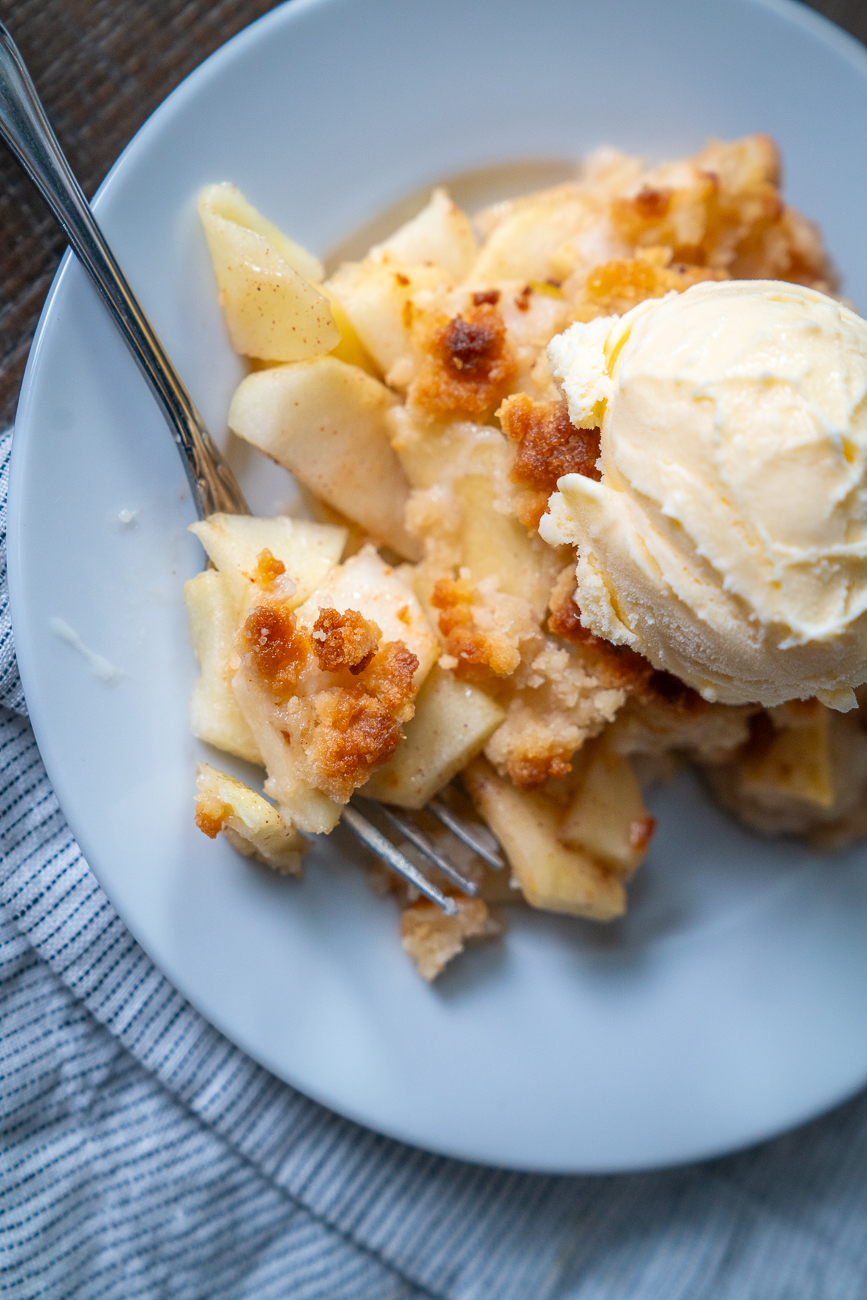
For Dutch Apple Pie, you will need A LOT of apples. (It deserved capitalization — it’s that many apples.) You need about four and a half pounds of apples and I prefer to use two varieties. I find the perfect mix to be two and a half pounds in Granny Smith apples (that’s about five apples), and two pounds in a sweeter-crisp baking apple like Honeycrisp, Braeburn, Jonagold, or Pink Lady (that’s four to five more apples). Combining two types gives you a balance of tart and sweet flavors, but also an ideal texture for the filling, not too mushy but not too firm either.
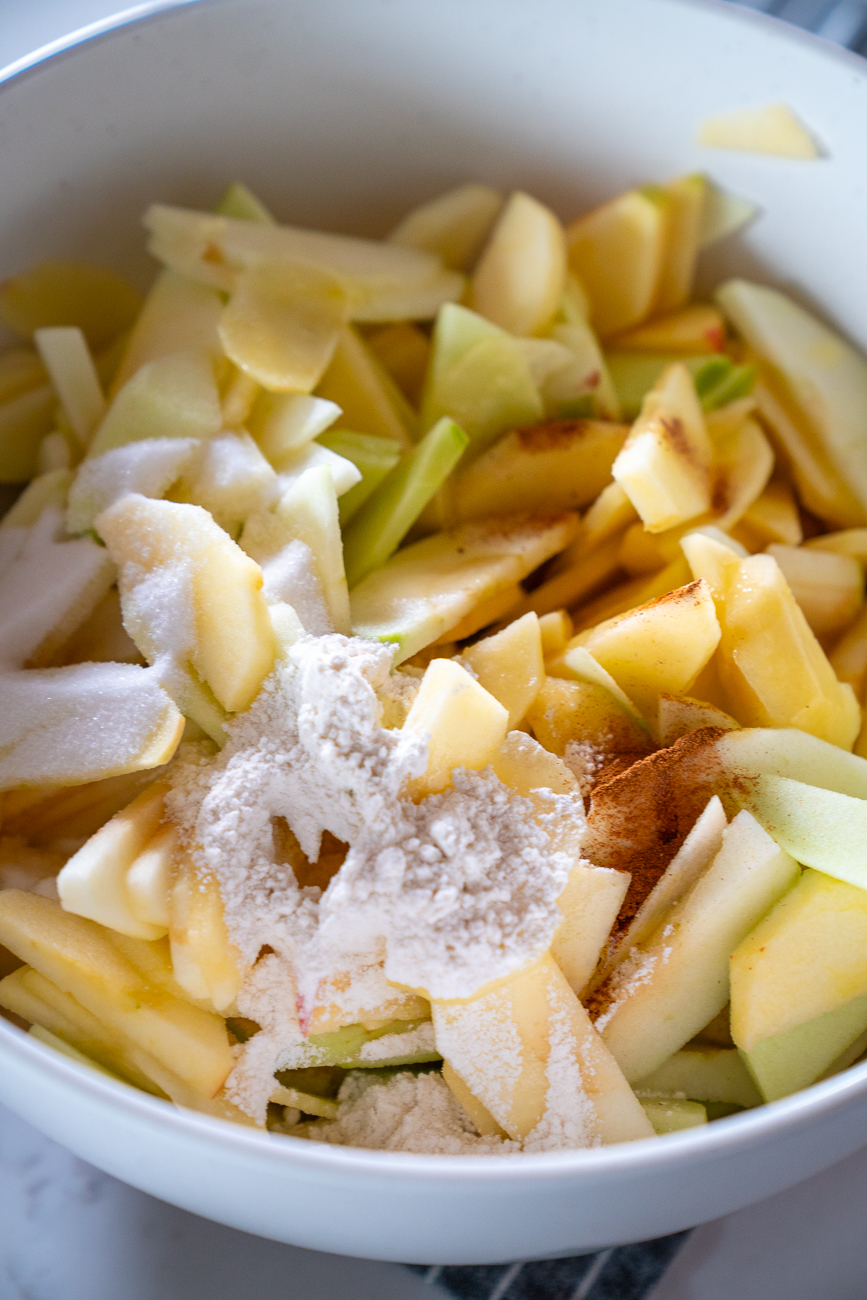
You want to slice all those apples about a quarter inch thick and toss them with lemon juice, melted butter, flour, cinnamon and nutmeg. That’s it for the filling!
This is a situation where you want to blind bake your crust to keep things nice and flaky, but once that’s done you can pile the filling in — no cooking required on that part. You don’t have to be too precious about getting it into the pie; just turn any apple slices that are pointing up or laying the wrong way, but you don’t need to take a lot of time arranging the layers. (But do press down as you go.)
The streusel goes on last, but it’s actually the thing you want to make first. It’s a little different from other streusel toppings and comes together with melted butter that you stir into the other ingredients. It chills in the fridge until it’s hardened and then you can scrape or crumble it up to top your pie.
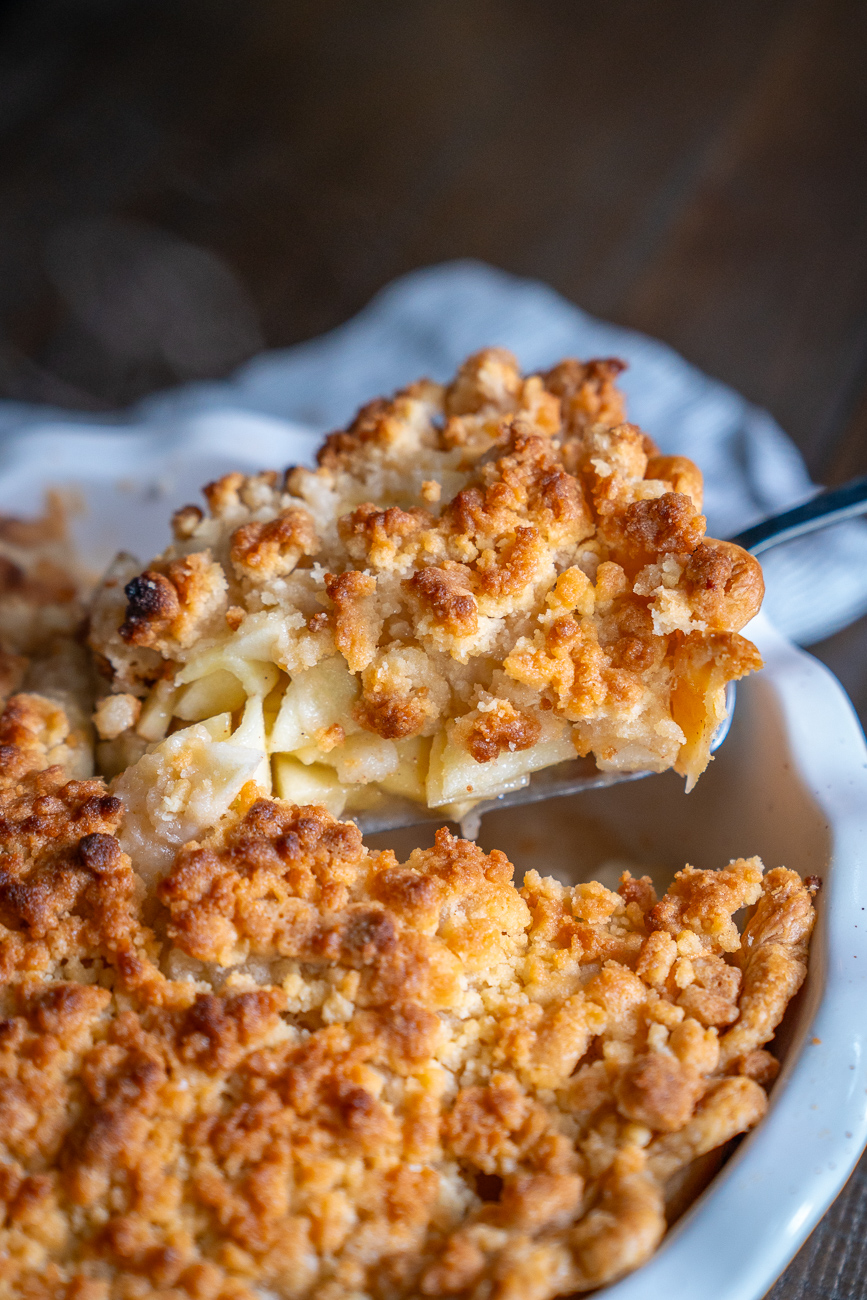
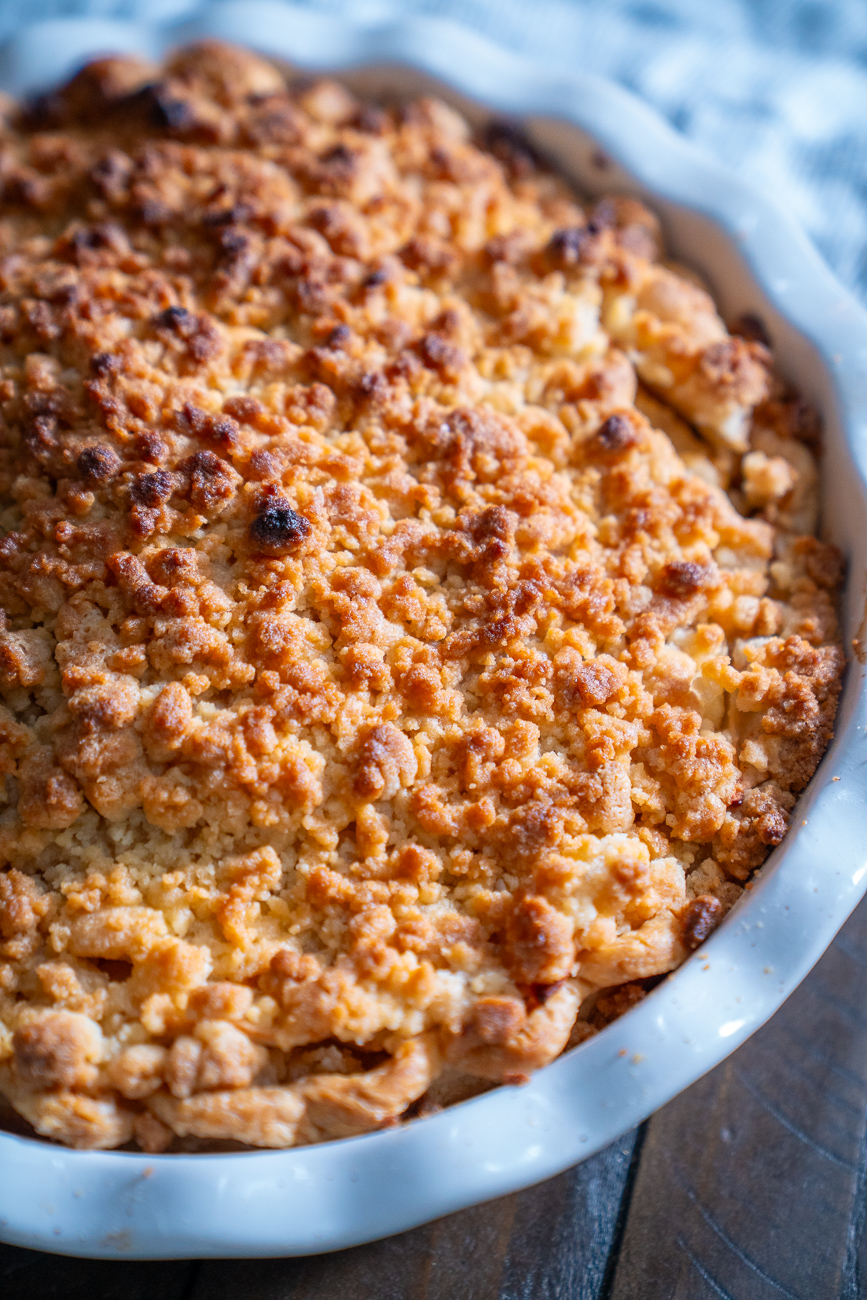
This pie is thick and will take at least forty-five minutes to bake, if not a little longer, so be patient. Likewise, you also want to have patience when you’re waiting to slice it — you really want to let it come to room temperature so the slices hold together — at least two hours. Sometimes food photography doesn’t allow us long stretches of time, so ours was a little rushed and our slices didn’t hold together. A couple hours of resting should get you nice sharp slices, never fear.
Dutch Apple Pie
Diet: Vegetarian
Watch How It's Made
Video unavailable — your ad blocker may be preventing it from loading.
Ingredients
- 1 9-inch pie crust
For the topping:
- 1 1/4 cups all-purpose flour
- 1/3 cup brown sugar
- 1/3 cup granulated sugar
- 1/4 teaspoon salt
- 1/2 cup (1 stick) unsalted butter, melted
For the filling:
- 5 Granny Smith apples, about 2 1/2 lbs
- 4-5 sweet-crisp apples, such as Honeycrisp, Braeburn, Jonagold, or Pink Lady, about 2 lbs
- 2 tablespoons unsalted butter, melted
- 1 tablespoon fresh lemon juice
- 1/2 cup granulated sugar
- 3 tablespoons all-purpose flour
- 1/2 teaspoon cinnamon
- 1/4 teaspoon nutmeg
Preparation
- Roll pie dough out into a circle larger than your pie dish, then transfer to a deep 9-inch pie plate and gently press dough into the bottom and up the sides. Trim dough overhang to 1-inch, then fold excess under and crimp or flute as desired. Chill 1 hour, or freeze for 15 minutes.
- Preheat oven to 400°F.
- Line pie crust with aluminum foil, then fill with pie weights, rice, or dried beans. Bake for 15 minutes, then remove foil and pie weights. Prick bottom of crust with a fork, then return to oven for about 10 minutes. Remove and let cool on a wire rack while you work on the filling and topping.
- For the topping:
- In a medium bowl, stir together flour, brown sugar, white sugar, and salt until combined. Stir in 1/2 cup melted butter and toss until evenly moistened. Transfer to refrigerator to chill while you work on the filling.
- Peel, core, and slice apples 1/4-inch thick. Transfer to a large mixing bowl, then toss with the 2 tablespoons melted butter and lemon juice. Add sugar, flour, cinnamon, and nutmeg, and toss to coat.
- Layer apples in blind baked crust, pressing them out into an even layer after each addition. Spread apples out into an even layer and turn them flat as you go.
- Remove topping mixture from refrigerator, break mixture into small clumps, and sprinkle over apple filling.
- Reduce oven to 350°F.
- Place pie on a rimmed baking sheet, then bake until topping is golden and apples are tender but not mushy, 45-55 minutes. Tent top with foil if it begins to brown too much.
- Remove from oven and let cool on a wire rack at least 2 hours before slicing. Enjoy!
Recipe adapted from Cooking Classy.