
Everyone is always looking for the perfect item that will allow their home to stand out from the crowd. After all, there’s no reason to rely on the same old same.
Why would anyone want to live in a house that looks like everyone else’s? This is not something that anyone should be striving for. We’re just glad to be living in a day and age where being quirky is actually encouraged. Gone are the days when every house on the block looks the same. This DIY patio furniture is a great way to ensure a greater level of individuality for your home.

Photo: YouTube / OWN
The project is inexpensive and very simple. The finished product is very comfortable and only costs around $50. All you need for the DIY patio chair are some wood planks, a drill, and seven 25-foot ropes, all of which can be found at most hardware stores. You can also get paint to add some color, but that’s totally optional.
To begin, you’ll lay out the planks. You’ll want to paint them at this point if you choose (again, it’s totally optional). Next, use your drill to place 14 holes in the sides of each plank, 7 on each side.
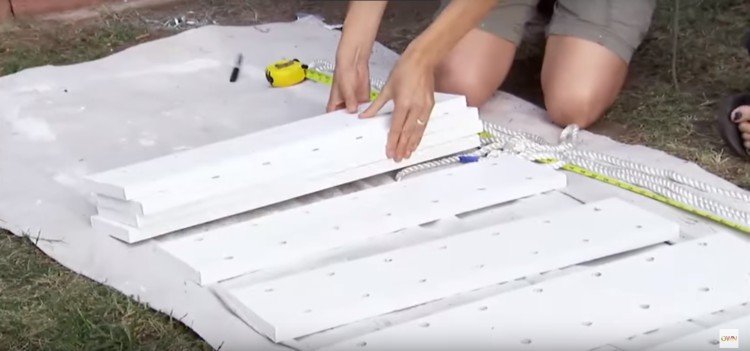
Photo: YouTube / OWN
After that, you’ll take the rope and weave it through the holes. Once the rope is placed through the first hole, tie a knot to hold it in place. Make sure that the ropes are crisscrossed through all of the holes and that they are woven through the holes in an X shape. From there, it’s time to hang the chair and drill two different sets of hooks, so you’ll need four hooks in total.
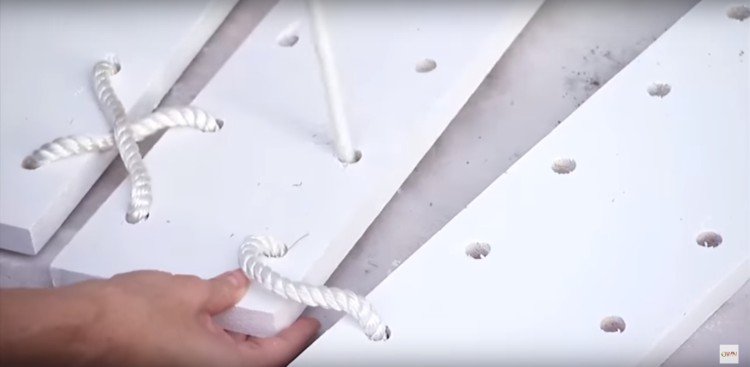
Photo: YouTube / OWN
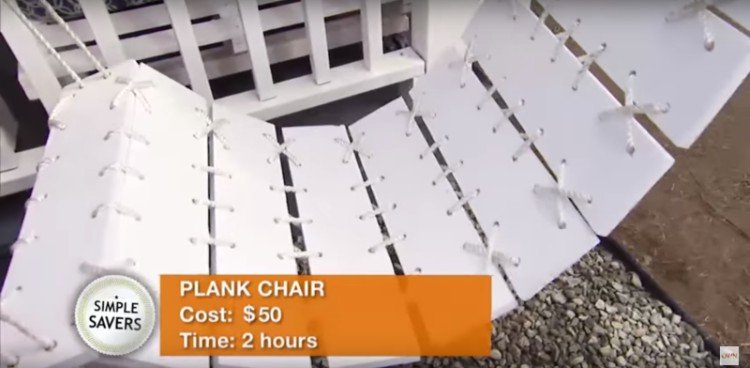
Photo: YouTube / OWN
Finally, hang the chair from the top on one of the sides and from a few planks on the other end’s side. This provides your legs with a natural place to hang. Use some tape on each end of the rope to prevent needless fraying.
Check out the full process in the video below:
What do you think of the finished product? Let us know below!