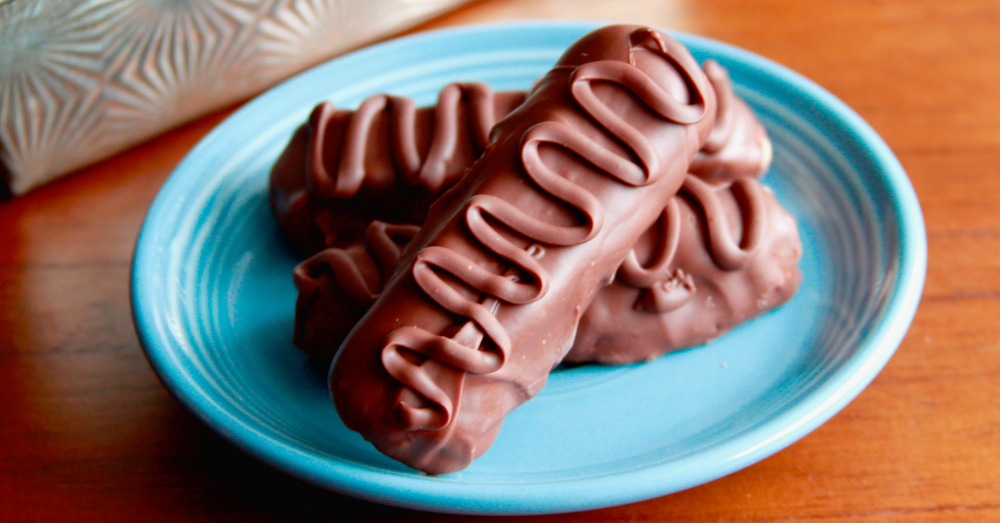
British Chocolate Fingers
A chocolate covered treat you just have to eat.

Recipe of the Day
Discover a New Recipe Every Day. Give Back With Every Bite.
Every day, we feature a hand-picked recipe for you to discover, cook, and share. The best part?
Every recipe you read helps feed the hungry.

Once you get past expansive fields vignetted by sheep and bushes of nettle, you settle into small coved valleys where cobbled stoned cottages wind around compact village streets. Through narrow windows, the light filters into wallpapered rooms filled with laced adorned tea cupboards. Rooms with creaky floors and well-used hearths, house round tavern tables with plates of biscuits, in the center like a stately centerpiece, just waiting to be eaten. When one thinks of British tea, it’s hard to stop the mind from conjuring up pastoral and often stereotyped scenes, but there’s something to a cup of Assam tea tamed with cream that automatically requires a sweet treat. These British Chocolate Fingers are a perfect partner to a cuppa, or across the pond, they’re brilliant alongside an American cup of joe.
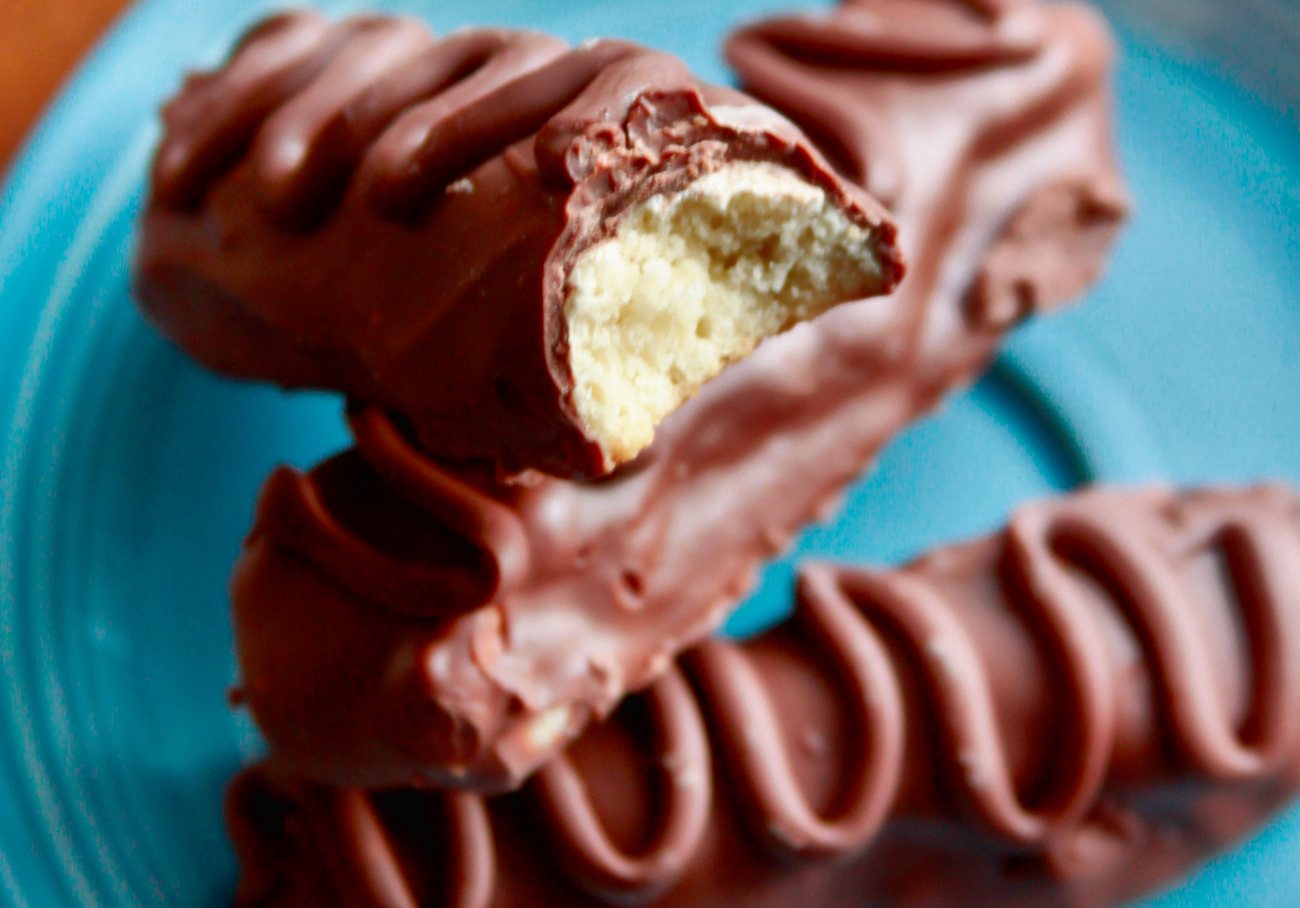
Technically these British Chocolate Fingers are a biscuit by British standards (which means they’re a cookie for us stateside). The British term biscuit comes from the Latin word bis coctus or twice baked, but these cookies are far from brittle bricks or the British naval hardtack of the 16th century. A bite of a British Chocolate Finger is quite different, as it reveals a soft melt-in-your-mouth shortbread-like cookie, perfumed with vanilla, and the flavors are amped up with a touch of salt. Given a rest and cooled, these long elegant cookies take a swim in a batch of melted milk chocolate.
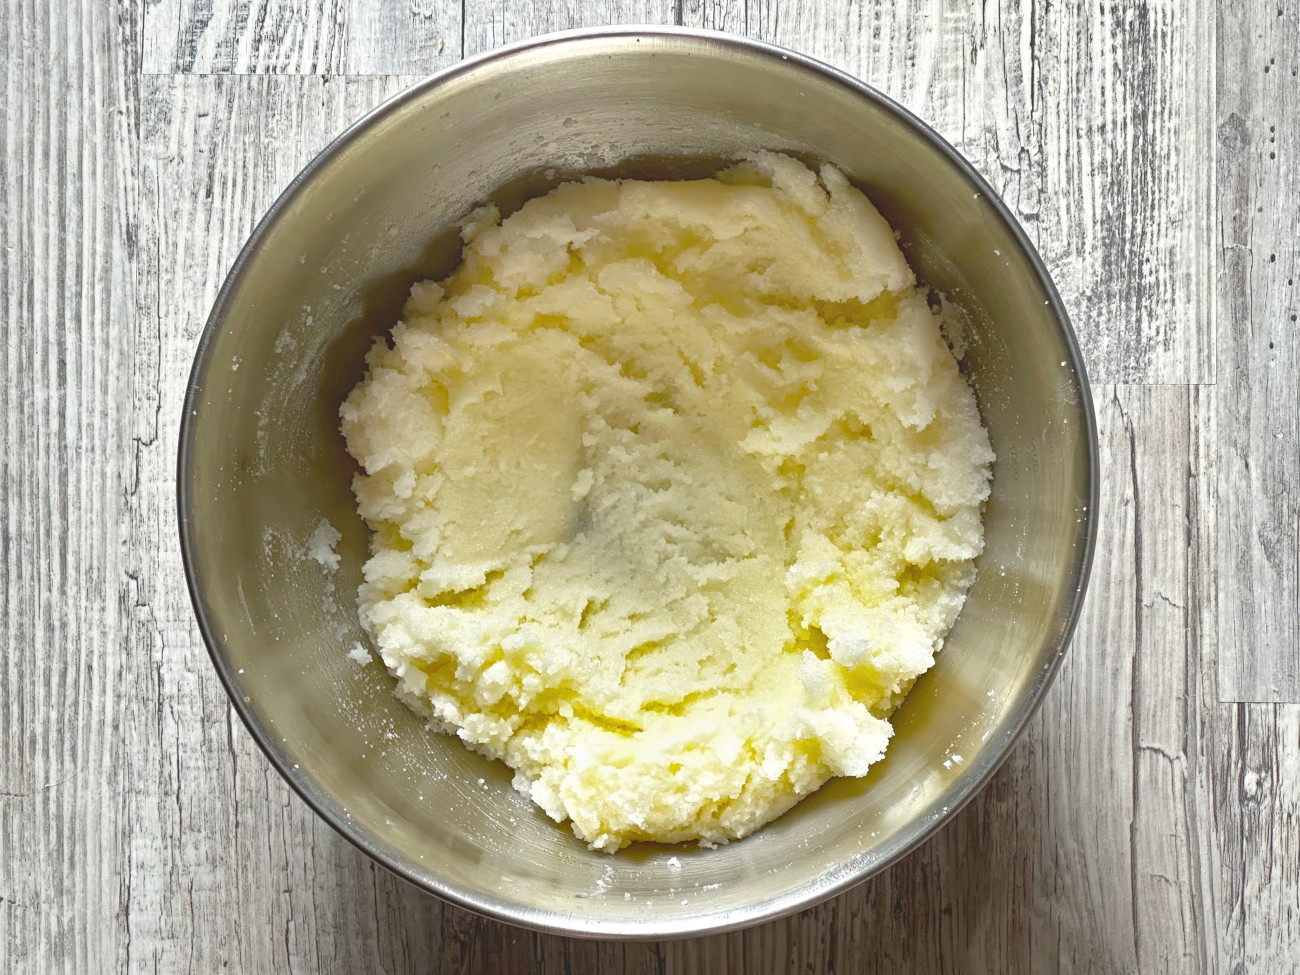
This dough is simple, like any sugar cookie or shortbread dough you’ve made before. You start by measuring and whisking your cake flour, sugar, and salt together. Most cookie recipes call for all-purpose flour, but here cake flour is used, no exceptions. This flour — which is cut with cornstarch — gives the cookies a more tender texture. The cornstarch in the flour creates a pleasant melting quality to the cookie crumb.
Next, beat the butter and vegetable oil with a mixer until light and fluffy. You’ll have to scrape the sides and beaters occasionally to make sure all of the butter is mixed and you have no hard bits.
You then add the vanilla extract and the one egg.
If your mixer doesn’t have a really low speed, add the dry ingredients gradually by hand, using a rubber spatula. Once the dry ingredients are more incorporated, you then use the mixer to finish the mixing process. Adding the dry ingredients gradually in this fashion prevents the dough from over-mixing and prevents the dry ingredients from exploding all over your kitchen.
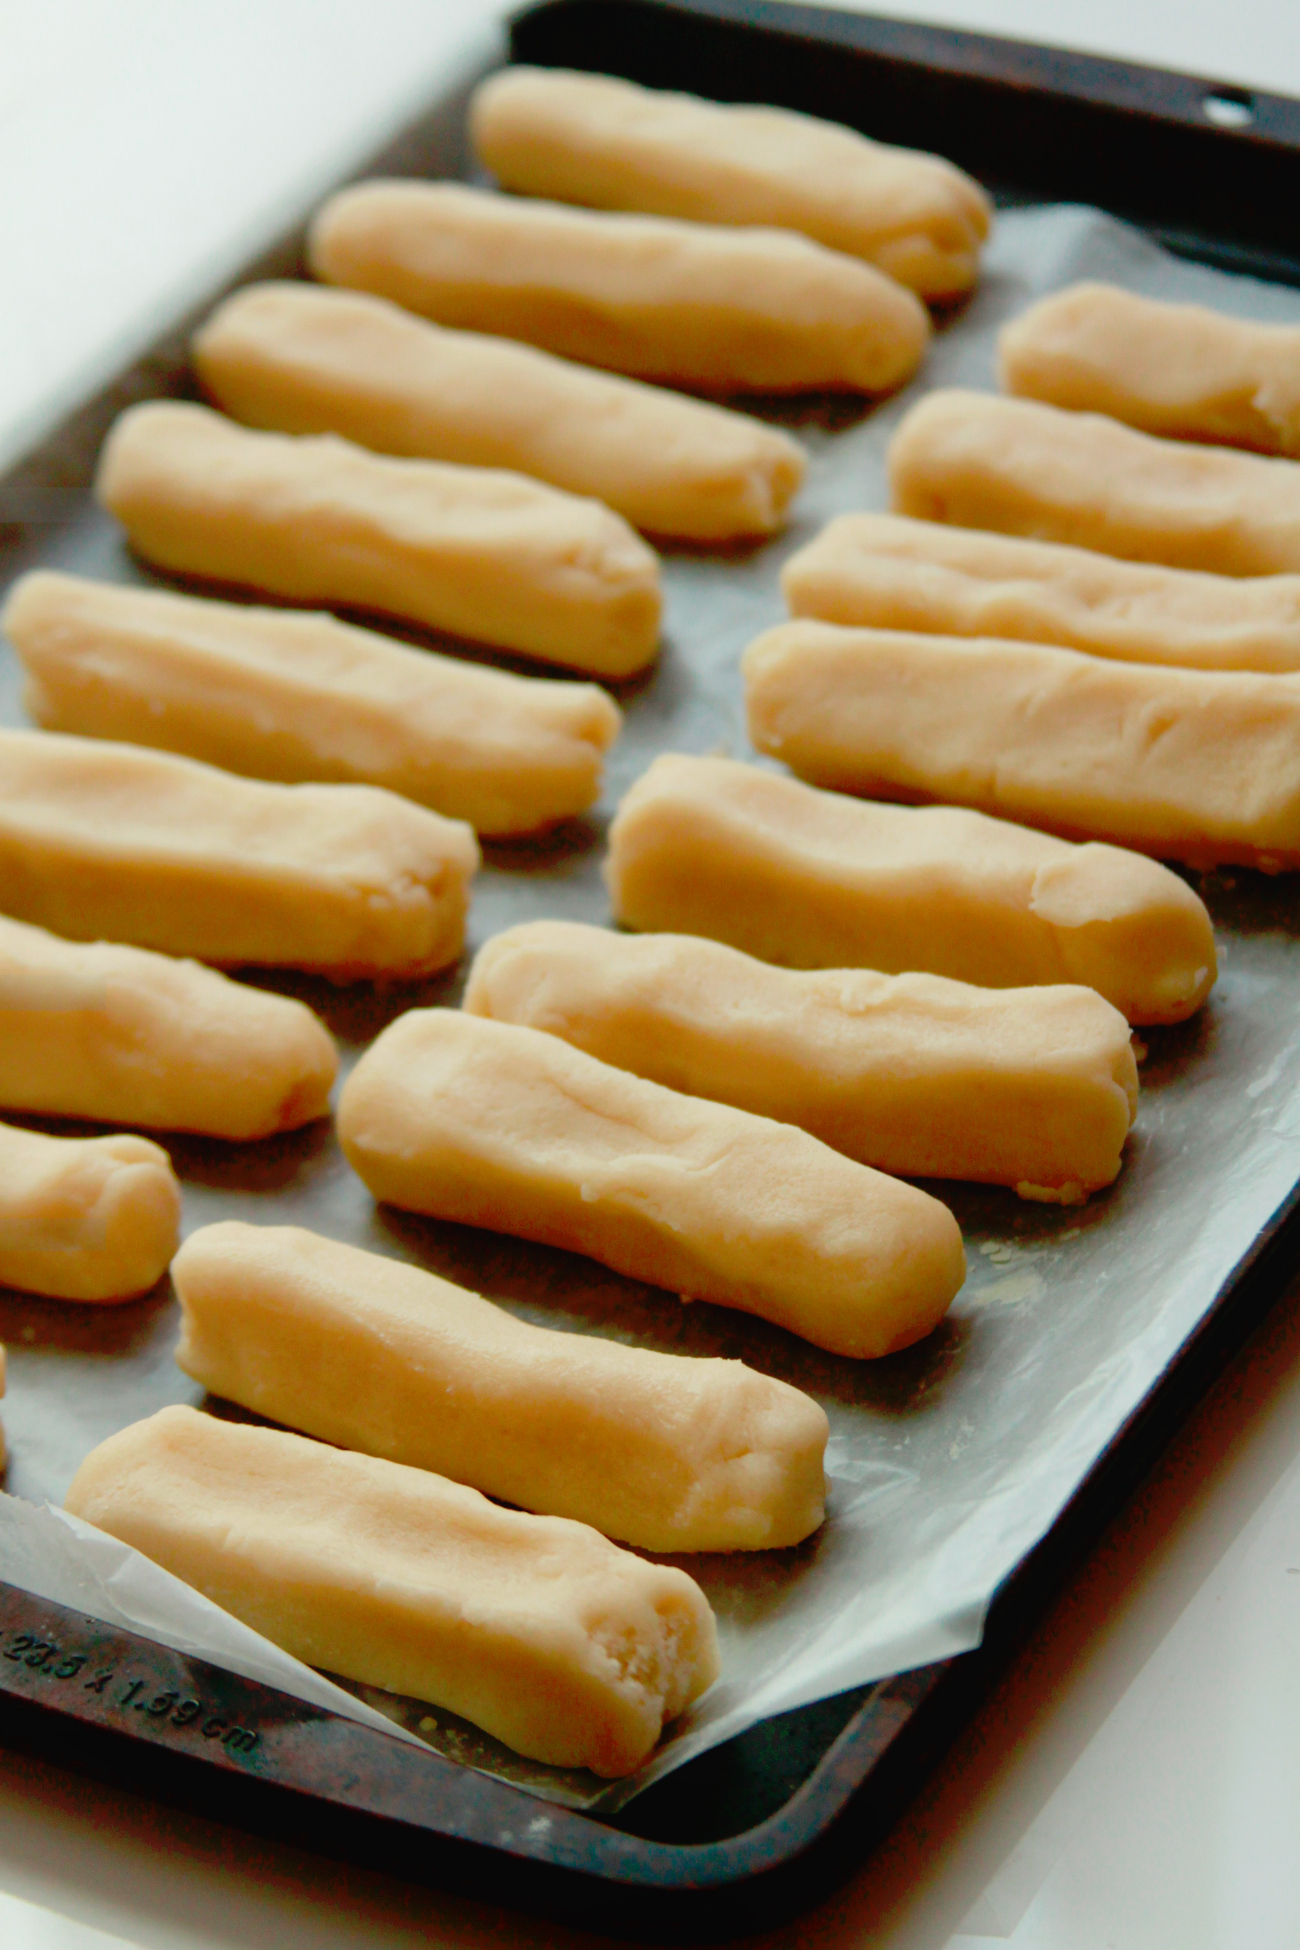
Next, divide the dough into sixteen to eighteen pieces. The amount varies based on how long you want your cookies. Use your hands, and shape the dough to create even-looking logs.
As tempting as it is to pop them in the oven right now, you have to let the cookie dough firm up in the freezer. After an hour, you can go ahead and place these cookies two inches apart on a baking sheet and bake them in the oven.
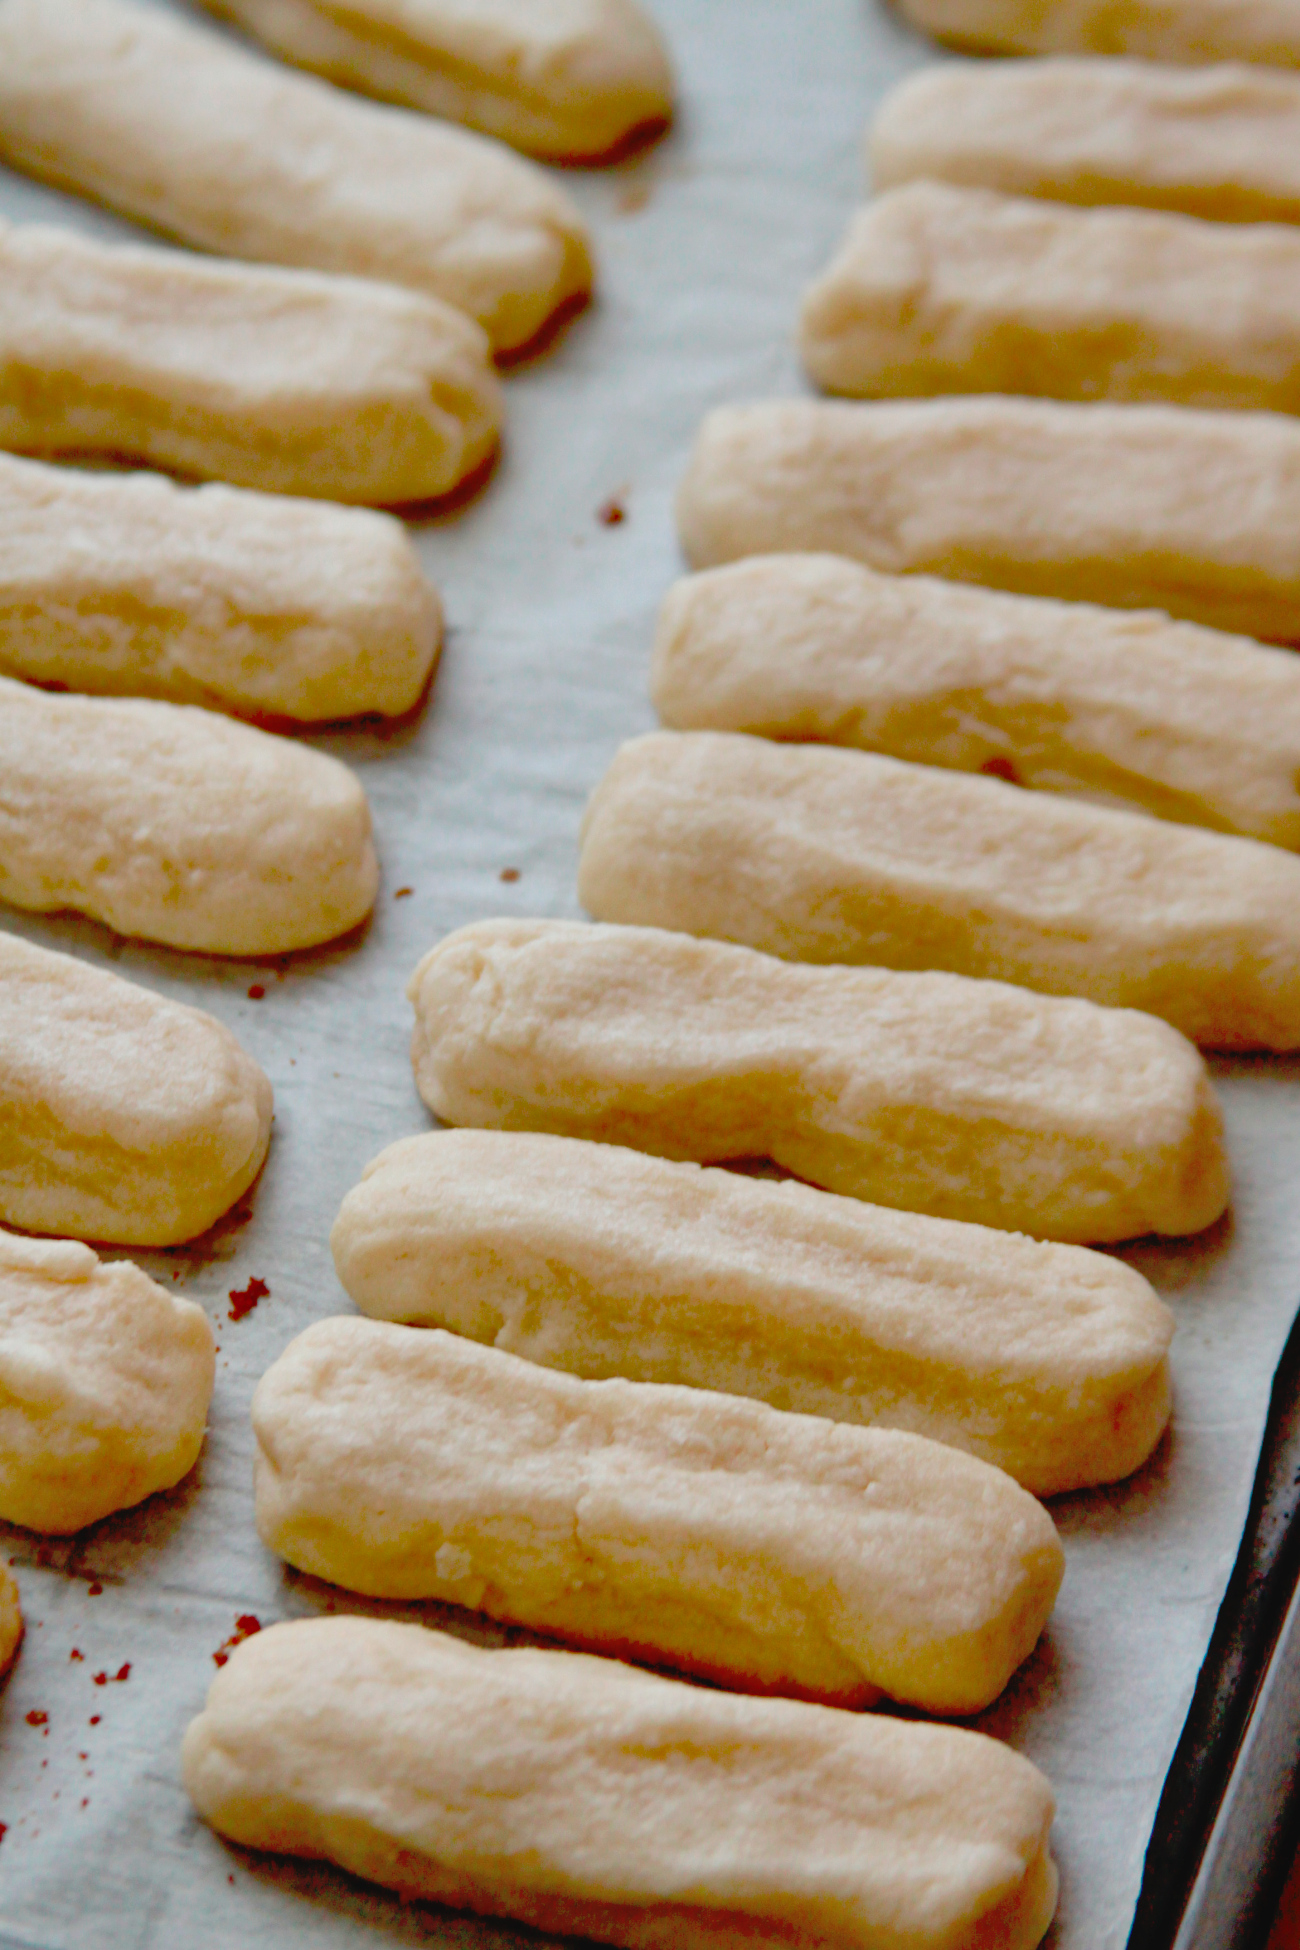
These cookies do not bake for a long time. After a mere twelve-ish minutes, they’re done.
Again you’ll have to wait for these cookies to cool. If you try to dip the cookies in chocolate now they’ll fall apart.
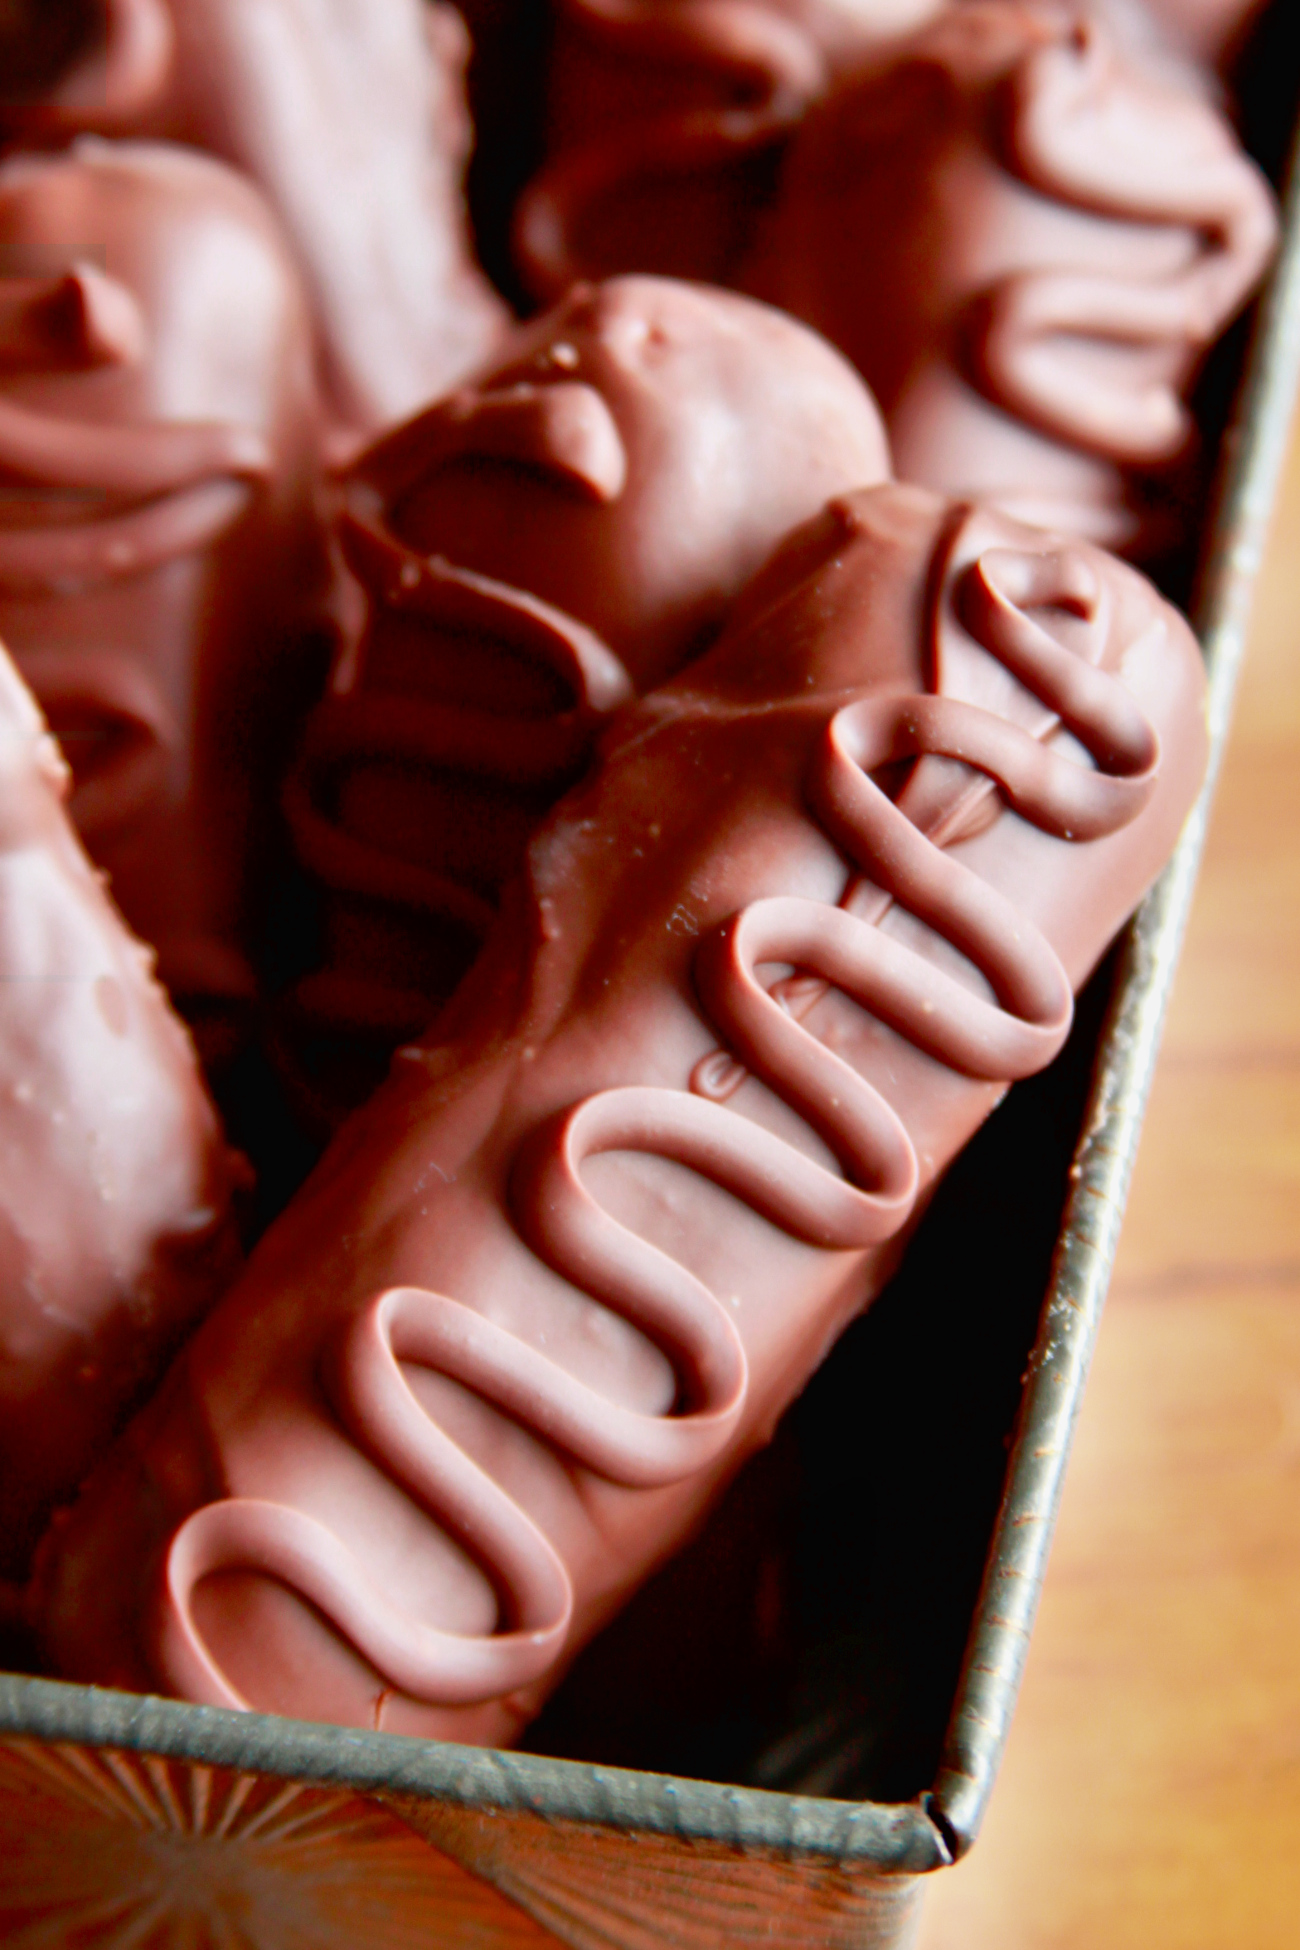
For the chocolate coating, I simply used chocolate chips that were melted in the microwave in 30-second intervals. If your chocolate isn’t looking smooth, try to add a drop or two of vegetable oil into your chocolate, as it will give you a nice, smooth sheen.
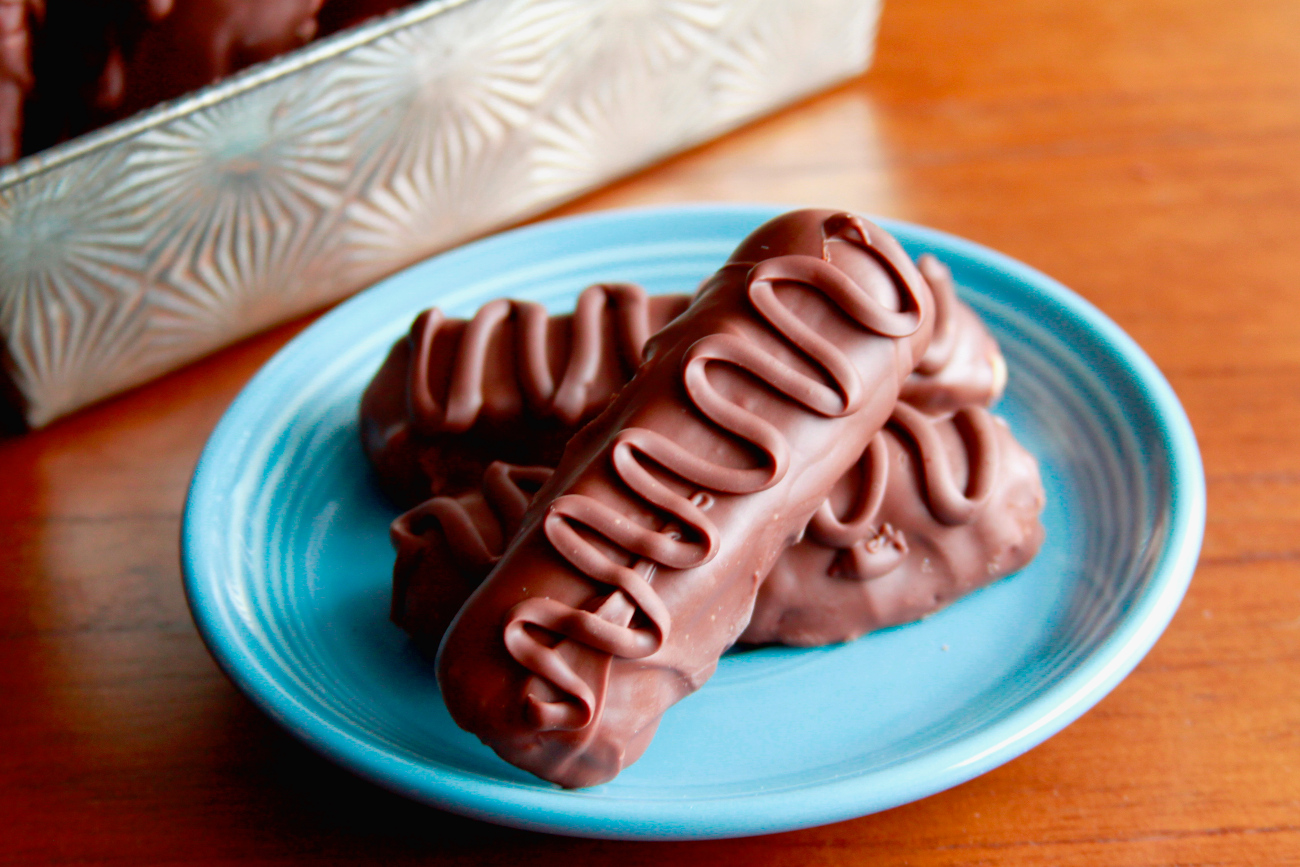
After dipping each cookie in the chocolate I put them onto a parchment-lined cookie sheet to harden. If you have a wire rack, they’ll have an even cleaner finish. Once the coating firmed up I pipped a decorative swirl on top of each cookie, but it’s not required, it simply used up the remaining chocolate I had (or else I’d probably just eat the remaining chocolate in the bowl!).

While all cookies are pretty much delicious, these British Chocolate Fingers are beyond your average cookie out there. The smooth, creamy chocolate blends with the melty, tender shortbread-like crumb, creating a very luscious and additive texture. While they’re great accompanied by tea, they taste even better just, well, any time of the day. Once hardened, they can be popped into a container and enjoyed in any way, shape, or form — the excuses to eat these are endless.
British Chocolate Fingers
Ingredients
- 2 cups cake flour
- 1 1/4 cup granulated sugar
- 1/4 teaspoon fine salt
- 3/4 cup unsalted butter, cut into cubes and room temperature
- 1 tablespoon vegetable oil
- 3/4 teaspoon vanilla extract
- 1 large egg, room temperature
- 16 ounces milk chocolate chips
Preparation
- Line a small baking sheet with parchment paper, set aside.
- In the bowl of a mixer whisk cake flour, sugar, and salt.
- Add butter and oil and beat on a low speed until it resembles sand.
- Beat in the vanilla egg, it’ll look like a dry cookie dough.
- Shape into a flat, even square 1.5 to 2-inches in thickness.
- Slice into 10 to 12 long rectangle shapes. Use your fingers to shape the sharp edges into a rounded shape.
- Place onto a prepared baking sheet and freeze for 1 hour.
- After chilling, preheat the oven to 325°F and line a large baking sheet with parchment paper. Place cookies 2-inches apart and baking for 12 minutes they’ll only be slightly golden on the edges. Let cookies cool completely.
- Melt chocolate in a microwave-safe bowl for 20-second intervals until completely melted. Use a fork to dip the cookies into the chocolate, coating all sides. Transfer coated cookies back to the parchment paper to harden completely.
- If you want to make a decorative chocolate squiggle on top, let the chocolate coating cool completely before using the remaining melted chocolate to decorate the tops. For clean lines fill a zip-top bag and pipe the chocolate on.
Recipe adapted from Cookpad