
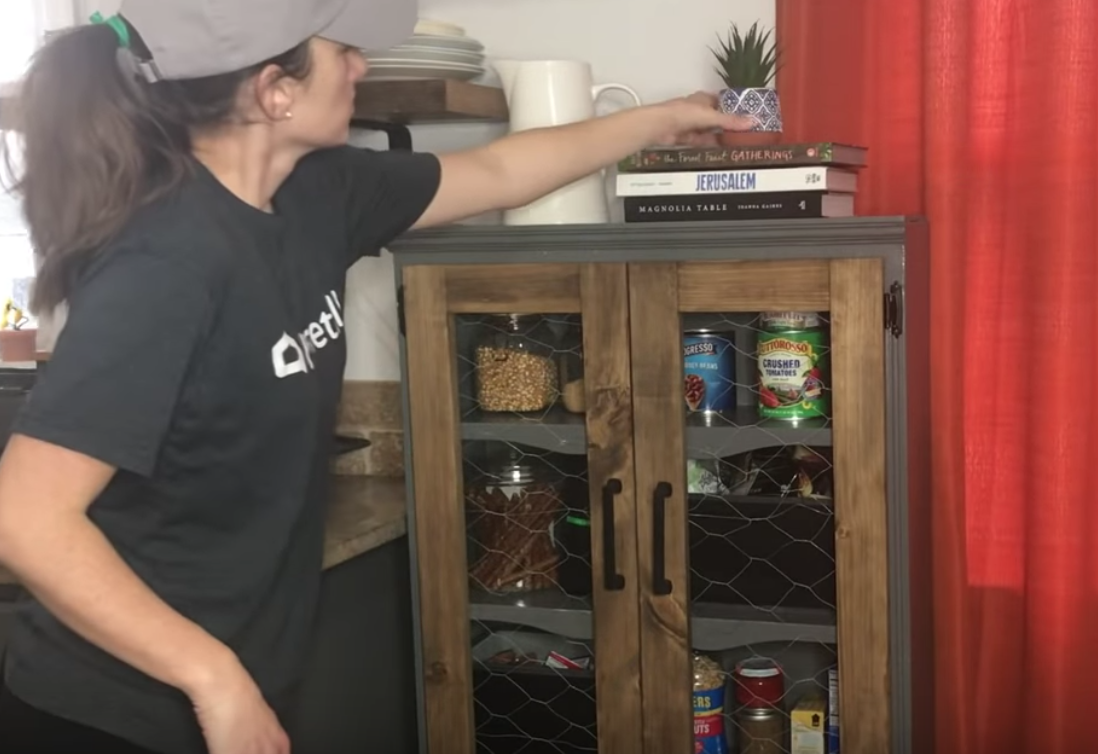
Even if you have the absolute perfect kitchen with all new appliances and stocked with the best supplies, there’s one thing we always seem to need more of: Space!
Luckily, we have this easy to follow DIY project that walks you through all of the steps of turning an old bookshelf into your very own pantry – or, extra pantry, or dish storage, whatever you need. We know you’ll find a way to use this!
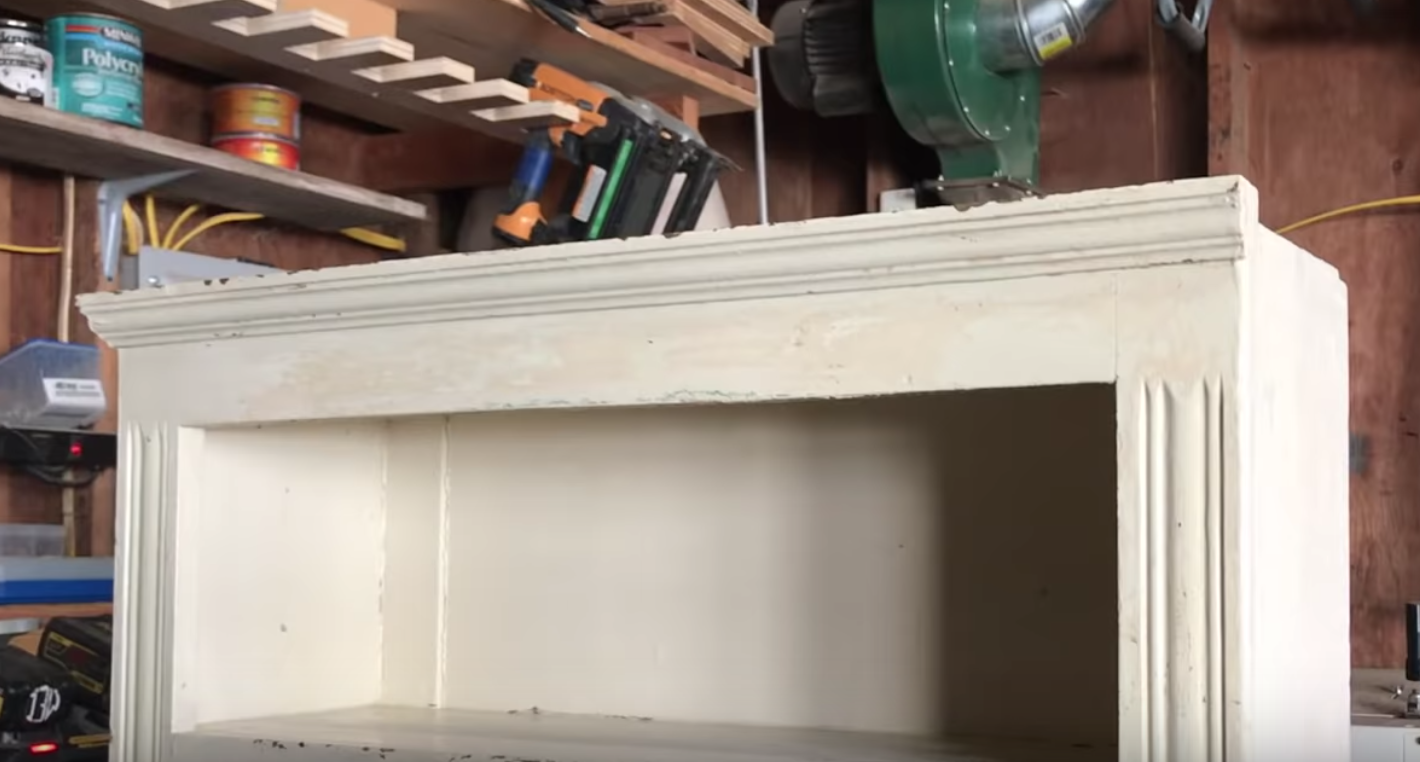
First things first, find a bookshelf that’s suitable for the space you’re going to put it, and one that will be able to store what you want. You can find really good deals on old bookshelves at thrift stores, and you’ll be fixing up the furniture so there’s no need to look for one in perfect condition.
[sc name=”content-ad-horiz-1″]
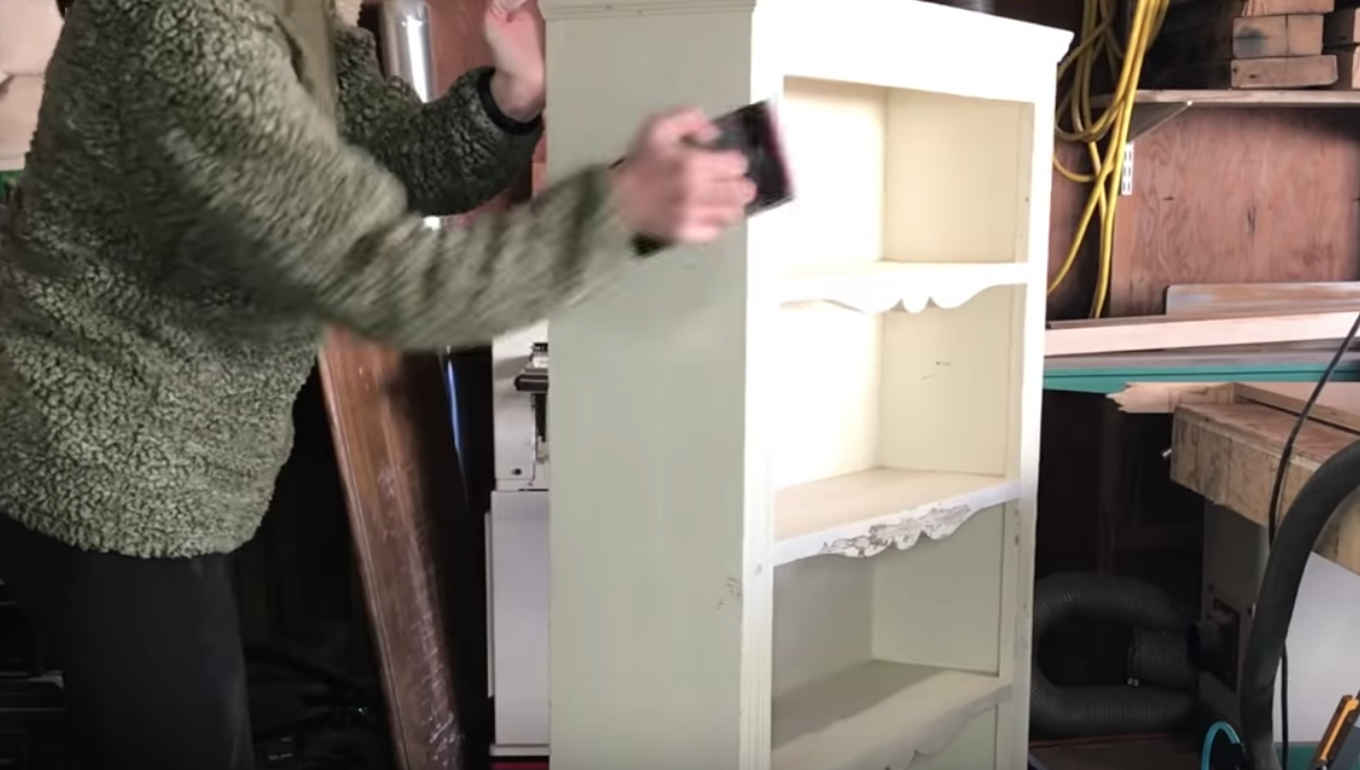
Once you have your bookshelf, it’s time to sand and paint! Sand off any rough or worn edges, any areas that might cause splinters, and any damaged wood. Lightly sand off the flat areas as well to take away a few layers of paint, if your bookshelf of choice has been painted already.
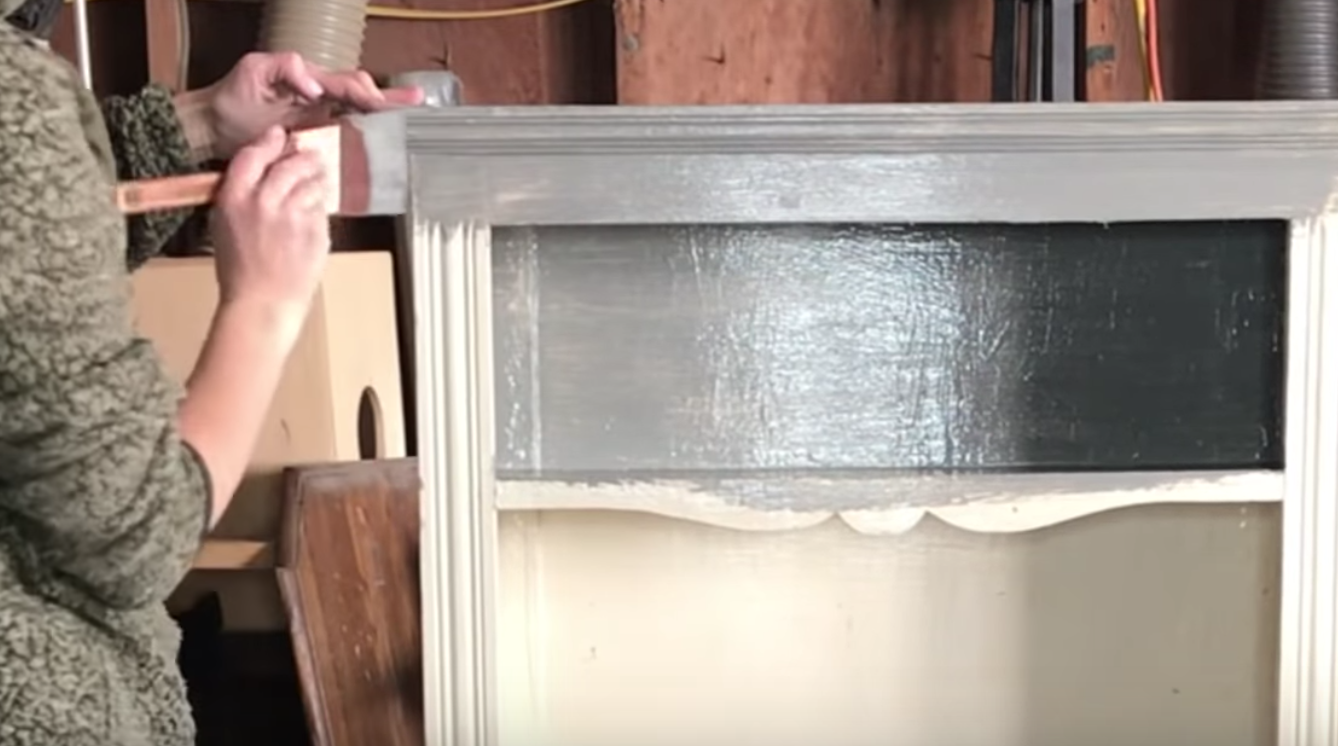
Then, get to painting! Of course, you can leave your bookshelf as is, if you prefer it that way, or you can go with a more natural look by stripping off the paint and applying a finish onto the wood.
[sc name=”content-ad-horiz-2″]
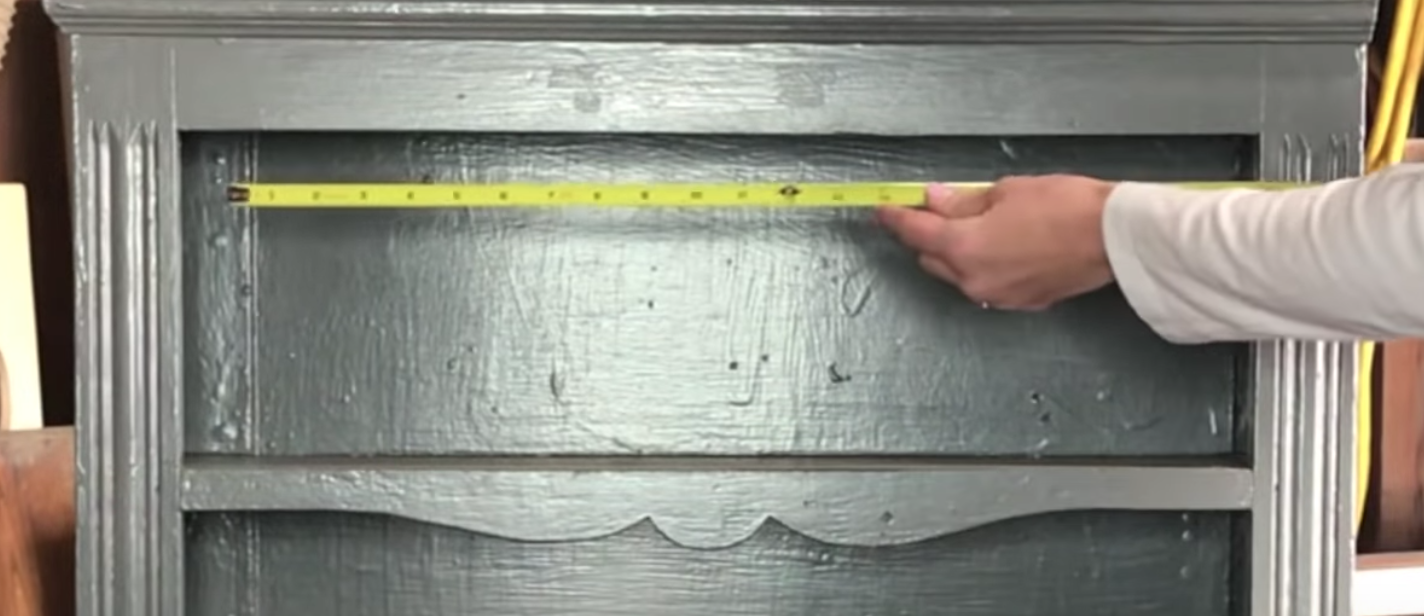
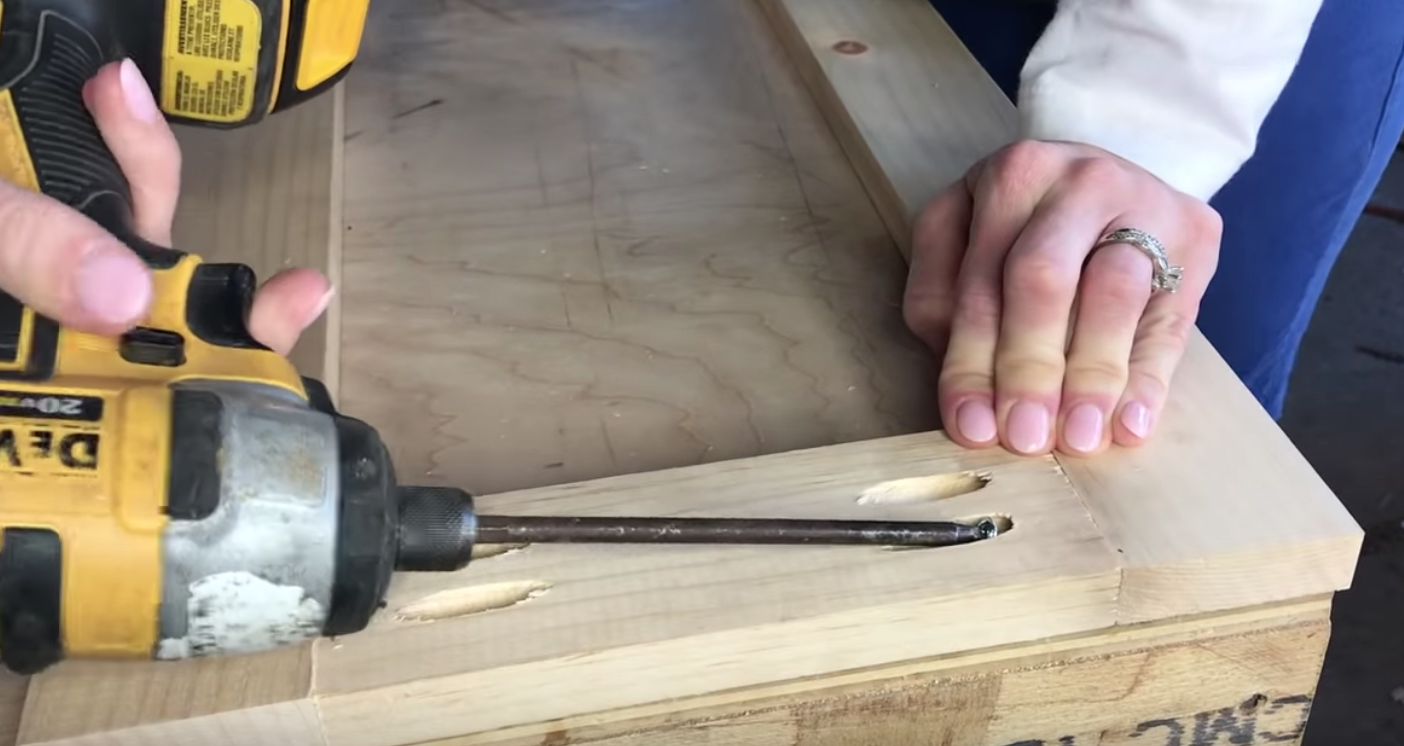
When you have the bookshelf the way you want, it’s time to build the frame for the doors! Measure the width and height of the bookshelf and cut some plywood according to that size. Add in corner pockets, and assemble the doors.
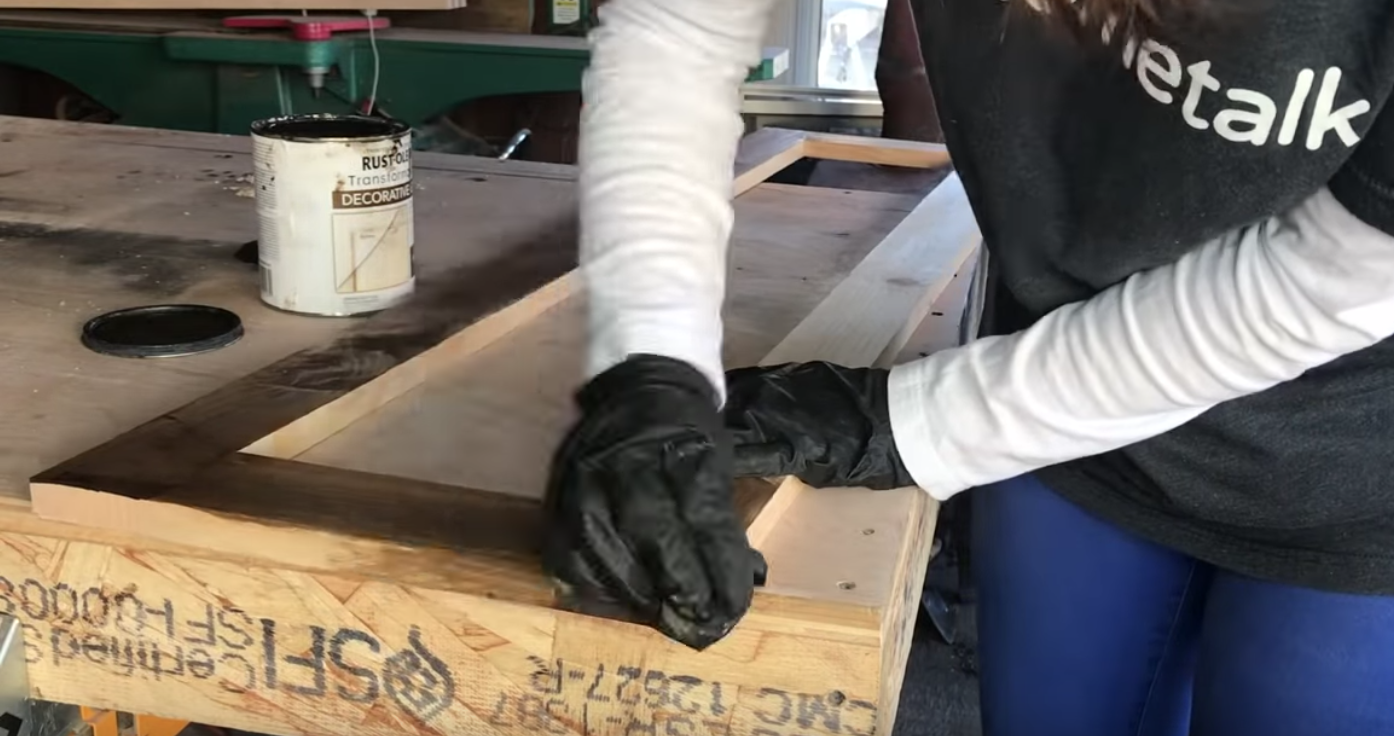
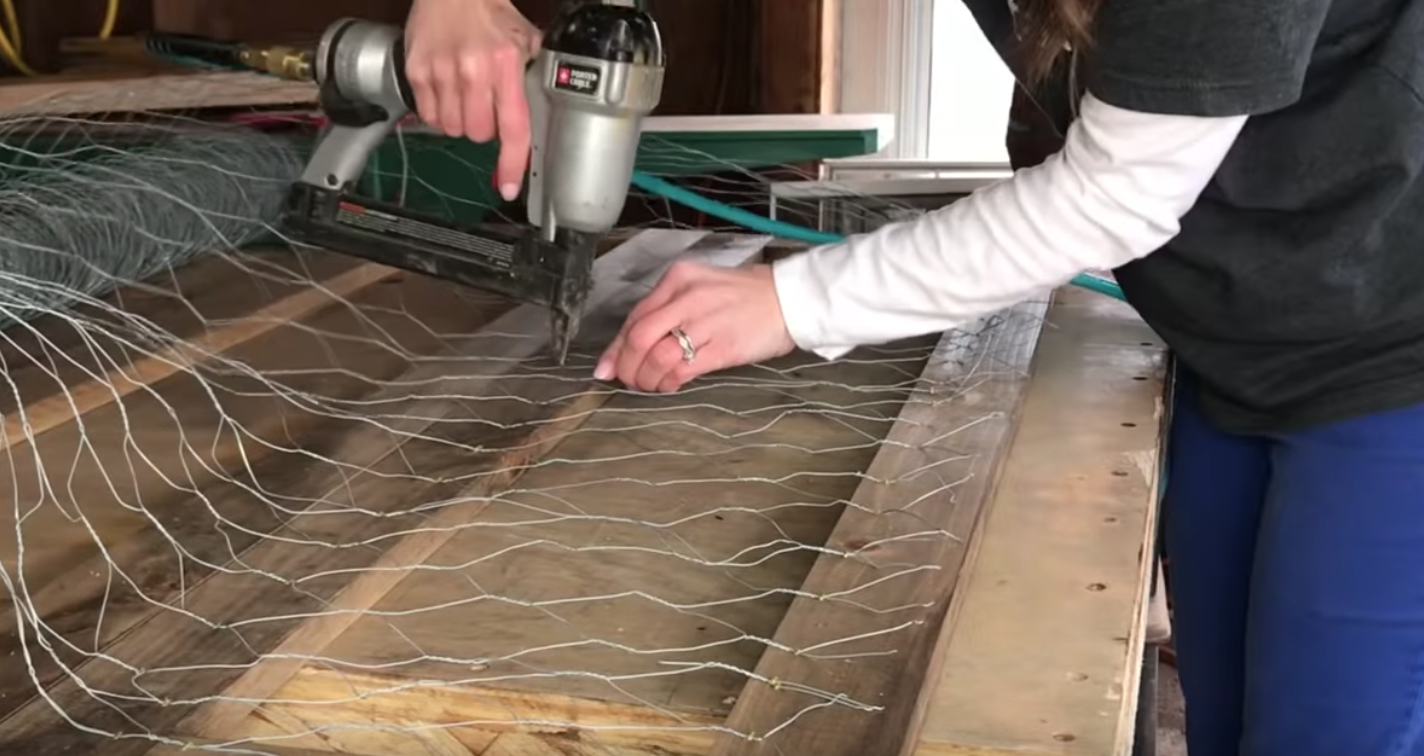
All that’s left is to stain, add chicken wire and handles, and then attach the doors to the bookshelf using hinges.
Go ahead and see how it’s done in the video below!
[media height=”270″ width=”480″ provider=”youtube” type=”iframe” src=”https://www.youtube.com/embed/2Nlcubf8scA?feature=oembed” ad=”true”]