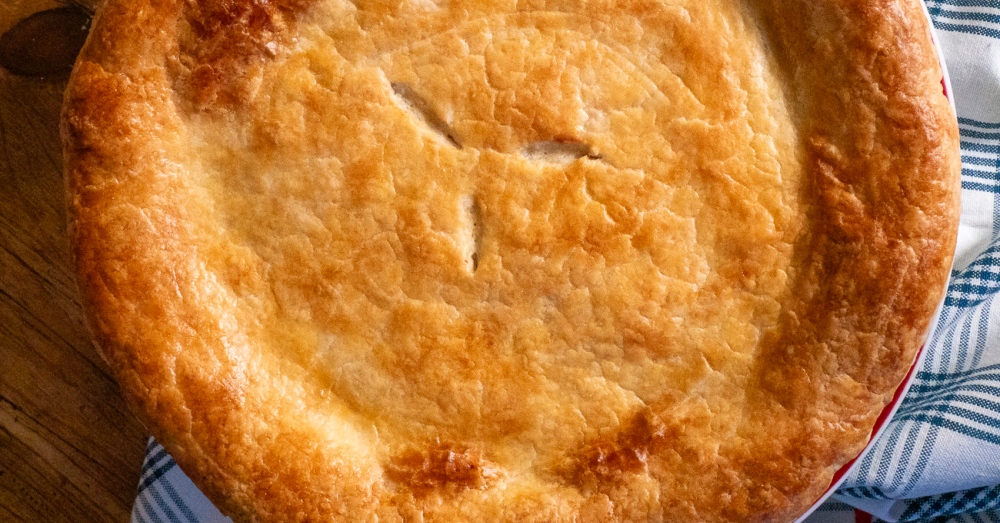
All-Butter Pie Crust
Grab your cheese grater! Your go-to recipe for buttery, flaky crust every time.

Recipe of the Day
Discover a New Recipe Every Day. Give Back With Every Bite.
Every day, we feature a hand-picked recipe for you to discover, cook, and share. The best part?
Every recipe you read helps feed the hungry.

In the world of baking, pie crust can be kind of a divisive topic. Some people swear by a shortening crust, others lard, others some sort of combo. Me? I’ve always firmly been in the all-butter camp. Because I want delicious flavor in my pie crust above all else and, let’s face it, butter is always going to taste better than lard or shortening. But you know what? An all-butter crust is plenty flaky too. Especially with the added help of your standard cheese grater. (Yes, you read that right.)
I have worked cold cubed butter into flour with my fingers, a pastry cutter, a food processor, a Kitchenaid mixer, and probably more but this method quickly became my very favorite. More on that in a minute.
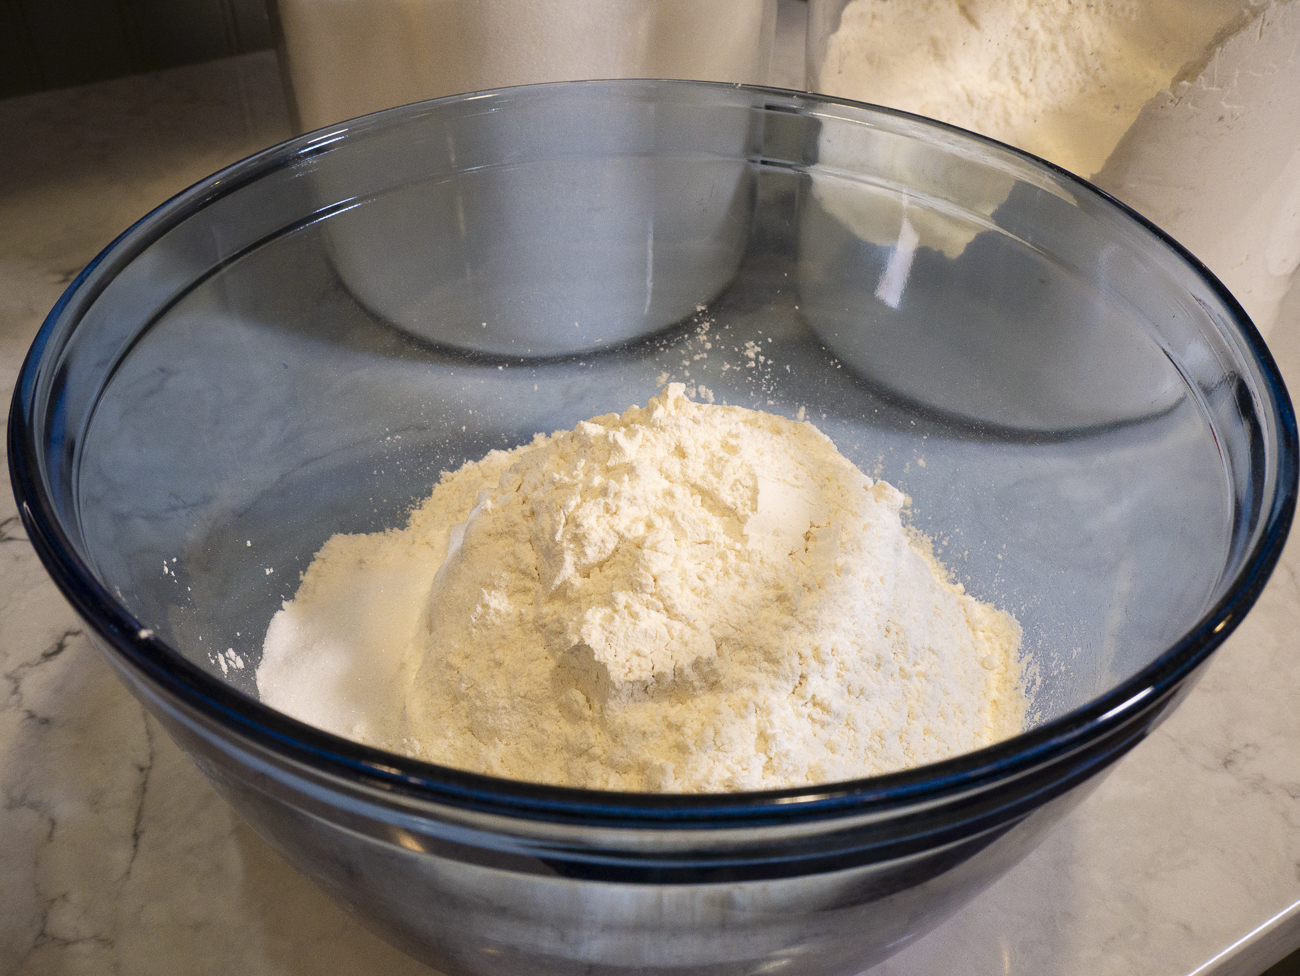
First, you’re going to take all-purpose flour, and whisk in a tablespoon of sugar and a teaspoon of salt. You might be saying “Why sugar?! I’m making a savory pie.” And to you I would say, please still use that sugar. It’s not going to make your crust sweet, it’s just going to help it brown, and that’s something we all want.
Then you’re going to take your butter — a cup and a quarter to four cups of flour — and grate it into the flour mixture. It comes very close to creating the perfect-sized pieces of butter from the get-go and thus, means there’s less work needed from you to work that butter in. But a couple of notes:
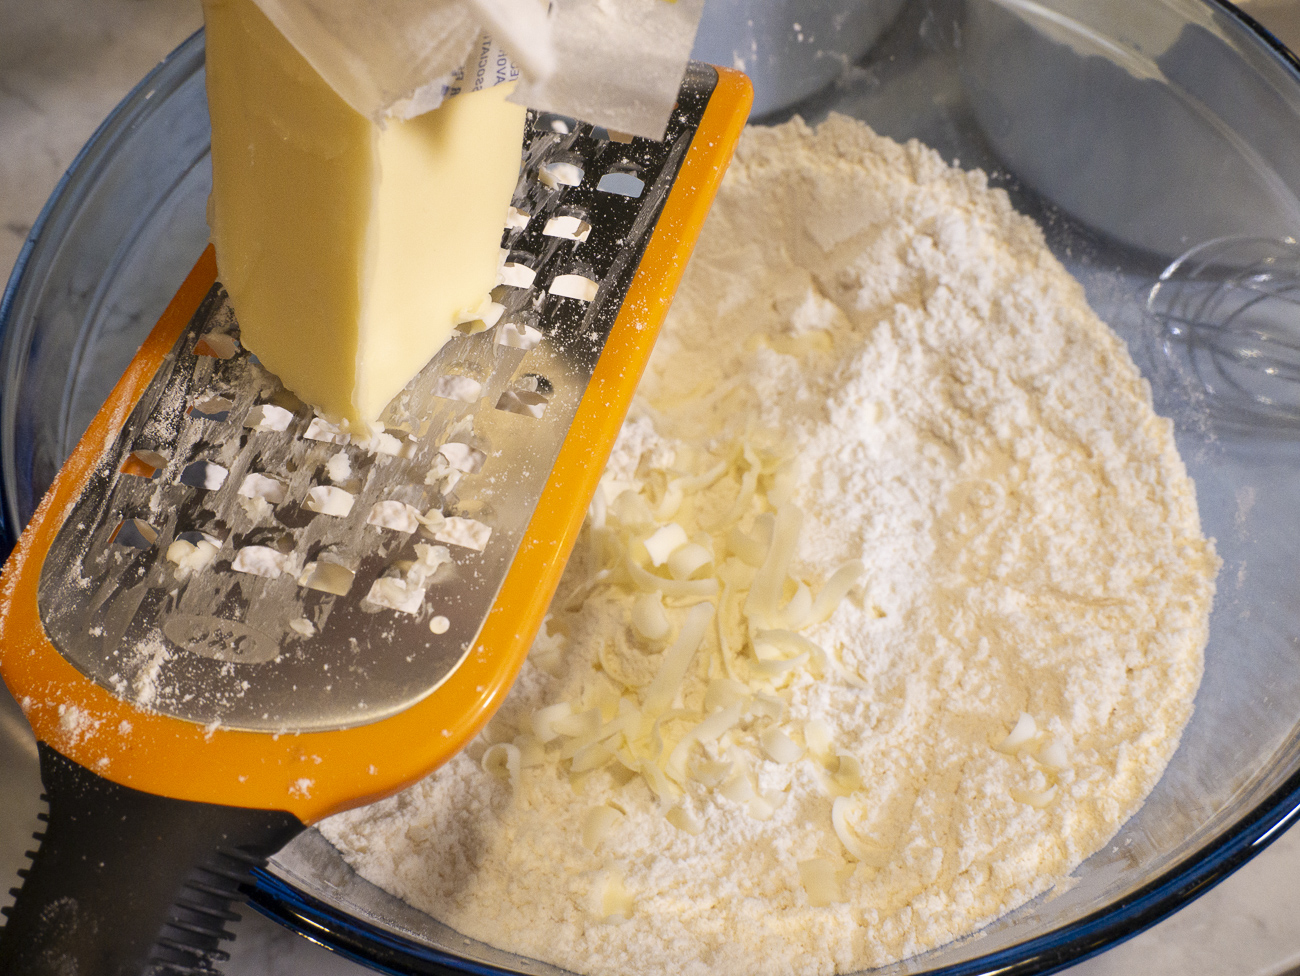
One) You want to keep your second stick of butter in the fridge while you grate in the first. When you’re done with the first, you can go grab that second stick. You still want cold butter for this method. Some people even go so far as to freeze their butter, but I haven’t found that to be necessary. If your butter starts to get too warm while you’re grating, you can pop it in the freezer or fridge and start on that second stick while the first firms up. By working quickly, I can usually get through that first stick before things get too warm.
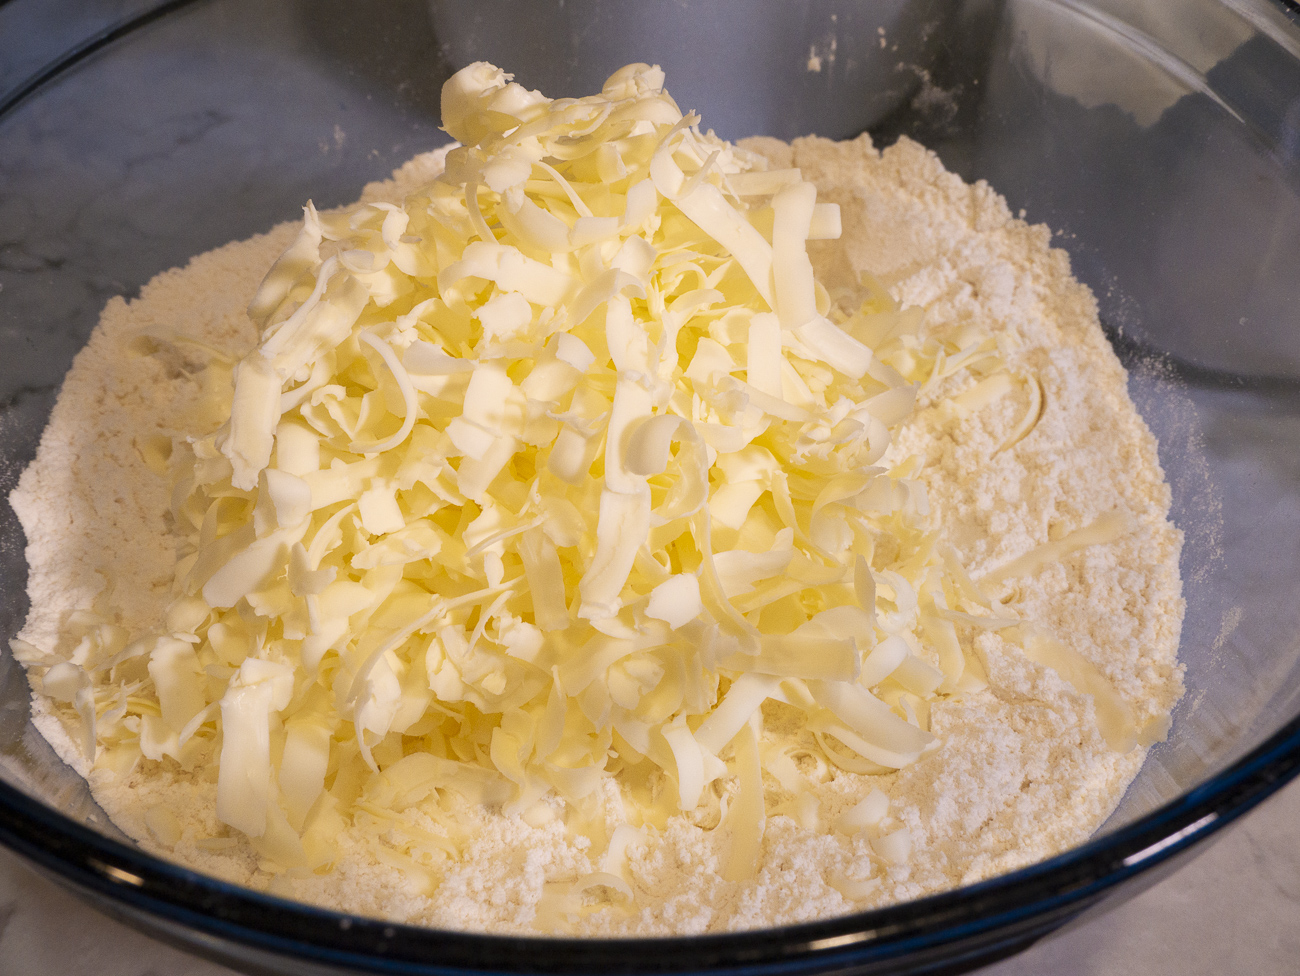
Two) Stir that butter in at least between sticks and maybe a little more frequently. If you leave the butter to mound up too much it will start to clump together.
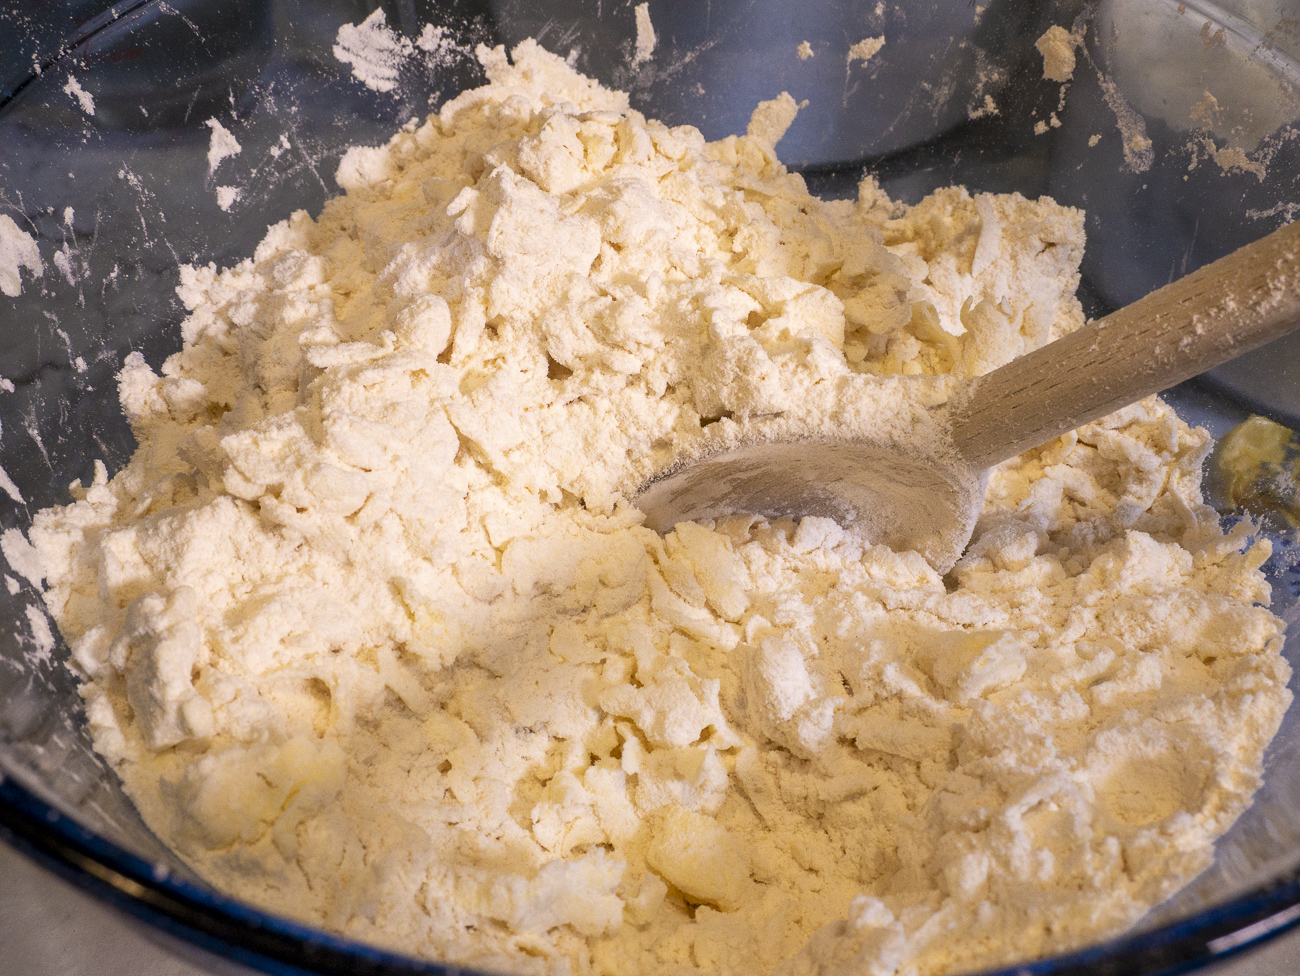
Once your butter is all grated and stirred in, you can start to add your water. As with most (all?) other pie crust recipes, you want to use ice cold water. The key to a good pie crust is to keep things cold so your butter (or other fat) doesn’t have a chance to melt until it gets into that hot oven, creating pockets of steam and the thing we all want: flakiness.
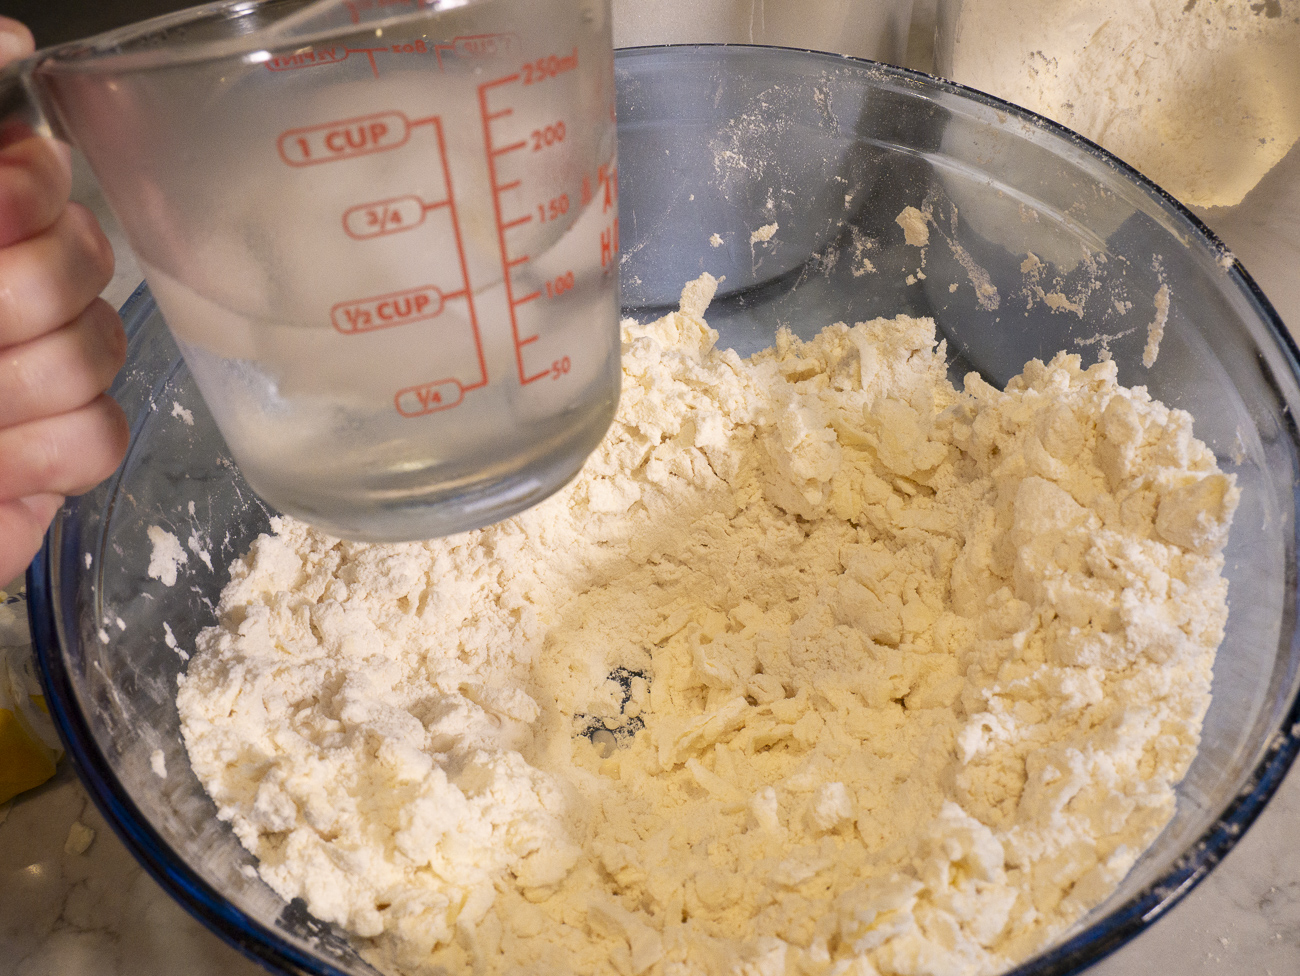
Create a well in the center of your flour mixture and then using a fork, stir in the ice cold water (minus the ice). You want to start with a half cup of water, then refill your container of water and drizzle in more water two tablespoons at a time until the dough holds together. You want it to hold together easily but you don’t want it to be too wet, so don’t overdo it on the water.
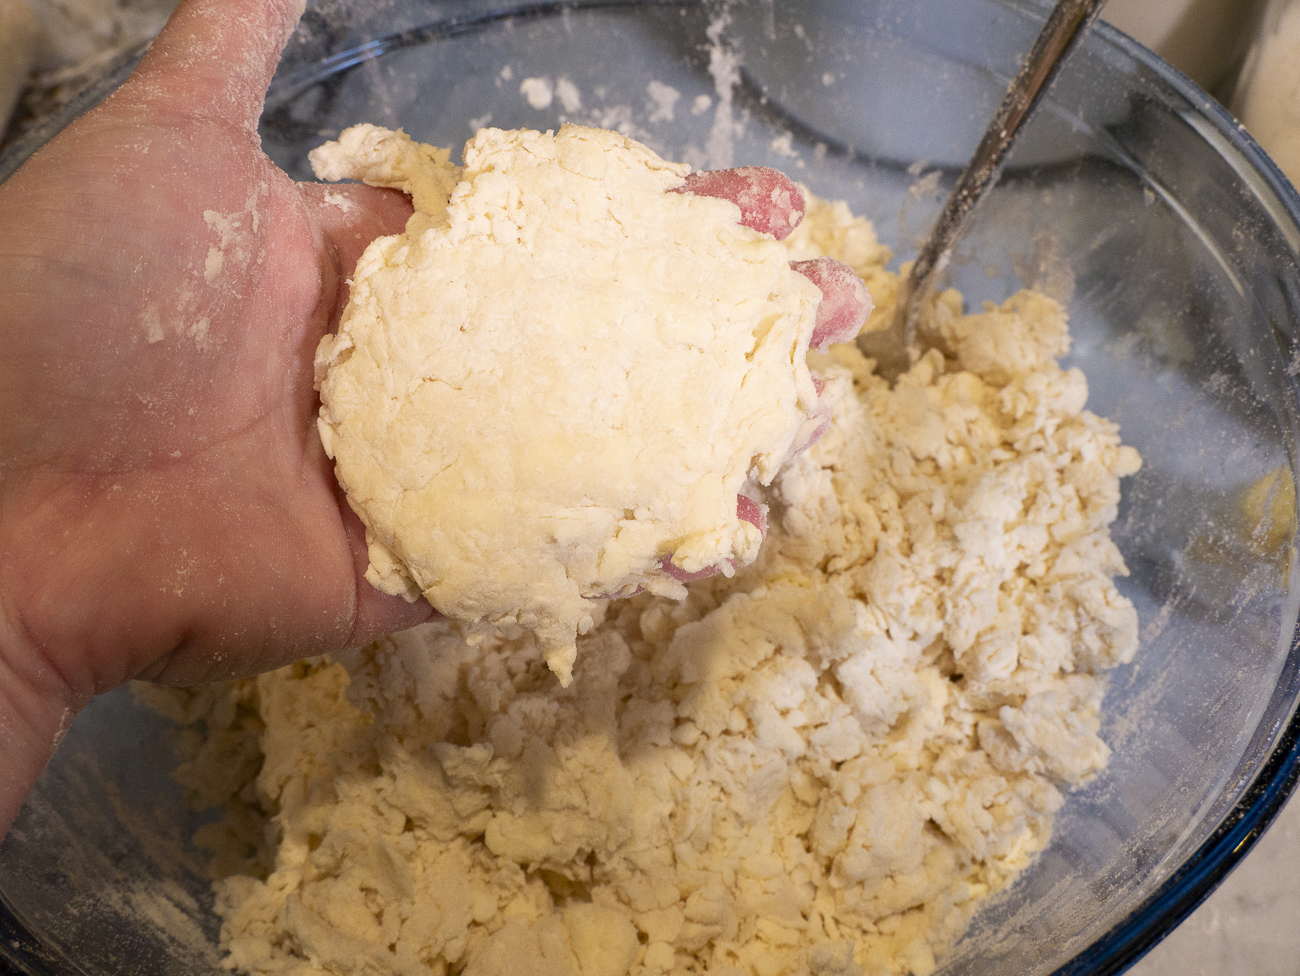
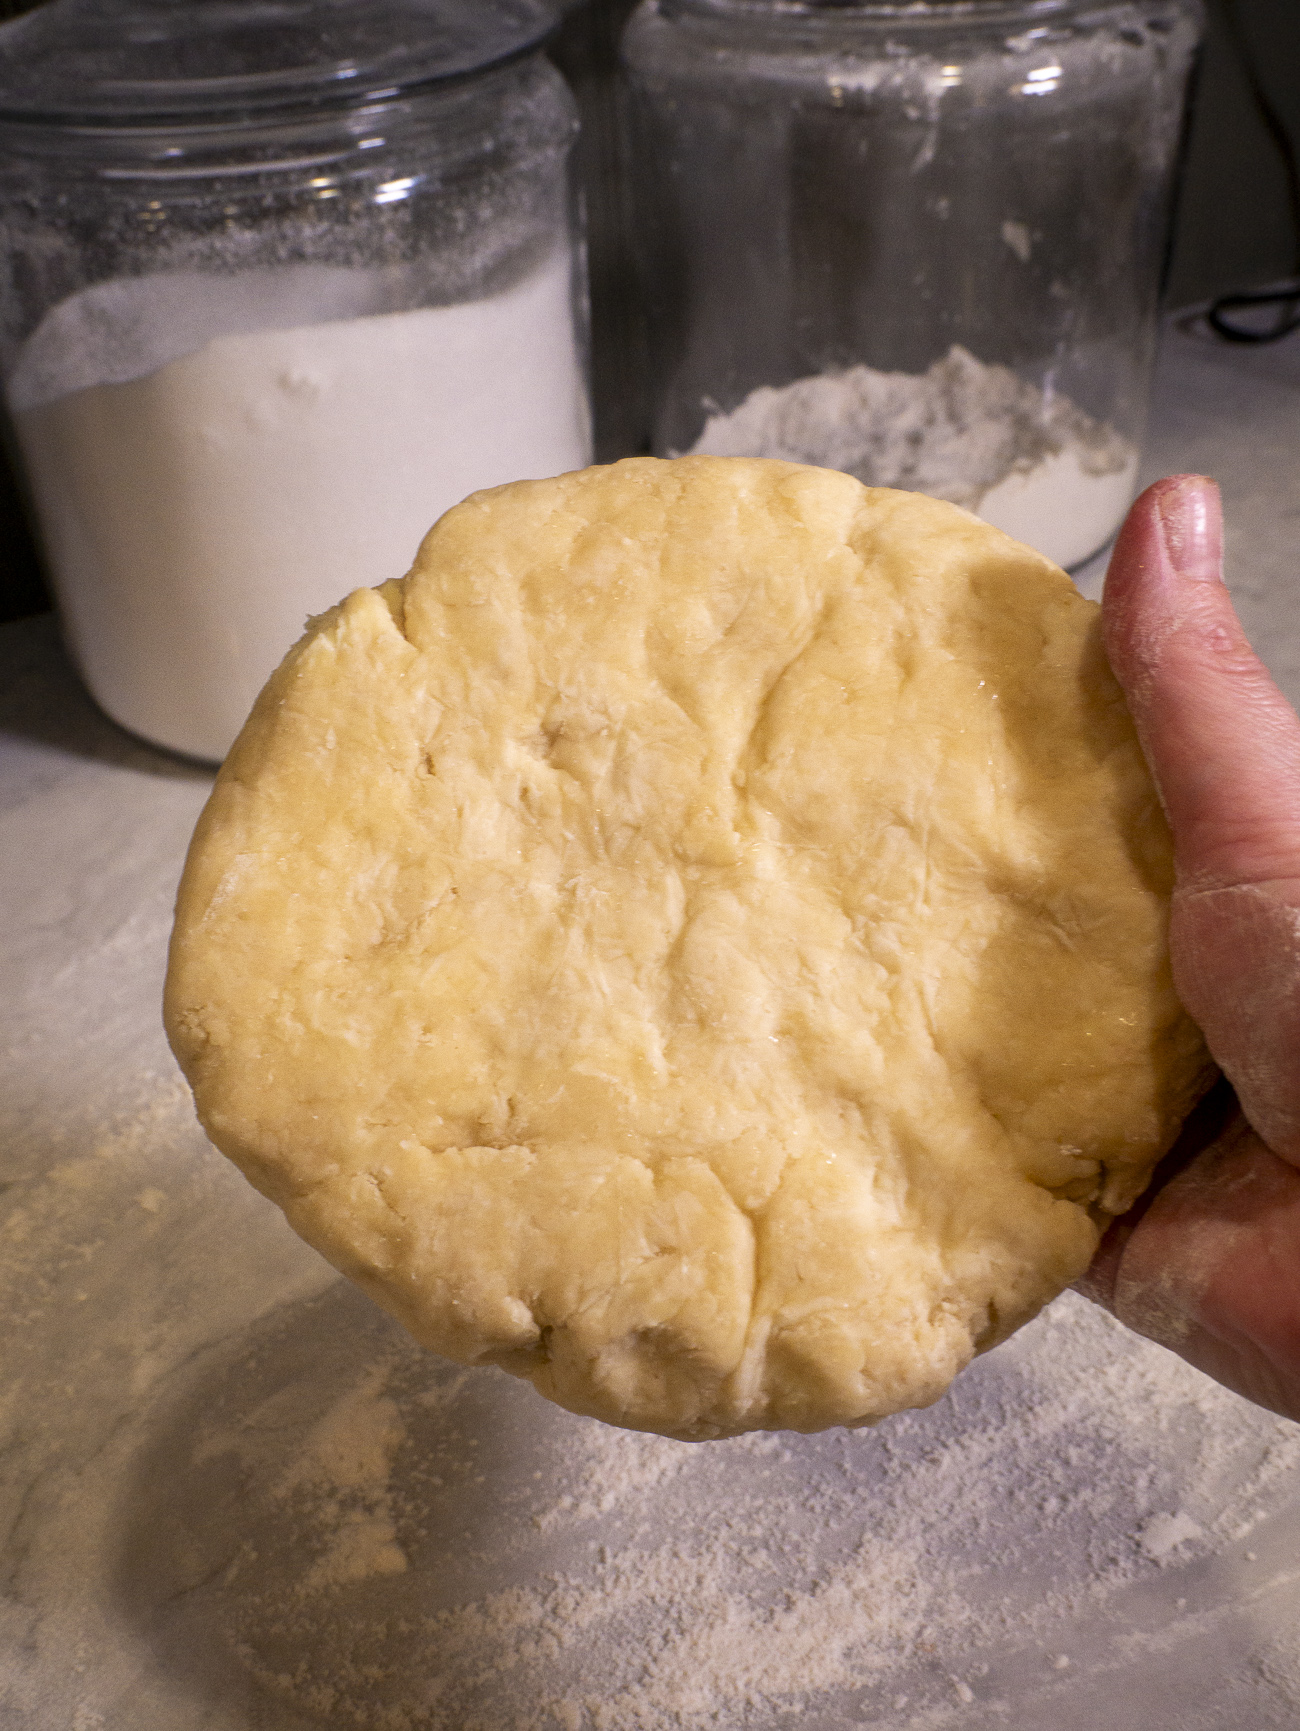
Then, knead your dough just a few times to bring it together on a lightly floured surface.
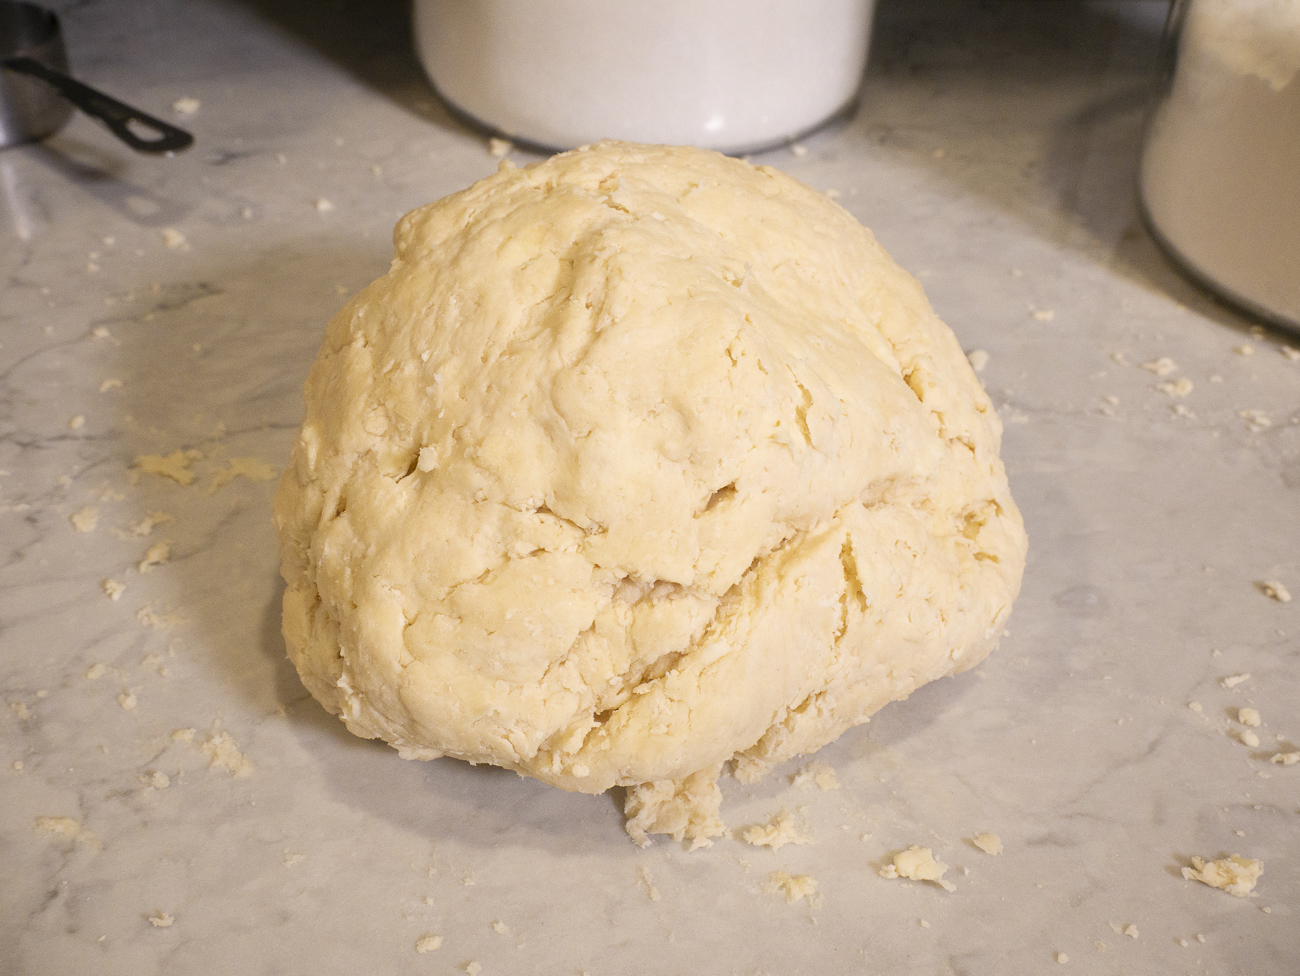
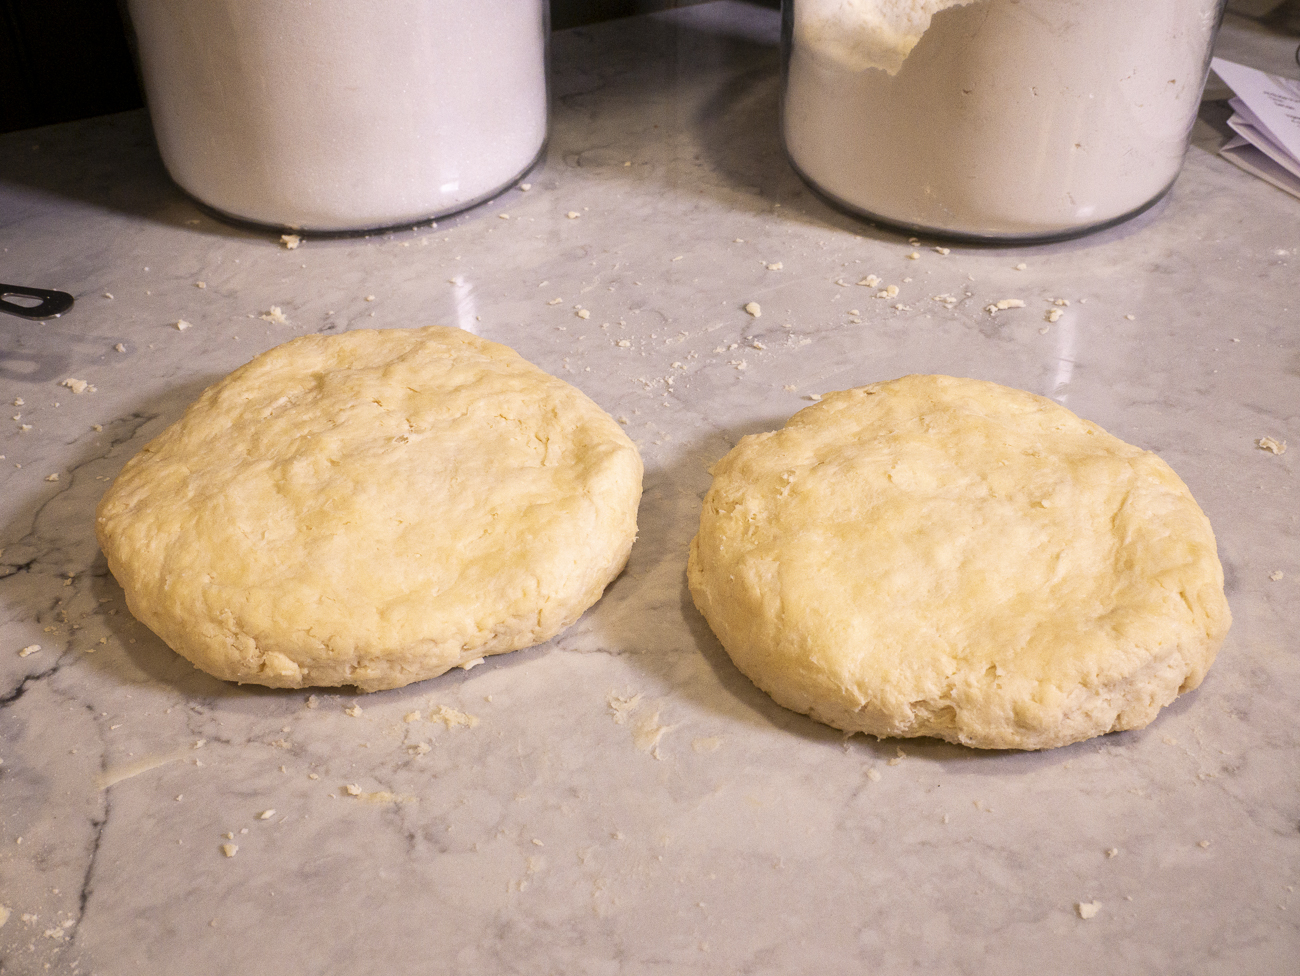
Divide it into two discs about an inch thick and wrap them in plastic wrap.
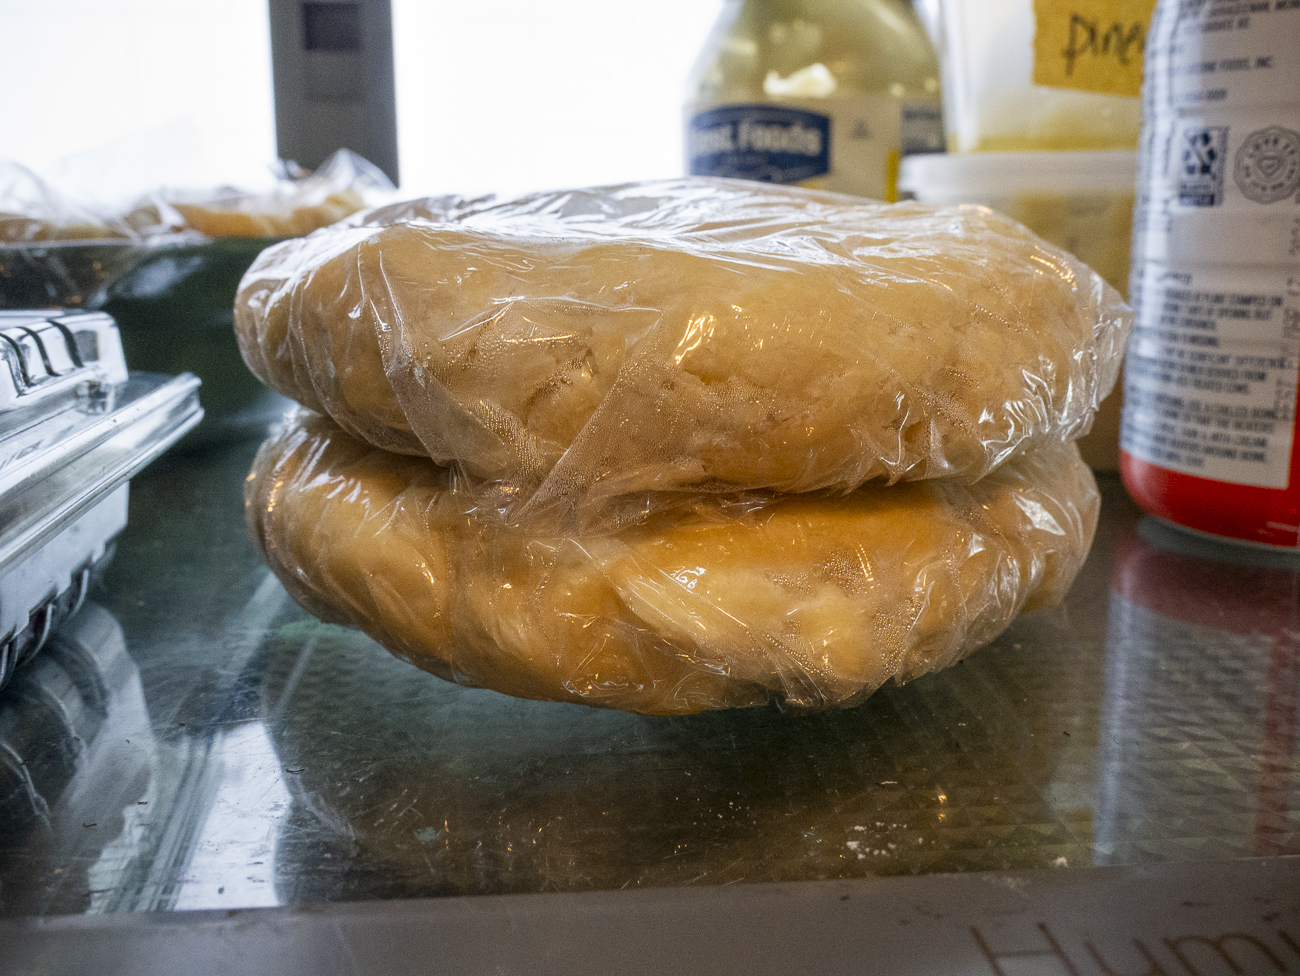
And into the fridge they go. Now listen up:
For. Two. Hours.
I know. Some recipes say 30 minutes, but that’s just not enough time to hydrate the flour. Two hours is, though you can even make this up to three days ahead and let it hang out in the fridge until you’re ready to make pie.
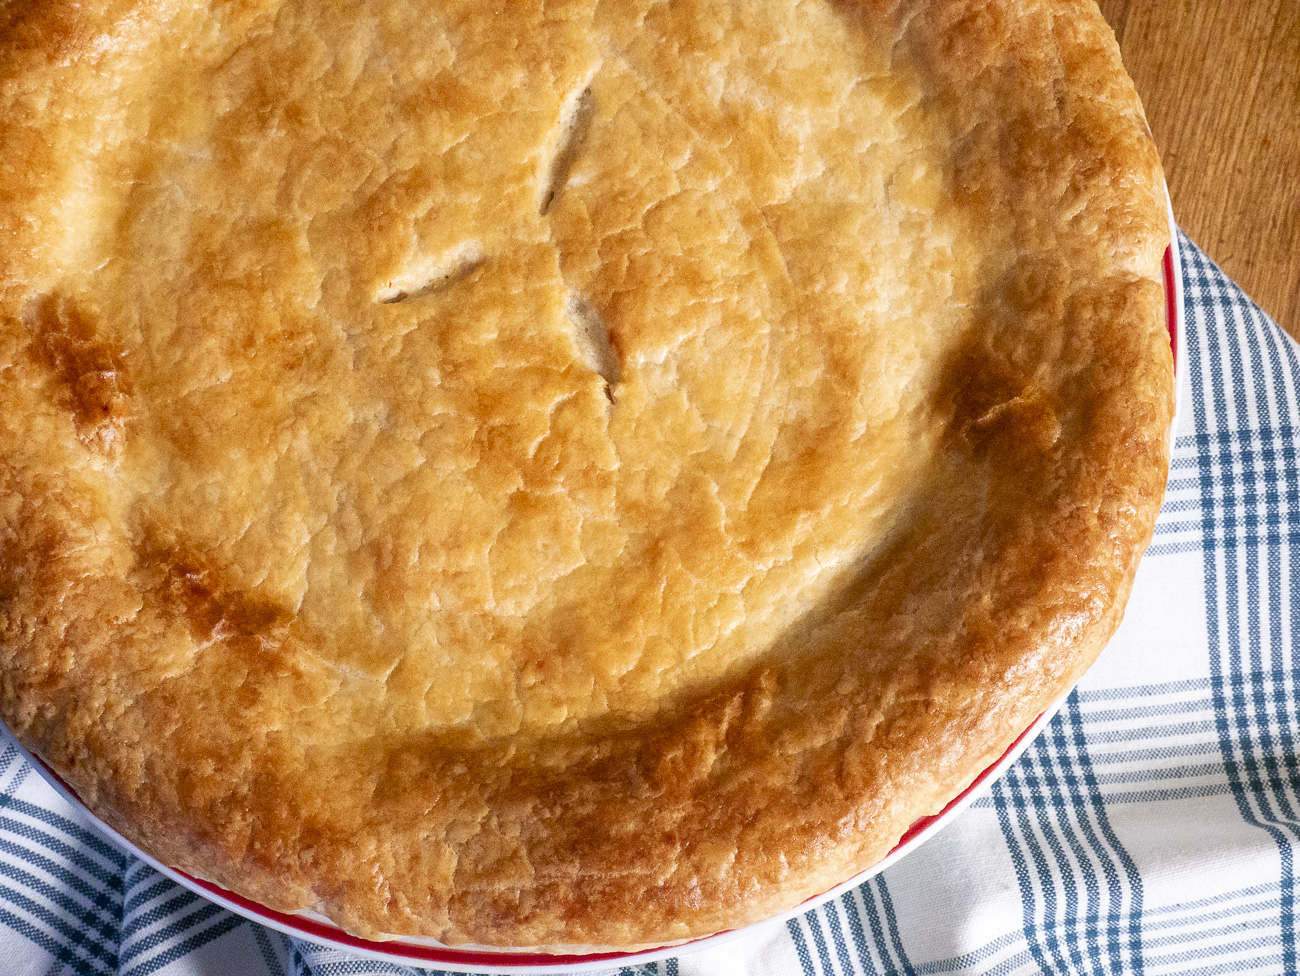
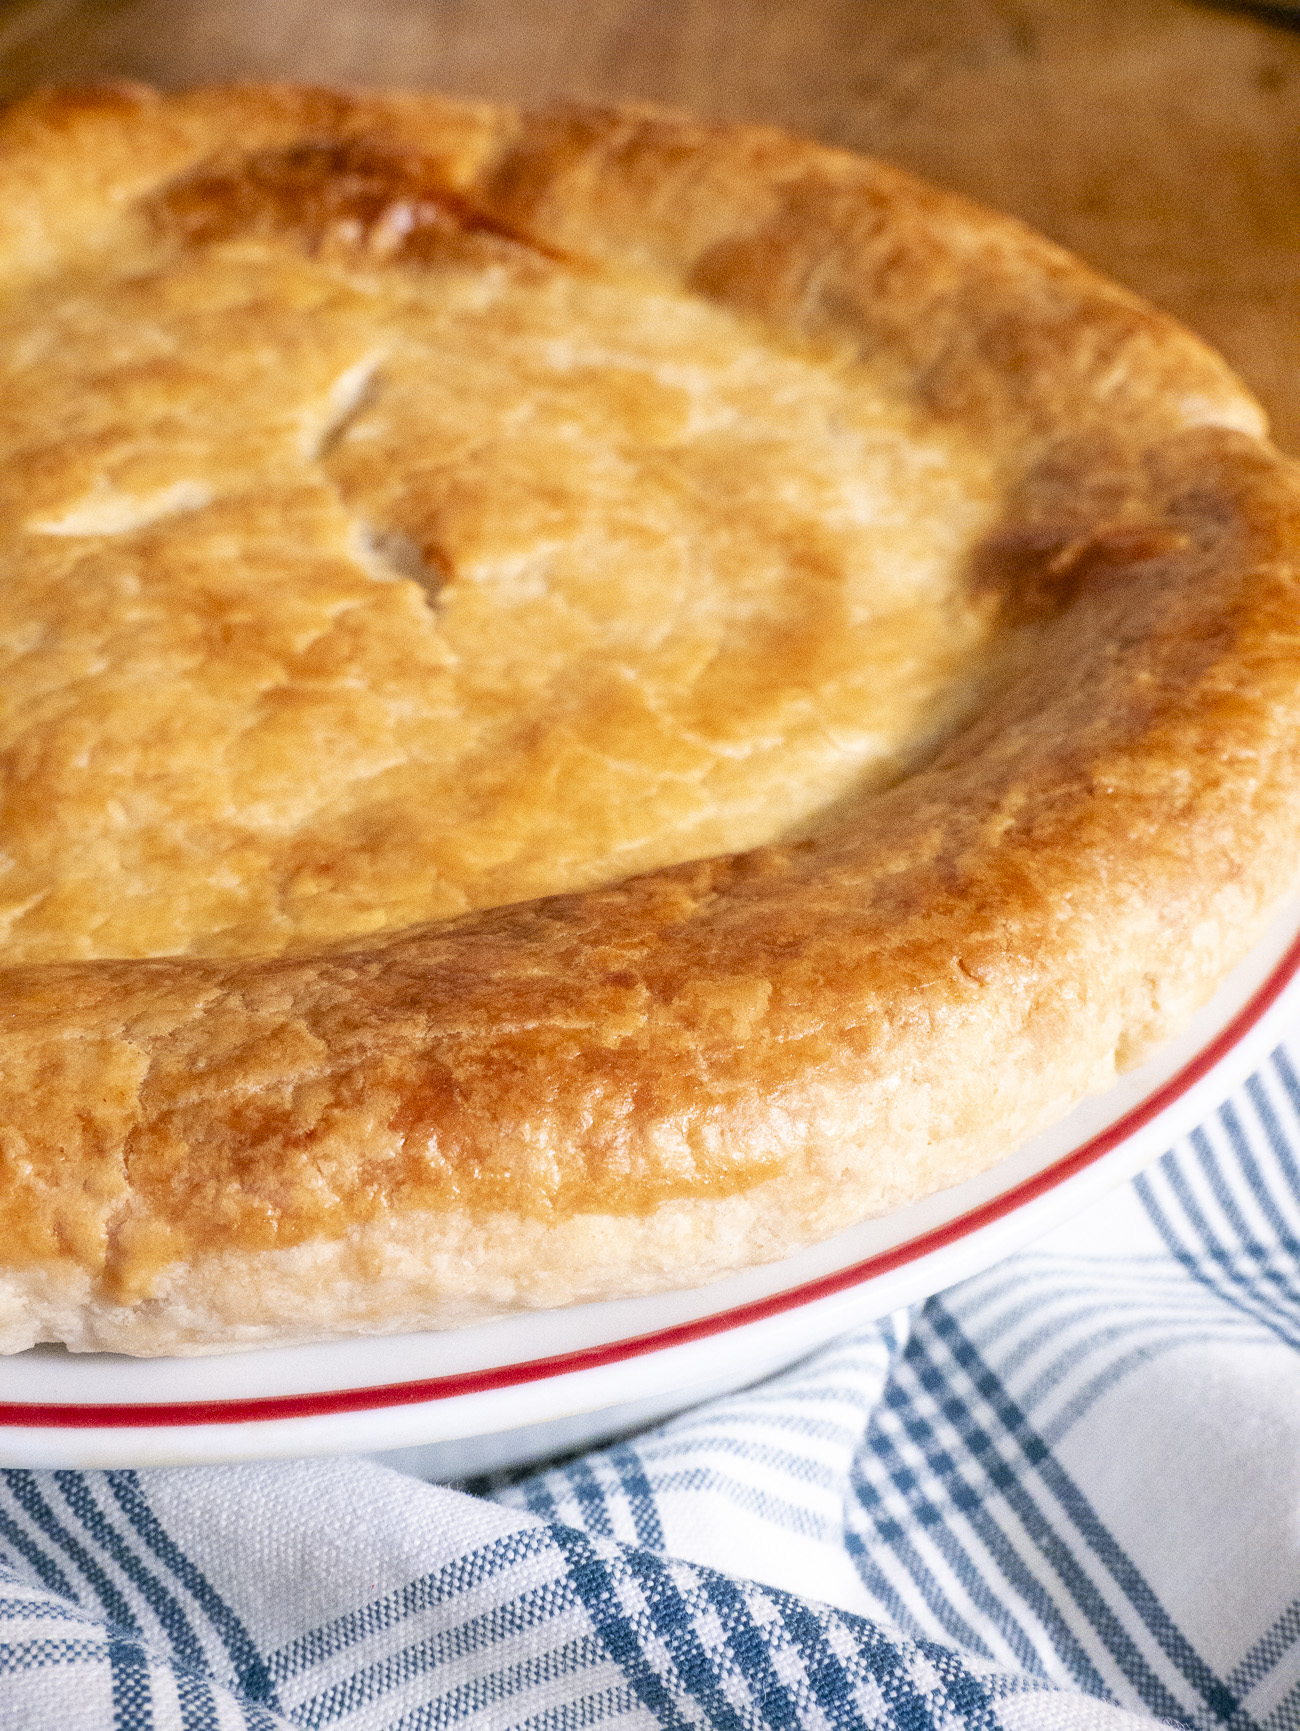
It makes a world of difference in the texture of your pie crust. And, plus, a little patience never hurt anyone.
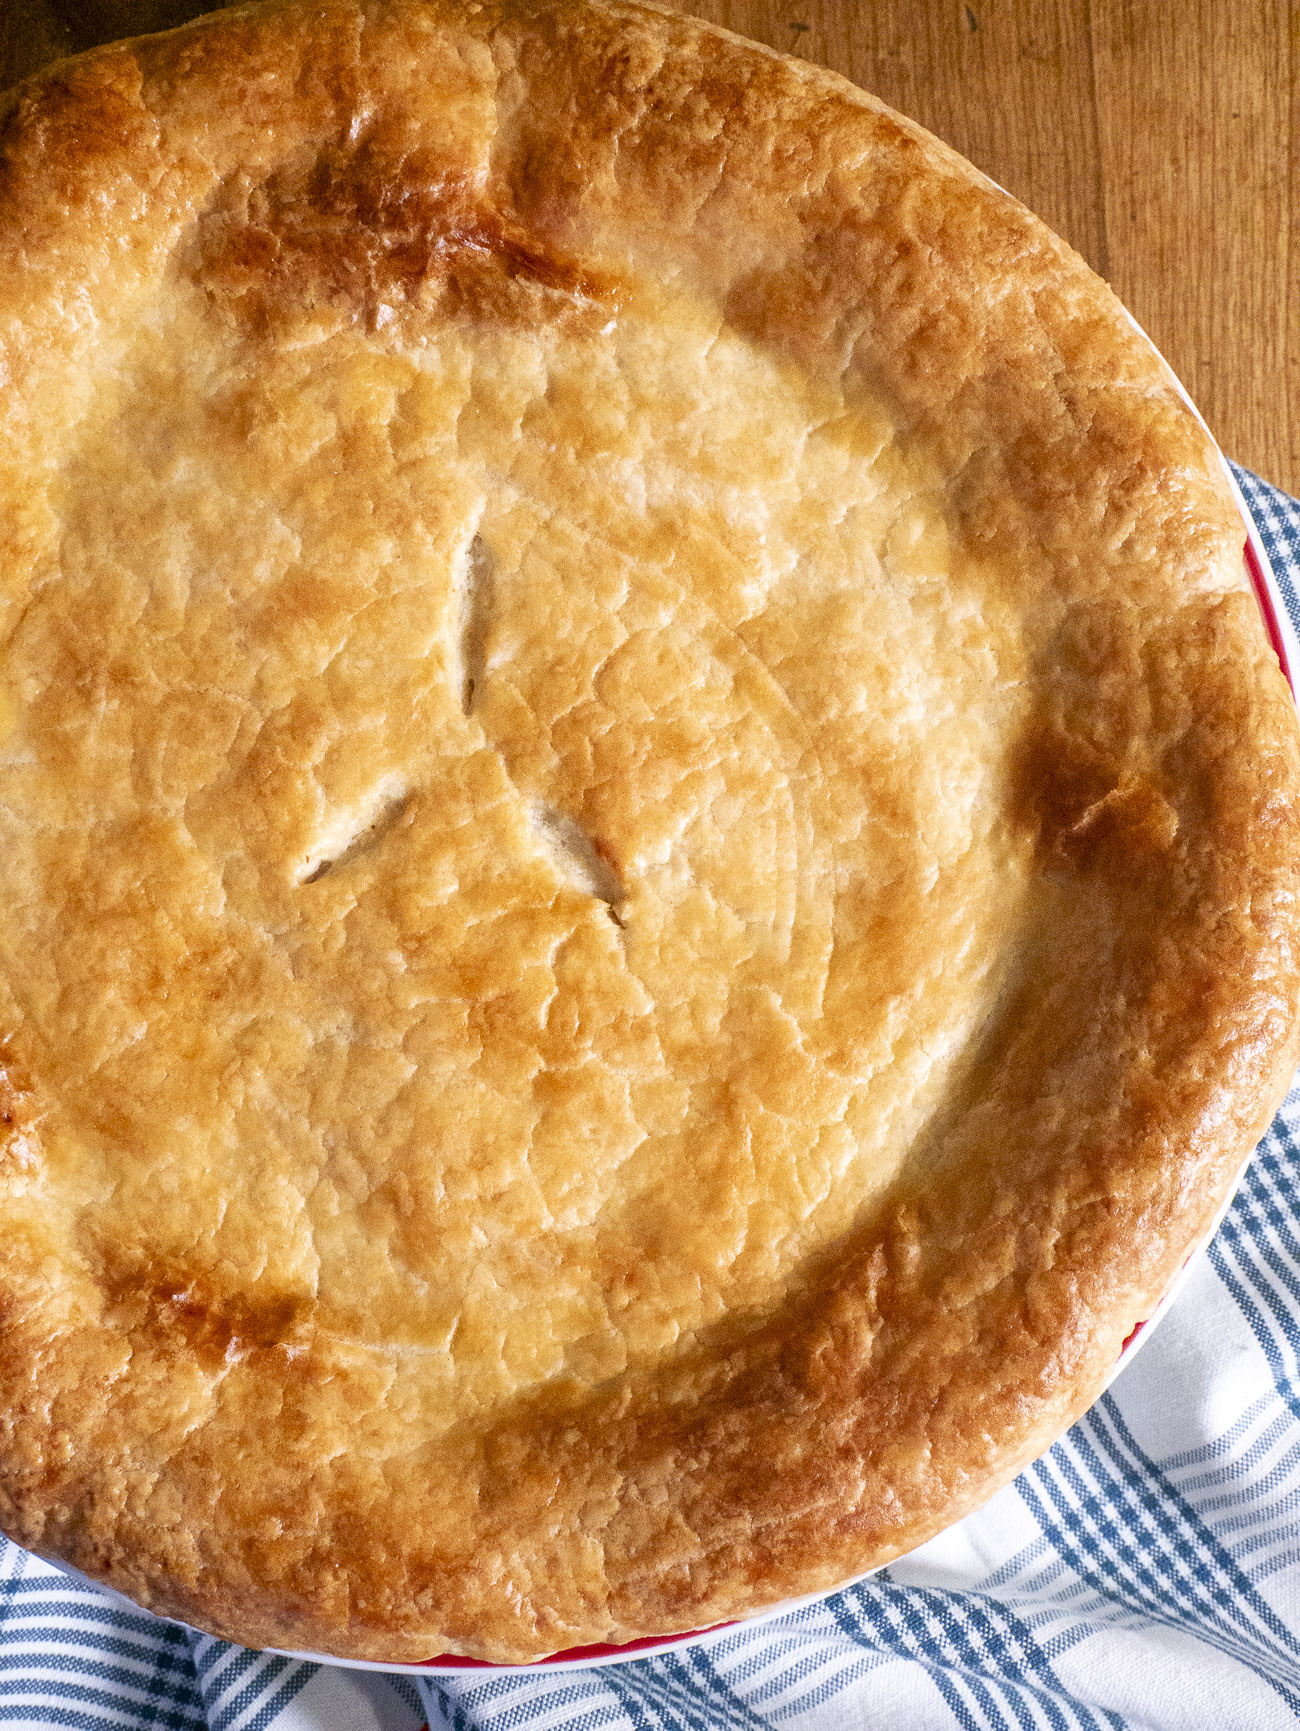
Especially when the end result is perfectly flaky, buttery pie crust.
Want to freeze it? That works beautifully. Wrap it in foil, tuck it in a freezer bag, and stash it in the freezer for up to six months. With three layers of protection, freezer burn doesn’t stand a chance.
All-Butter Pie Crust
Ingredients
- 4 cups all-purpose flour
- 1 tablespoon granulated sugar
- 1 teaspoon salt
- 1 1/4 cups unsalted butter, chilled (2 1/2 sticks)
- 1/2 cup ice water, plus more as needed
Preparation
- In a large bowl, stir together the flour, sugar, and salt.
- Remove one stick of butter from the fridge and using a cheese grater, grate butter over the flour mixture. If butter gets too soft, place in the freezer until firm again and start on the next stick of butter. Continue grating until all butter is used, stirring into the flour mixture in between sticks.
- (Alternatively, you can cube or slice the butter and cut in using a pastry blender or two forks.)
- Create a well in the center of the flour mixture and add the 1/2 cup ice water. Using a fork, toss quickly to combine.
- Refill ice water container, then drizzle in 2 tablespoons of cold water at a time, stirring after each addition, until dough is moist and holds together easily. Try not to add any more water than you need to -- dough shouldn't be sticky. You should be able to see small pieces of butter throughout the dough.
- On a lightly floured work surface, quickly and gently knead dough just to bring it together. Divide in half, then flatten each half into a 1-inch thick round.
- Wrap each round in plastic wrap and chill at least 2 hours and up to 3 days before using.
- Let dough sit at room temperature for 2-3 minutes to soften slightly before rolling out for your pie recipe.