How To Easily Fix A Drywall Ceiling That’s Cracking

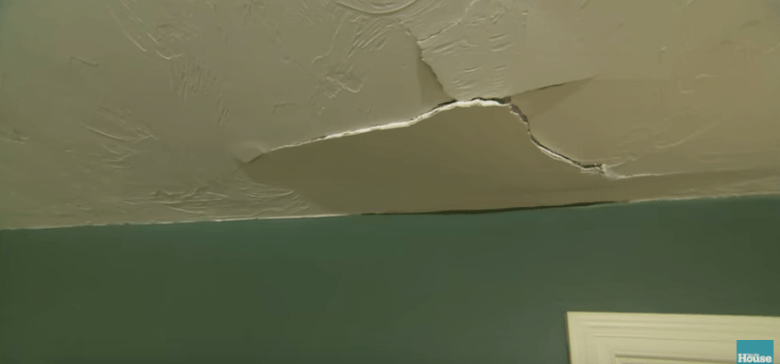
If you have any drywall in your home, you know all about the annoyances that take place when it starts to crack. The ceiling can be especially problematic in these instances. In addition to the unsightly appearance, you’ll also be sweeping up flakes on a constant basis.
Fortunately, there is no need to panic. You won’t need to contact an expensive contractor who is going to charge you an arm and a leg to handle the job, and you won’t need to live in a home with a chipped ceiling either.
While the process is quick and easy, you will need a list of supplies to get started:
Drill or driver
3/16-inch-diameter drill bit
1-inch-diameter spade bit
Flat trowel
Plaster hawk
Utility Knife
Caulking gun
Hammer
Drywall tip
1 1/4-inch drywall screws
Joint compound
Fiberglass mesh tape
2-inch wide painter’s tape
Wood shims
Construction adhesive
2X4 and 5/8″ plywood
The list may seem extensive, but a lot of people will find they have the items laying around the garage or tool chest.
Once you’ve gathered all of the items and tools you need to get the job done, it’s time to check out the video tutorial to learn the steps you’ll need to take to repair the ceiling.
Not only will the video save you untold amounts in contractor fees, but you’ll also have the chance to learn more about this issue for future reference.