Crispy, Classic, And Chewy — The Anatomy of Chocolate Chip Cookies And How To Make 3 Different Types

While people think of hamburgers and hotdogs as quintessentially American, there’s something about the chocolate chip cookie that beats these famous latter-mentioned foods. This sweet treat is one of the first things people learn how to bake and something that becomes a part of every home cook’s repertoire. While people swear by the recipe on the back of the bag of chocolate chips, no two people like the same type of cookie. Some like thin cookies, while others like thick ones. Yet sometimes it’s hard to decipher which recipe to follow; the noise around chocolate chip cookie recipes can be overwhelming with the internet. Here, the anatomy of the chocolate chip cookie is broken down and categorized. Depending on the cookie you want, you can follow these steps.
Cookie Anatomy: What happens when a cookie bakes?
The dough spreads: The structure of the chilled, firm dough relaxes and loosens, making the dough spread across the baking sheet.
The edges crisp up: The edges (which are the thinnest part of the dough) that are fully exposed to the heat start to crisp up even before the other parts of the cookie (like the center).
Sugar caramelizes: The granules dissolve, creating a wet, loose mixture followed by a caramelized network of sugar.
Protein chains develop: Against the heat, ingredients that have protein, like flour and eggs, have their protein chains restructured, altering the shape and thickness of the cookies.
The cookies puff up: The water that’s in the butter breaks free as it melts, activating with the leaveners like baking soda and baking powder. With the baking powder, the reaction happens regardless of the presence of an acid. However, for something like baking soda, it reacts with the acids in the brown sugar, allowing the cookies to rise and develop the structure of the cookie further.
Maillard reaction happens: The thing that browns your burgers and toasts your bread also happens in your batch of cookies. The savory, nutty, and toasted notes of the Maillard reaction occur when the sugar caramelizes and the proteins are developed, creating a physical change in the cookies and giving them a golden appearance and taste.
The cookies bake after baking: After the cookies are pulled out of the oven, the baking isn’t done. The initial heat from the cookies and the baking sheet continues to bake the cookies as they cool on the baking sheet. This step is crucial to baking the centers of chewy or thick chocolate chip cookies.
Different Cookies Require Some Variation In Ingredients And Baking
For Thin and Crispy Cookies:
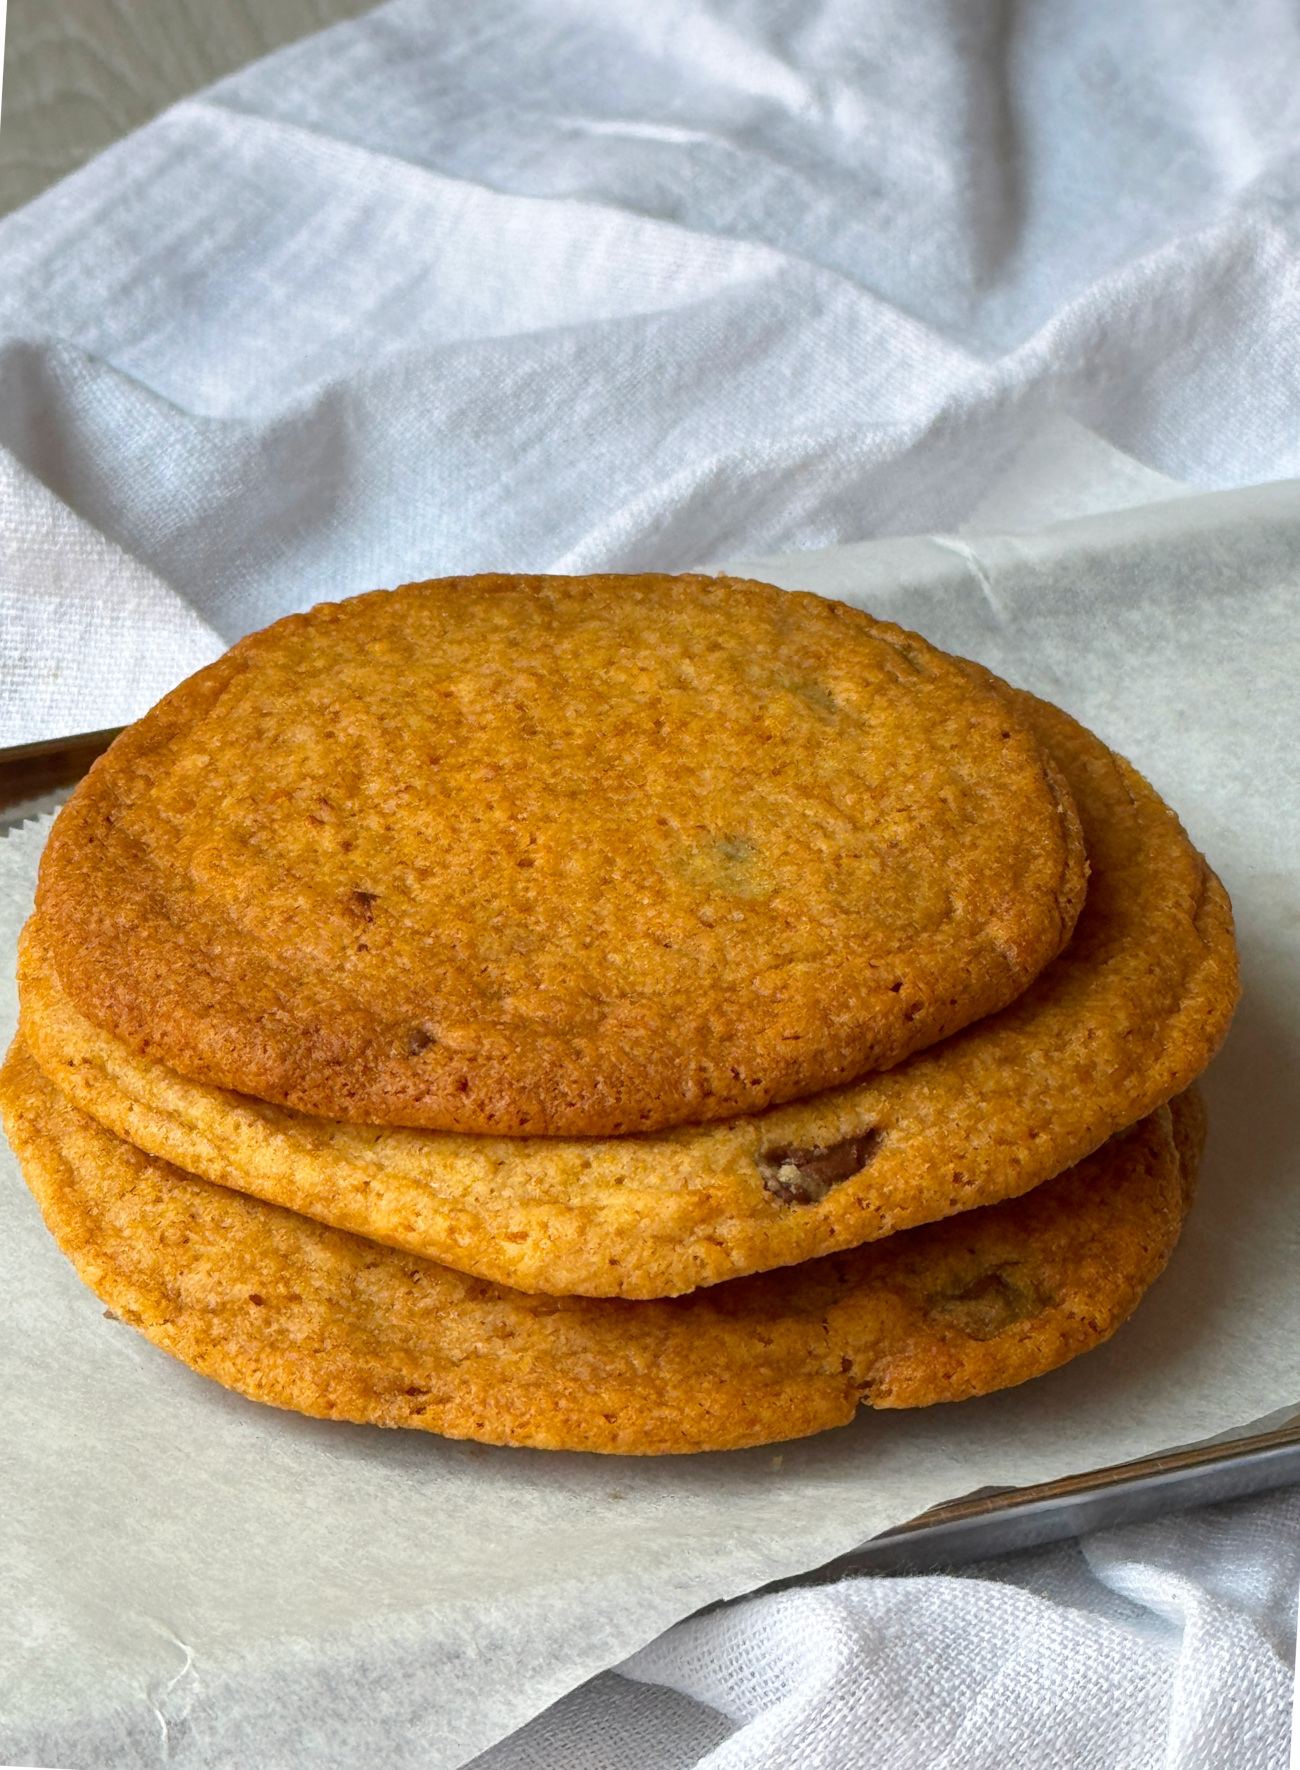
Granulated Sugar: This type doesn’t have a pH, meaning it doesn’t react with the baking soda. If you use more granulated sugar, then you’ll get a cookie that spreads thin and is crispy.
Egg Whites: More liquid equals more spreading and a thin cookie. With the addition of an egg white and reduction of an egg yolk, you add more moisture without adding extra fat (which would make it chewy instead of crispy).
Low Temperature: When you cook cookies at a lower temperature, they spread out more, and since they’ll take longer to bake at a lower temperature, they’ll have a more crispy texture.
For Classic Chewy Cookies:
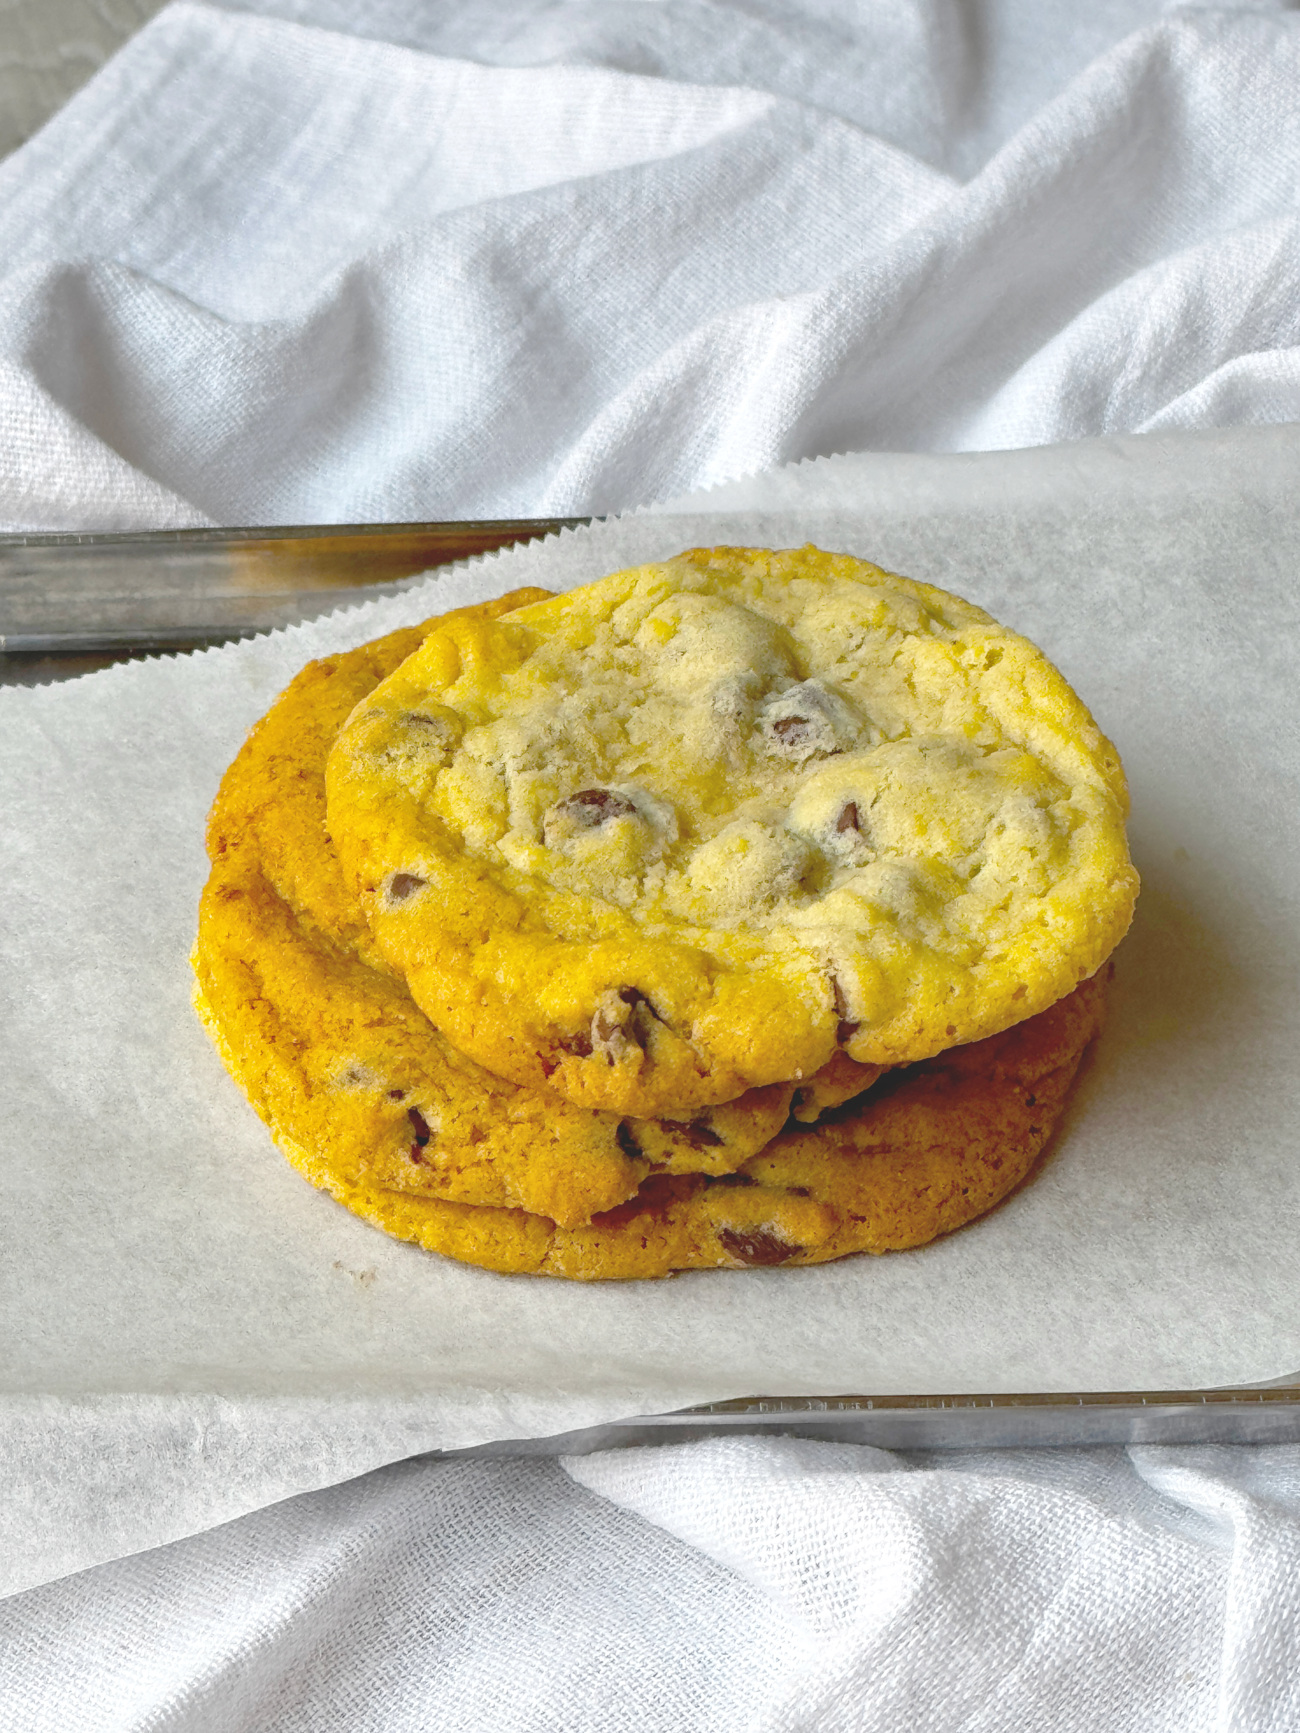
Brown and Granulated Sugars: Using a mix of brown sugar and granulated sugar, and you’ll get a goldilocks of cookies. The granulated sugar will help the cookies crisp up on the edge and the brown sugar will preserve the moisture of the cookie, resulting in a chewy, thick center. If you use brown sugar it has an added influence. Brown sugar has a pH and will react with the baking soda, making for a cookie that won’t spread out as much and has a softer cakier texture in the interior.
Egg Yolks: Unlike egg whites, egg yolks have more fat, and that fat preserves the moisture of the cookie even after baking, resulting in a chewy cookie crumb.
Cornstarch: It prevents the gluten in the flour from forming and amplifies the chewiness of a cookie.
Moderate Temperature: A classic 350°F oven is the prime heat to bake off chewy classic chocolate chip cookies. It allows the edges to cook a bit but also prevents the center from cooking too much.
For Thick Molten Cookies:
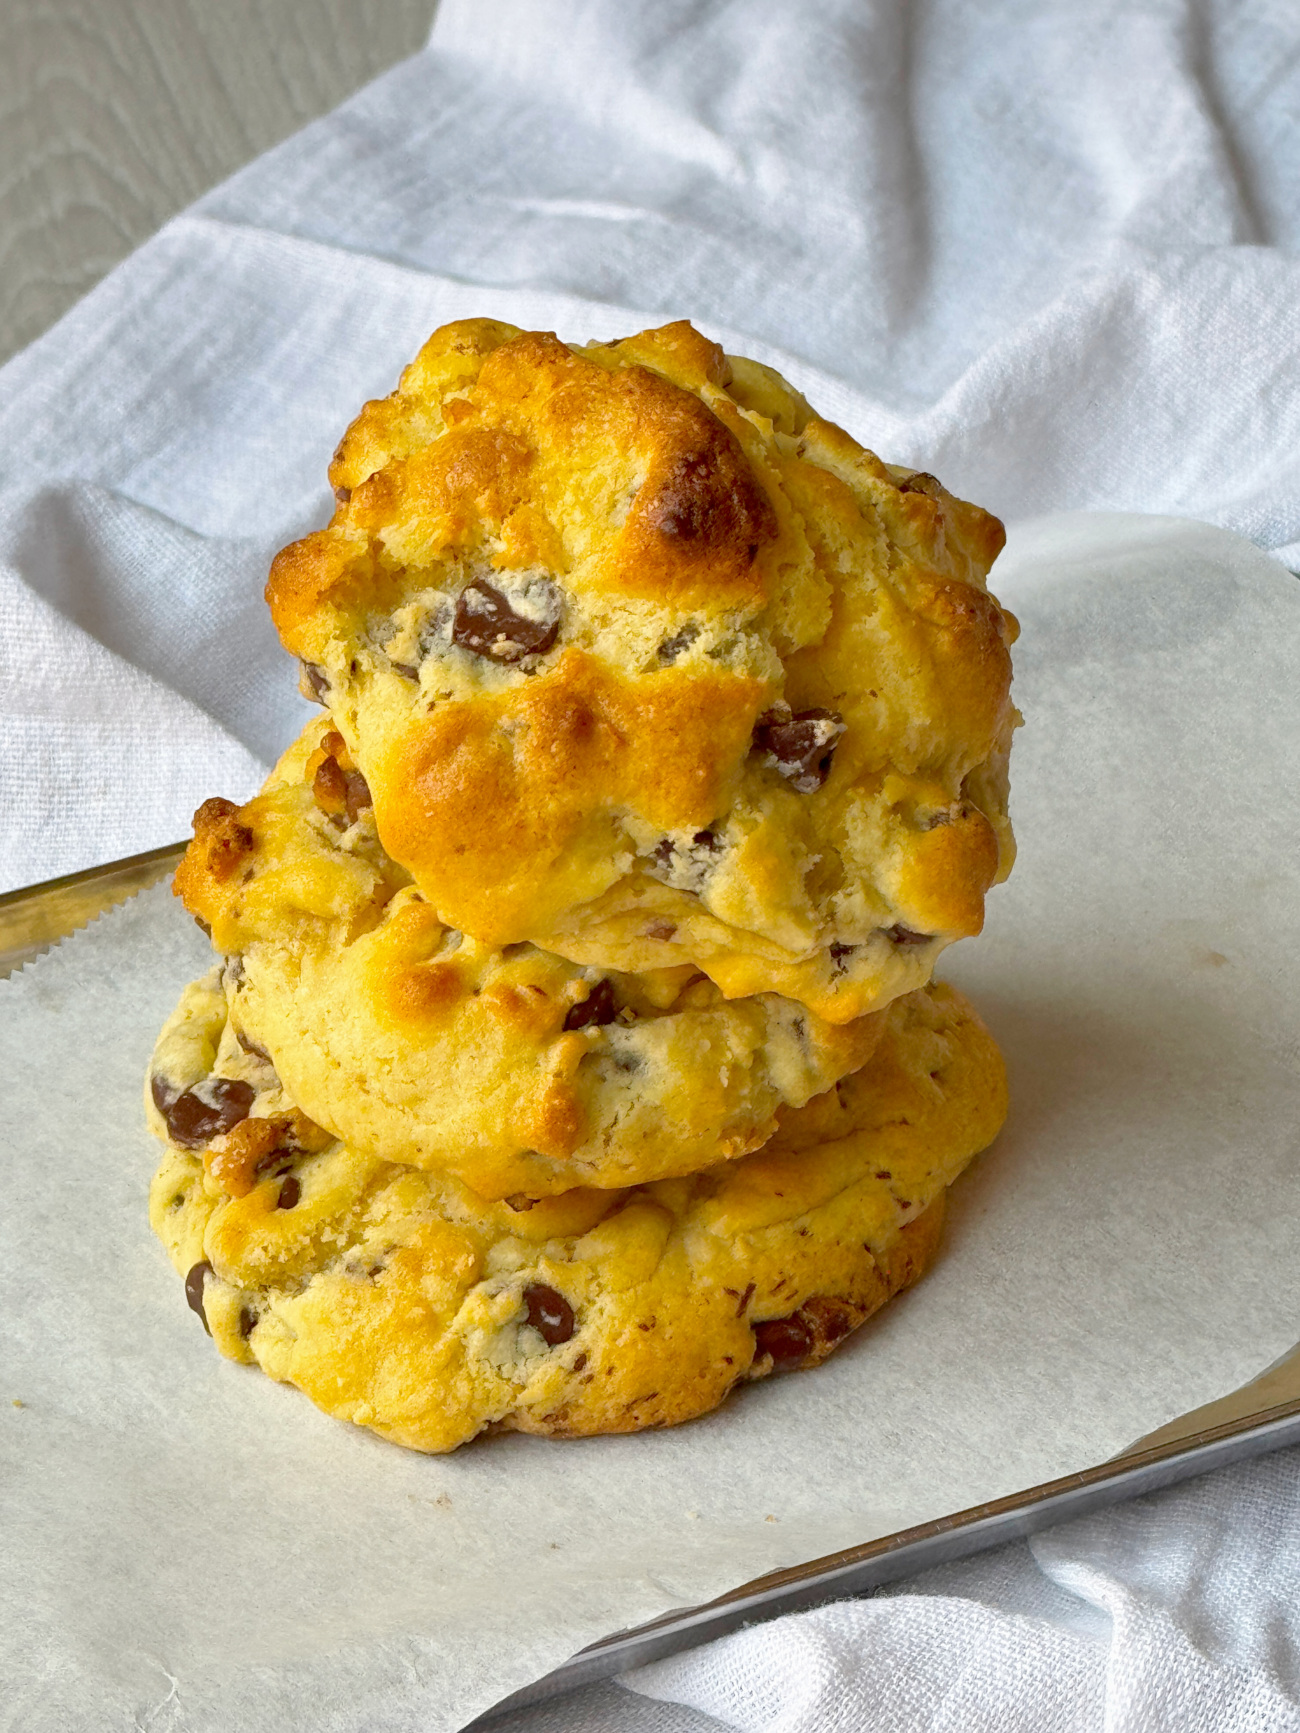
More Ingredients: For thick cookies, you need more volume. If you want to get the same amount of cookies per batch, you’ll have to double the ingredients.
Cake Flour and Cornstarch: Both of these ingredients prevent gluten from forming in the dry ingredients and make for a more tender, softer cookie crumb.
Baking Powder: Using baking powder, which already has acid in it, will help the cookies have the same chewy texture regardless of which sugar you use.
Egg Yolks: Alongside the whole eggs, egg yolks add that extra oomph of moisture without watering down the cookie dough.
More Mix-Ins: Adding more mix-ins prevents the cookies from spreading. Here, a combination of chocolate morsels (which don’t melt) and chopped chocolate bars (which do melt) add the sturdy but molten texture to the cookies. The addition of nuts also prevents the cookies from spreading.
High Temperature: A high temperature paired with a short amount of time in the oven prevents the cookies from spreading but also creates a nice, thin, crispy shell of golden dextrinization on the exterior.
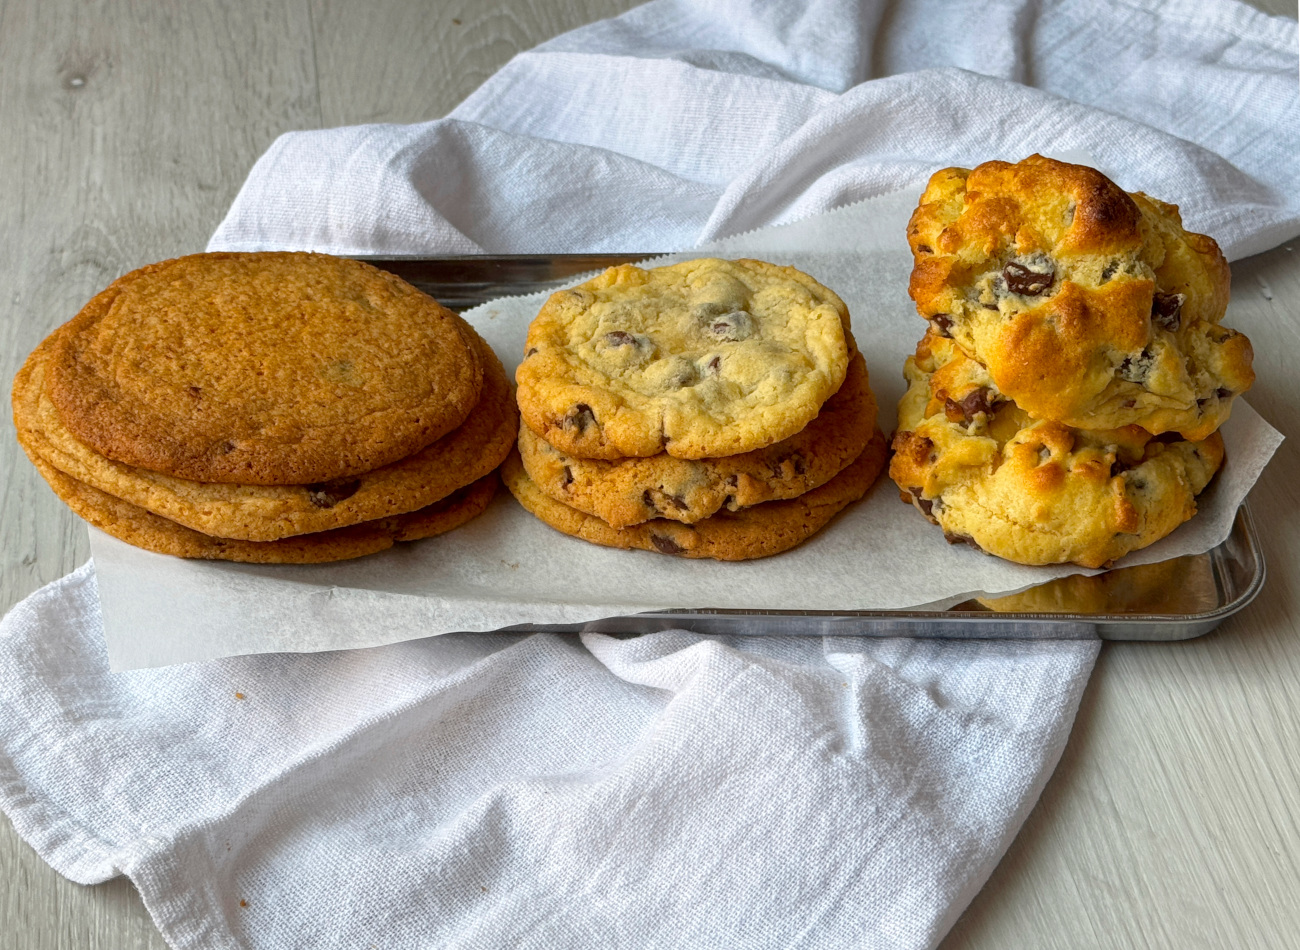
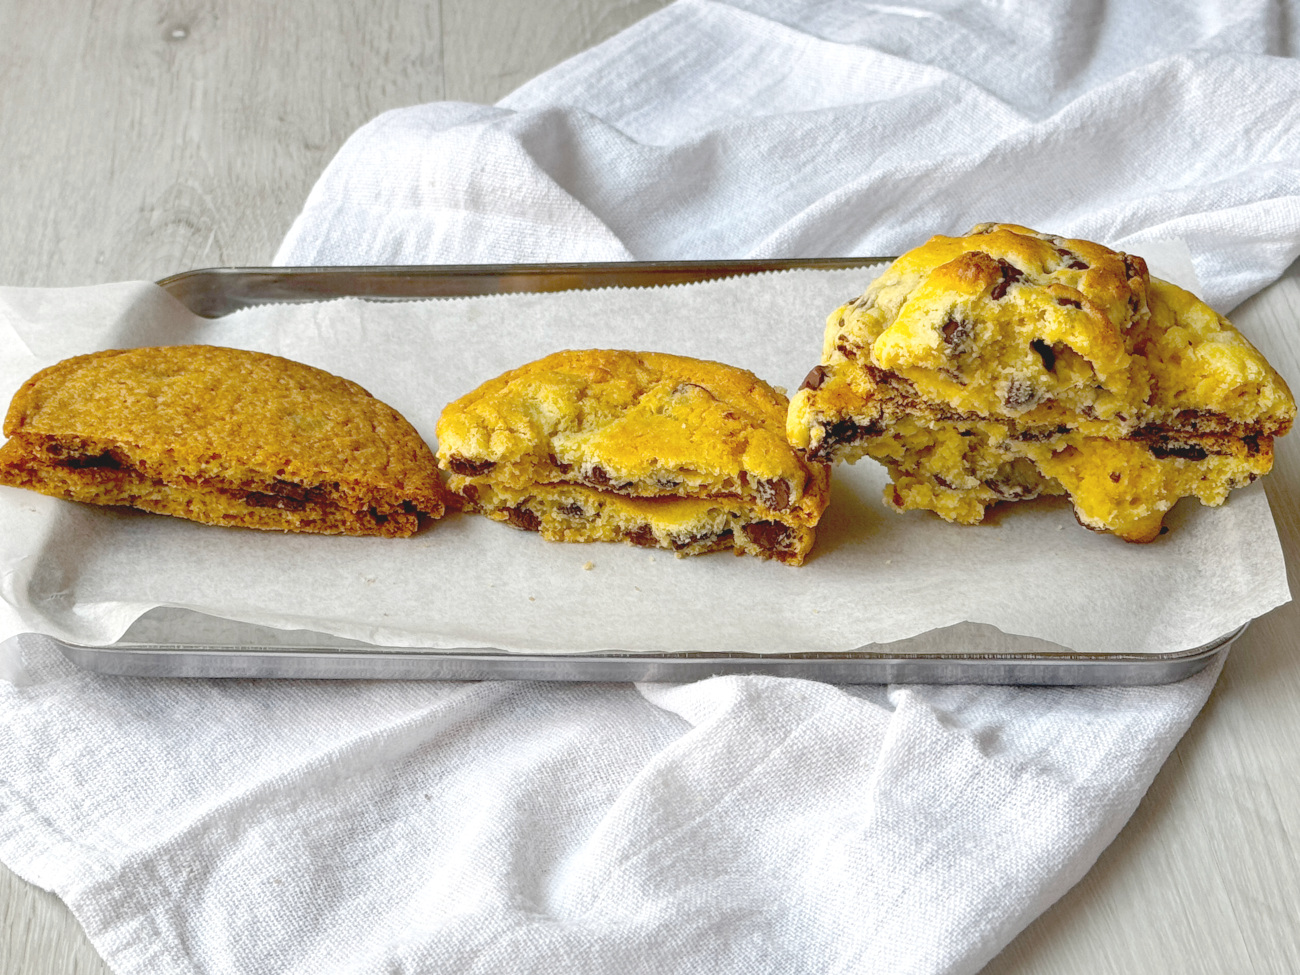
You can get the recipe here for the Thin and Crispy Chocolate Chip Cookies, the Classic Chewy Chocolate Chip Cookies, and the Thick and Molten Chocolate Chip Cookies.
Each of these recipes applies the features mentioned above.
Looking at these cookies side by side, you can tell that a minor addition or subtraction drastically changes the results of the cookies.