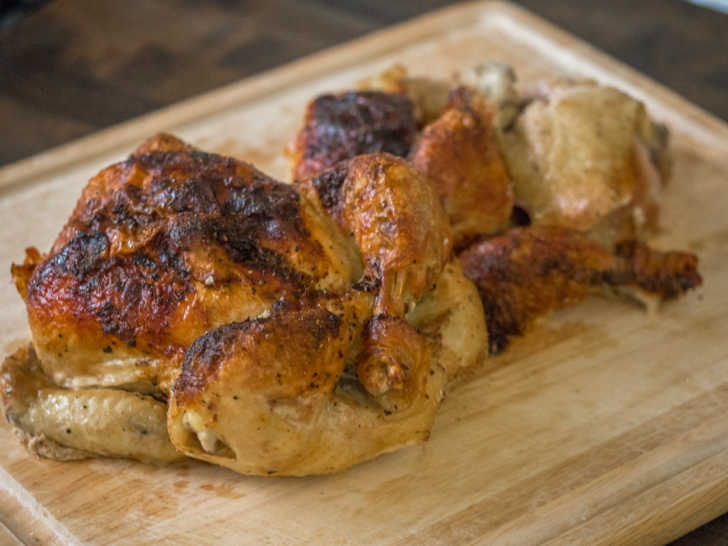
Carving a whole rotisserie chicken so that it looks truly appetizing is a bit of an acquired skill. These chickens aren’t called “rotisserie” for nothing. They are slowly turned, over an open flame, until the meat becomes tender and darn-near falls off of the bone. That makes for some delicious eating, but it also creates a bit of a mess if you don’t approach how you carve a rotisserie chicken with care. We have come up with a few tips and techniques that will have your rotisserie chicken carved in no time, looking as if you sweated over that open flame and made it yourself.
Here is what we suggest:
COOL YOUR CHICKEN DOWN FIRST
Once the chicken is cold, the juices and fat inside the meat congeal, making it much firmer and allowing you to get cleaner cuts. After you slice it you can reheat the chicken and, once again, the juices will flow and the meat will soften.
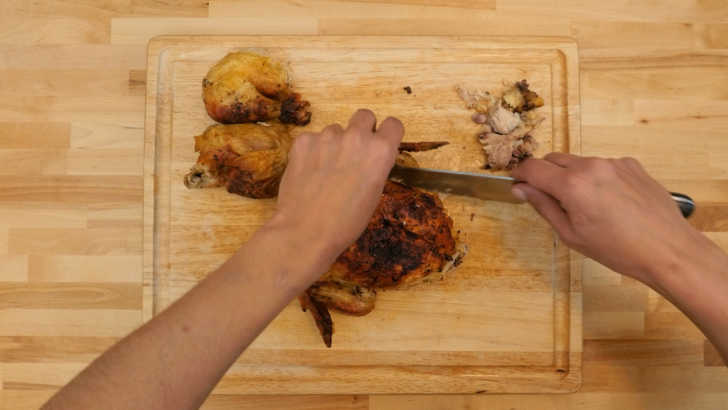
CAREFULLY CUT YOUR WINGS
Wings on a rotisserie chicken hardly need to be cut and they’re so crispy! The tendons almost melt during the cooking process, so careful: they can come off accidently if you pull on them. Rather than pulling, give them a nice clean cut or chop at the joint with your knife so the skin doesn’t look ragged.
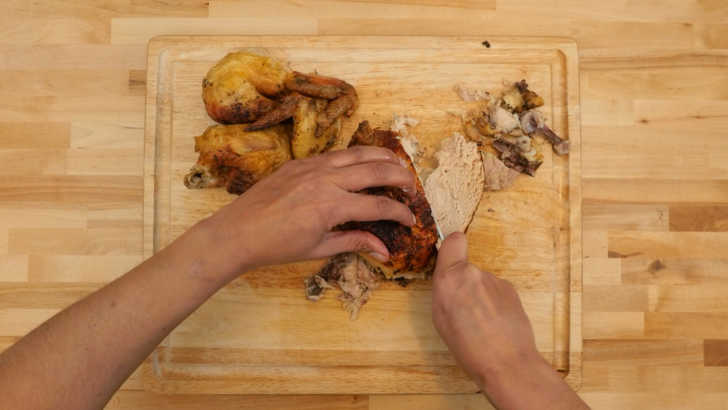
SLOWLY SLICE THE BREAST
Carved chicken looks nice and neat if you use a sharp knife and slice the meat with slow, long cuts at an angle, in one direction – carefully, towards yourself. You can even carefully wipe any residual chicken off the blade each time before making another slice. Wiping makes for cleaner looking cuts. Fair warning – if your slices are short and in a back and forth motion, your meat will look like you cut it with a chainsaw. So remember, slow and easy. You will most likely get 3-4 thin slices that are less than ¼-inch thick from each breast. Make sure to use your eyes and judge the width in advance so you can achieve nice, even slices.
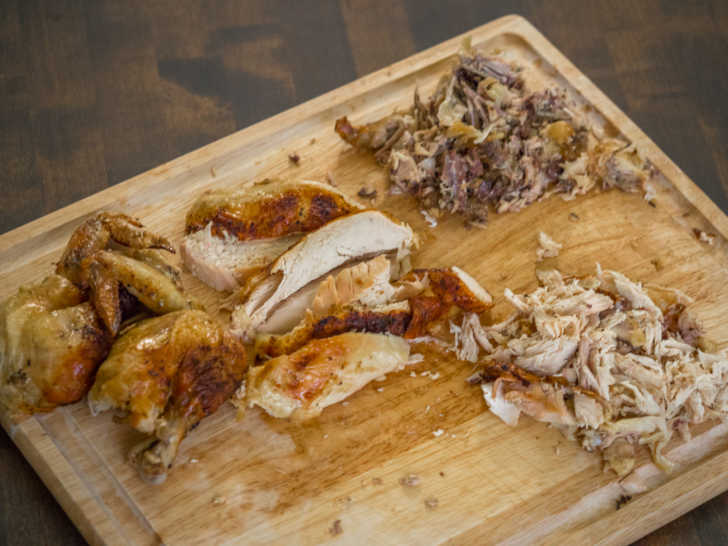
CLEAN UP YOUR MEAT BEFORE PLATING
There will be some brown bits, loosened bones, and uneven skin that you will want to cut off and clean up before plating and serving. Carefully use your knife and your clean fingers to cut, scrape, and push the bits that you won’t serve to the side, so they don’t end up on your serving platter. It is easy to tear the skin unintentionally and pull apart the meat, so work carefully at this point. You want to retain the shape and make the edges as clean-looking as possible.
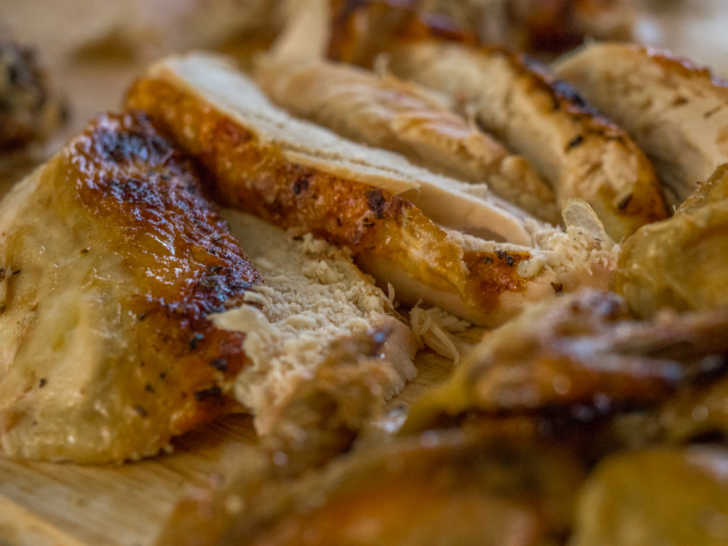
ARRANGE YOUR MEAT
Carved rotisserie chicken pieces look fabulous served on a butcher block or a nice platter. Fan your chicken breast slices starting from large to small, carefully leaving the skin on the edge of each slice. Keep your matching pieces arranged next to or slightly on top of each other. This will make your arrangement look natural, but also neat. Remember to drizzle the warm, leftover juices over the slices of chicken to rehydrate it – this way it won’t get dry and you’ll have tons of flavor. A little salt and cracked pepper or fresh herbs in and around your chicken really sets it off nicely, but simple is always best when chicken looks and tastes this good. Following these easy tips will definitely turn your carved rotisserie chicken into the shining star at the dinner table.
