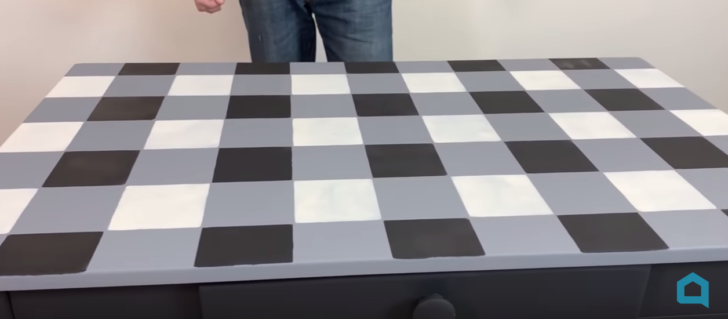
My very first (and second) kitchen tables were thrift store finds that did the job, but didn’t look all that appealing. Scratches, rubbed off sealant, and a few dark lines of marker that just would not come off no matter how hard I scrubbed. I just covered them with tablecloths, which worked fine, but I wish I thought about doing something like this! This fun idea works for any flat surface, so go ahead and use it on side tables, dressers, and other furniture you want to upgrade!
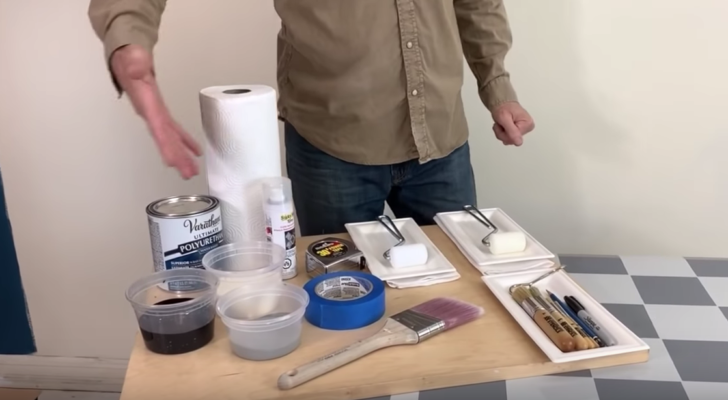
First things first – gathering the supplies. For this project, you’ll need matte paint in whatever colors you choose. This particular design calls for three colors, but if you’re using a different stencil or going for another look, you may need more or less.
Next, you’ll need two-inch wide dense foam rollers. These are the best tools for filling in stencils. Go ahead and grab painter’s tape to secure the stencil, paper towels, a tape measure, and finally some sealant for when you’re all finished.
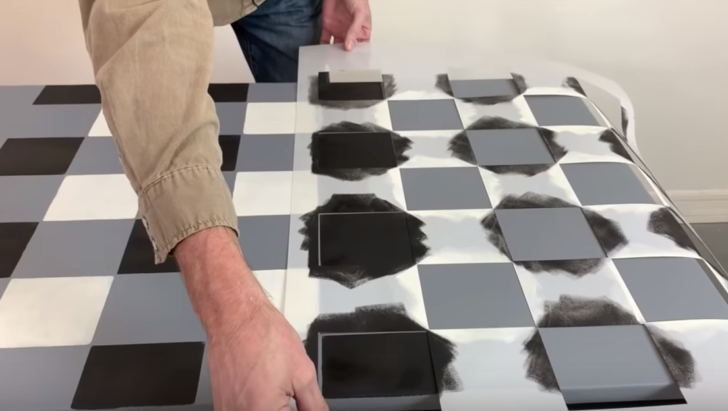
Once you’ve painted a base coat in the color of your choosing, it’s time to lay on the stencil. Secure in place with painter’s tape.
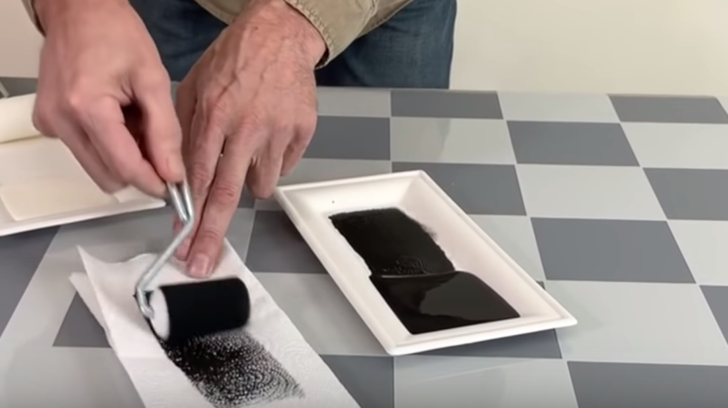
Load up your first color on the foam roller, and then give it a few rolls on the paper towel to soak up any excess paint. This is an important step so you don’t end up accidentally dripping over your design. It also helps to prevent excess paint from slipping under the stencil and ruining the design.
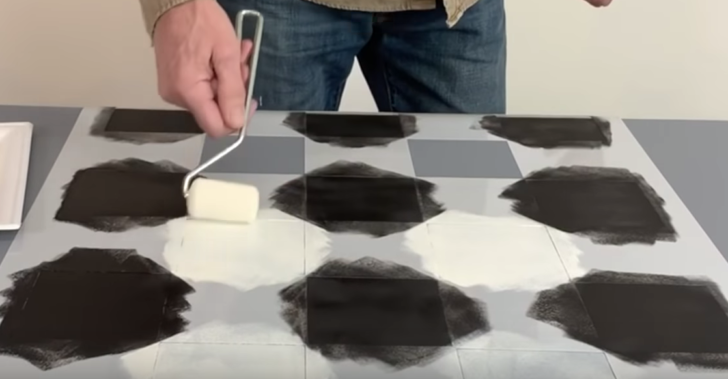
Next, paint over your stencil with the roller, filling in the designated area. Once you’re done, remove the stencil right away. Don’t let the paint dry with the stencil still in place, otherwise, you risk peeling the paint off. When the pattern is dry, line up your stencil again and repeat the process until the area is covered.
Once everything is dry, paint two coats of water-based sealant on top to protect the pattern.