
Sometimes you don’t want anything complicated in the mornings. You just want something you can unwrap, eat, and get going. That’s exactly why muffins are a great breakfast food. They’re sweet, delicious, and filling, and best of all you can make a batch in advance and enjoy them any time.
You can’t go wrong with a batch of classic banana nut muffins. This recipe has just the right combination of rich flavor and moist texture. Creaming the ingredients together and using a low-fat yogurt produces the best texture, and adding some lemon zest to the batter makes the muffins taste just a little lighter. Keep reading below for this delicious recipe…
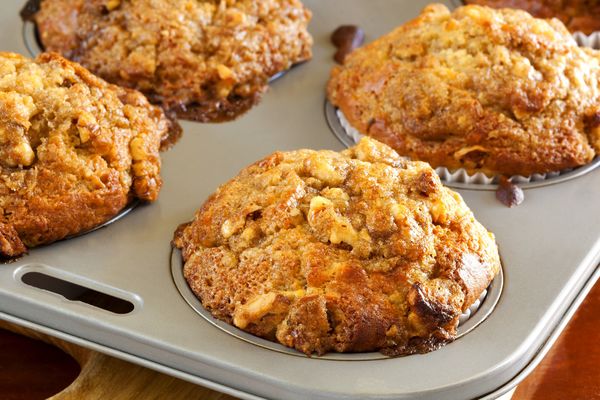
Banana Nut Muffins
(makes 12 muffins)
Ingredients
- 3 cups flour
- 1 tablespoon baking powder
- 1/2 teaspoon baking soda
- 1/2 teaspoon fresh ground nutmeg
- 1/2 teaspoon cinnamon
- 1/2 teaspoon table salt
- 1 teaspoon lemon zest
- 1/2 teaspoon vanilla extract
- 10 tablespoons unsalted butter, softened
- 1 cup packed light brown sugar
- 2 large eggs
- 1 1/2 cups play low-fat yogurt
- 1 1/2 cups finely dice bananas (about 3 bananas)
- 3/4 cup chopped walnuts
Directions
- Preheat oven to 375F
- Mix flour, baking powder, baking soda, nutmeg, cinnamon and salt in a medium bowl, set aide.
- Beat butter, vanilla extract, lemon zest, and light brown sugar with an electric mixer on medium-high speed until light and fluffy (about 2 minutes).
- Add eggs, one at a time, beating well before adding the next.
- Beat in half of the dry ingredients, then a third of the yogurt.
- Beat in the remaining dry ingredients in two batches, adding in yogurt between the batch, then after.
- Fold bananas and walnuts into the batter.
- Spray a 12-cup muffin tin with cooking spray, or coat lightly with batter.
- Spoon the batter evenly among the cups and bake until the muffins are a golden brown (25 to 30 minutes).
- Let muffins cool on a wire rack for five minutes before removing from tin.
- Enjoy!
Recipe adapted fromCooks Illustrated, 1997