I don’t know about you, but I tend to get complacent with my decor about once a year. I insist on going on a shopping spree… but my husband (and budget) disagree. Good thing there are so many wonderful, easy, and super cute DIYs I can do that satisfy my need for a new look. Let’s see a few of these ideas in the list below!
Ombre Dresser
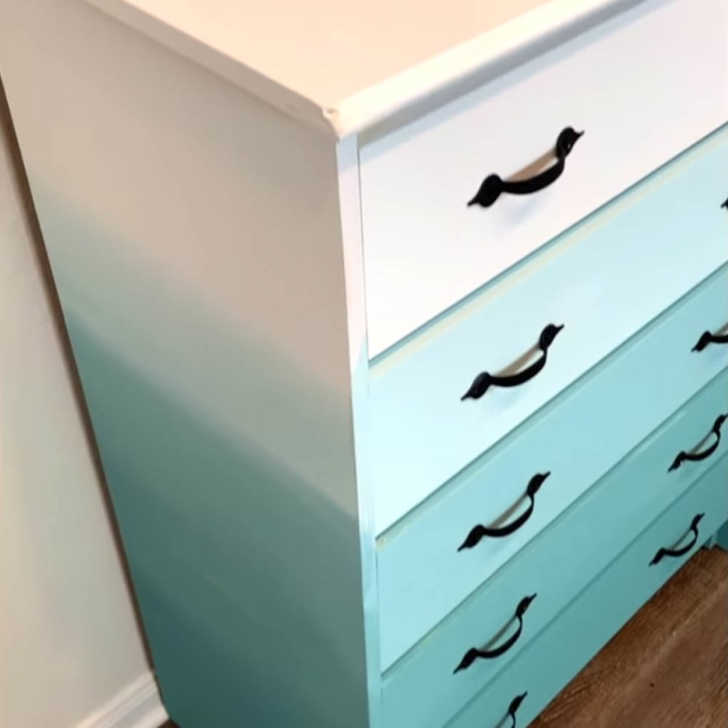
We all have that one dresser that was once fabulous, but has since lost its luster. Maybe yours is tucked away in a guest bedroom, no longer fit to be in the master bedroom. Instead of letting that dresser rot away in obscurity, give it some TLC and make it a statement piece!
Simply strip the dresser of any previous paint and sand it down. Then, start with your darker color and paint around the base of the dresser. Add a strip of lighter color above the dark, and then blend together, letting the two colors mix. Continue up the dresser, adding lighter and lighter colors until you’re done. All that’s left is to paint the drawers and install new hardware (unless you like the old hardware). Ta-da!
Hanging Headboard
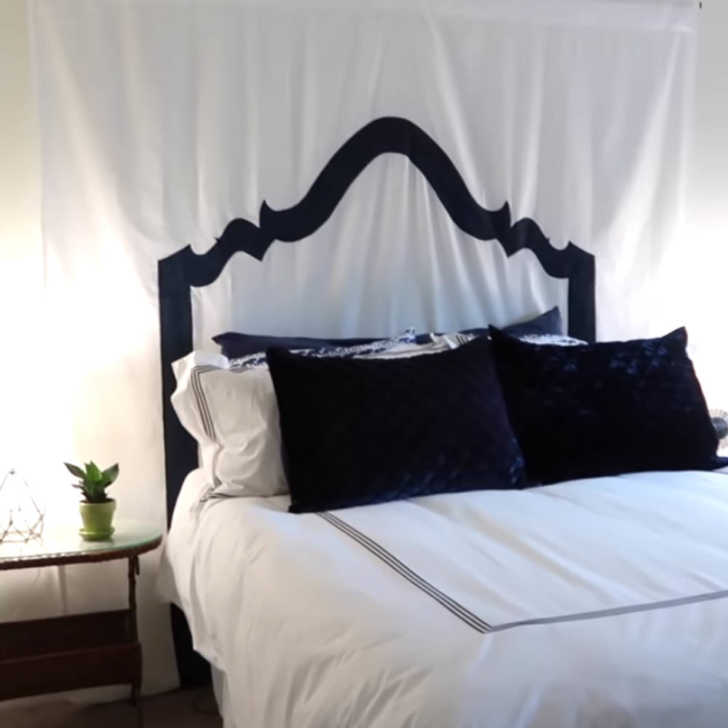
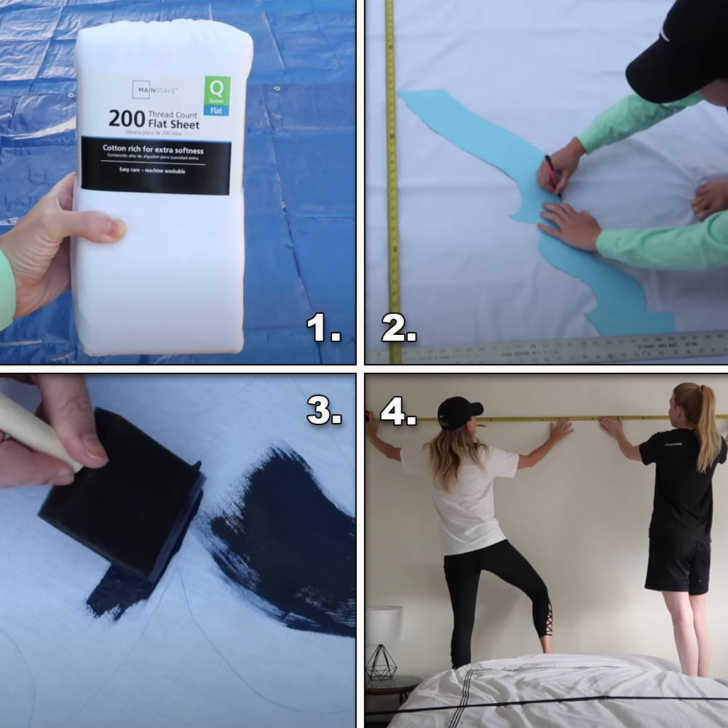
Okay, seriously, how cool is this? Also, why are headboards so expensive? No matter. We have a way to make an awesome faux headboard! Grab a sheet and a large piece of butcher paper. Draw the outline of your “headboard” on the butcher paper and cut it out. Carefully trace the outline onto your sheet and paint it in.
Finally, measure and hang the sheet, cinching at the sides to create this awesome look. I love the white sheet on the white wall! With the table lamps on either side, the light plays off of the folds in the sheets just beautifully!
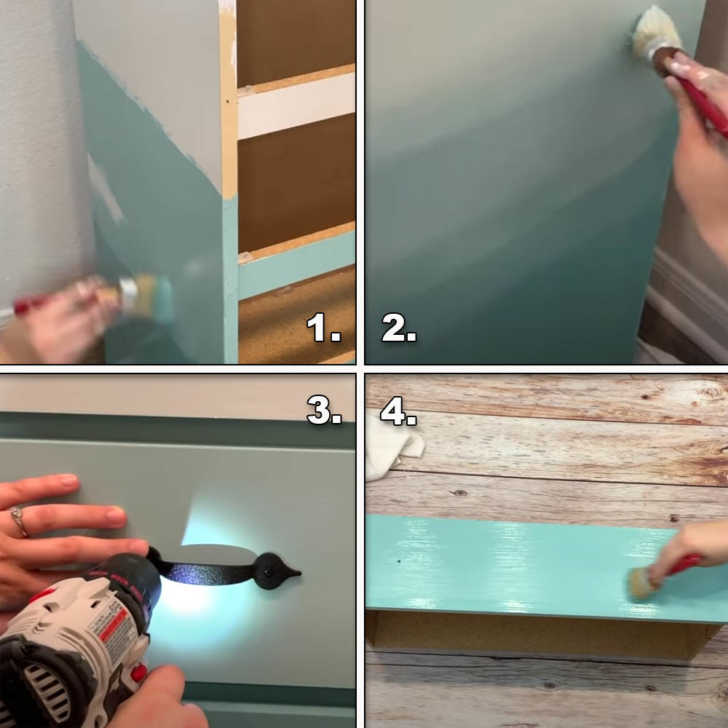
Nightstand Makeover
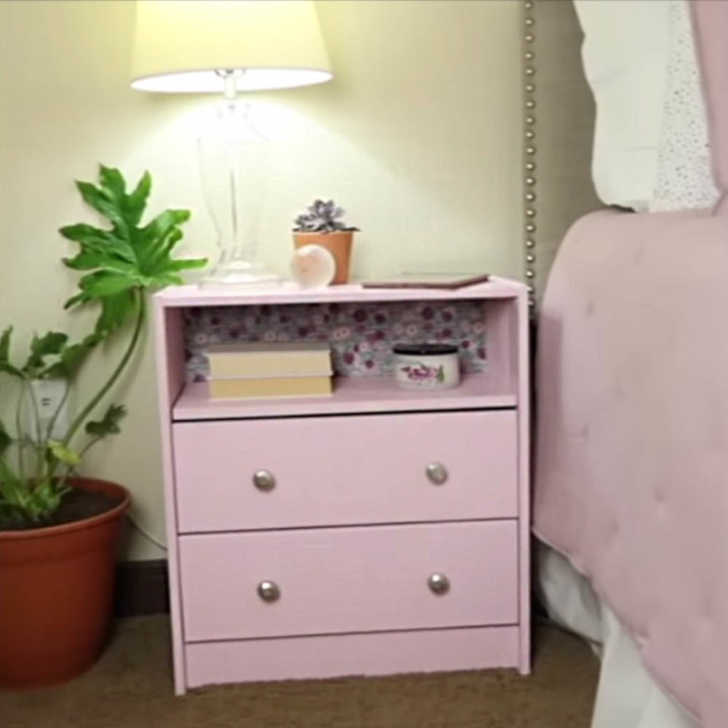
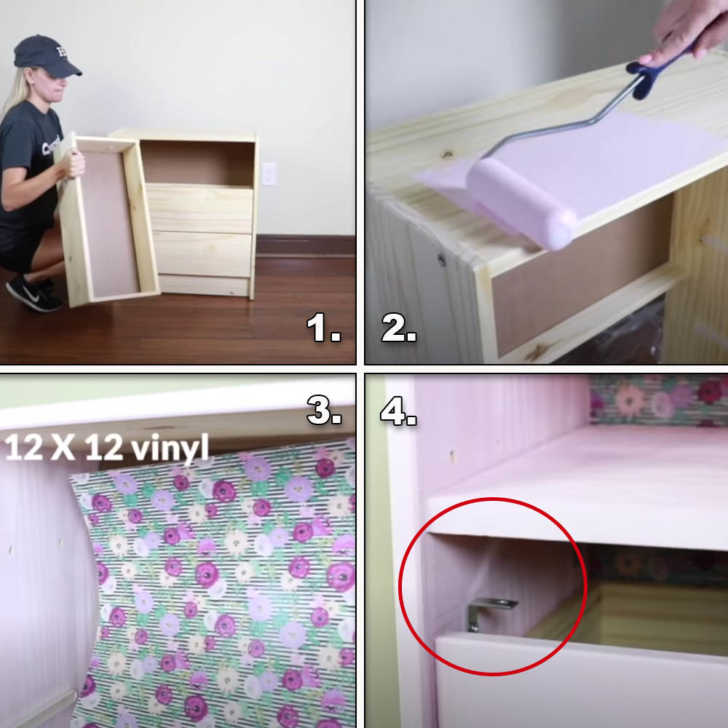
Go ahead and grab a cheap 3-drawer night stand at IKEA or the thrift store if you don’t have one already. Take the drawers out and paint everything. Stick on patterned vinyl to the back of the nightstand, only up to the first drawer line. Make sure to flatten it out!
Slip the bottom two drawers into place, then measure and cut a piece of plywood to make a shelf that sits on top of the second drawer. Attache the shelf with L-hooks and you’re good to go!
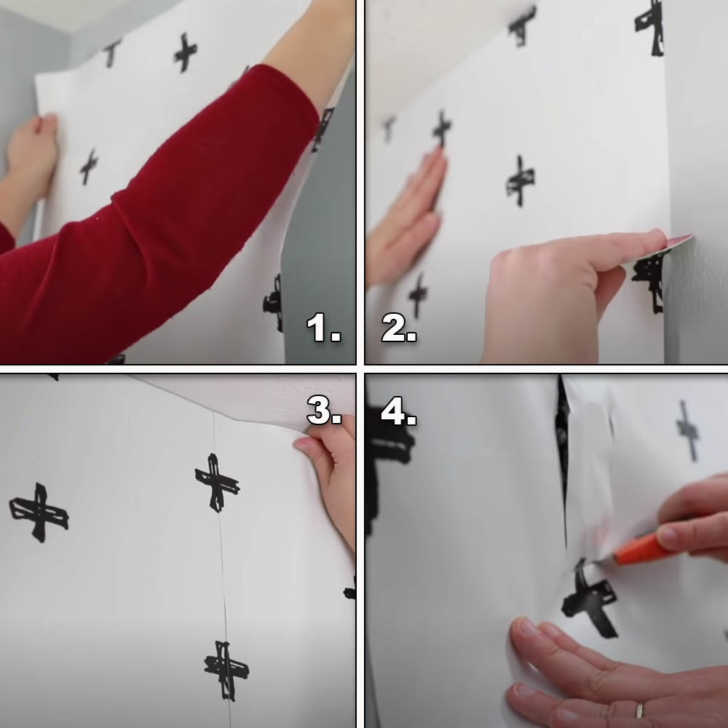
Accent Wall
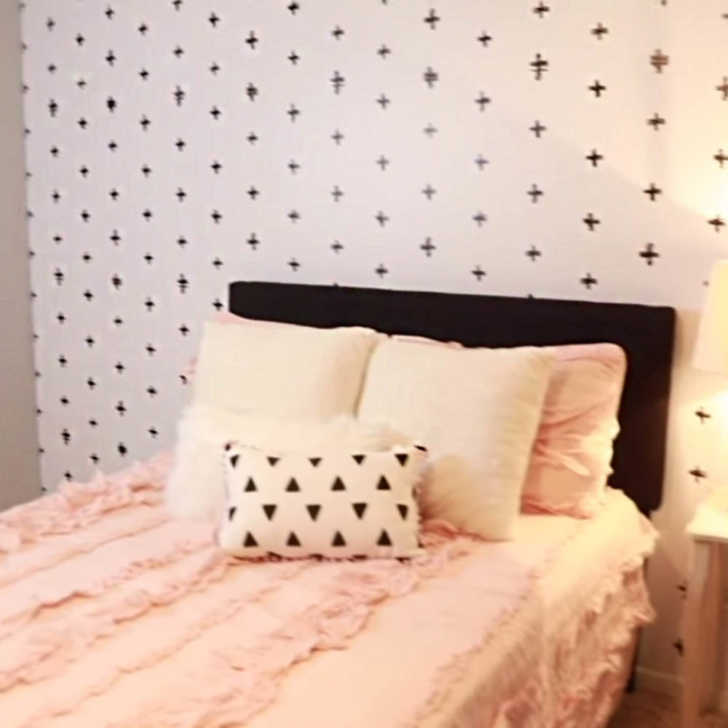
Wow! Don’t you just love the texture of this wall and the way it brings everything together? The best part is, this stuff will peel right off of the wall when you want to change your look (good news for me)! Grab a roll of vinyl in whatever color or pattern you want.
Then, starting at the top of the wall, line up the vinyl and flatten it out in one long strip. Line up the next strip, and continue flattening and sticking the vinyl on the wall until everything is covered. All that’s left is to cut around plug-ins and light switches, as well as straighten up the corners and edges.
Via YouTube/Home Talk
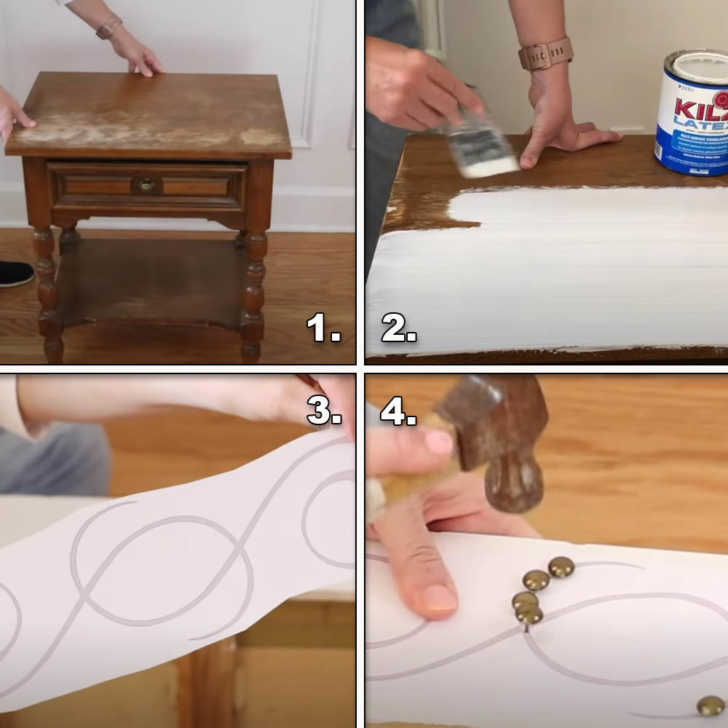
Side Table Upgrade
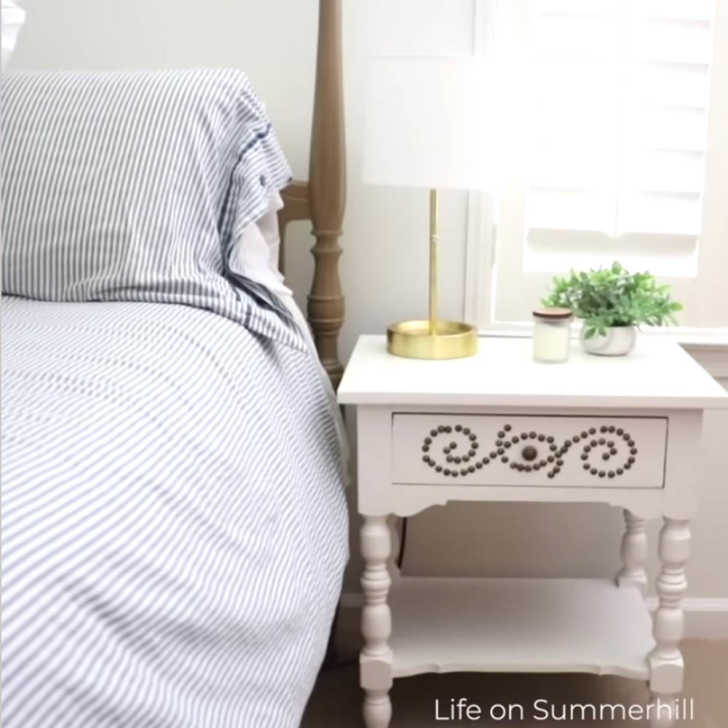
This one might be my favorite on the list. I’m pretty sure I’ve seen this exact side table at every thrift store I’ve ever visited. And now I know what to do next the time I come across it! Start by removing the hardware, sanding down the wood, and prying off any unwanted embellishments. If you decide to take off any molding, just made sure to flatten that surface using some caulk and then sand everything down until it’s even.
Next, paint the side table and let dry. Print out a fun pattern and secure it to the front of the drawer with some painter’s tape. Then hammer in copper tacks around the pattern. When you’re done, just tug the paper out and it will tear away from the tacks. Isn’t this an incredible upgrade?