
In the United States, and indeed much of the Western World, ramen comes mostly in one variety: instant. Whether you get it in a cup or as a brick with a powdered packet of broth, what we often consider ramen is as nutritious as it is expensive. That said, we consider it something of an insult to what actual ramen is.
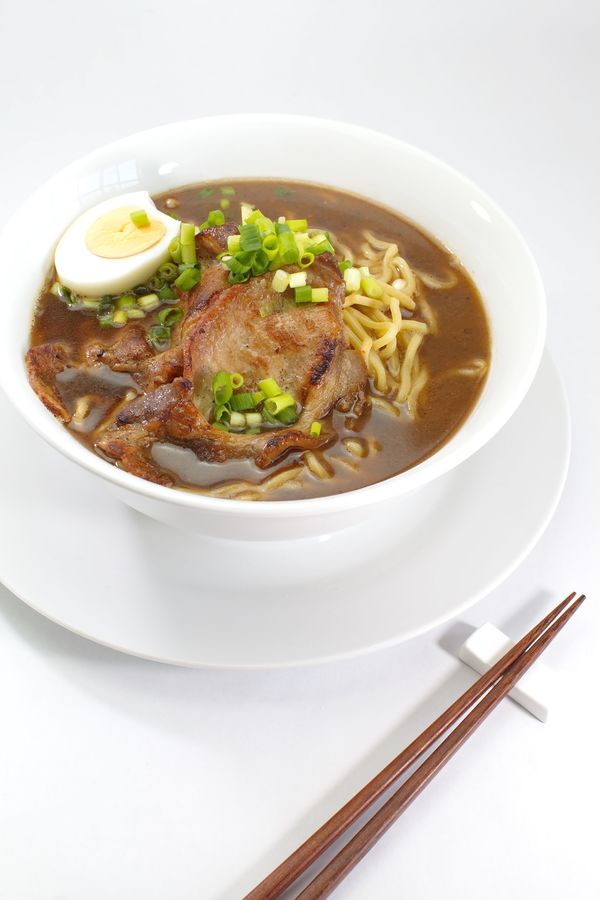
Real ramen noodles are thick, made with real ingredients and care. They take time, but what comes out is so much more than a soup. It’s a dish that is a favorite in Japan. This soup dish is made from Chinese-style wheat noodles served in a broth (usually dashi or chicken stock flavored with some soy or miso). It’s topped with some sliced meat (usually pork or beef), nori (dried seaweed), a hard (or medium) boiled egg, and green onions.
Keep reading below for our favorite homemade Ramen recipe…
Homemade Ramen Recipe
(makes 2 servings)
Ingredients
RAMEN NOODLES
- 1 1/2 cups flour
- 2 eggs
- 1 1/2 teaspoons salt
- 2 tablespoons water
RAMEN BROTH
- 1 clove garlic, minced
- 1 teaspoon minced ginger
- 1 teaspoon sesame oil
- 2 cups chicken stock
- 1 cup dashi stock
- 1 tablespoon sake
- 1 teaspoon salt
- 1 teaspoon sugar
- 3 teaspoons soy sauce
RAMEN TOPPINGS
- 1 hard boiled egg
- 2 green onions chopped
- 2 pork cutlets (or pork cheeks) pounded thin.
Directions
- Heat sesame oil in a medium saucepan.
- Saute ginger and garlic in the pan until fragrant, then lower the heat to medium.
- Add chicken stock and dashi stock, and bring to a boil.
- Add sugar, salt, sake, and soy sauce, then bring to a boil again. Set aside.
- In a separate saucepan, place an egg and cover with water. Heat on high until the water just start to boil. Remove the pan from the burner and cover the pan. Let sit for about 9 minutes.
- Cook the pork cutlets in a pan until fully cooked. Set aside.
- Meanwhile, ombine the dry ingredients of the noodles in a mixing bowl and form a cavity in the center.
- In a separate, small bowl beat the eggs and water together. Slowly pour the mixture into the center of the dry ingredients.
- Knead the mixture together by hand until a dough forms. It should be stiffer than bread dough. You will know the dough is ready when your hands are mostly clean and the dough doesn’t stick to your hand as much. If it’s too sticky, add flour. If it doesn’t stick at all, add a few drops of water at a time to find the right consistency. You should be able to lift your hand and the dough should fall off after about a second.
- Form the dough into a ball and wrap it in a clean, damp cloth. Let it sit for 30 minutes, or up to two hours. It should sit longer the dryer the air is.
- Cut the dough into two equal portions then place one portion on a well-floured workspace.
- Stretch the dough out with a floured rolling pin and stretch the dough out. You want it to be about 1mm in thickness. If the dough starts returning to its original shape, let it rest for a minute or two before stretching it back out.
- Spread flour liberally on the surface of the dough and on the work space, then fold the ramen over itself lengthwise twice.
- Use a knife to cut strips from the side of the dough to create long noodles. (The folds should be at the top and bottom and you should cut from the sides in.)
- Repeat this process with the second portion of dough. Unfold the noodles and toss them around a little to loosen them.
- Boil water, then lightly sprinkle the noodles into the water (don’t dump them. This should be a gentle process).
- Mix the noodles around with chopsticks as they cook, and boil them for about 4 minutes.
- Strain the noodles from the water.
- Divide the noodles between two bowls, and pour an even amount of the ramen stock between the two.
- Peel the hard boiled egg, cut in half, then place one half on each of the bowls.
- Add a portion of pork cutlets to each bowl, then sprinkle the bowls with the chopped green onions.
- Serve hot, and enjoy!
Recipe adapted from No Recipes